


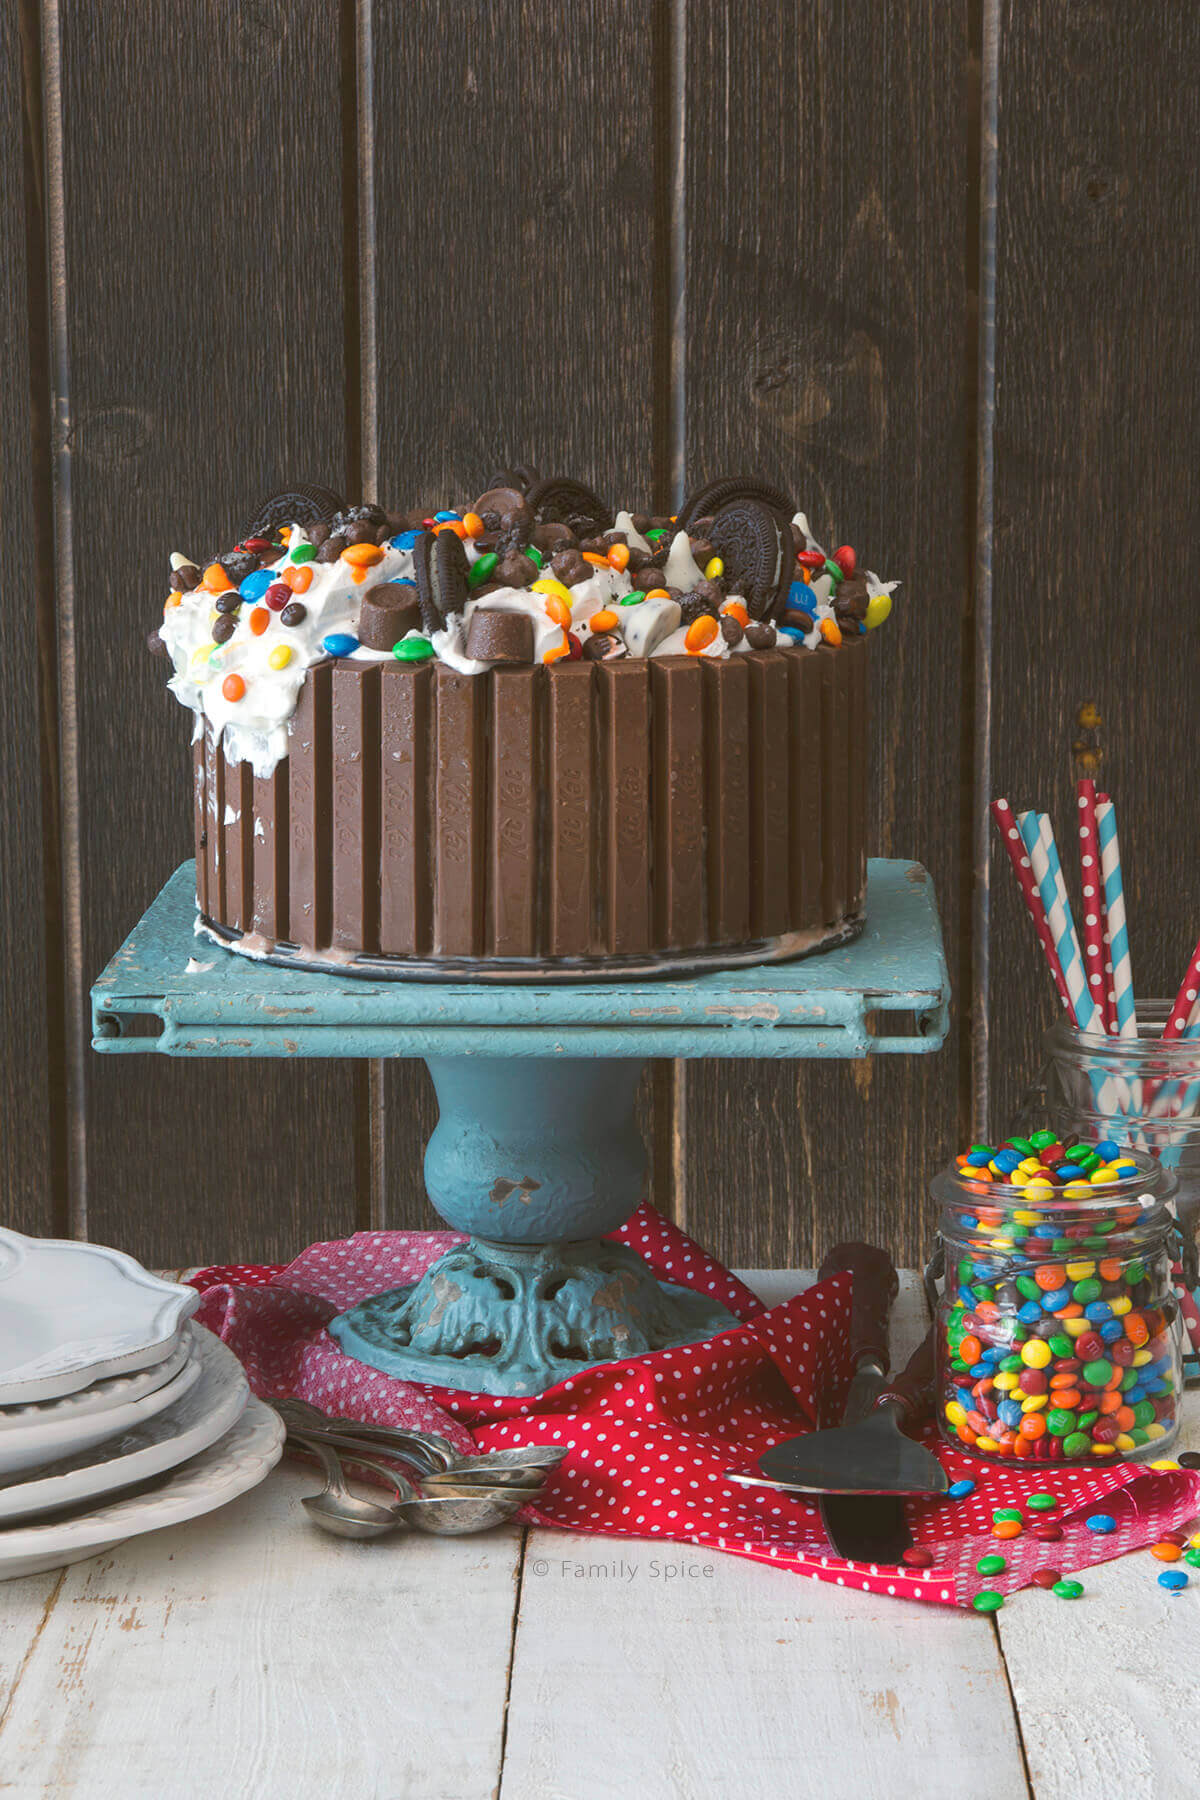
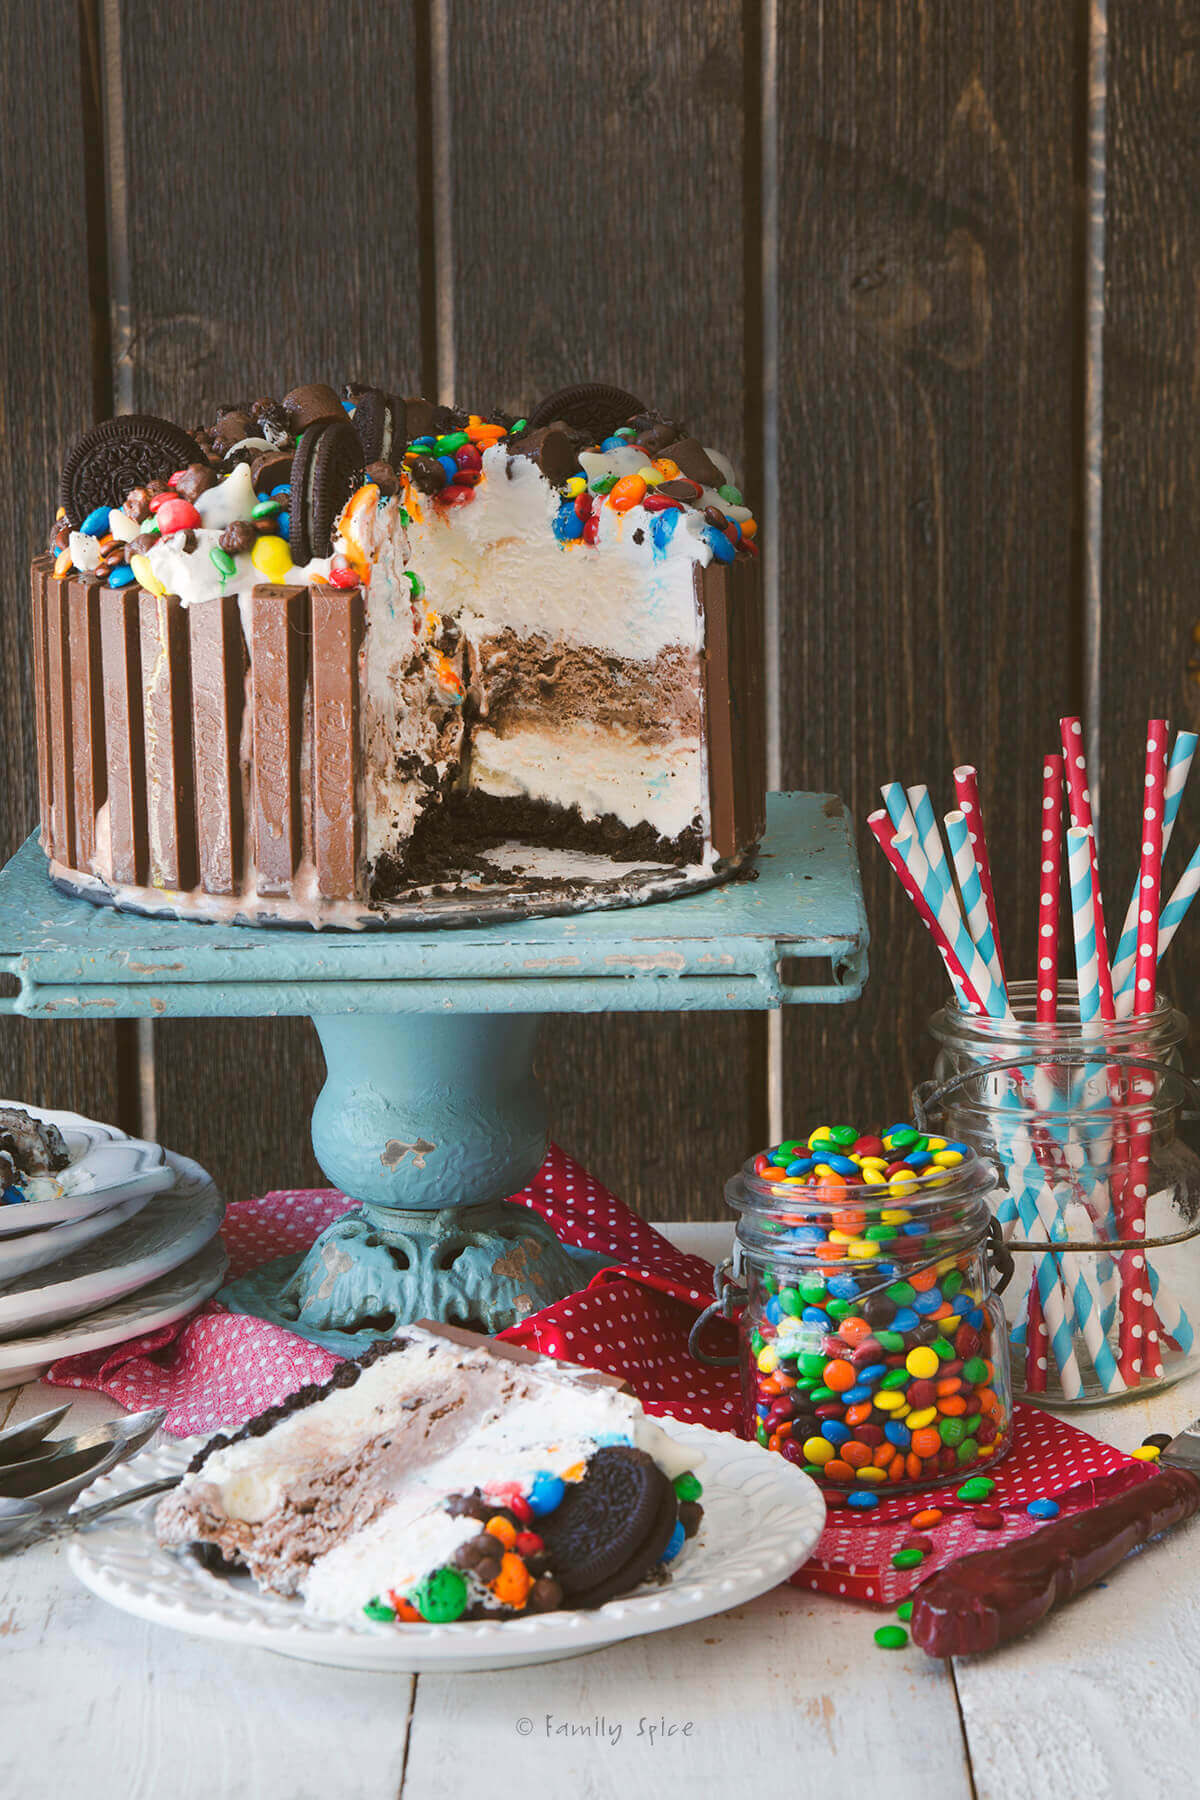
This show-stopping Kit Kat Ice Cream Cake has it all—an Oreo crust, two layers of your favorite ice cream, fluffy whipped cream, and loads of chocolate candy on top. Wrapped in Kit Kat bars for a party-ready finish, it’s the ultimate no-bake birthday or summer dessert!
Needless to say, my boy never forgot about this fabulous birthday cake. Let’s be honest. No matter how old you are, everyone loves an ice cream cake.
The first time I made this kit kat ice cream cake was for Middle Child’s 8th birthday. Hard to believe but that was over 10 years ago! That little boy is now in college. I’ll spare you my breaking-momma-bear-heart story.
Jump to:
Laura says :
Why this recipe works
- Economical: Custom ordered cakes are EXPENSIVE, whether it’s a baked cake or an ice cream cake. You can easily make one at home for a fraction of the cost!
- Simple: This ice cream cake is a no bake, no-brainer. Warts and all, your guests will only see a heavenly dessert smothered in their favorite candies. No fancy-schmancy decorating skills are required for this cake! No insane baking skills are needed. No fancy equipment or tools are required – just a springform pan!
- Anything Goes: Feel free to customize your cake with your favorite flavors, from the ice cream choices inside to the candies and chocolates garnishing on top. It is an easy cake to make for a birthday party or anytime you want to scream for ice cream!
- Party Friendly: Nothing brings smiles to everyone’s faces like this Kit Kat ice cream cake. From 80+ year old grandparents to their tiny grandchildren and of course all ages in between, everyone will want a huge slice!

Reader’s Reviews
“I made this for my son’s 12th birthday. It was a huge hit! He chose moose tracks and salted caramel for the ice cream with Twix candy topping-YUMM! As a busy mom of 4 children, I was pleased how quickly this cake came together. Completed the recipe in under an hour and it came out looking every bit as delicious as the blog photos!” — Nurture
Ingredients you need
This post contains some affiliate links for your convenience (which means if you make a purchase after clicking a link I will earn a small commission but it won’t cost you a penny more)! Read my full disclosure policy
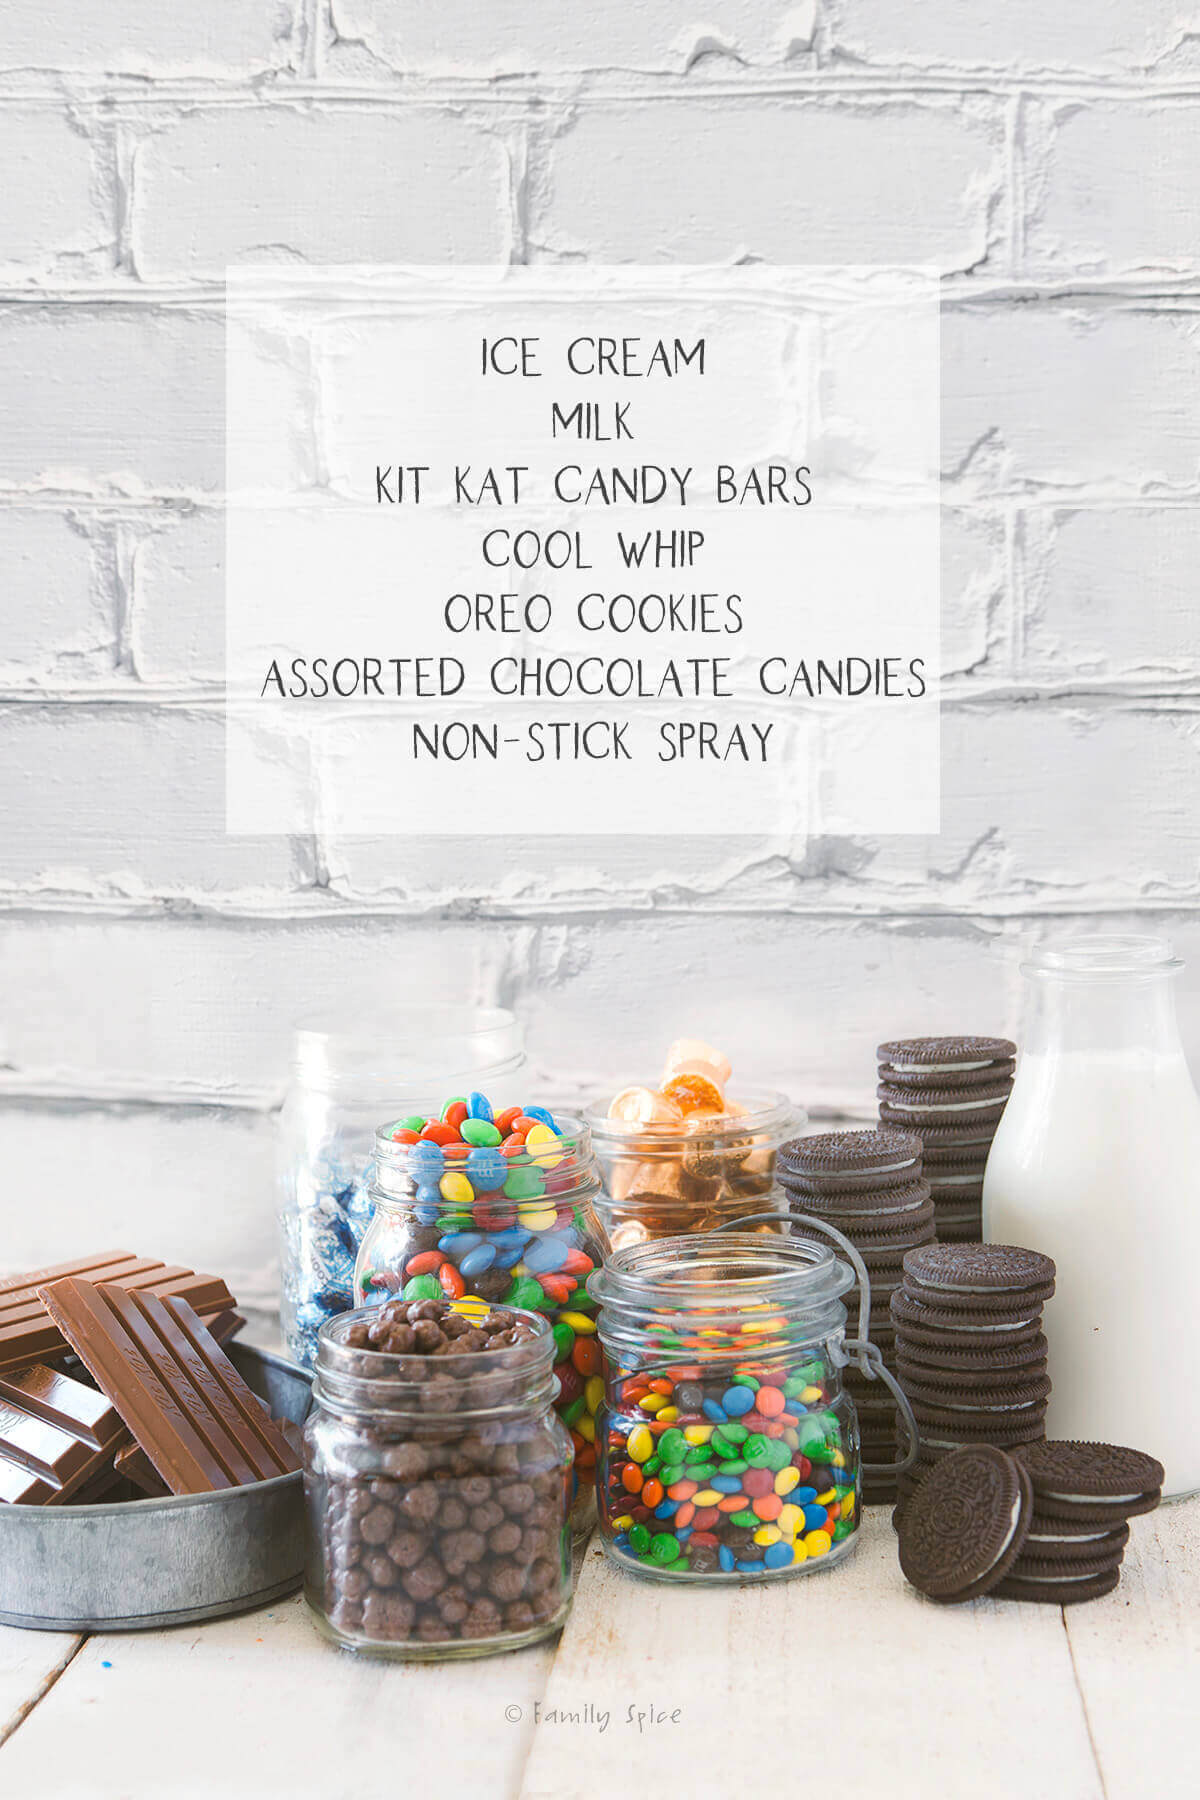
- Ice cream: Choose 2 quarts of any 2 ice cream flavors. Keep it simple with chocolate and vanilla, or go wild with rocky road, mint chocolate chip or strawberry ice cream.
- Kit Kat candy bars: These make up the sides of the cake and hold all the ice cream goodness inside.
- Frozen whipped topping: The top of the cake is finished with Cool Whip. You could use homemade whipped cream, but the point of this cake is to keep things easy on you. Not a fan of whipped cream? Add a third layer of ice cream.
- Oreo cookies: The crust of the cake is made with smashed Oreos and the top is garnished with some more Oreos. I used original Oreos, but you can use any flavor you want.
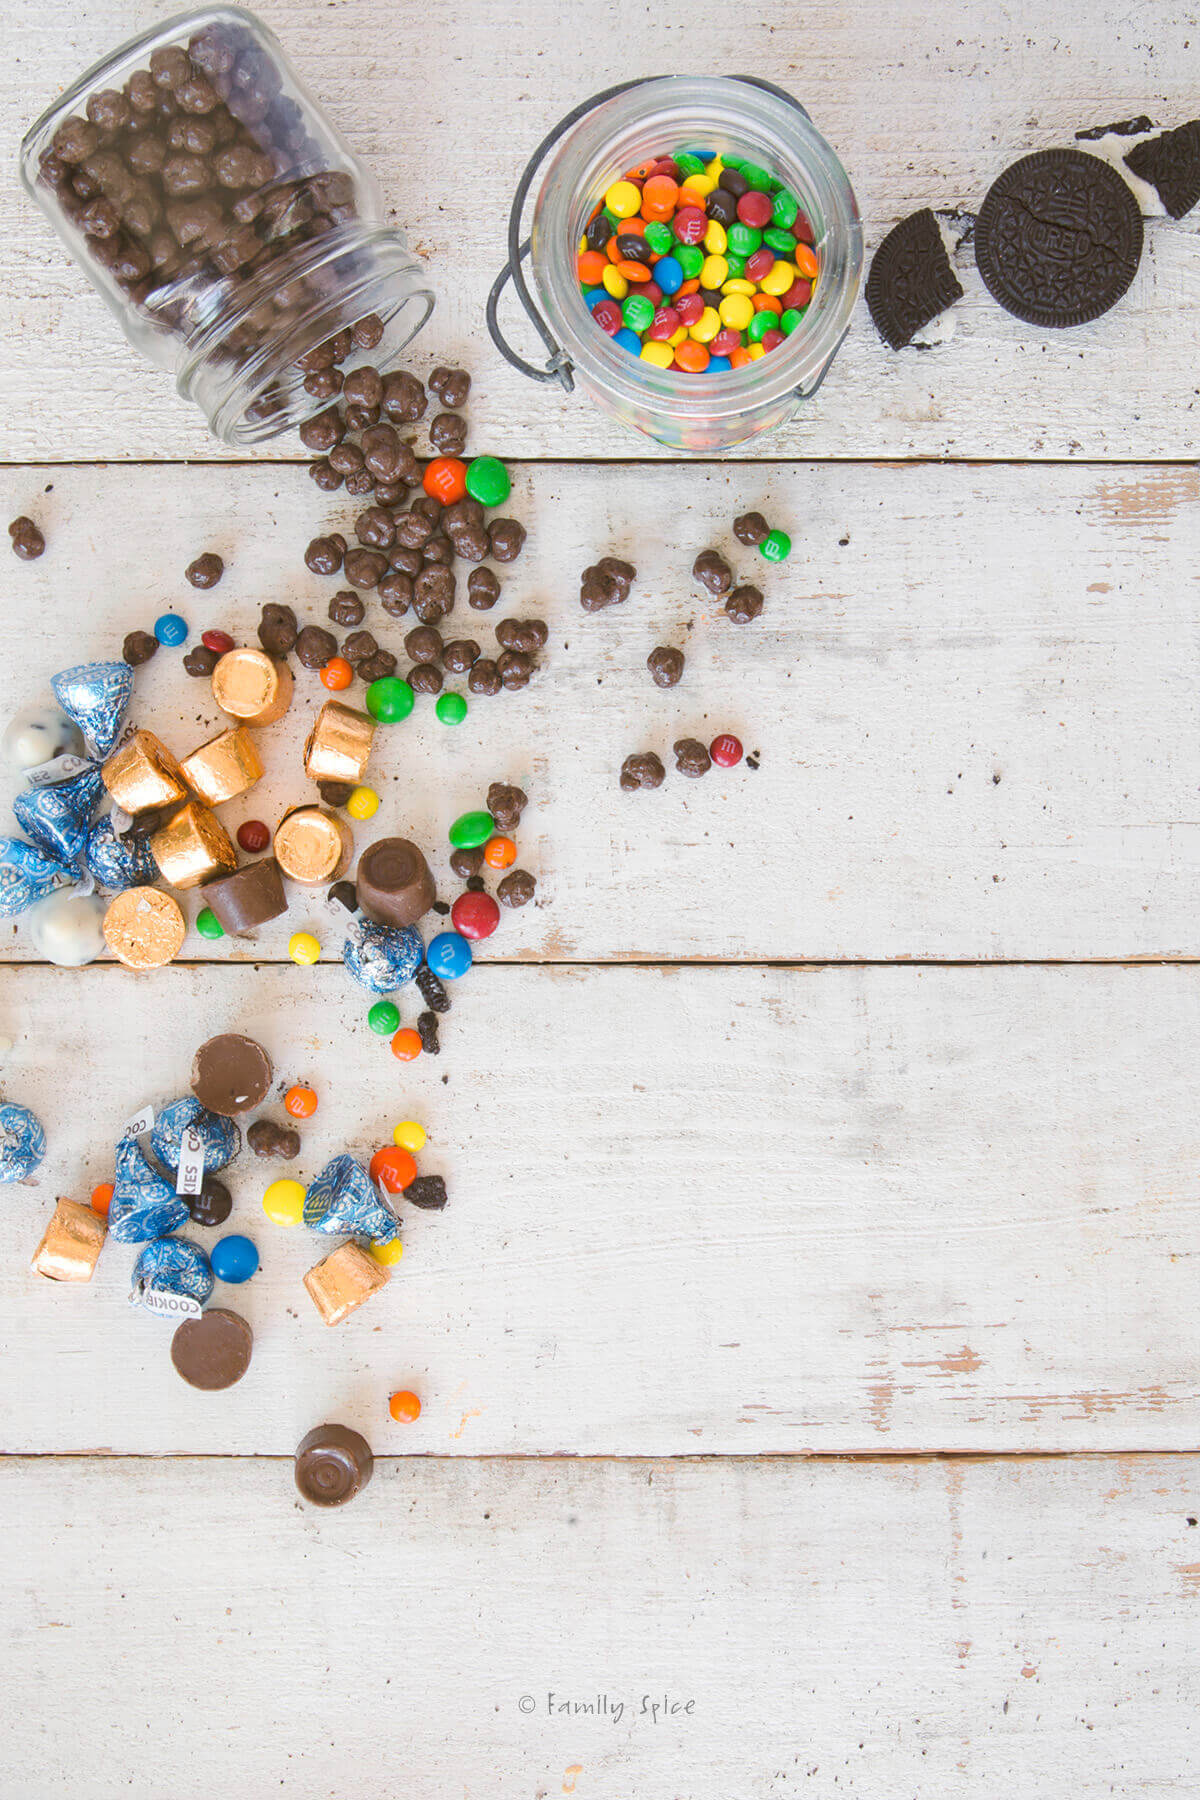
- Assorted chocolate candies: You can go crazy here or keep it simple. Wish M&Ms you can use regular, minis, peanuts or any other variety. You can also use Hershey Kisses, chocolate malt balls, Rolos or even chocolate chips.
- Milk: A little milk is added with the crushed Oreos to make the crust of the ice cream cake.
- Non-stick spray: You will add a coat of oil to a 9-inch springform pan. to keep everything from sticking and help release the cake more easily when done.
Step by step directions

- Crush the Oreos. The crust is made with milk and crushed chocolate Oreos. In a food processor combine milk and 24 Oreo cookies then pulse until crumbs are formed.
- Add the Kit Kats. Coat a 9-inch springform pan. with nonstick spray and place each individual Kit Kat candy bar upright all around the side of the pan. Try to get the Kit Kats as close to possible as you can, with the Kit Kat name facing out, against the side of the spring form pan. You will need a lot of Kit Kats for this cake, 39 Kit Kats to be exact.
Ice cream melts in between. Things get messy. The little bit of oil makes sure your ice cream cake keeps its shape.
- Add the crust. Line the bottom of the pan with parchment paper and press the Oreo mixture evenly over it. Place in the freezer for 10 minutes.
- Add first ice cream. Stir the first flavor of softened ice cream in its container and press evenly over the Oreo crust. Place in the freezer for 10 minutes.
Want to save this recipe?

- Add second ice cream layer. Stir the second flavor of softened ice cream in its container and press evenly over the first ice cream layer. Place in the freezer for 10 minutes.
- Add whipped topping. Remove frozen whipped topping from the freezer and allow to thaw for 30 minutes. Spread whipped topping over the top layer of ice cream
- Garnish and freeze. Garnish with remaining Oreos and assorted chocolate candies. Return cake to the freezer and allow to set overnight.
- Serve. Remove cake from freezer 10 minutes prior to serving. Gently open the spring form pan and remove. Use a thin knife or spatula to slide cake onto serving platter.
Recipe tips and FAQs
For this ice cream cake, because I used chocolate and vanilla ice cream, I topped it with all things chocolate: M&Ms, mini M&Ms, chocolate covered crisps, rolos and kisses. The M&Ms are nice and colorful and since I had vanilla and chocolate ice cream for the cake base, they complimented each other beautifully.
If you use fruity ice cream for the inside of your Kit Kat ice cream cake, then you can top with candies like gummy bears, Skittles, gummy worms and lollipops. Again, whatever candies you like should be the candies you use in this cake.
Just have fun with it! Let the child inside of you go nuts in a candy shop!
The beauty of this kit kat ice cream cake is that it appeals to kids of all ages. Even my father-in-law’s eyes widened with delight when I first brought out this cake. It is sure to be a crowd pleaser!
But honestly, you don’t need a birthday as a reason to make it. I also made a Halloween Kit Kat Ice Cream Cake. Because kids eat ice cream 365 days out of the year. And it’s a great way to use up leftover Halloween candies.
You should also try my Mississippi Mud Pie, which is a twist to the original as it includes vanilla and chocolate ice cream and is topped with chopped nuts, chocolate syrup and chocolate candies.
If you want another no-bake dessert, but not ice cream, then try my Nutella tart with fresh berries!
Storing Instructions
TO STORE: If you do end up with leftover ice cream cake, you can easily keep it in the freezer. Simply wrap what was left in plastic wrap or foil and it will keep for up to one month.
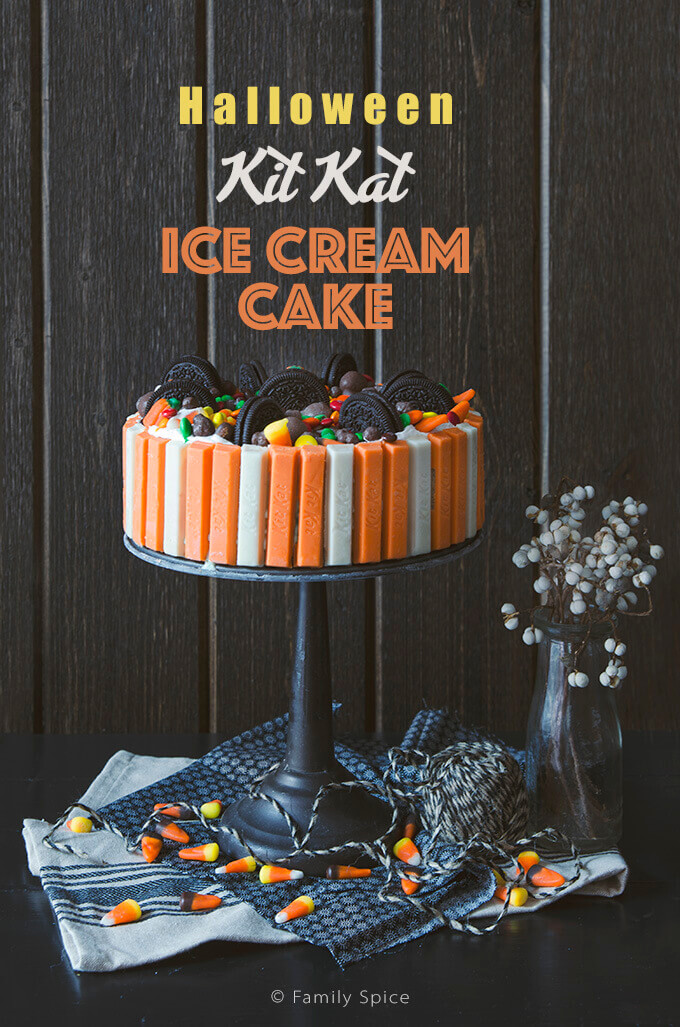
This Kit Kat ice cream cake is made with an Oreo cookie crust. There are two layers of ice cream and topped with whipped cream and chocolate candies. You can also top with fresh fruit.
An ice cream cake is super easy to make as it is a no-bake cake. The crust can be made with crushed cookies, like sandwich or wafer cookies. Let your store bought ice cream soften by sitting out on the counter for 10-15 minutes. This makes it easy to spread into your springform pan. Freeze your cake overnight to set. By using a springform pan, it makes it easier to remove the cake to serve.
This ice cream cake can definitely be made without eggs. The Oreo crust is egg-free. The ice cream I chose was a big brand name and it was also egg-free. Kit Kats do not have egg in them. And you can easily find chocolate and candies that do NOT contain eggs.

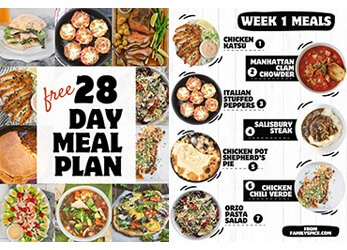
If you are enjoying my recipes, please sign up for my newsletter and get my free 28-day meal plan! You can also follow me on Instagram or Facebook.

The Best Kit Kat Ice Cream Cake
Ingredients
- 2 qt ice cream any 2 flavors
- 2 tablespoon milk
- 39 Kit Kat candy bars
- 16 oz frozen whipped topping like cool whip
- 1 14.3 oz box of Oreo cookies
- 1 cup assorted chocolate candies
- Non-stick spray
Instructions
- Remove ice cream from the freezer and leave on the counter to soften.
- In a food processor combine: milk and 24 Oreo cookies.
- Coat a 9-inch spring form pan with nonstick spray and place each individual Kit Kat candy bar upright all around the side of the pan. Try to get the Kit Kats as close to possible as you can, with the Kit Kat name facing out, against the side of the spring form pan.
- Line the bottom of the pan with parchment paper and press the Oreo mixture evenly over it. Place in the freezer for 10 minutes.
- Stir the first flavor of softened ice cream in its container and press evenly over the Oreo crust. Place in the freezer for 10 minutes.
- Stir the second flavor of softened ice cream in its container and press evenly over the first ice cream layer. Place in the freezer for 10 minutes.
- Remove frozen whipped topping from the freezer and allow to thaw for 30 minutes.
- Spread whipped topping over the top layer of ice cream and garnish with remaining Oreos and assorted chocolate candies.
- Return cake to the freezer and allow to set overnight.
- Remove cake from freezer 10 minutes prior to serving.
- Gently open the spring form pan and remove. Use a thin knife or spatula to slide cake onto serving platter.
- Slice and serve immediately!
Notes
Nutrition
Nutrition Disclaimer
Nutritional information is an estimate provided to you as a courtesy. You should calculate the actual nutritional information with the products and brands you are using with your preferred nutritional calculator.
PS If you try this recipe, why not leave a star rating in the recipe card right below and/or a review in the comment section further down the page? I always appreciate your feedback.
You can also follow me on Pinterest, Facebook or Instagram. Sign up for my eMail list, too!
Written by Laura Bashar
Hi, I’m Laura, a certified professional cook and cookbook author living in San Diego. I have been sharing my family’s favorite recipes inspired from all over the world since 2008. Let’s cook up something fun!

Thanks so much this went down a treat at my sons 7th birthday made 2 cakes as pokemon cakes and there was nothing left!!!!
Hi Laura,
Love this! Thank you for sharing your kind words. And happy birthday to your son!
Laura
This is now a family favorite!! Thank you!!
Hi Linda-
I’m so glad everyone loved it! Yay!
Thank you for sharing-
Laura