
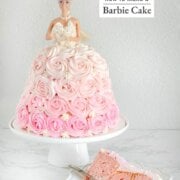
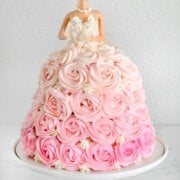
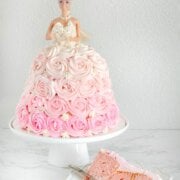
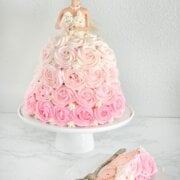
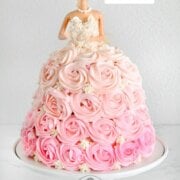
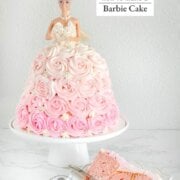
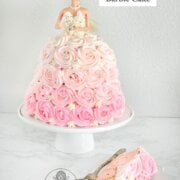
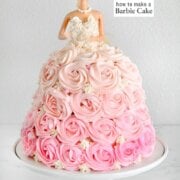
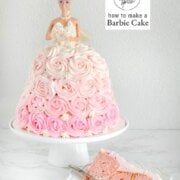
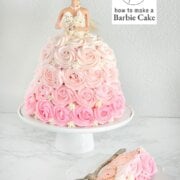
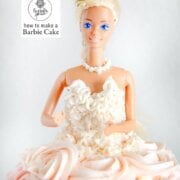
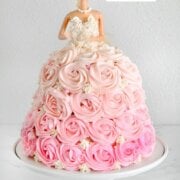
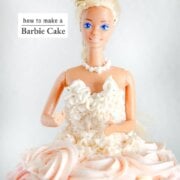
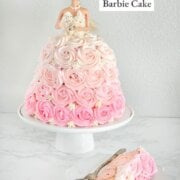
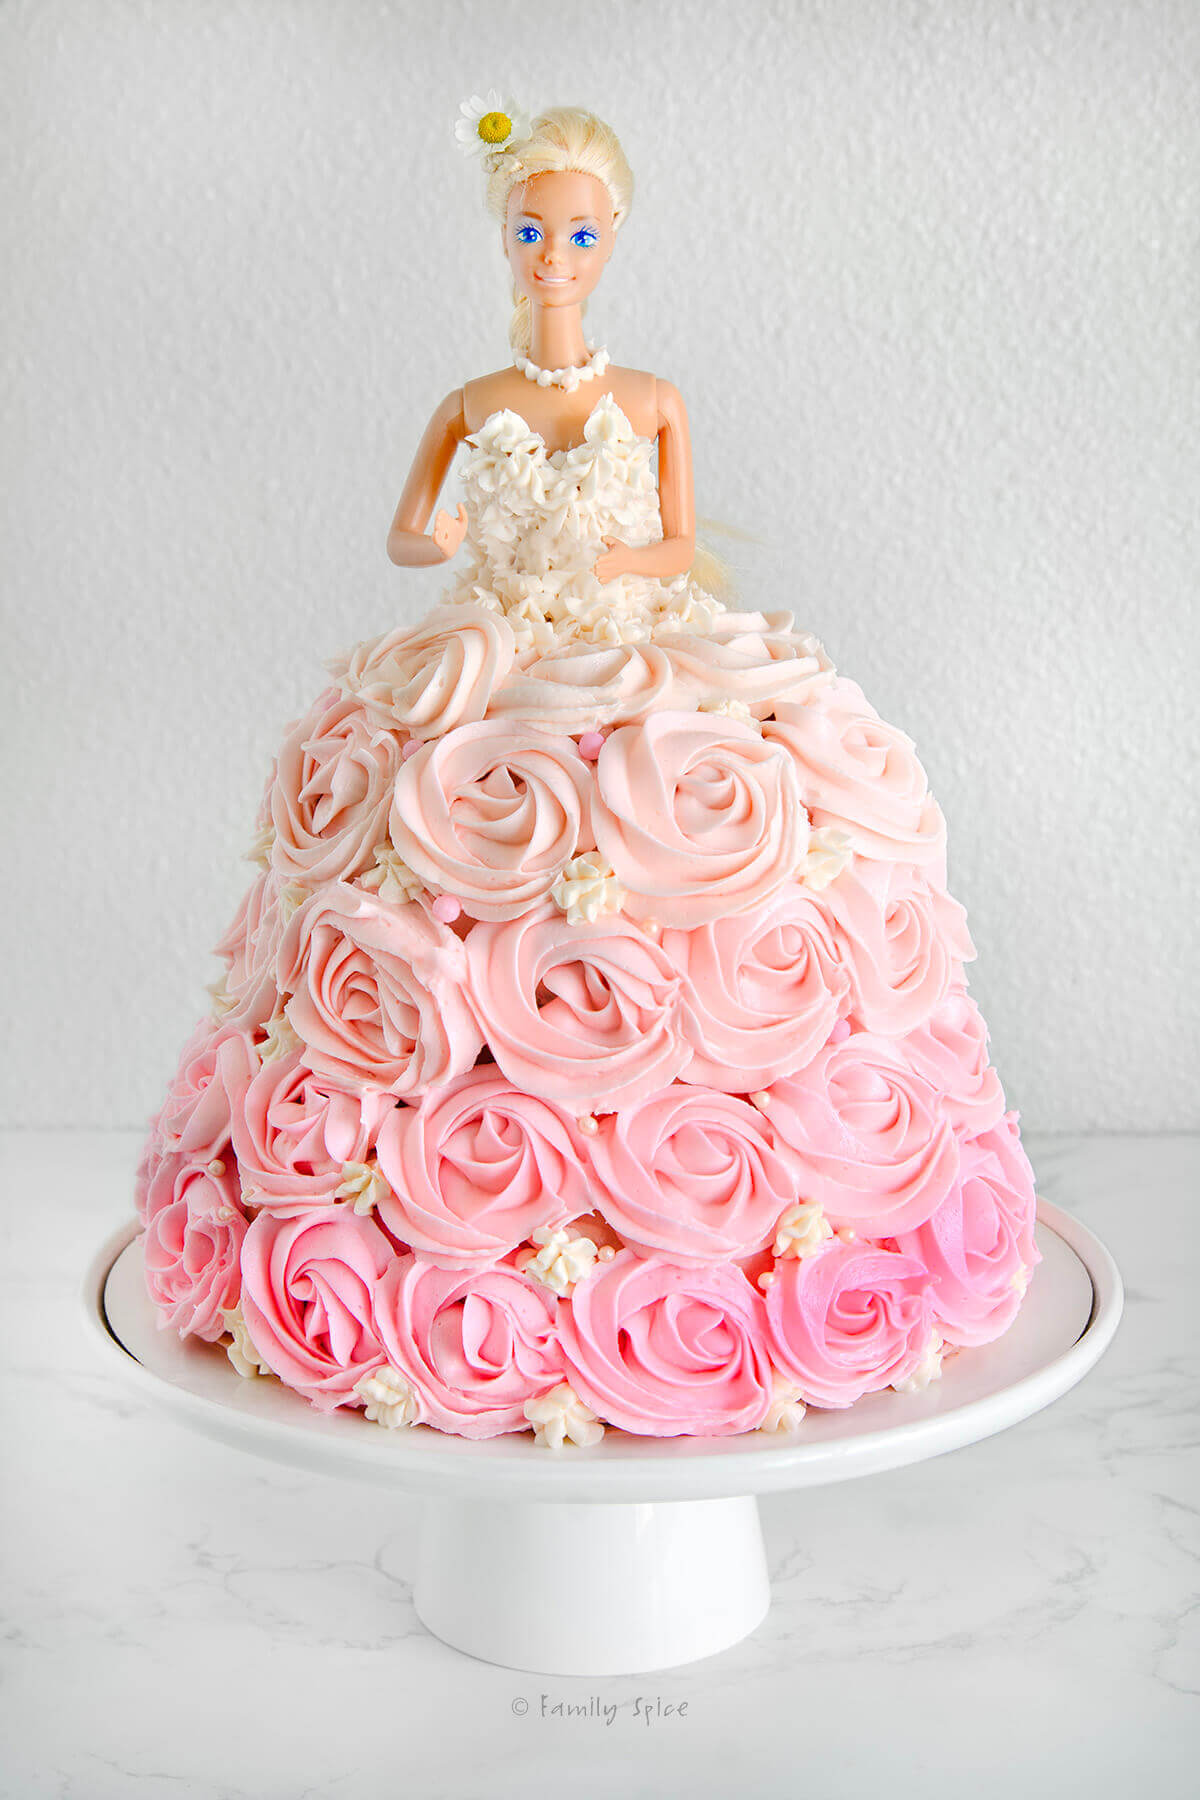
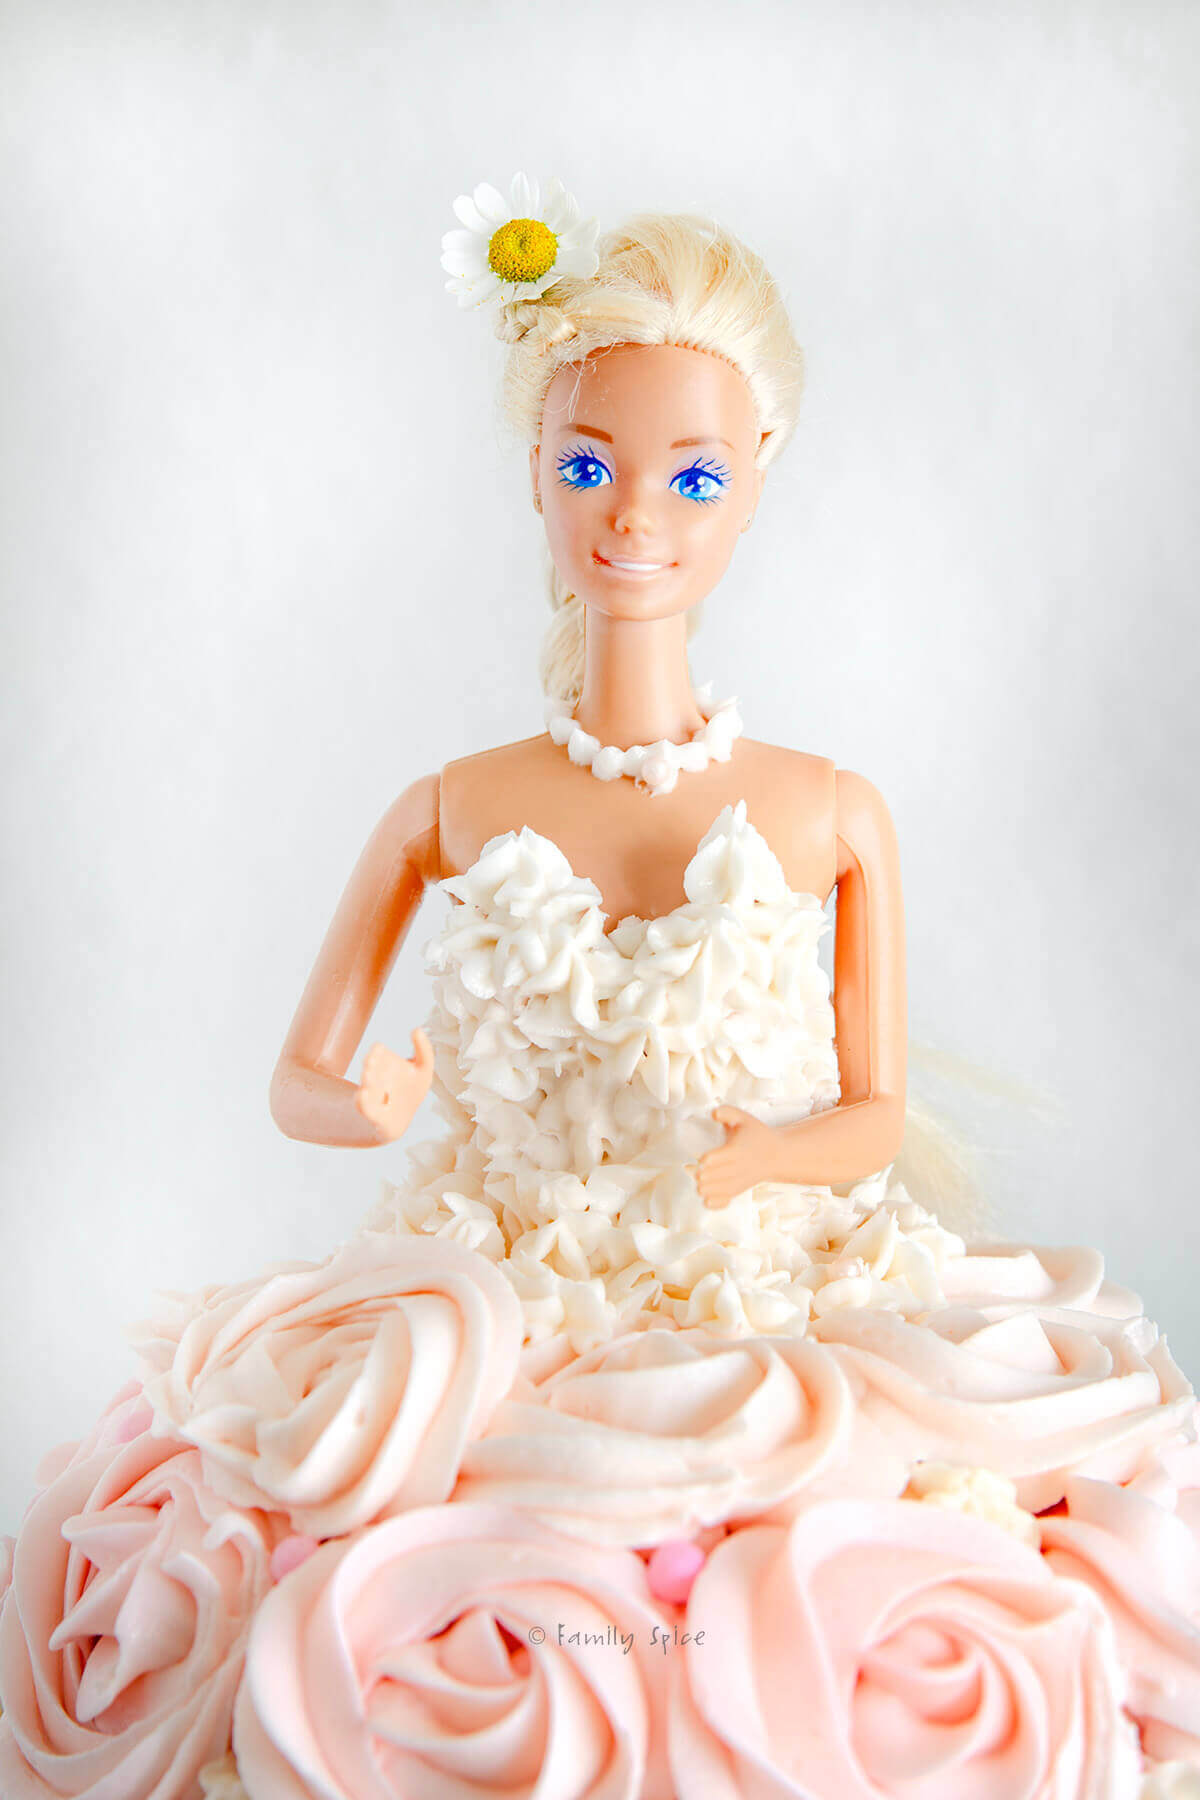
Turn a simple cake into a show-stopping Barbie cake! This fun and easy Barbie birthday cake can be customized with any doll, colors and decorations you like. I’ll show you how to create the pretty pink ombre cake with buttercream rosettes.
Reader’s Reviews
“Just wanted to say thank for your amazing instructions and guidance for the Barbie cake! My niece asked me for one and I thought it was going to be so complicated… don’t get me wrong, it was laborious haha, but you made it so much easier. Thank you so much!” — Jaimee via Instagram
Everything old is new again and that includes Barbie, too! With the new Barbie movie out, pink is the color of this summer. Like so many others, I grew up with Barbie.
When my daughter was one, I purchased that cake pan with the half doll and attempted my first barbie theme cake. It was pretty simple, but hey it was one of the first cakes I every decorated.
That pan and mutant doll is long gone, and my baby girl is turning 18. Feeling nostalgic, I asked her if she minded having a Barbie cake this year. She was thrilled and we had so much fun rummaging thru her old stash of dolls.
Love her or hate her, every little girl dreamed about being Barbie.
Jump to:
Laura says :
Why this recipe works
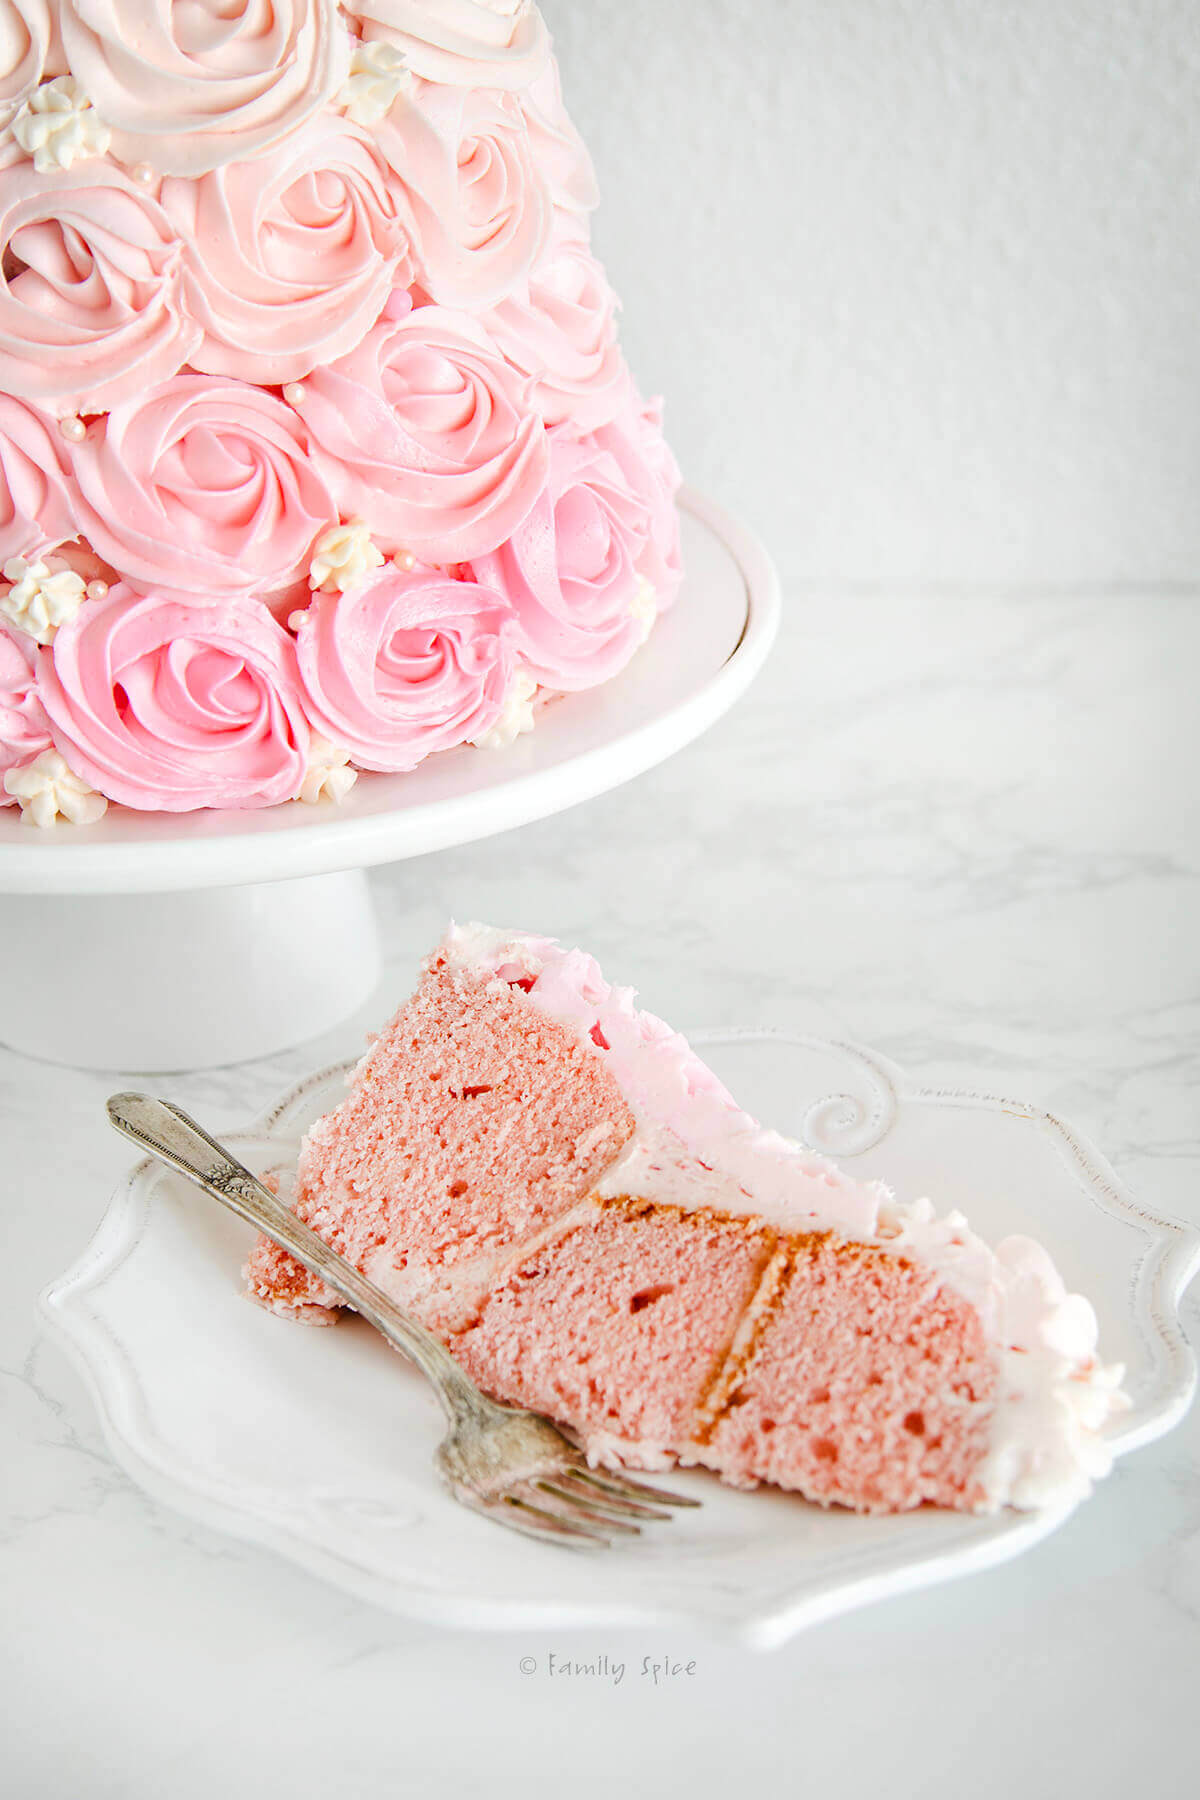
- Any flavor: We used strawberry cake for that perfect Barbie-pink color, but you can use any cake flavor you love. Chocolate, vanilla, funfetti… Barbie doesn’t judge!
- Customize it: The fun part is decorating Barbie’s cake dress! I went with a pink ombre design, but you can use any colors you like or keep the whole dress one color.
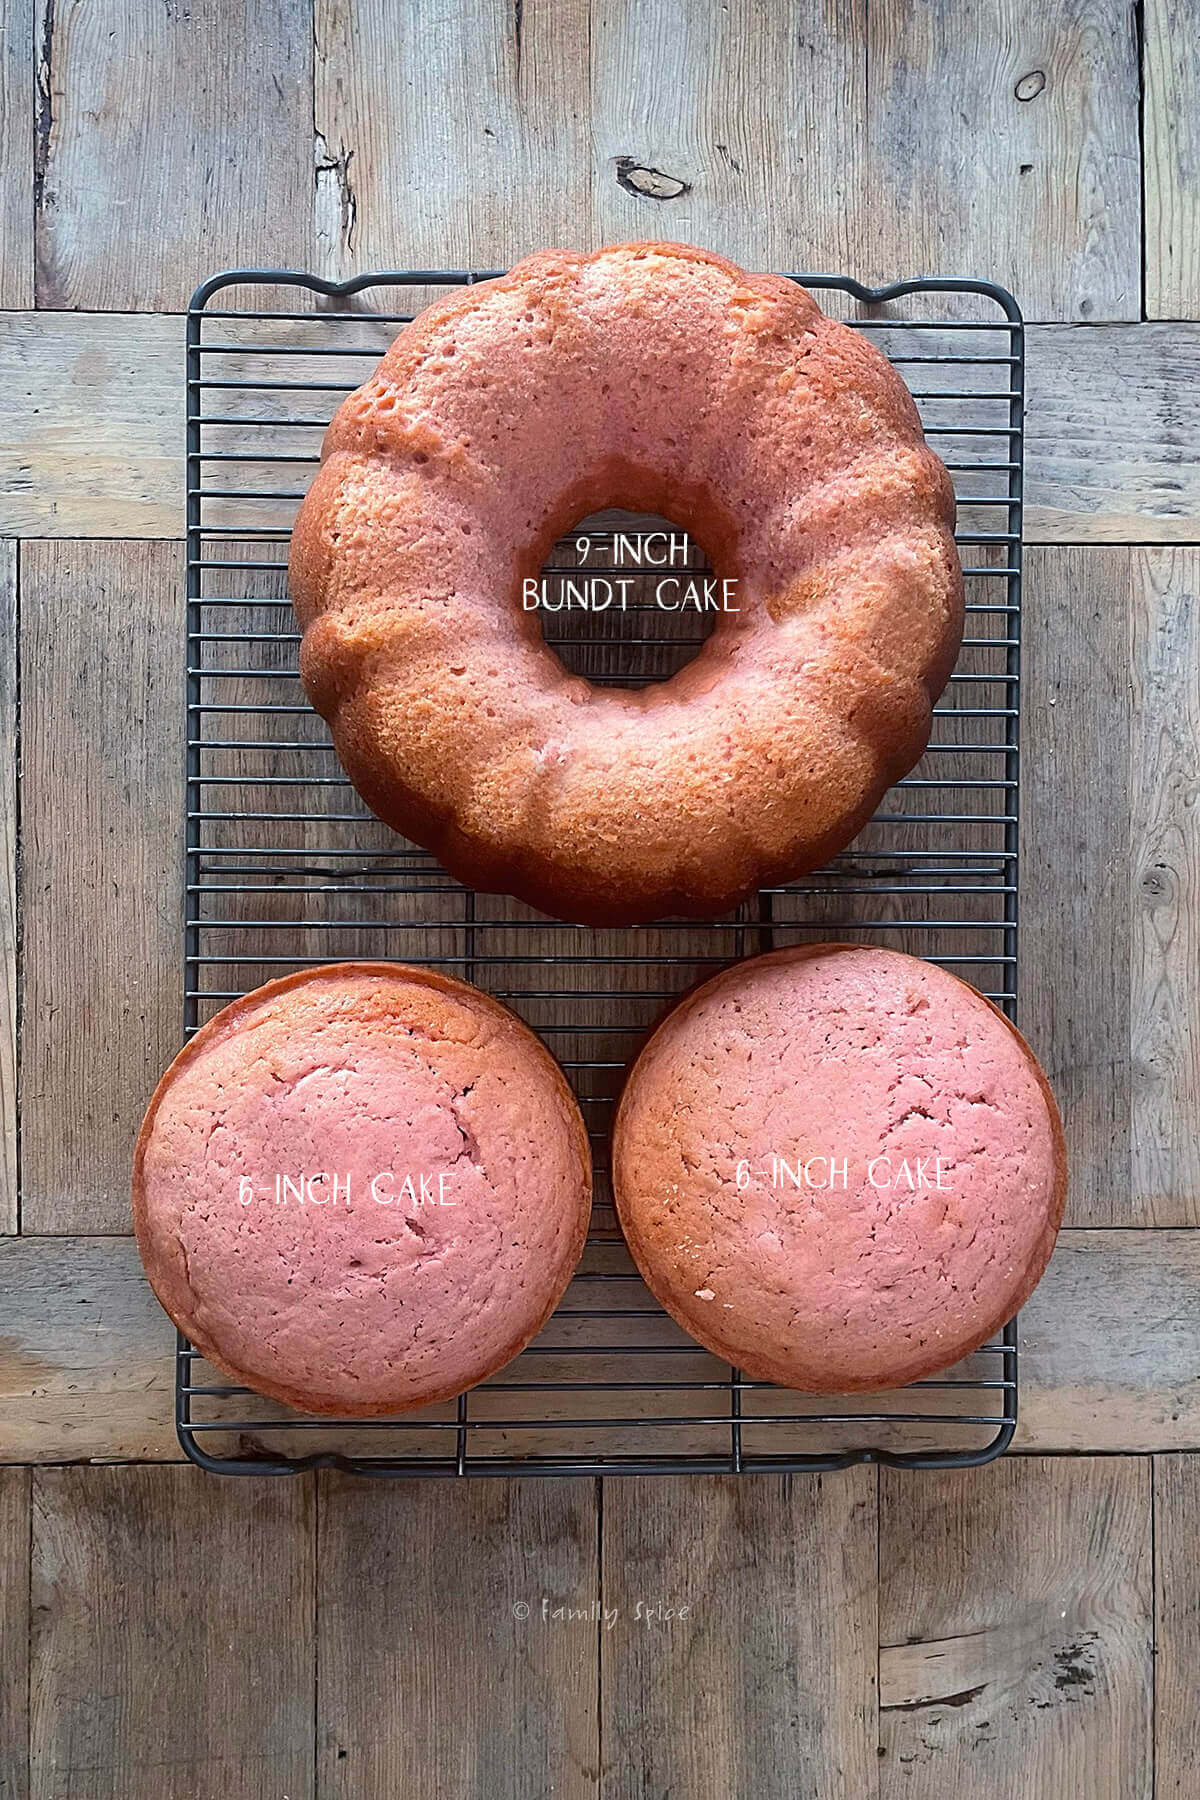
- No fancy pans: You don’t need a special Barbie cake pan. I used a Bundt pan and two 6-inch cake pans, but there are several ways to build the cake using pans you probably already have.
- Easier than it looks: After decorating several unicorn cakes, I found this Barbie cake surprisingly easy to decorate. Simple buttercream rosettes make the dress look fancy without requiring advanced piping skills.

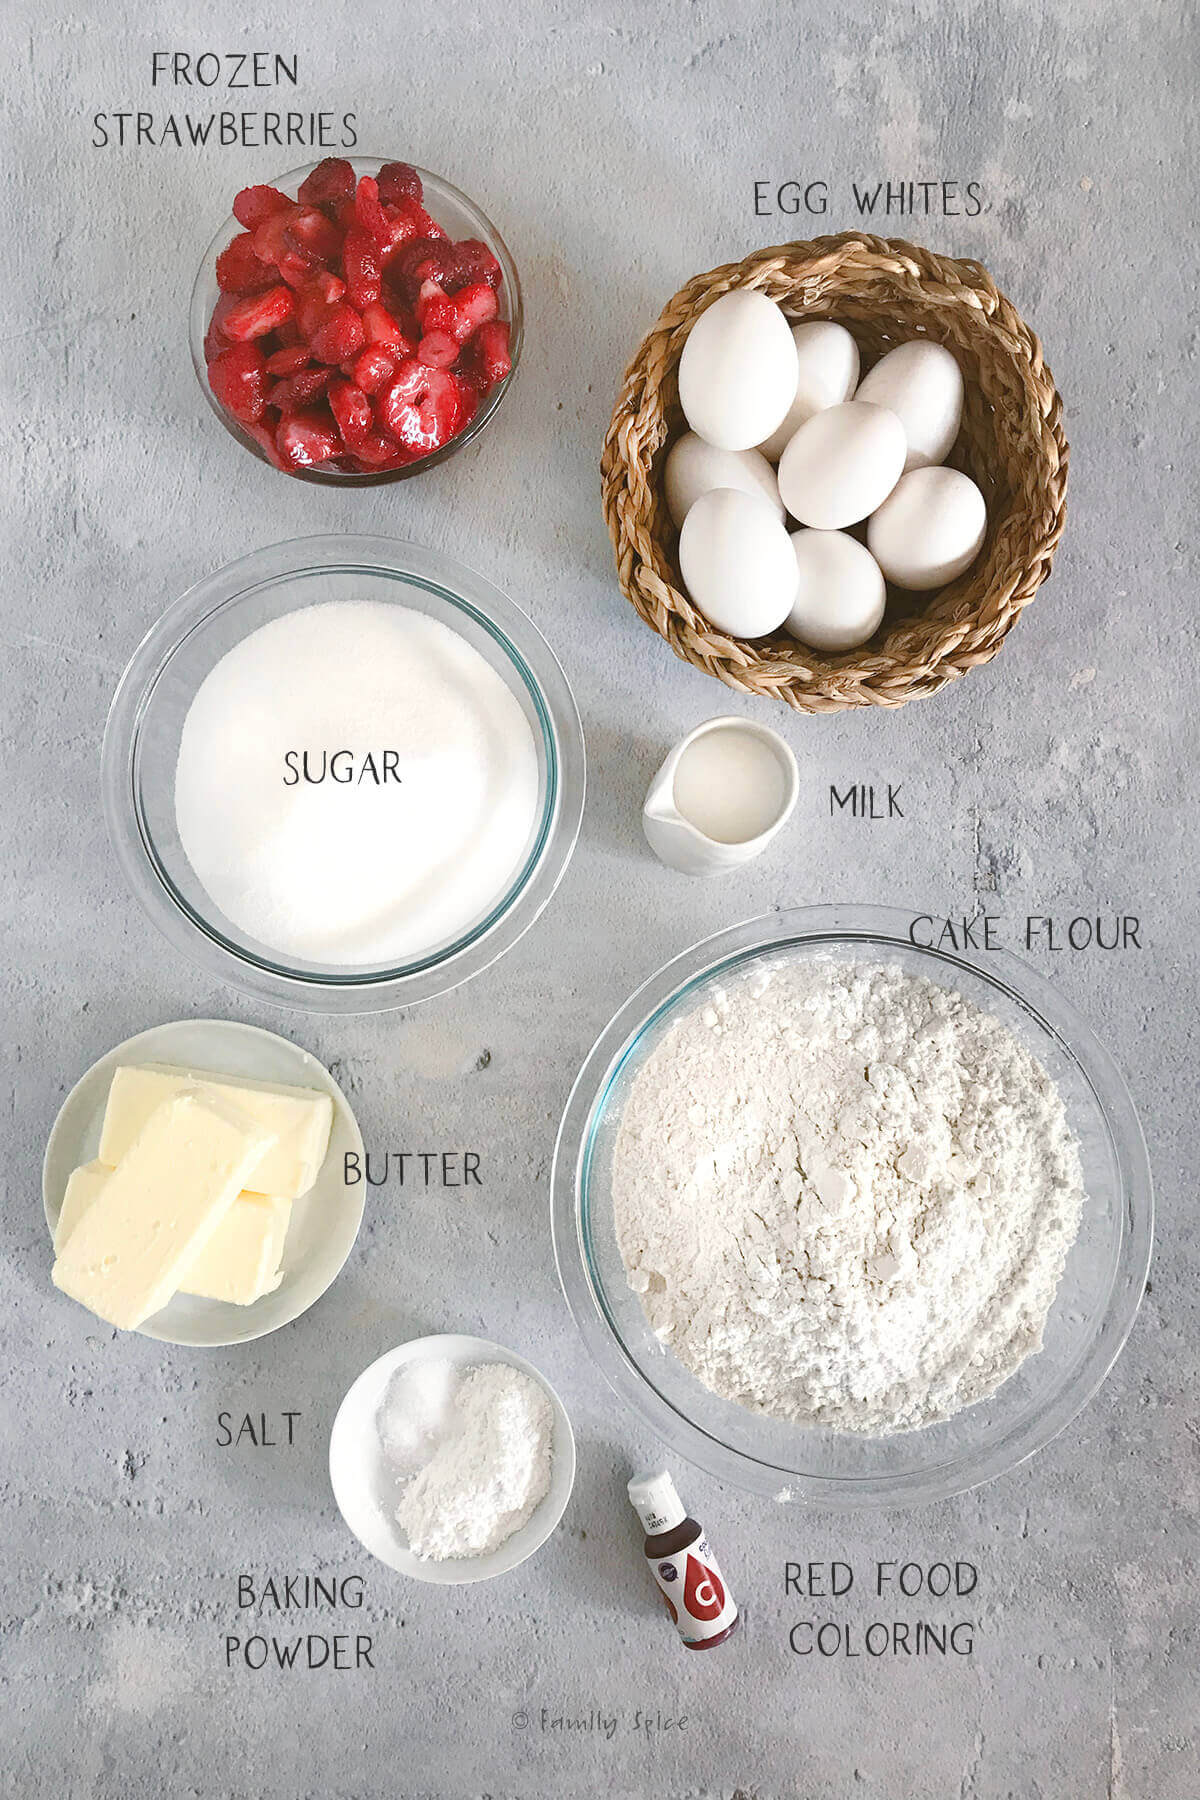
Cake Ingredients
This post contains some affiliate links for your convenience (which means if you make a purchase after clicking a link I will earn a small commission but it won’t cost you a penny more)! Read my full disclosure policy
- 3 layer cake recipe: You can use two boxes of store bought cake mixes or my strawberry birthday cake recipe. This will be baked into one 9-inch bundt pan and two 6-inch round cake pans. You can also bake the top part of the cake in an oven safe bowl. Use what you have and you can always cut and shape after the cakes have baked.
Frosting Ingredients
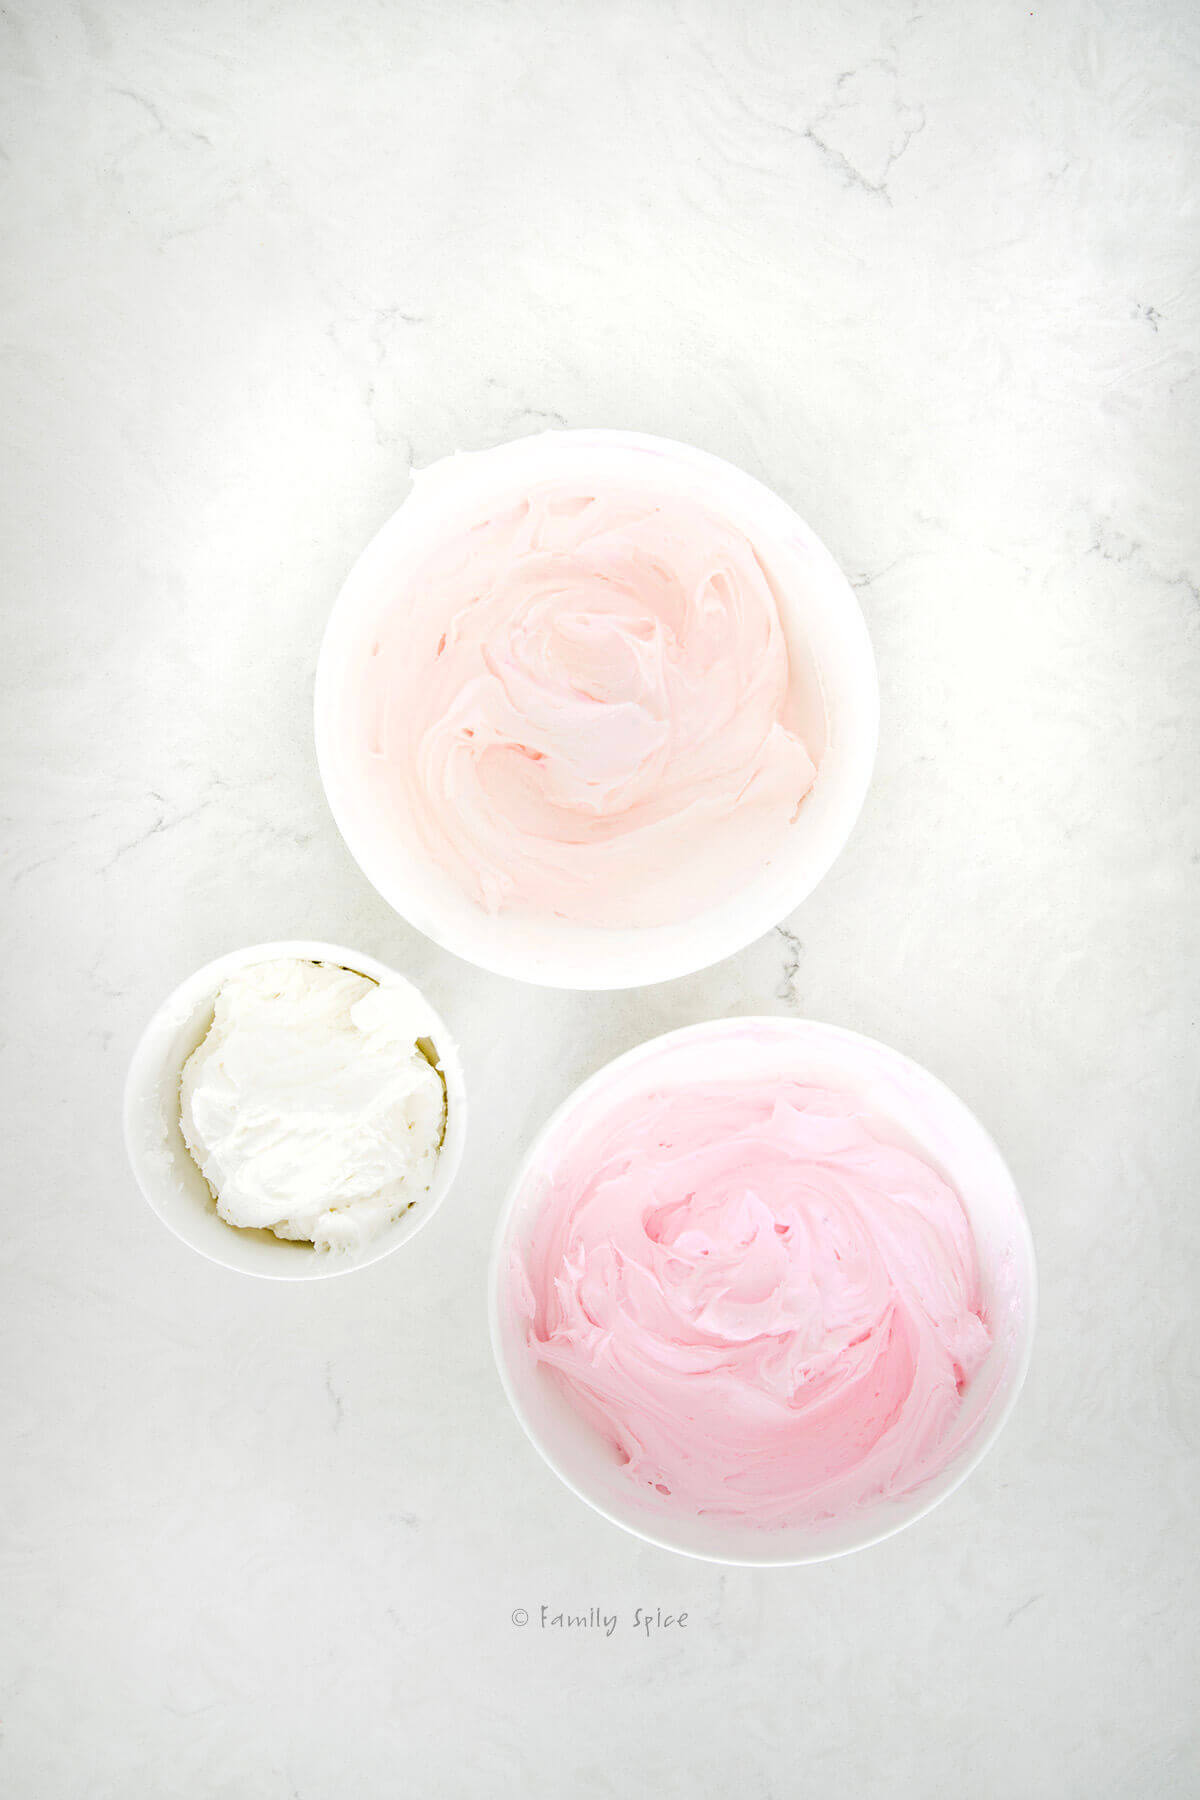
- Crumb coat frosting: I chose to use the yummy strawberry frosting for in between the cakes and for outside the crumb coat. I halved the strawberry frosting recipe from the strawberry birthday cake which includes butter, cream cheese, powdered sugar, dehydrated strawberries, heavy cream and vanilla extract. This was an extra step. You can totally use buttercream frosting for the crumb coat and the piping of the rosettes. Either way, you will need approximately 4-cups of frosting for the crumb coat and cake assembly.
- Buttercream frosting: For the pink rosettes piped around the cake I used homemade buttercream frosting (butter, powdered sugar, vanilla and heavy cream, food coloring). You can also use tubs of pre-made frosting. You will approximately 8-cups of frosting.
- Final note on frosting: I always make a little too much frosting so I can be sure I have enough. Piping designs uses more frosting than a simple smooth coat around the cake. Plus this accounts for any mistakes you might make and discards. Yes I have run out of frosting and it is not fun to have to stop and whip up more and try to color match what you made.
What Doll to Use

The star of the show is your favorite Barbie doll! I have a big tub of my daughter’s old Barbie’s and they come in all styles, hair colors and ethnicities. Some come with a corset or top painted on the doll (like the fairy doll above or this ballerina doll), which makes decorating very easy!
You can use any doll you want, just be sure that your cake is tall enough to cover her from the hips down. Hey, you could even use a broken doll!
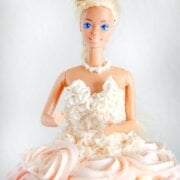
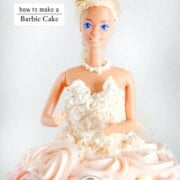
My daughter and I chose to use the classic blonde Barbie doll. I chose to pipe stars around the top half of her body like a corset. You could also cover her torso with fondant.
Step-by-step directions
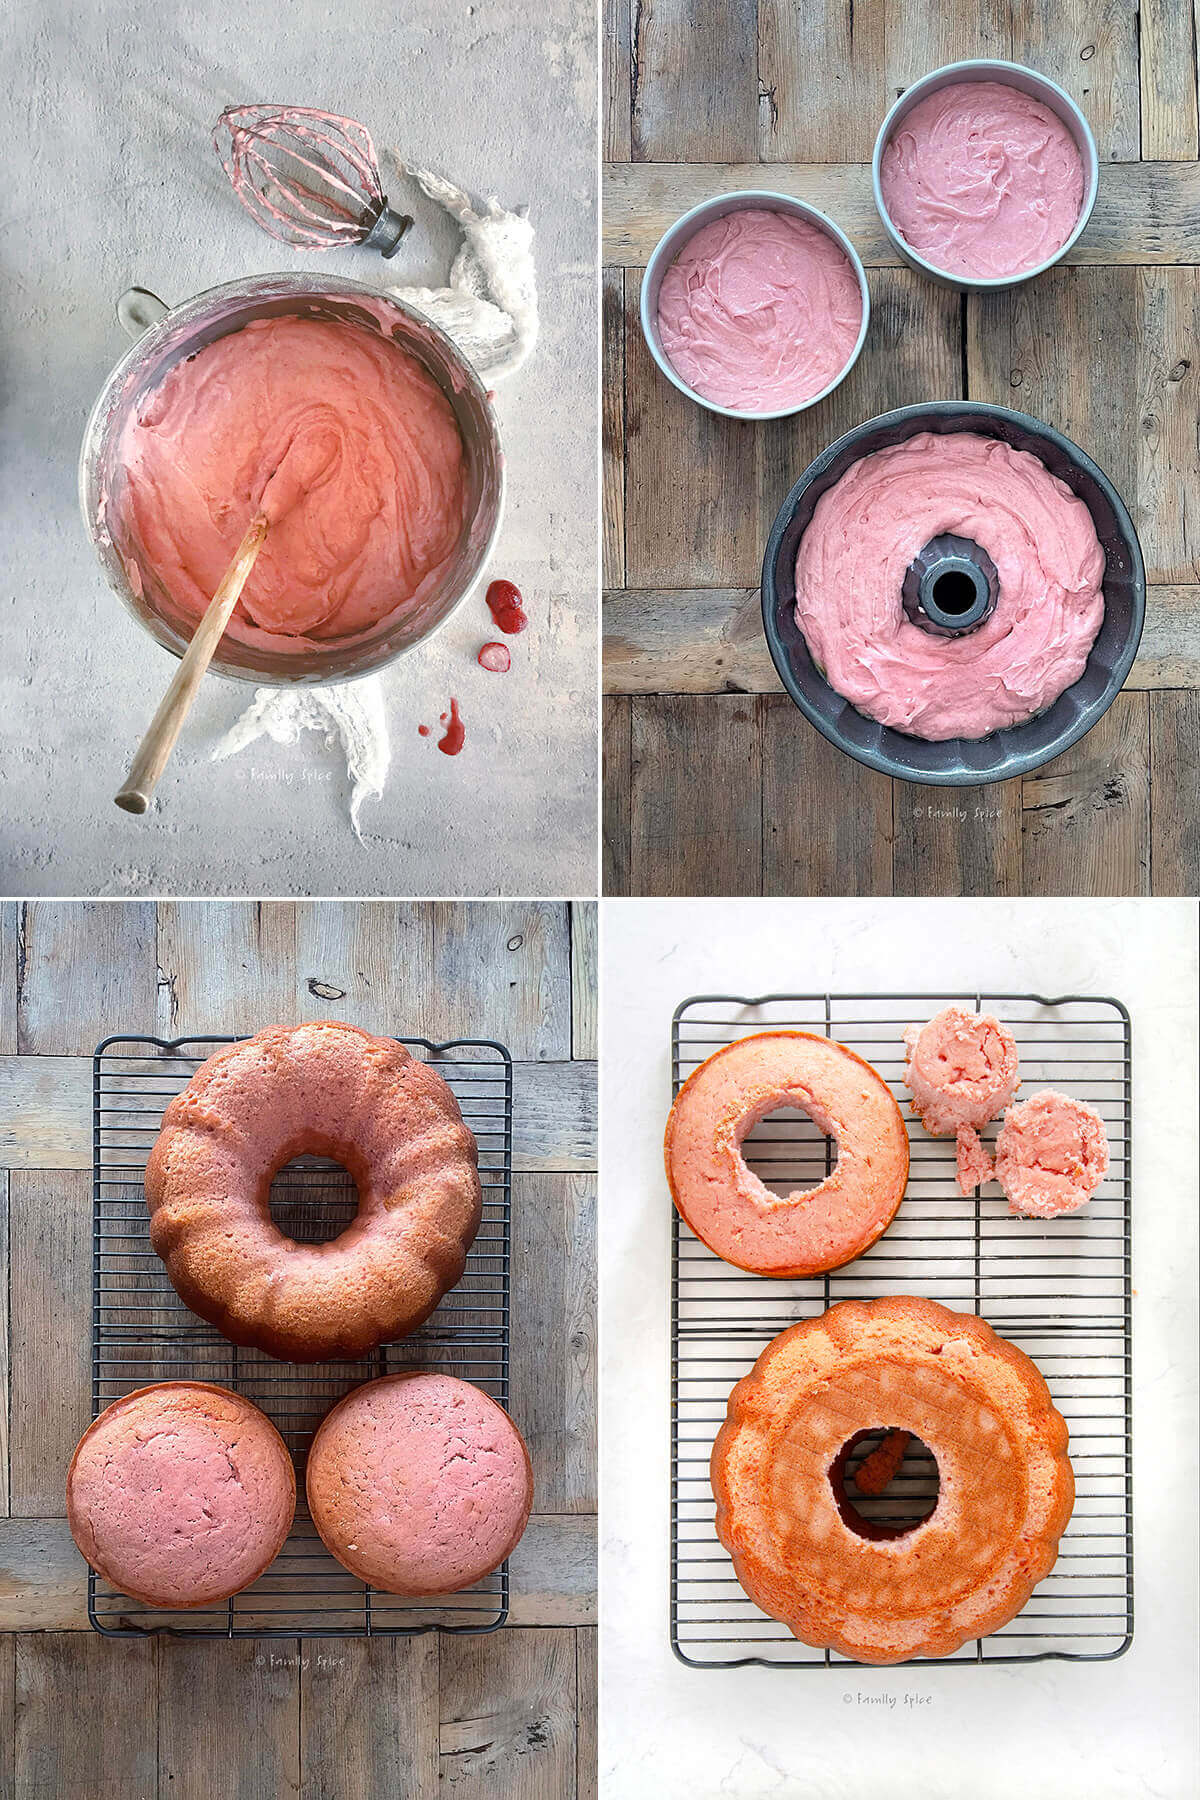
- Prepare the cake batter. You will need enough cake batter for a 3-layer cake. This could be 2 boxes of your favorite cake mix or my strawberry birthday cake recipe.
- Fill the pans. Use a pastry brush and coat your 9-inch bundt pan with melted butter or shortening. Fill each pan ⅔ of the way full with cake batter. Grease and line the bottom of two 6-inch round cake pans with parchment paper.
Want to save this recipe?
- Bake the cakes. Bake until the cakes are golden at the edges and a toothpick comes out clean when inserted into the center of each cake.
- Cool the cakes. Let cake rounds cool in the pans a little then transfer to a wire cooling rack to cool completely.
If the bundt sticks and looks a little messy, don’t sweat it. The flaws will all be covered in frosting!
- Prepare the cakes. Using a biscuit cutter or measuring cup and knife, remove the center of the 6-inch cakes. This is where Barbie will slide right in place! Stack the cakes and place Barbie in to make sure she fits. If you are off by a little bit, you can fake it with some frosting.
Save the discards for snacking later or to make cake pops. You can also freeze them to enjoy a little treat some other day.
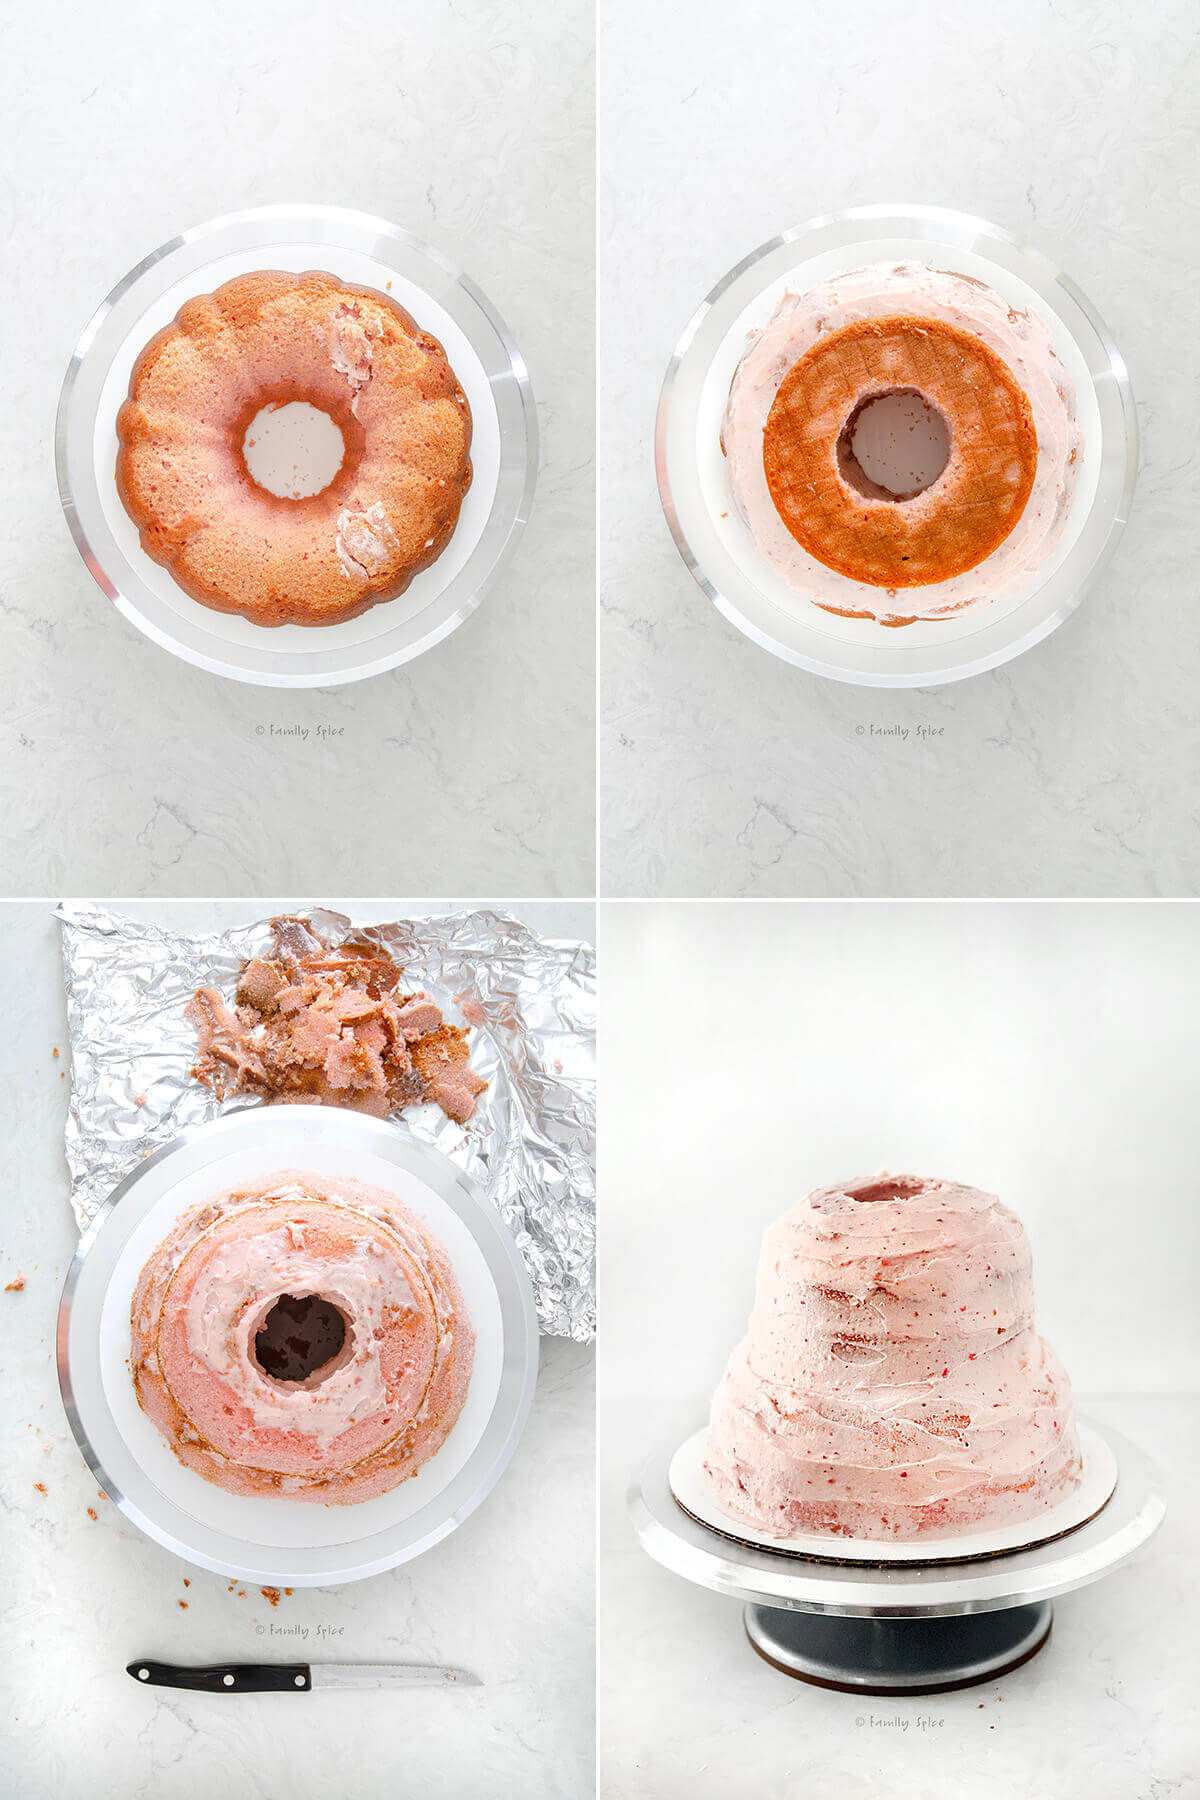
- Make the strawberry frosting. Let the cakes completely cool before frosting. I like to bake the cakes a day before serving and assemble/frost the next day. I made strawberry frosting for the initial stacking and crumb coat.
- Level the cakes. Level off the bottom of bundt cake (the domed top while it was baking) and place it on your cake stand or cardboard cake round.
- Assemble and frost the cake. I absolutely love using my revolving cake stand when decorating cakes – it’s a game changer! Frost the top and inside hole of your bundt. Frost the inner hole and top of the 6-inch cake and place the second cake round on top.
- Shape the cake. I started adding the crumb coat around the whole cake when I remembered that I forgot to carve the cake a bit. You want the cake to resemble a bell, so use a serrated knife to shave off sides of the cake until you are satisfied with how it looks.
- Finish the crumb coat. Once you are happy with the shape of your cake, add a thin layer of frosting around the entire cake. It does not have to perfect or super smooth, as it will all be covered up. Chill the cake for at least an hour before piping rosettes over it.
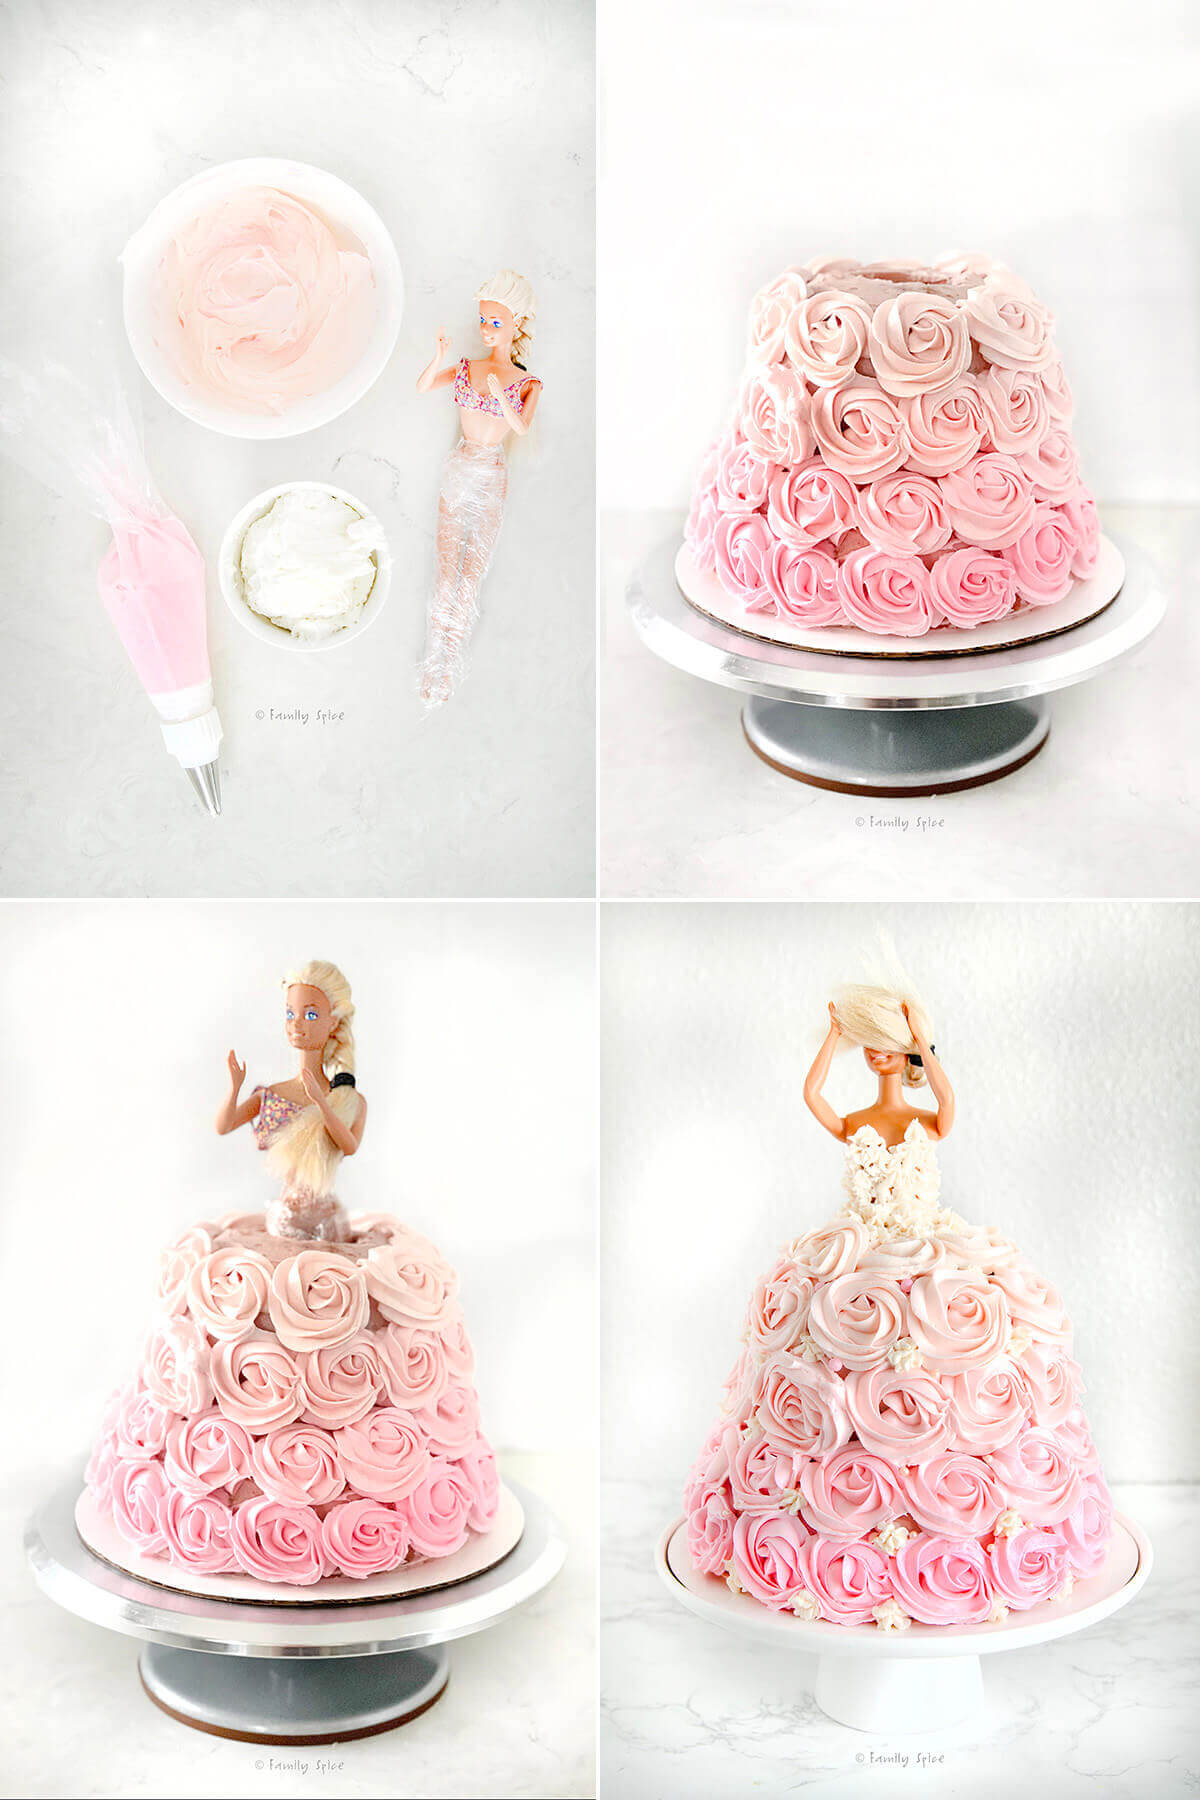
- Make the ombre frosting. Prepare your buttercream frosting. Reserve about 2-cups in a bowl and leave it white. Divide the remaining frosting into two bowls. For the ombre affect, I colored one bowl of buttercream with the dark pink and the other with super light. I transferred the dark pink into a piping bag with the #1M piping tip.
- Prep Barbie. Wrap Barbie’s legs in plastic wrap to keep her clean. I felt weird photographing her topless so I put her bikini top on for the pictures! But rest assured that I piped frosting directly onto her torso. Style her hair BEFORE inserting her into the cake. Also you will need to clip her hair while you work so some touching up will be needed.
- Pipe the rosettes. Pipe a row of dark pink rosettes along the bottom of the cake. Try to keep the rosettes tight, but know you can fill in any gaps later. Make them small or large, just make them the same size.
- Adjust the frosting color and pipe. Squeeze out the remaining dark pink frosting back into the bowl and combine with some light pink. Place this new pink back into the piping bag and pipe rosettes above the dark row. Continue adding light pink and white frosting to whatever frosting you have leftover to lighten up the next layer of rosettes until you make it to the top of the cake.
- Add the doll. Slide Barbie into the center of the cake. Have her lean forward if you can. Pipe the final layer of rosettes on the top of the cake, just touching Barbie and the center hole.
- Frost your doll. I used tip #18 (star tip) to fill up the gaps around her waist and the corset. I mixed whatever light pink I had leftover with the white to do this. I also added stars and pink sugar pearls to fill up the gaps in the rosettes. If you don’t have to pipe a corset on her body, then finish filling in the area near her waist by make stars with your 1M tip or a smaller star tip.
- Final touches. Her neck seemed a little bare to me. I could not find a tiara or a necklace in our bin of Barbie misfits, so I used the #5 piping tip to pipe a pearl necklace on her. What do you think?
Chill the cake until you are ready to serve. After 30 minutes or so, the frosting has crusted a little and you can let Barbie’s hair down without worrying about any frosting casualties.
Expert tips and recipe FAQs
Some bakers do not like to use the couplers when piping cakes. I usually do as I like to switch out the piping tips while I decorate the cake. If you are not going to switch out the tips, then you can simply cut the tip of the piping bag and slide the tip in without a coupler.
Not using a coupler also makes clean up much easier. Having duplicate tips also makes decorating cakes go easily especially if you are piping the same design with different colors.
If you are new to cake decorating, start with a basic kit. You can slowly add more tips and tools to your collection little by little. A revolving cake stand helps you achieve. a smooth and sleek frosted cake. I don’t know why I waited so long to get one!
I also highly recommend using the cardboard cutouts. This makes refrigerating your cakes much simpler and you don’t have to make room for a tall cake stand.
Got leftovers? Wrap any leftovers in foil or plastic wrap refrigerate for up to 5-7 days. You can also freeze leftover cake for up to 3 months. Before to wrap them tightly with plastic wrap first then with a layer of aluminum foil.
And if you are looking for the perfect pink Barbie cocktail to share with your friends, you should try my pink mimosa with edible glitter!
Storing/Freezing Instructions
TO STORE: If your cake is frosted, I suggest storing any leftovers in an airtight container and refrigerate for up to 5 days. If unfrosted, you can keep it covered on the counter for up to 3 days or refrigerate for longer.
TO FREEZE: You can also freeze leftovers. Wrap in foil, parchment paper or plastic wrap and freeze for up to 4 months.
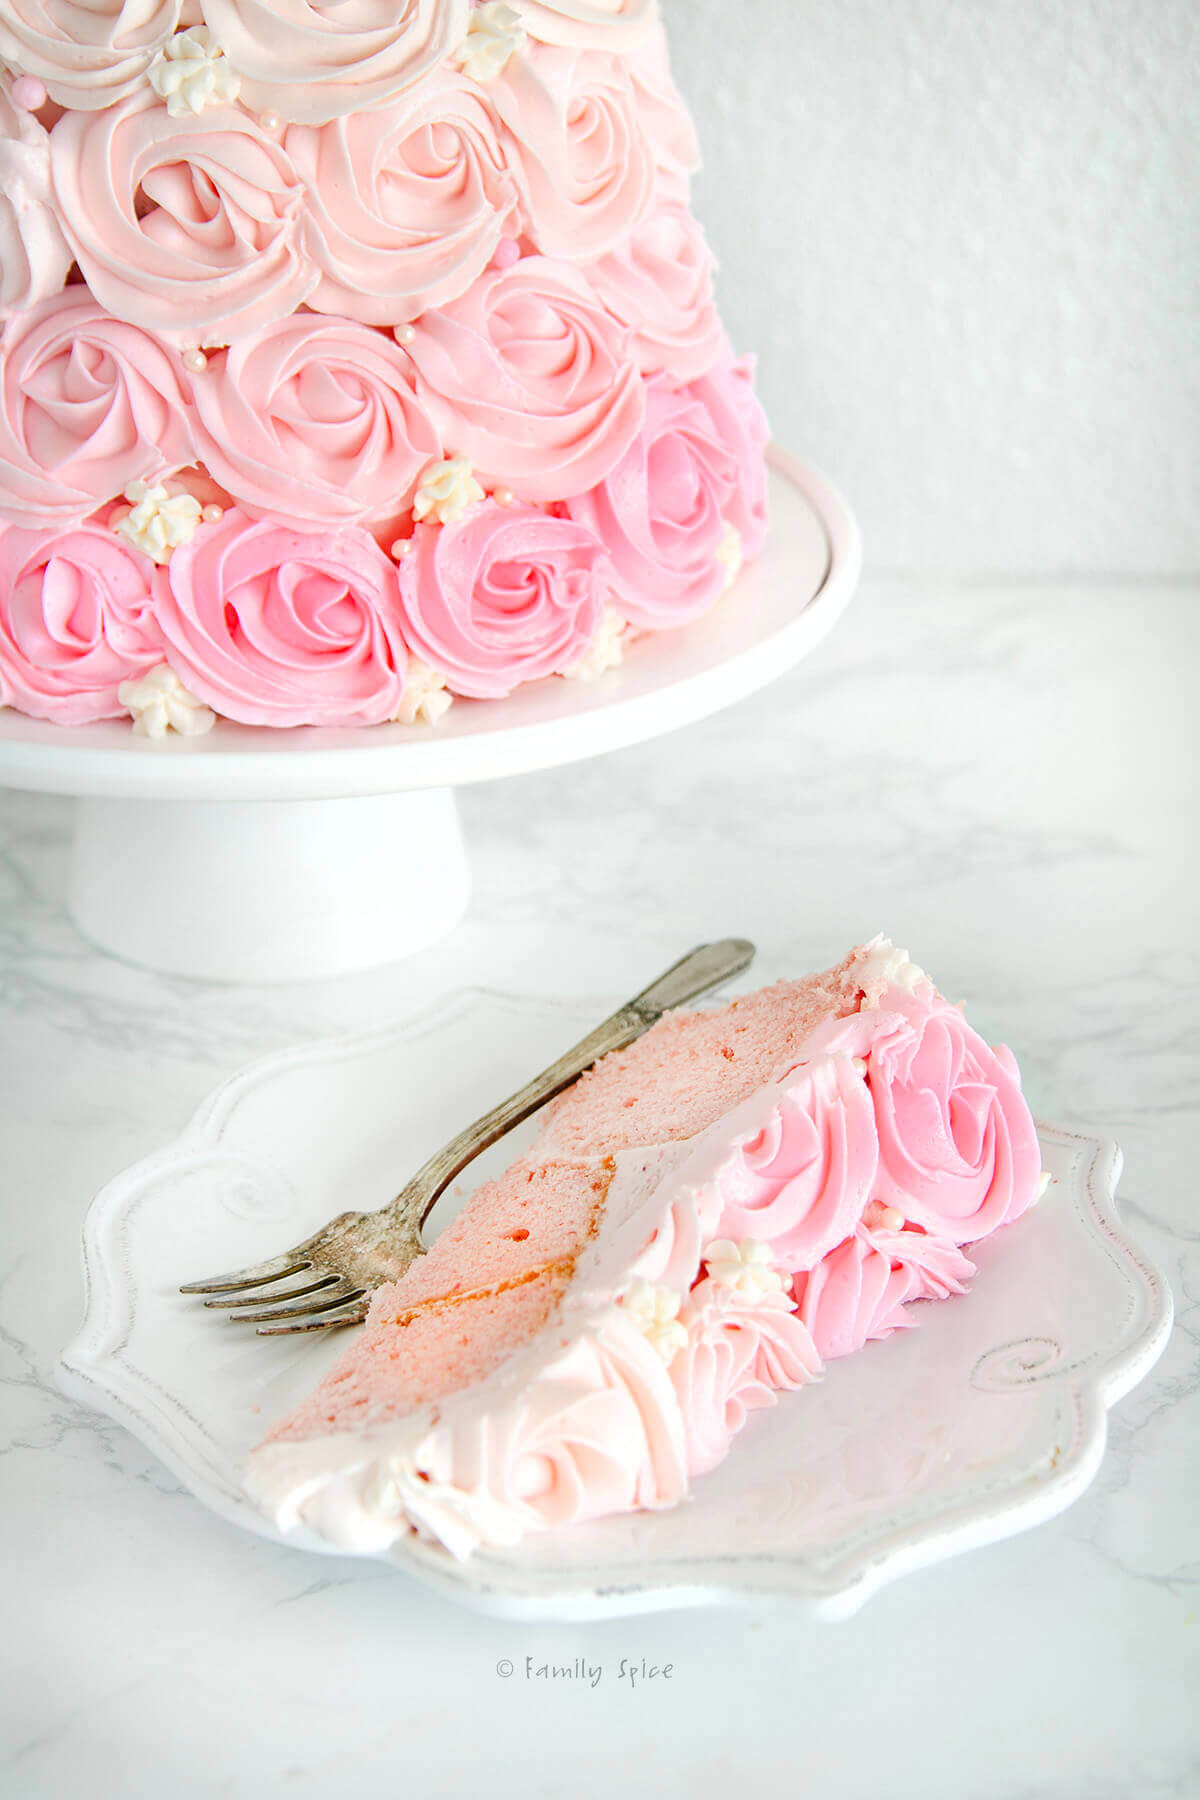
Absolutely! You don’t need special equipment to make a barbie cake. You can use a bundt pan, cake pan and even an oven safe bowl to bake the cakes you need to make a barbie doll cake.
To make a barbie cake you need the center of your stacked cakes to be hollowed out. This can be done by using a bundt cake or by cutting out the center yourself. You can use biscuit cutters or a sharp knife to do this.
For this recipe, I used a 3-layer strawberry cake. You can also use 2 boxes of cake mix. Depending on how large you cut the slices, this can easily feed about 36 people.

If you are enjoying my recipes, please sign up for my newsletter and get my free 28-day meal plan! You can also follow me on Instagram or Facebook.

Barbie Cake
Ingredients
Cake Ingredients
Strawberry Frosting for Crumb Coat
- 6 oz butter softened
- 8 oz cream cheese softened
- 2 cups powdered sugar
- ½ oz dehydrated strawberries
- 1 tablespoon heavy cream
- 1 teaspoon vanilla extract
Buttercream Frosting
- 12 oz butter
- 24 oz powdered sugar about 5 ¼ cups + 2 TBS
- 3 tablespoon heavy cream
- 2 tablespoon vanilla extract

Instructions
- Prepare cake batter. You will need enough batter for a 3-layer cake.
- Use a pastry brush and coat your 9-inch bundt pan with melted butter or shortening. Fill the pan ⅔ of the way full with cake batter.
- Grease and line the bottom of two 6-inch round cake pans with parchment paper.Fill each 6-inch pan ⅔ of the way full with cake batter. If you are using a glass mixing bowl to bake in, be sure to grease it well first.
- Bake at 350ºF until the cakes are golden at the edges and a toothpick comes out clean when inserted into the center of each cake. The 6-inch cakes will be finish baking first after approximately 25-30 minutes. The bundt will take about 10 minutes more.
- Let cake rounds cool 10-15 minutes in the pans before inverting and cooling on a wire rack. Let the bundt cake cool in the pan for 10 minutes. Then place a wire cooling rack over the base of the cake and invert the pan to release.
- Let the cakes completely cool before frosting. I like to bake the cakes a day before serving and assemble/frost the next day. Using a biscuit cutter or measuring cup and knife, remove the center of the 6-inch cakes.
- When the cakes are cooled and ready, it’s time to prepare the crumb coat frosting. Again, I made strawberry frosting for the initial stacking and crumb coat. You can also use buttercream. You will need about 4 cups of frosting for this step.
- Place dehydrated strawberries in a resealable bag, remove air and crush into crumbs. You can also crush strawberries in a food processor.
- Using a stand mixer with whisk attachment mix cream cheese and butter until light and fluffy about 1-2 minutes.
- Add crushed strawberries, powdered sugar and vanilla extract and whisk until well combined.
- Mix in 1-2 tablespoon of heavy cream until desired consistency is reached. Keep frosting in the refrigerator until ready to use. If refrigerated, bring to room temperature before frosting the cake.
- Level off the bottom of bundt cake (the domed top while it was baking) and place it on your cake stand or cardboard cake round. If any chunks get broken off, use the frosting to glue it back on.
- Frost the top of the cake and inner hole, then place one of the 6-inch cakes with the flat bottom was facing up. Scrape off the excess frosting.
- Frost the inner hole and top of the 6-inch cake and place the second cake round on top. This time I kept the dome top facing up.
- Use a serrated knife to shave off sides of the cake until the cake resembles a bell or dress. It doesn't have to be perfect as the flaws will be hidden with frosting.
- Once you are happy with the shape of your cake, add a thin layer of frosting around the entire cake. Chill the cake for at least an hour before piping rosettes over it.
- Prepare the buttercream frosting by whipping the butter in a stand mixer til fluffy.
- Add powdered sugar, heavy cream and vanilla and whip for 2 minutes until frosting is whipped and light in color.
- Reserve about 2-cups in a bowl and leave it white. Divide the remaining frosting into two bowls. For the ombre affect, I colored one bowl of buttercream with the dark pink and the other with super light. Transfer the dark pink into a piping bag with the #1M piping tip.
- Wrap Barbie’s legs in plastic wrap to keep her clean. Make sure Barbie is washed and clean. Style her hair BEFORE inserting her into the cake. Also you will need to clip her hair while you work so some touching up will be needed.
- Pipe a row of dark pink rosettes along the bottom of the cake. Try to keep the rosettes tight, but know we can fill in any gaps that you may have later. You can make them as small or as large you like, just try to make them uniform looking.
- Squeeze out the remaining dark pink frosting back into the bowl and add some of the light pink and mix. Place this lighter pink back into the piping bag and pipe the lighter pink rosettes above the dark row.
- Continue adding light pink and white frosting to whatever frosting you have leftover to lighten up the next layer of rosettes until you make it to the top of the cake. It can get messy so you can always use a new piping bag if you need to.
- Slide Barbie into the center of the cake. Have her lean forward if you can. Pipe the final layer of rosettes on the top of the cake, just touching Barbie and the center hole.
- You don’t want Barbie’s hair to get in the way so use her arms or a clip to get it out of the way. If you don’t have to pipe a corset on her body, then finish filling in the area near her waist by make stars with your 1M tip or a smaller star tip.
- Use ip #18 (star tip) to fill up the gaps around her waist and the corset. I mixed whatever light pink I had leftover with the white to do this. I also added stars and pink sugar pearls to fill up the gaps in the rosettes.
- Refrigerate until ready to serve.
Notes
Nutrition
Nutrition Disclaimer
Nutritional information is an estimate provided to you as a courtesy. You should calculate the actual nutritional information with the products and brands you are using with your preferred nutritional calculator.
PS If you try this recipe, why not leave a star rating in the recipe card right below and/or a review in the comment section further down the page? I always appreciate your feedback.
You can also follow me on Pinterest, Facebook or Instagram. Sign up for my eMail list, too!
Written by Laura Bashar
Hi, I’m Laura, a certified professional cook and cookbook author living in San Diego. I have been sharing my family’s favorite recipes inspired from all over the world since 2008. Let’s cook up something fun!


Hi, I haven’t made it yet but how do I make both type of frosting I need it quick as I have read the recipe and can’t find it pls help
Hi Oliver- Wow, my dyslexic mom brain did not see that I did not write the directions for the crumb coat frosting in the recipe card. Thank you for point it out. I fixed it. I use two frosting in this cake, but you could just use buttercream for the whole job. The strawberry frosting (directions just added) is used for the first crumb coat and between the layers. Then chill and make the buttercream frosting (directions are there). You can color the buttercream however you like and frost however you like. I include directions with the rosette pattern that… Read more »
I used three 9 inch cakes and one 6 inch cake. I think the cake settled overnight because there was a big gap between Barbie and the dress as you can see the icing color difference in the photo. I’m not sure how to correct that next time. I didn’t like the gaps between the rosettes, so I added pink stars and edible pearls. I really do love how it turned out. The hombre icing idea was brilliant because I did not have to perfectly match additional icing to fill in mistakes. I can’t get a pic to load!
I studied this recipe intently to make my daughter’s third birthday cake! It turned out wonderfully both visually and deliciously. It’s a beautiful cake! Thanks for sharing and helping a newbie cake decorator make her daughter’s dream come true! This year a strawberry cake has been requested again and I am back 🙂
Hi Su-Ling-
Your cake turned out beautifully! I am so glad I was able to help you create a magical cake for your daughter’s birthday!
Laura
I loved your cake so much, I made one for my great grandaughter for her 5th birthday!
Hi Peggy-
Wow! She turned out beautifully! Great job! Thank you for sharing-
Laura
I thought you carved this cake, but what a great idea to use a Bundt cake for the top of the dress skirt! So great!