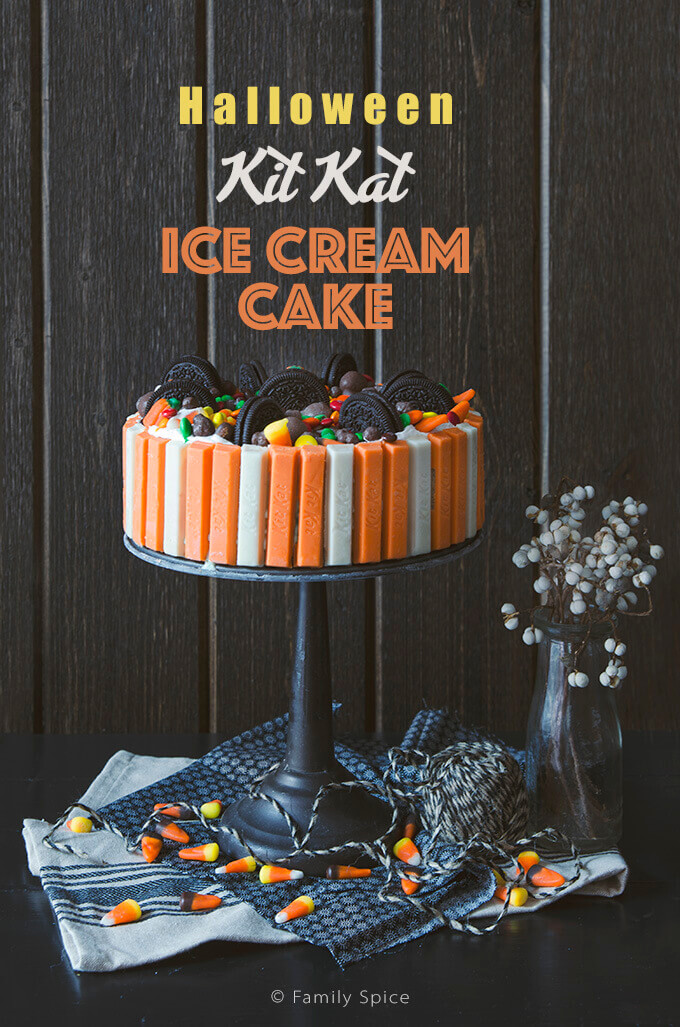
Kids love ice cream, 365 days out of the year. So when you need a Halloween dessert why not share this festive Halloween Kit Kat Ice Cream Cake?
A few weeks ago I shared a Family Spice fan favorite recipe, my Candy Shop Kit Kat Ice Cream Cake. I updated the pictures and created a new video for it. Shortly after I posted the recipe, I was at the store and found the orange and white Halloween kit kats and new I had make a new Halloween kit kat ice cream cake.
My daughter’s birthday is in October, so you would think that my family thought I was crazy to make ANOTHER kit kat ice cream cake a few after making the regular version. But, no. My kids were totally willing and able to enjoy the Halloween version.
Halloween Desserts
It seems like Halloween isn’t just on October 31st, but is celebrated the minute the calendar shows October 1st. There are parties at school, parties at work, and parties at home… Halloween parties to be had everywhere and all throughout the month.
I have already shared some seriously fun and easy Halloween cupcakes with you. There were the skeleton cupcakes made with pretzels, the simple Halloween cupcakes of ghosts, monsters and pumpkins made with frosting, and even MORE ghoulish halloween cupcakes using candies.
I even shared my cherry balsamic Jack Skellington pie, which makes a really fun and delicious Halloween dessert. Yes, I love making Halloween desserts even though my kids are teenagers and not little toddlers anymore! And today, I am sharing a frozen Halloween dessert, my Halloween Kit Kat Ice Cream Cake.
How to make a Halloween Kit Kat Ice Cream Cake
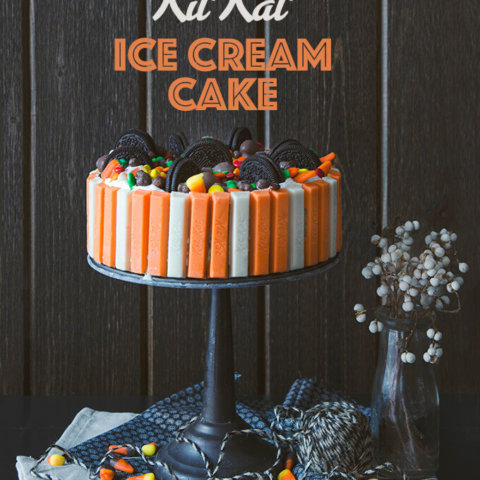
The assembly is basically the same for the halloween cake. The main difference is that the orange and white kit kats are only found in the Halloween bags and they are mini sized. This makes them only 3-inches tall verses the normal chocolate kit kats are a bit taller.
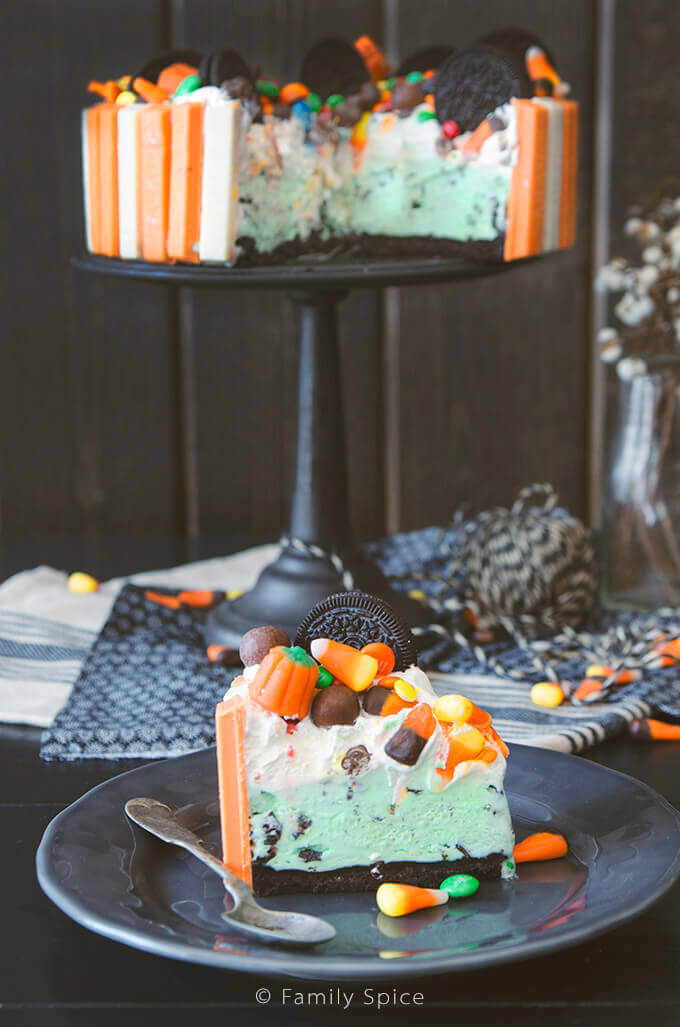
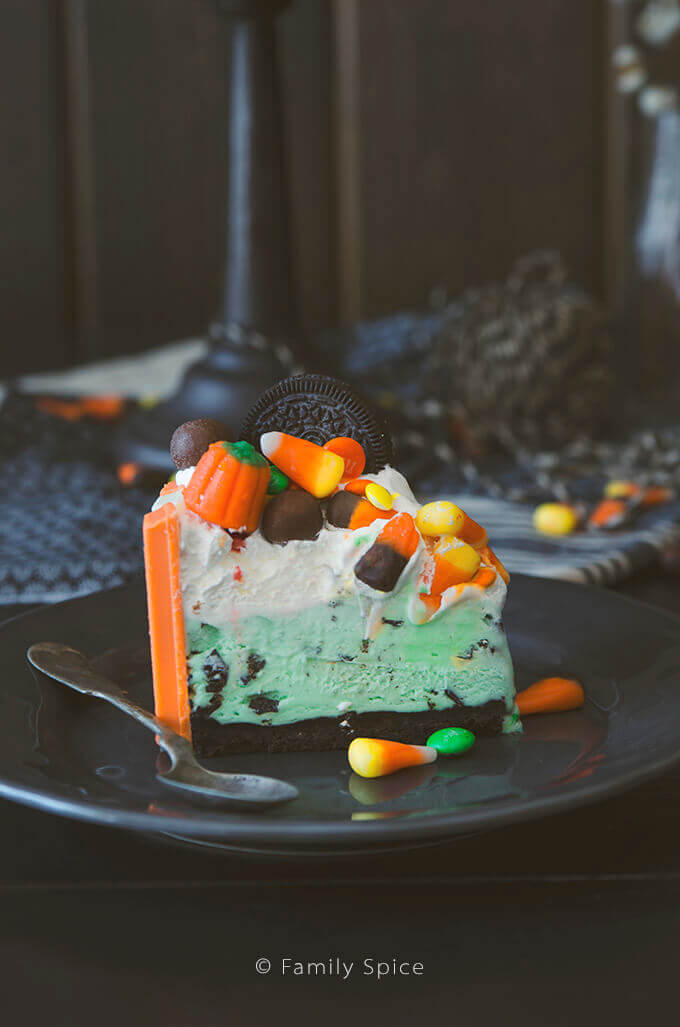
So I filled the halloween cake with 1.5-quarts of ice cream instead of 2-quarts. I also picked out the blue M&Ms to keep everything in fall colors: red, orange, yellow, brown and a little green. I added Whoppers and mixed bag of candy corns and pumpkins, and then I was done.
With all of the different flavors and colors of Oreos out there, especially during Halloween, you could switch out the classic Oreo with some of the other fun versions.
You can add food coloring to vanilla ice cream or do what I did, and use the green mint chocolate chip. Overall, I think it makes the perfect Halloween dessert. It’s colorful, fun and of course, we still scream for ice cream even on Halloween!
I kept leftovers of this cake in the freezer, since we didn’t have a big party to share the sugar and calories with friends and family. I kept it partially wrapped in plastic wrap so the ice cream wouldn’t dry out. Every time I looked in the freezer, a little wedge would be missing!
My kids thought they were so sneaky…
Halloween Kit Kat Ice Cream Cake
Kids love ice cream, 365 days out of the year. So when you need a Halloween dessert why not share this festive Halloween Kit Kat Ice Cream Cake?
Ingredients
- 1 ½ qt ice cream (I used mint chocolate chip)
- 2 TBS milk
- 39 Kit Kat candy bars (orange and white)
- 8 oz whipped topping, frozen (like cool whip)
- 1 (14.3 oz) box of Oreo cookies
- 1 cup assorted chocolate and halloween candies
- non-stick spray
Instructions
- Remove ice cream from the freezer and leave on the counter to soften.
- In a food processor combine milk and 24 Oreo cookies.
- Coat a 9-inch spring form pan with nonstick spray and place orange and white Kit Kats upright all around the side of the pan. Arrange them in any pattern you like. Above pictured shows 2 orange then 1 white.
- Try to get the Kit Kat bars as close to possible as you can, with the Kit Kat name facing out, against the side of the spring form pan.
- Line the bottom of the pan with parchment paper and press the Oreo mixture evenly over it.
- Place in the freezer for 10 minutes.
- Stir the softened ice cream in its container then spread evenly over the Oreo crust. If using two types of ice cream, spread the first flavor in, freeze for 10 minutes, then spread the second softened ice cream layer over it.
- Place in the freezer for 10 minutes
- Remove whipped topping from the freezer and allow to thaw for 30 minutes.
- Spread whipped topping over the top layer of ice cream and garnish with remaining cookies plus assorted chocolate and halloween candies.
- Return cake to the freezer and allow to set overnight.
- Remove cake from freezer 10 minutes prior to serving.
- Gently open the spring form pan and remove. Use a thin knife or spatula to slide cake onto serving platter.
- Slice and serve immediately!
Nutrition Information:
Yield:
12Serving Size:
1 sliceAmount Per Serving: Calories: 553Total Fat: 27.4gSaturated Fat: 15.5gCholesterol: 33mgSodium: 263mgCarbohydrates: 72.4gFiber: 1.6gSugar: 56gProtein: 5.1g

