


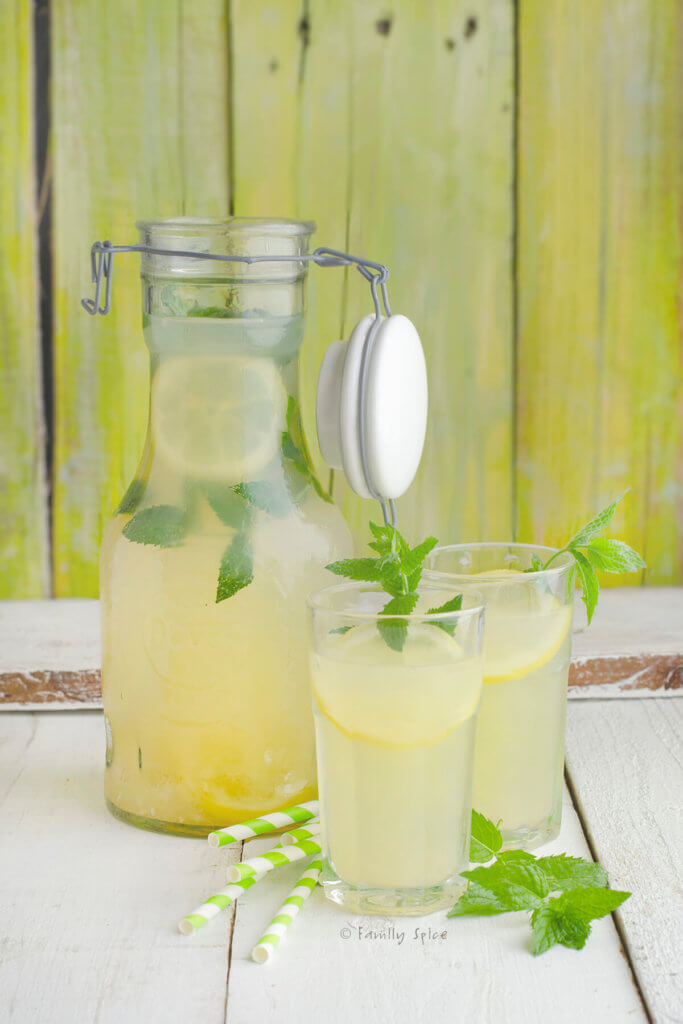
This honey lemonade with mint is sweet, tangy, and totally kid-approved. It’s a fun, refreshing drink you can whip up whether it’s summer or you’re just pretending it is!

This post was originally published August 23, 2009. It has been recently updated with new content and photos.
School has started but I’m still in summer mode. I love summer vacation. I think it’s such a great time for everyone, kids and parents, to recover from the craziness of the school year.
One summer bucket list item that my kids got to fulfill was a make shift lemonade stand at the park. Yes, we made HOMEMADE lemonade. Not that powder stuff.
Making lemonade certainly isn’t ground breaking or something unheard of. So it seems silly to be writing all about it. But when you make it from scratch and you take that first sip, you’ll never go back to the powdery mixes again!
Jump to:
Recipe highlights
- Simple: To make homemade lemonade, you only need three basic ingredients: lemons, honey and water.
- Benefits: I love that this lemonade is sweetened with natural honey and not regular white sugar. Middle child and I suffer from seasonal allergies, especially pollen. Did you know that exposing yourself to locally made honey, you help desensitize yourself from local pollen? And high quality honey is rich in antioxidants.
- Flavor: We love the flavor of honey and it really tastes perfect in lemonade. You can also stir in some fresh mint to infuse that wonderful herb in the drink, as well.

Ingredients you need

- Lemons: Freshly squeezed lemon juice is the base for a delicious homemade lemonade. Slices of lemons are also added to the pitcher of lemonade as garnish.
- Honey: You can use any type of honey to sweeten this lemonade. From clover honey to strawberry honey or any other variety you like.
- Fresh mint: Fresh mint is a must and should not be replaced with dried mint.
Step-by-step directions

- Juice the lemons. Juice your lemons until you have about 1 ½ cups of fresh lemon juice.
- Mix together. Combine water, lemon juice and honey in a large pitcher or bowl. Vigorously stir until the honey is dissolved into the lemonade. Taste the mixture and add more honey if you want it sweeter.
- Chill. If you want to infuse the lemonade with mint, add to the pitcher. Refrigerate for at least one hour before serving.
Want to save this recipe?

Expert tips and recipe FAQs
But honestly, your lemonade is only as good as the the taste buds enjoying it. There is definitely a lot of personal preference guiding you to making honey lemonade.
My family loves lemons and loves the taste of lemons in our lemonade. So our version is mildly sweet. If it is too sour for you, then by all means, add more honey!
There is no right or wrong way to make lemonade – well, there could be a wrong way if you are a die hard lemonade drinker! I wanted to use honey as a sweetener for our lemonade because it is a natural sweetener.
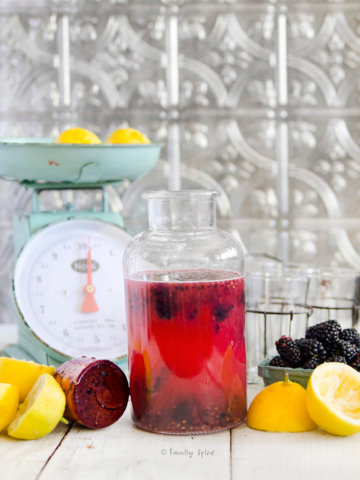
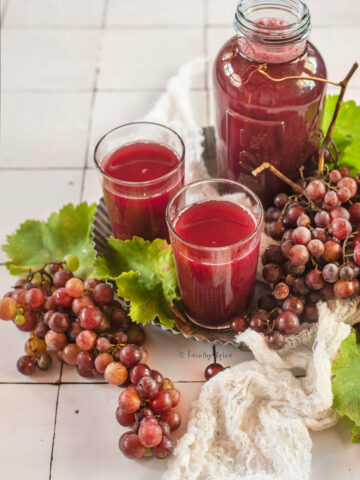
If you like this recipe you should also try my blackberry lemonade or my roasted grape lemonade. And if you have a lot more lemons that you need to use up, try my homemade limoncello recipe.
Storing/Freezing Instructions
TO STORE: Store your lemonade in an airtight container and refrigerate for up 7 days, since honey is a natural food preservative.
TO FREEZE: You can also freeze the lemonade. Transfer to a resealable bag or freezer safe container and freeze for up to 4 months.
Absolutely! You can use most any sweetener to make homemade lemonade. Honey is a natural food preservative, so your lemonade will keep well in the fridge. You can also help desensitize yourself from local pollen if you use locally made honey. Also, high quality honey is rich in antioxidants.


Honey Lemonade
Ingredients
- 6 cup water
- 1 ½ cup freshly squeezed lemon juice
- ½ cup honey
- 1 lemon sliced into thin rounds
- 2 sprigs of fresh mint
Instructions
- Juice the lemons until you have 1 ½ cups of fresh lemon juice.
- Combine water and lemon juice in a bowl of large pitcher.
- Vigorously stir in the honey until the honey is dissolved. Taste the mixture and add more honey if you want it sweeter.
- If you want some mint flavor, still in the mint sprigs. Otherwise you can use them for garnish.
- Refrigerate for at least one hour before serving.
Notes
Nutrition
Nutrition Disclaimer
Nutritional information is an estimate provided to you as a courtesy. You should calculate the actual nutritional information with the products and brands you are using with your preferred nutritional calculator.
PS If you try this recipe, why not leave a star rating in the recipe card right below and/or a review in the comment section further down the page? I always appreciate your feedback.
You can also follow me on Pinterest, Facebook or Instagram. Sign up for my eMail list, too!
Written by Laura Bashar
Hi, I’m Laura, a certified professional cook and cookbook author living in San Diego. I have been sharing my family’s favorite recipes inspired from all over the world since 2008. Let’s cook up something fun!