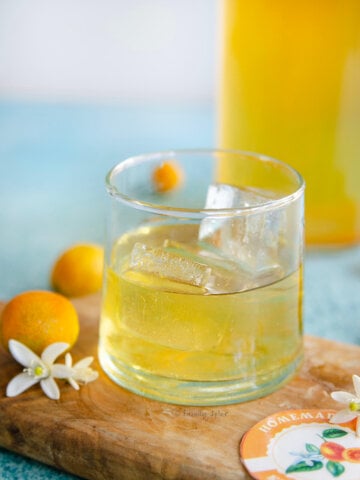
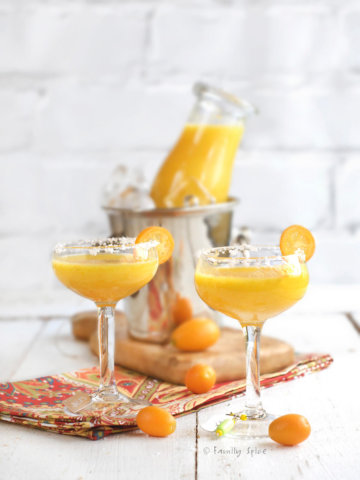
This homemade kumquat liqueur is bright, citrusy, and surprisingly easy to make with just a handful of ingredients. Includes my free printable labels for gift giving.
At my old house, I had a small kumquat tree. It grew in a large pot and was the perfect size to bless me with a wonderous supply of kumquats every year. Kumquats have a sweet edible skin which contrasts with its tart juice making them a delicious treat to pop in your mouth.
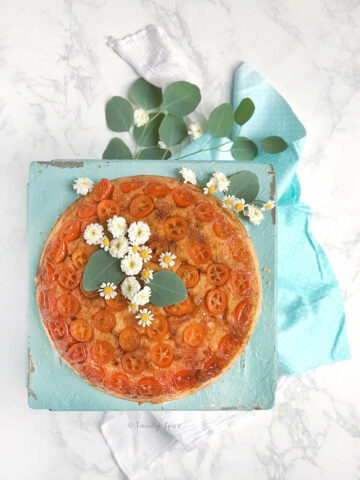
I have already made an assortment of kumquat recipes like kumquat bars and a kumquat upside down cake. Before I moved away, I decided to make something unique, a kumquat liqueur.
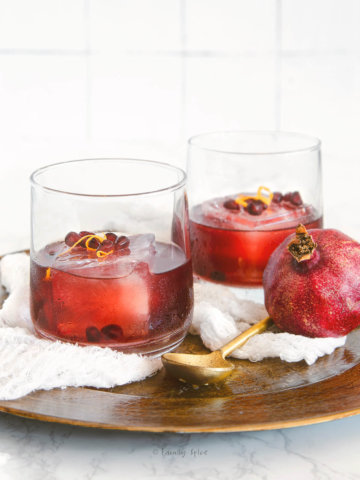
This is not my first time infusing fruit with alcohol. I have made strawberry vodka and pomegranate tequila. My homemade limoncello was such a big hit that I also made orangecello by making orange vodka.
Greeks have a wonderful kumquat liqueur, so it wasn’t a big leap for me to make my own version of this beloved drink.
[feast_advanced_jump_to]Laura says :
Why this recipe works
- Easy Peasy: Making homemade kumquat liqueur couldn’t be simpler. Start with a basic kumquat-infused vodka and add simple syrup to turn it into a smooth, citrusy liqueur. And no special equipment needed!
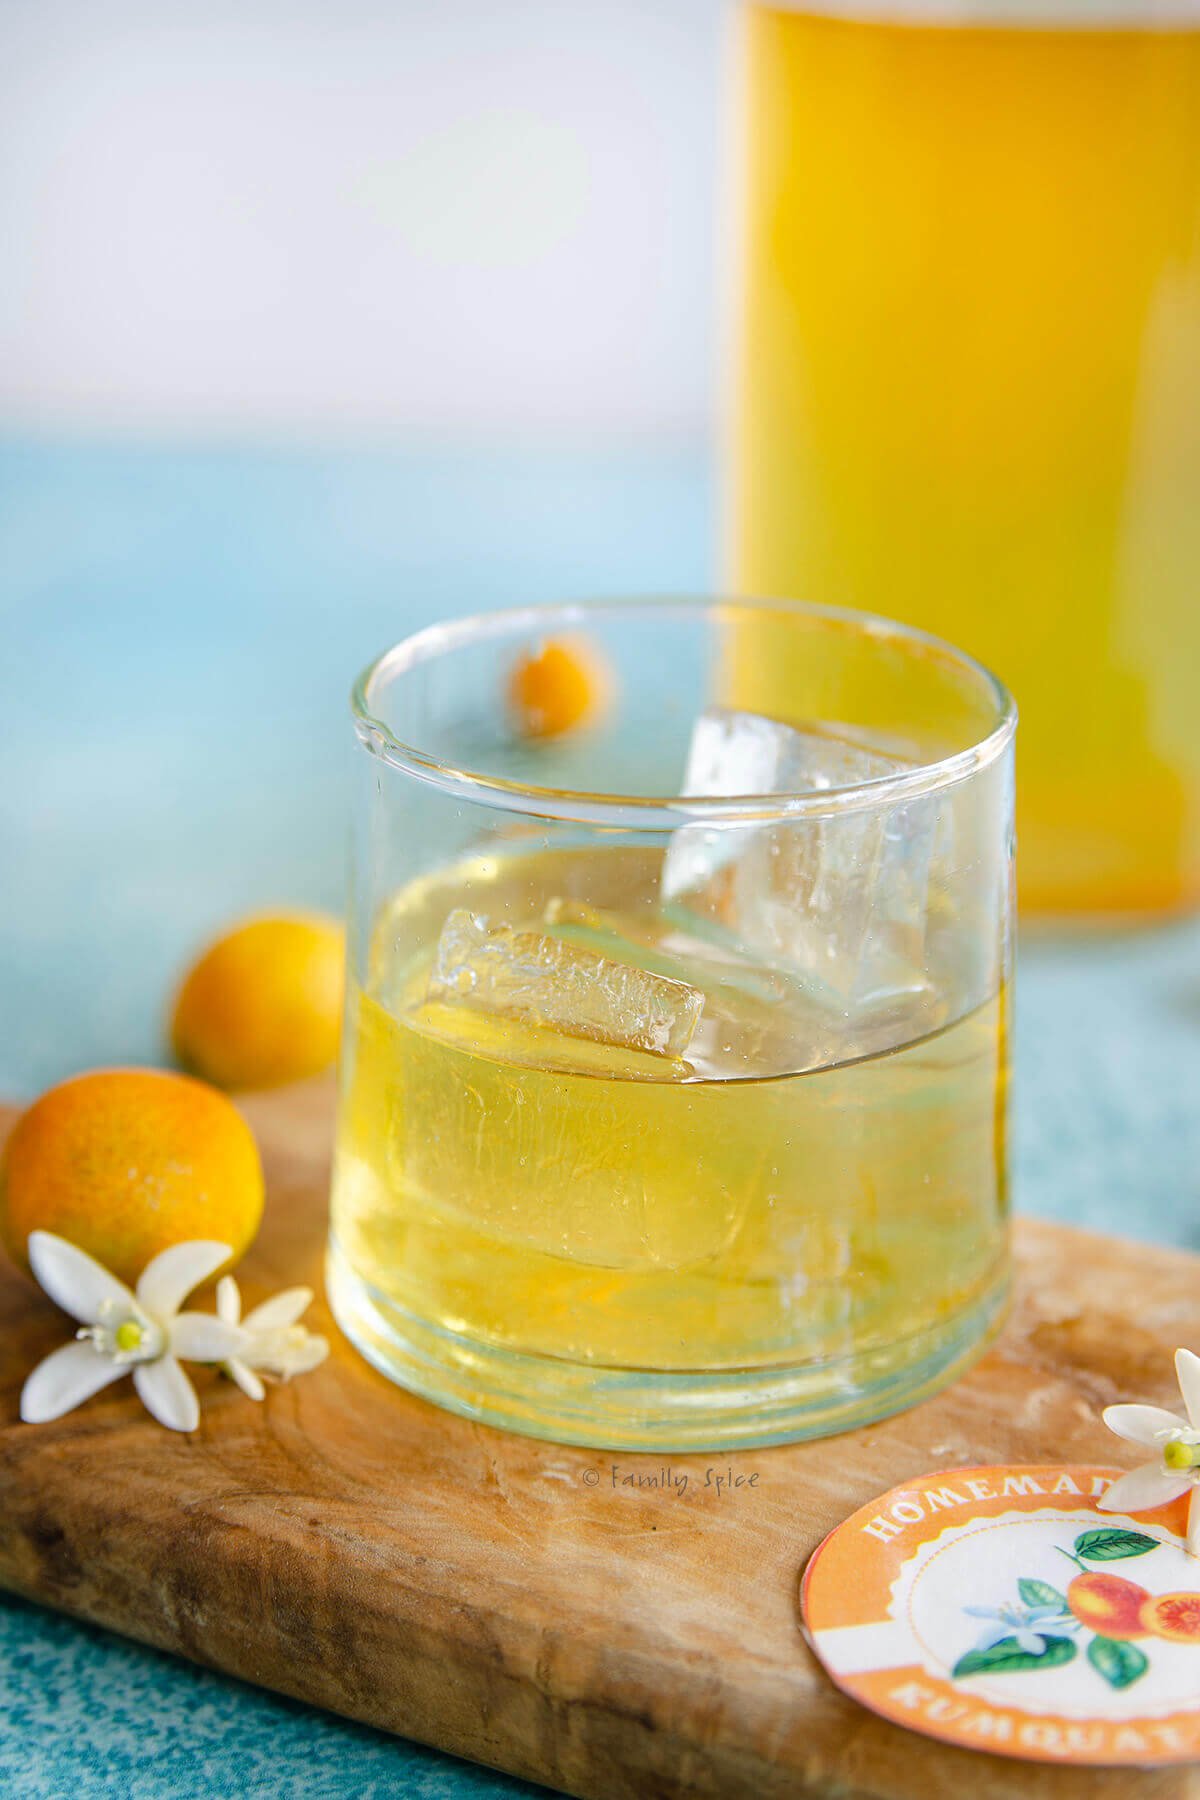
- Bright and Fruity: Kumquats bring the best of both worlds: sweet peel and tart juice. The result is a vibrant, citrus-forward liqueur that’s refreshing, unique, and perfect for cocktails or sipping.
- Infusion Expert Approved: After years of making infused alcohol and sharing dozens of flavor variations here on the blog, this kumquat liqueur has become one of my favorite seasonal infusions. It’s foolproof and full of flavor.
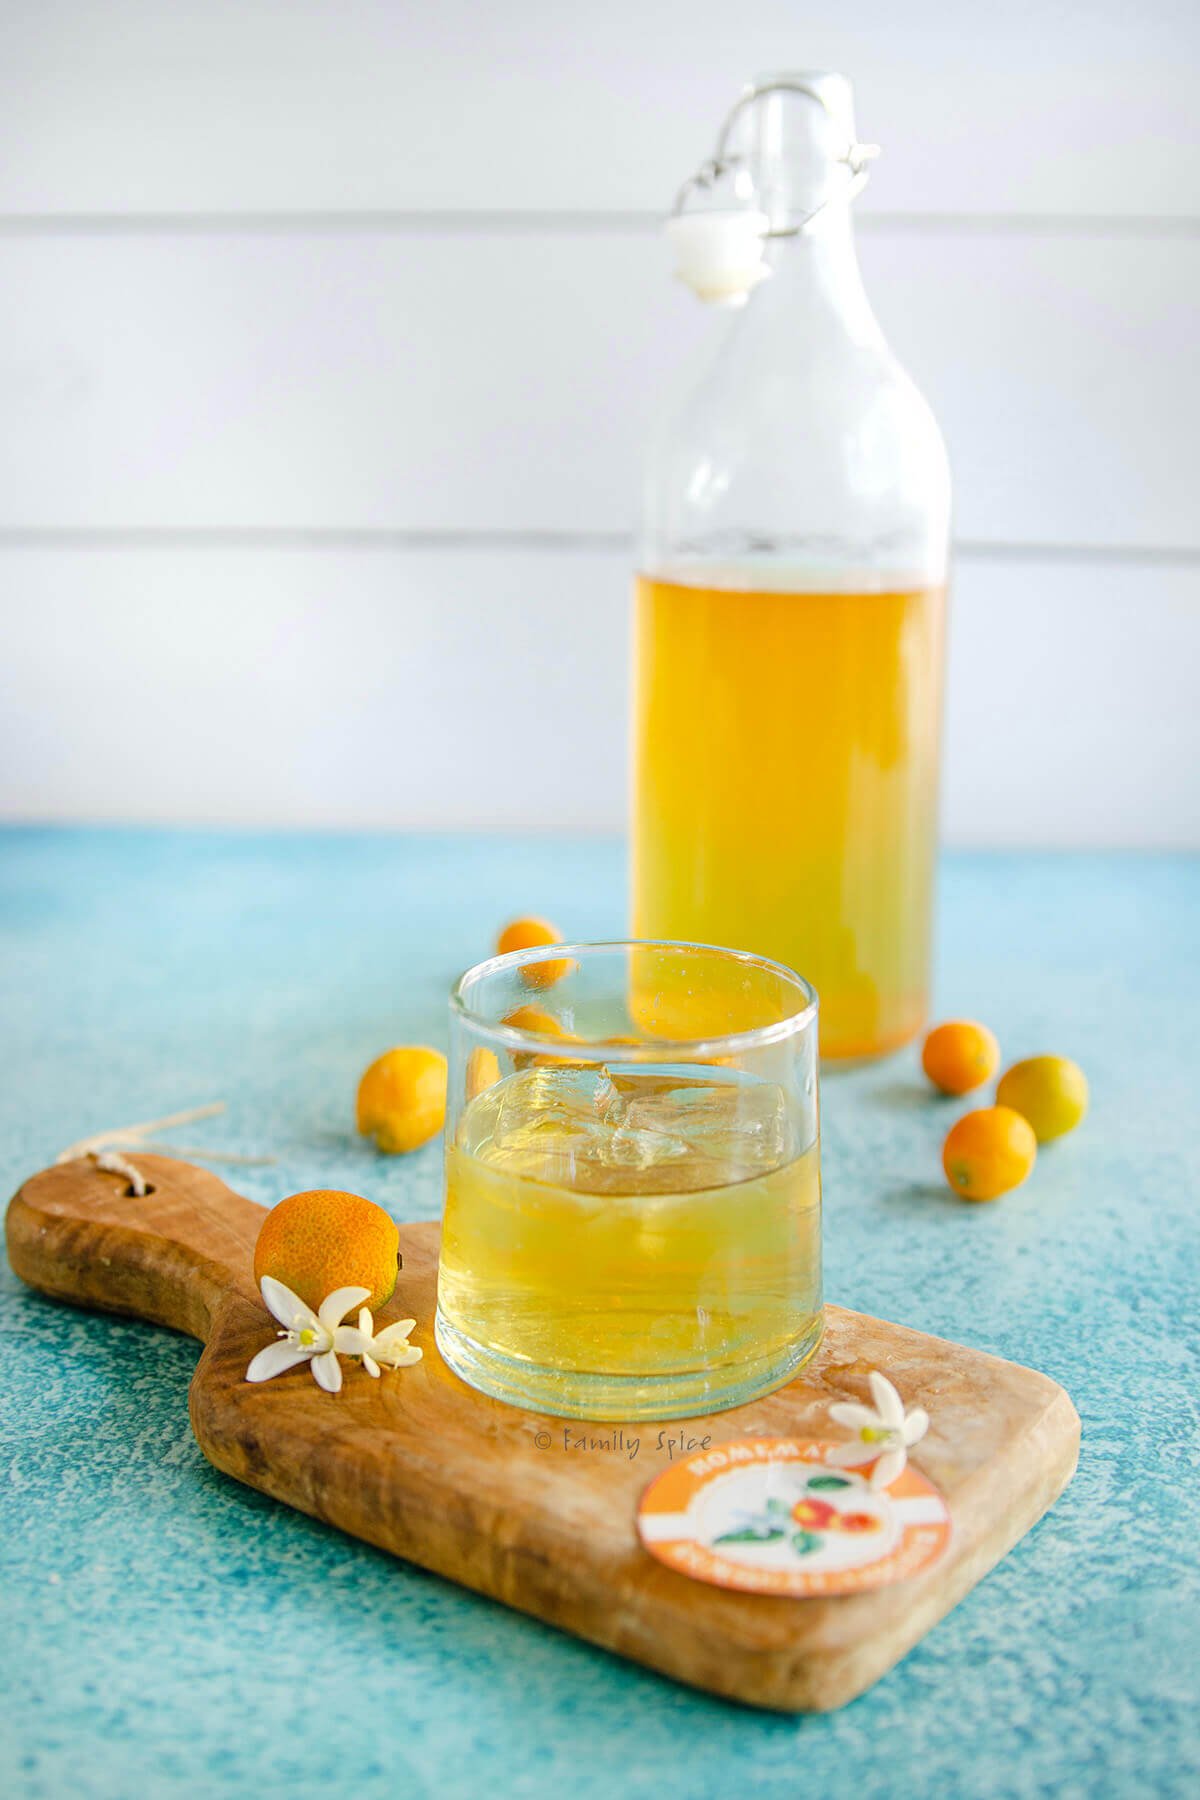
- Perfect for Gifting: Pour your finished liqueur into small bottles, add my free printable labels, and you’ve got a beautiful homemade gift for holidays, hostess presents, or special occasions.

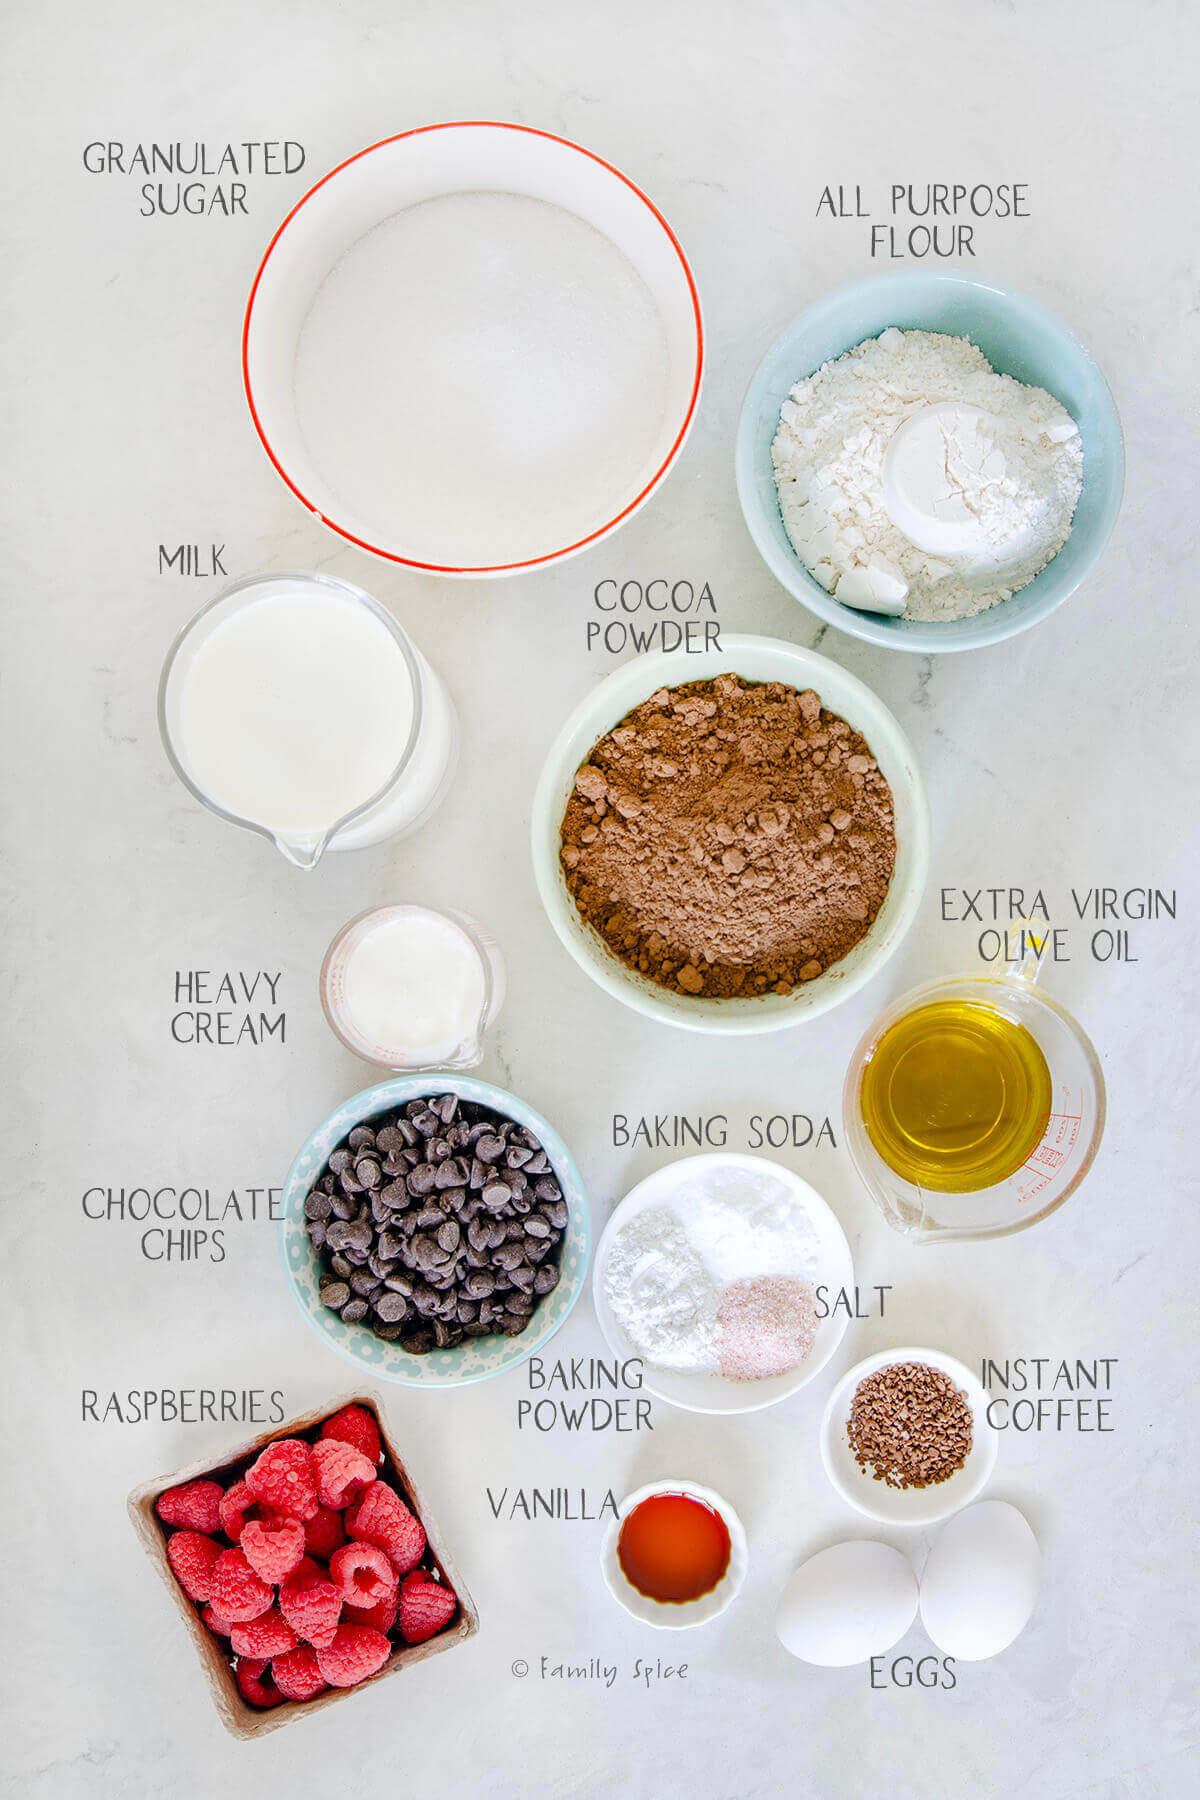
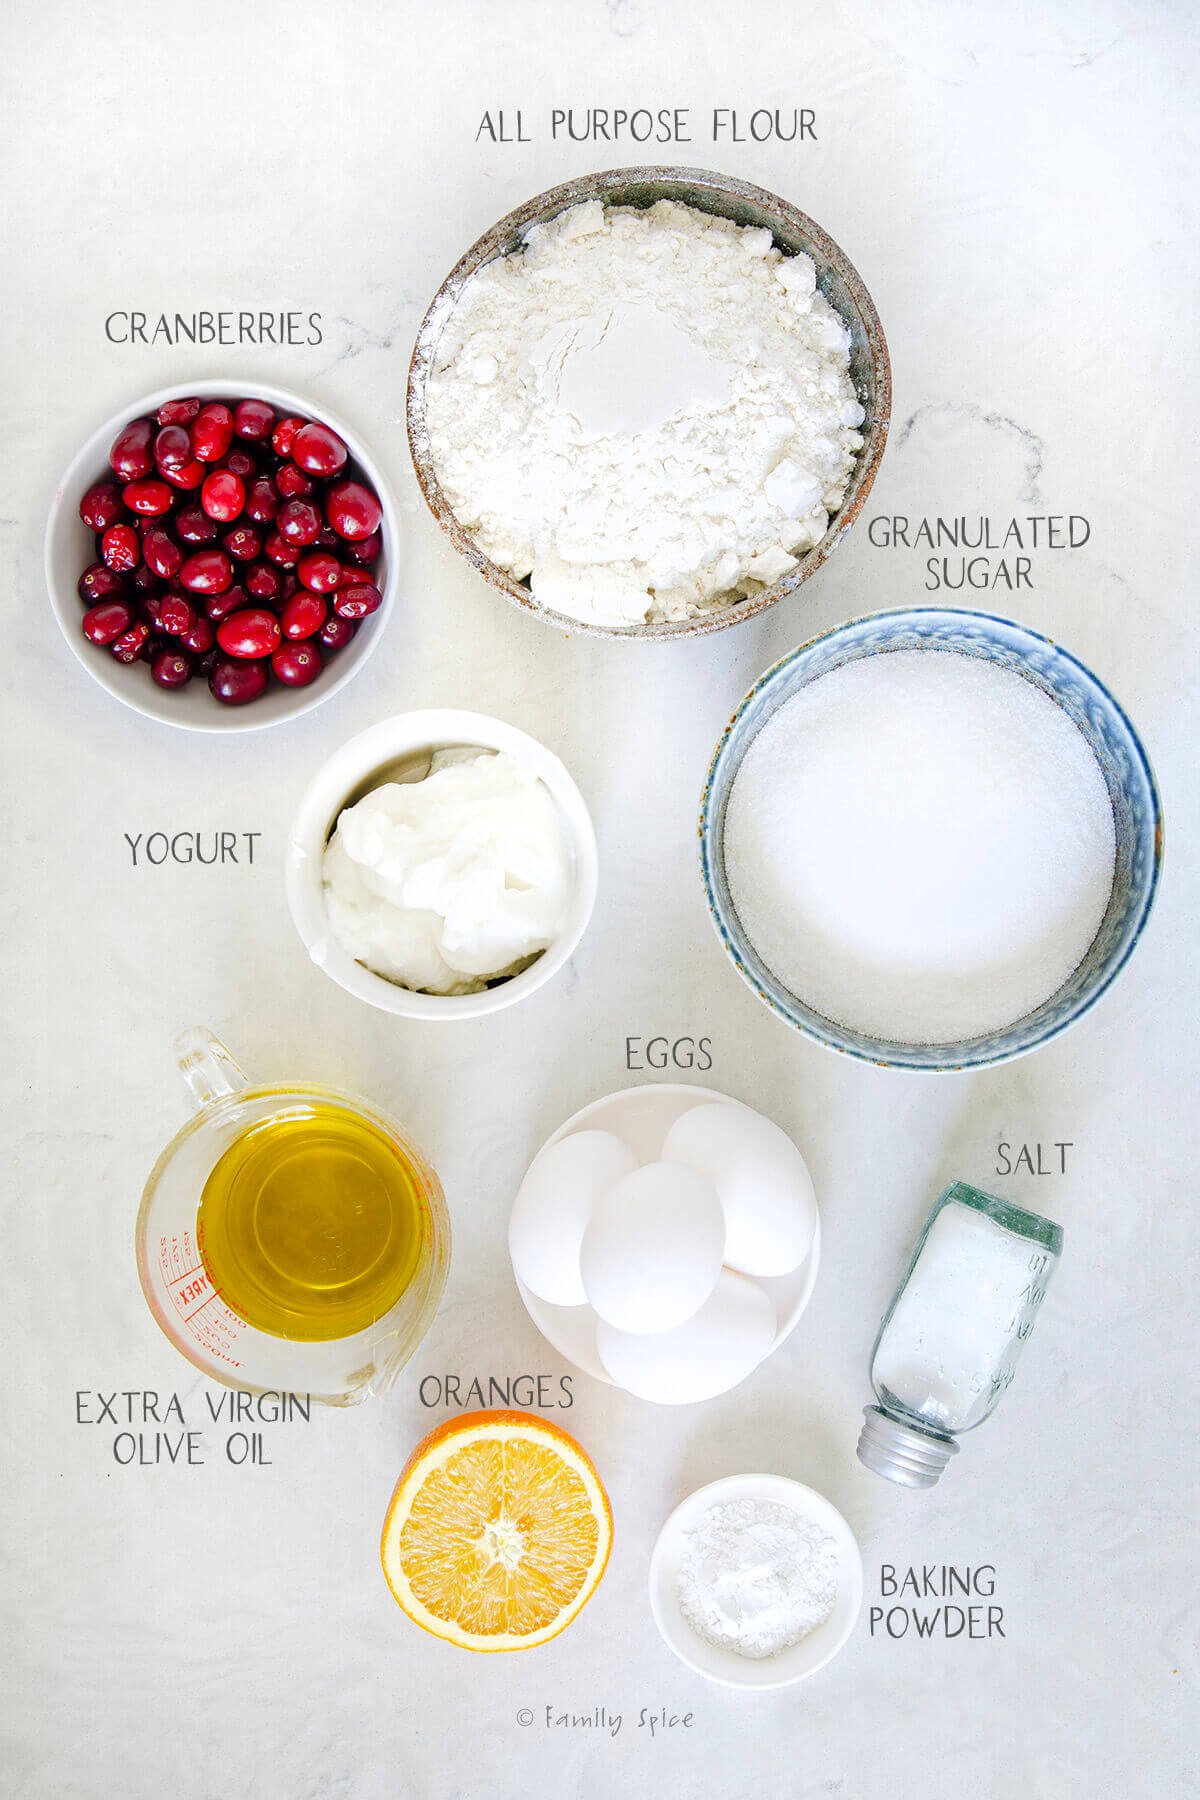
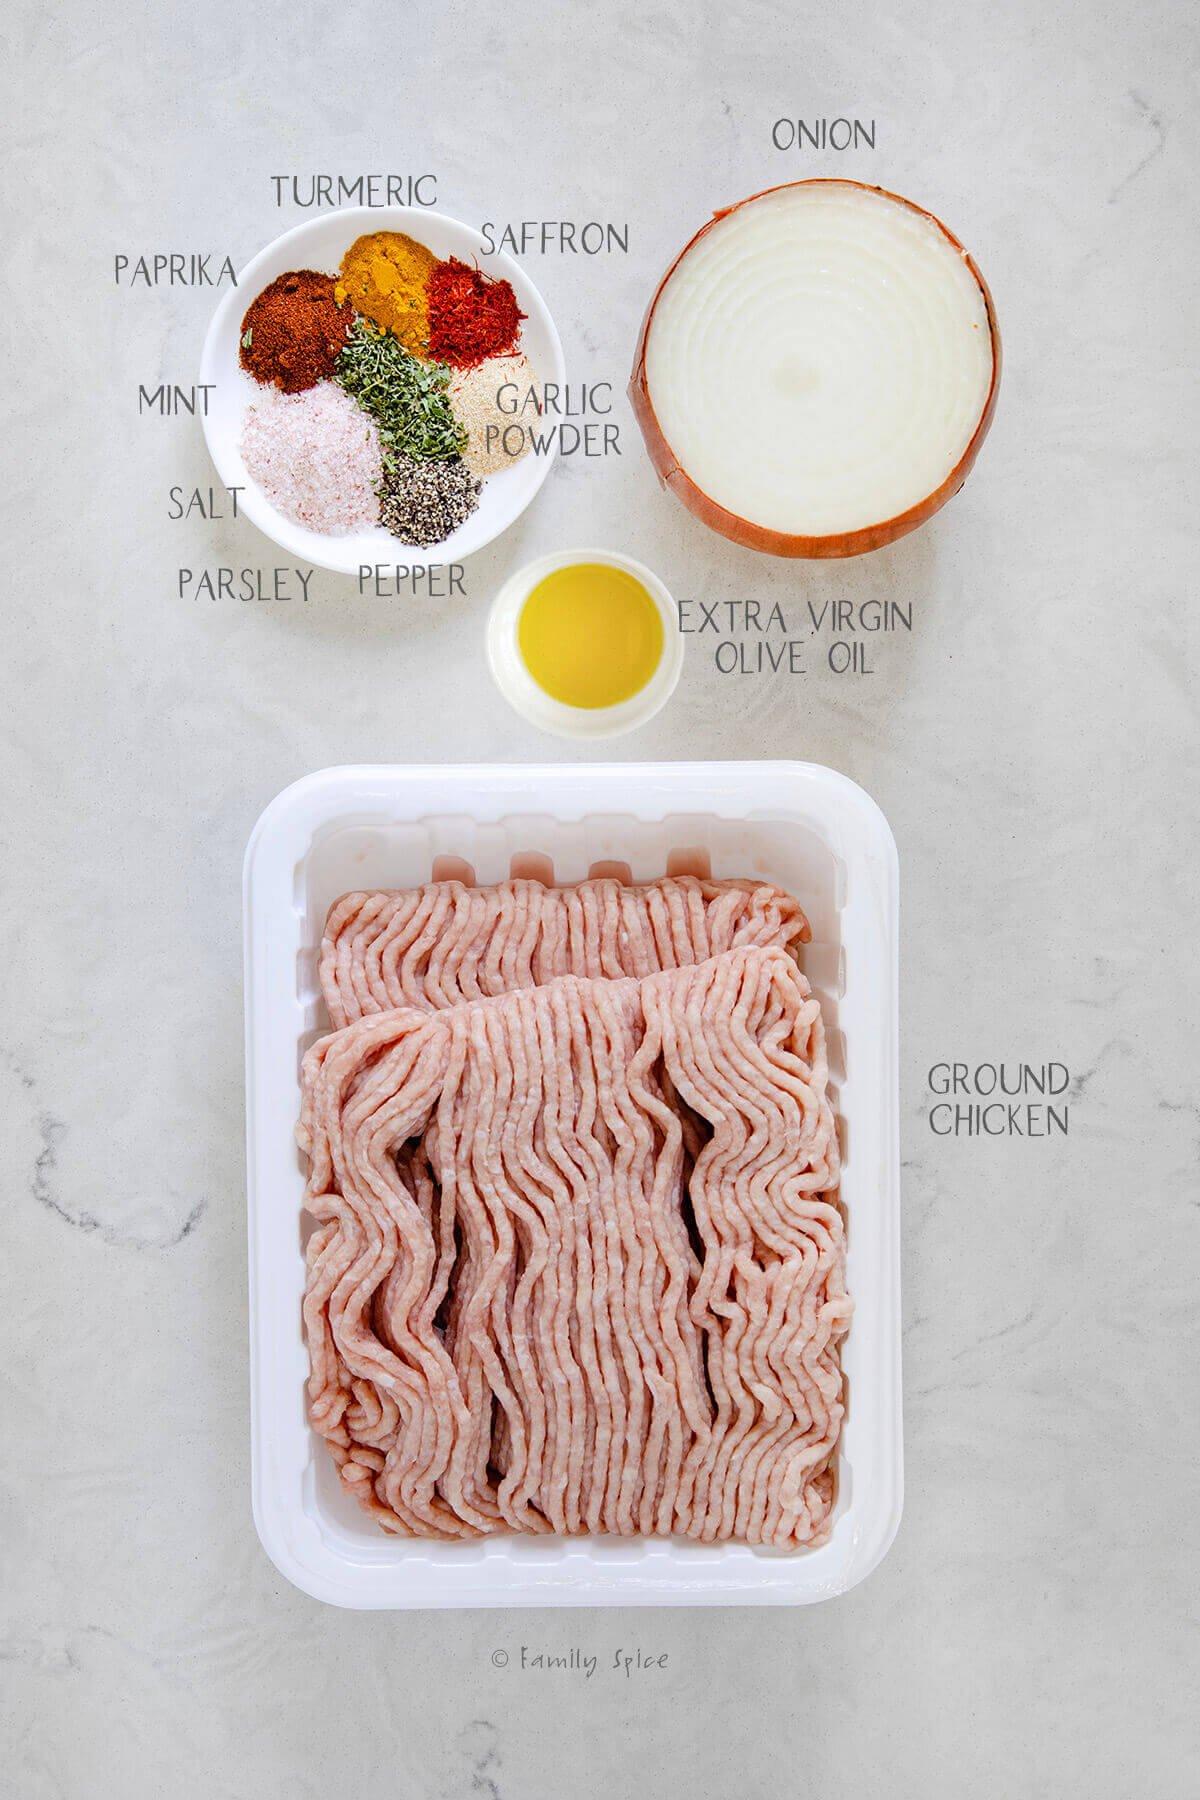
Ingredients needed
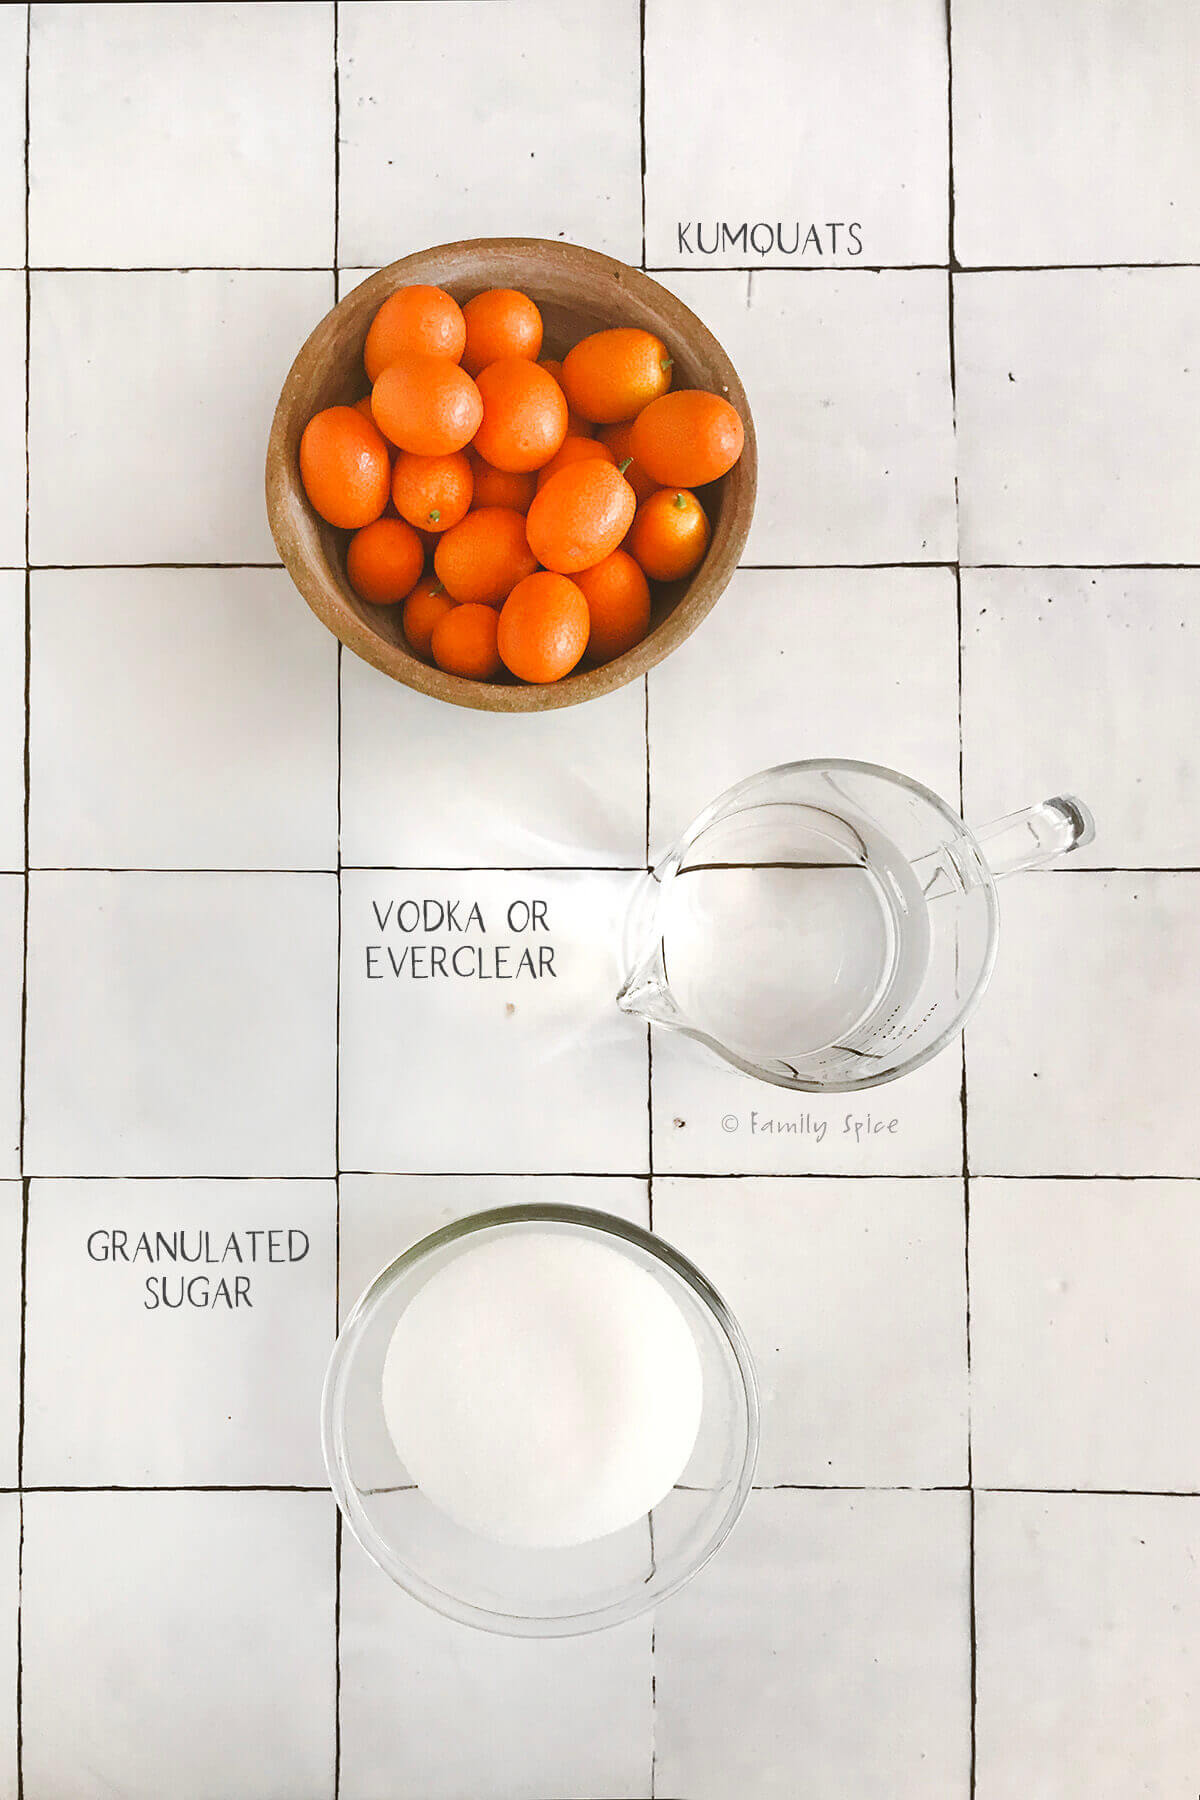
- Kumquats: You want fresh, ripe kumquats for this recipe. Make sure there are no holes where bugs are visible. Some of my kumquats had some green in the skin, but since it remained sweet, I was able to use them.
- Everclear alcohol or vodka: Now everclear is hard to find, so if it is not available where you live, just use vodka instead. Do choose a smooth tasting vodka.
- Granulated sugar: Sugar and water is used to make a simple syrup that is added in the end to make the liqueur.
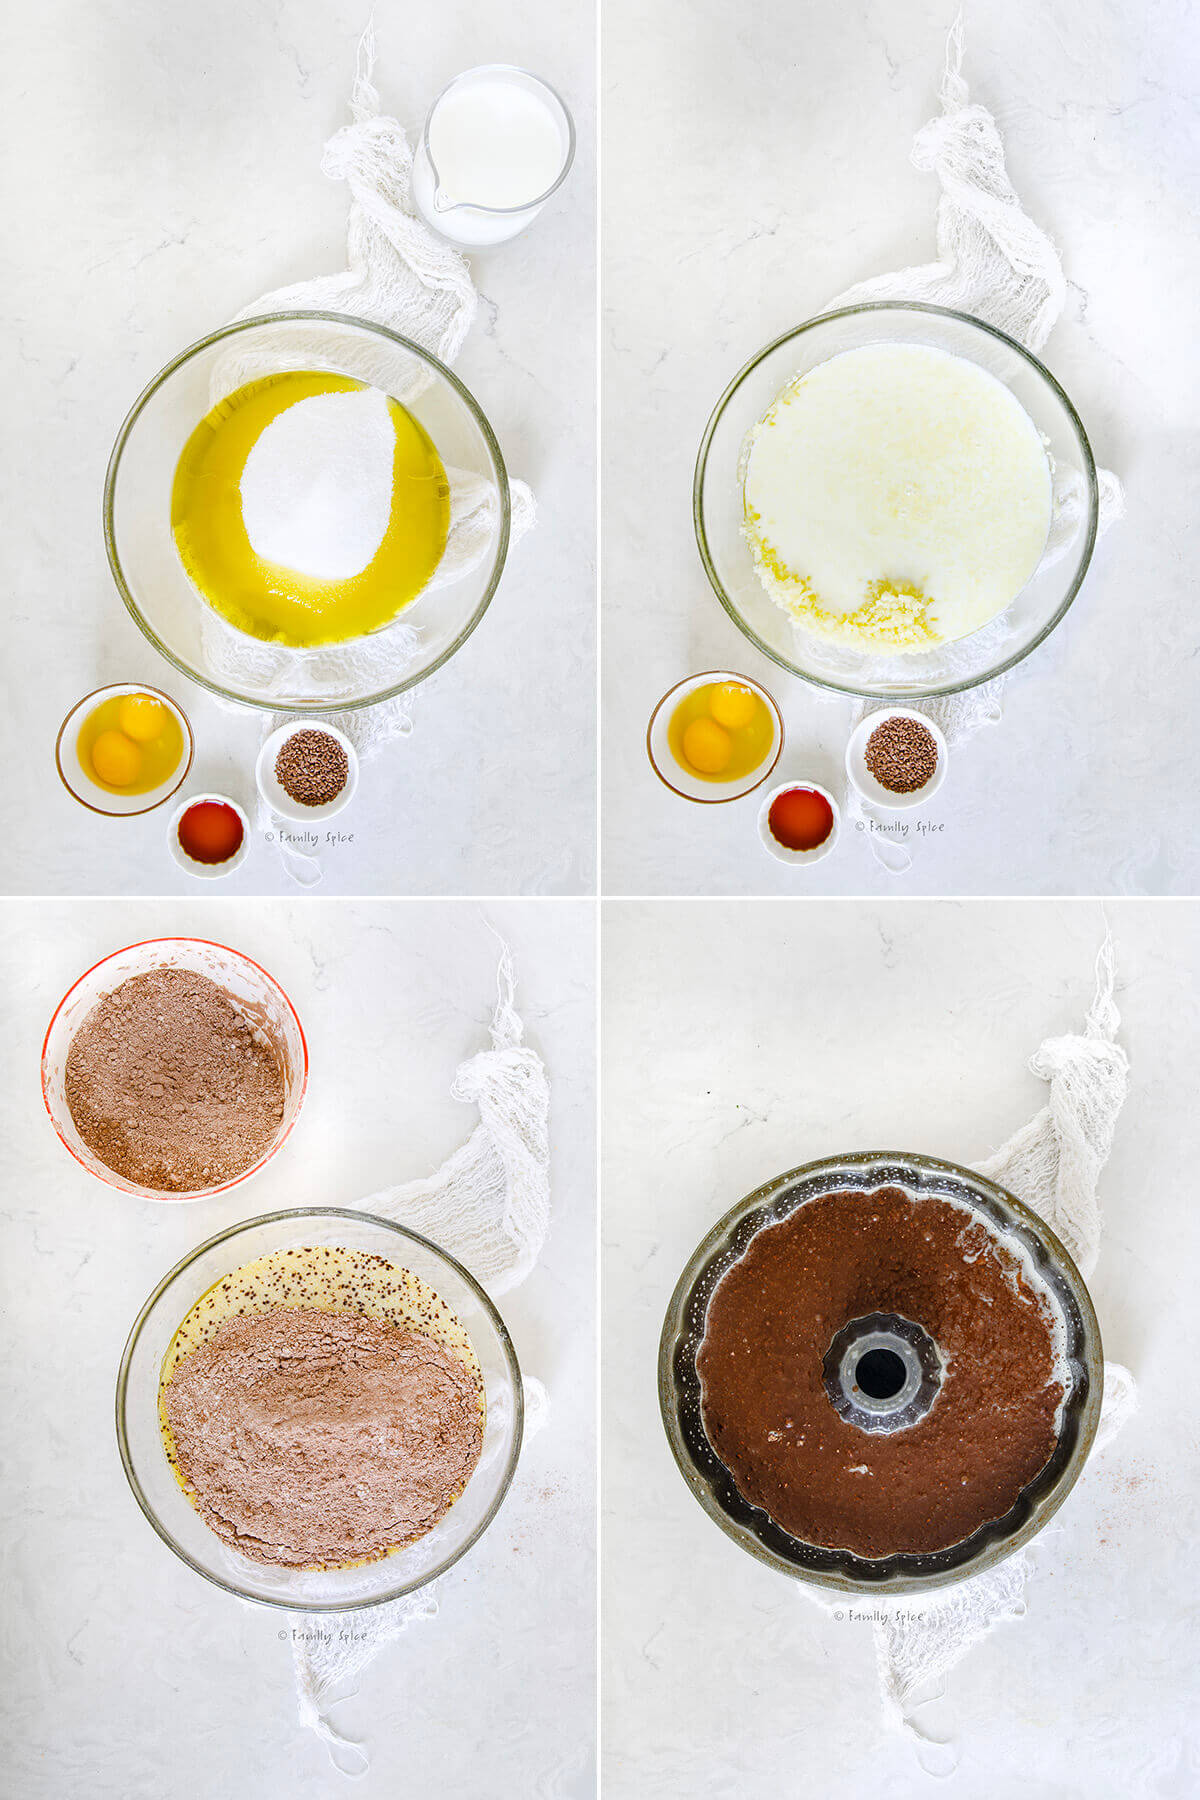
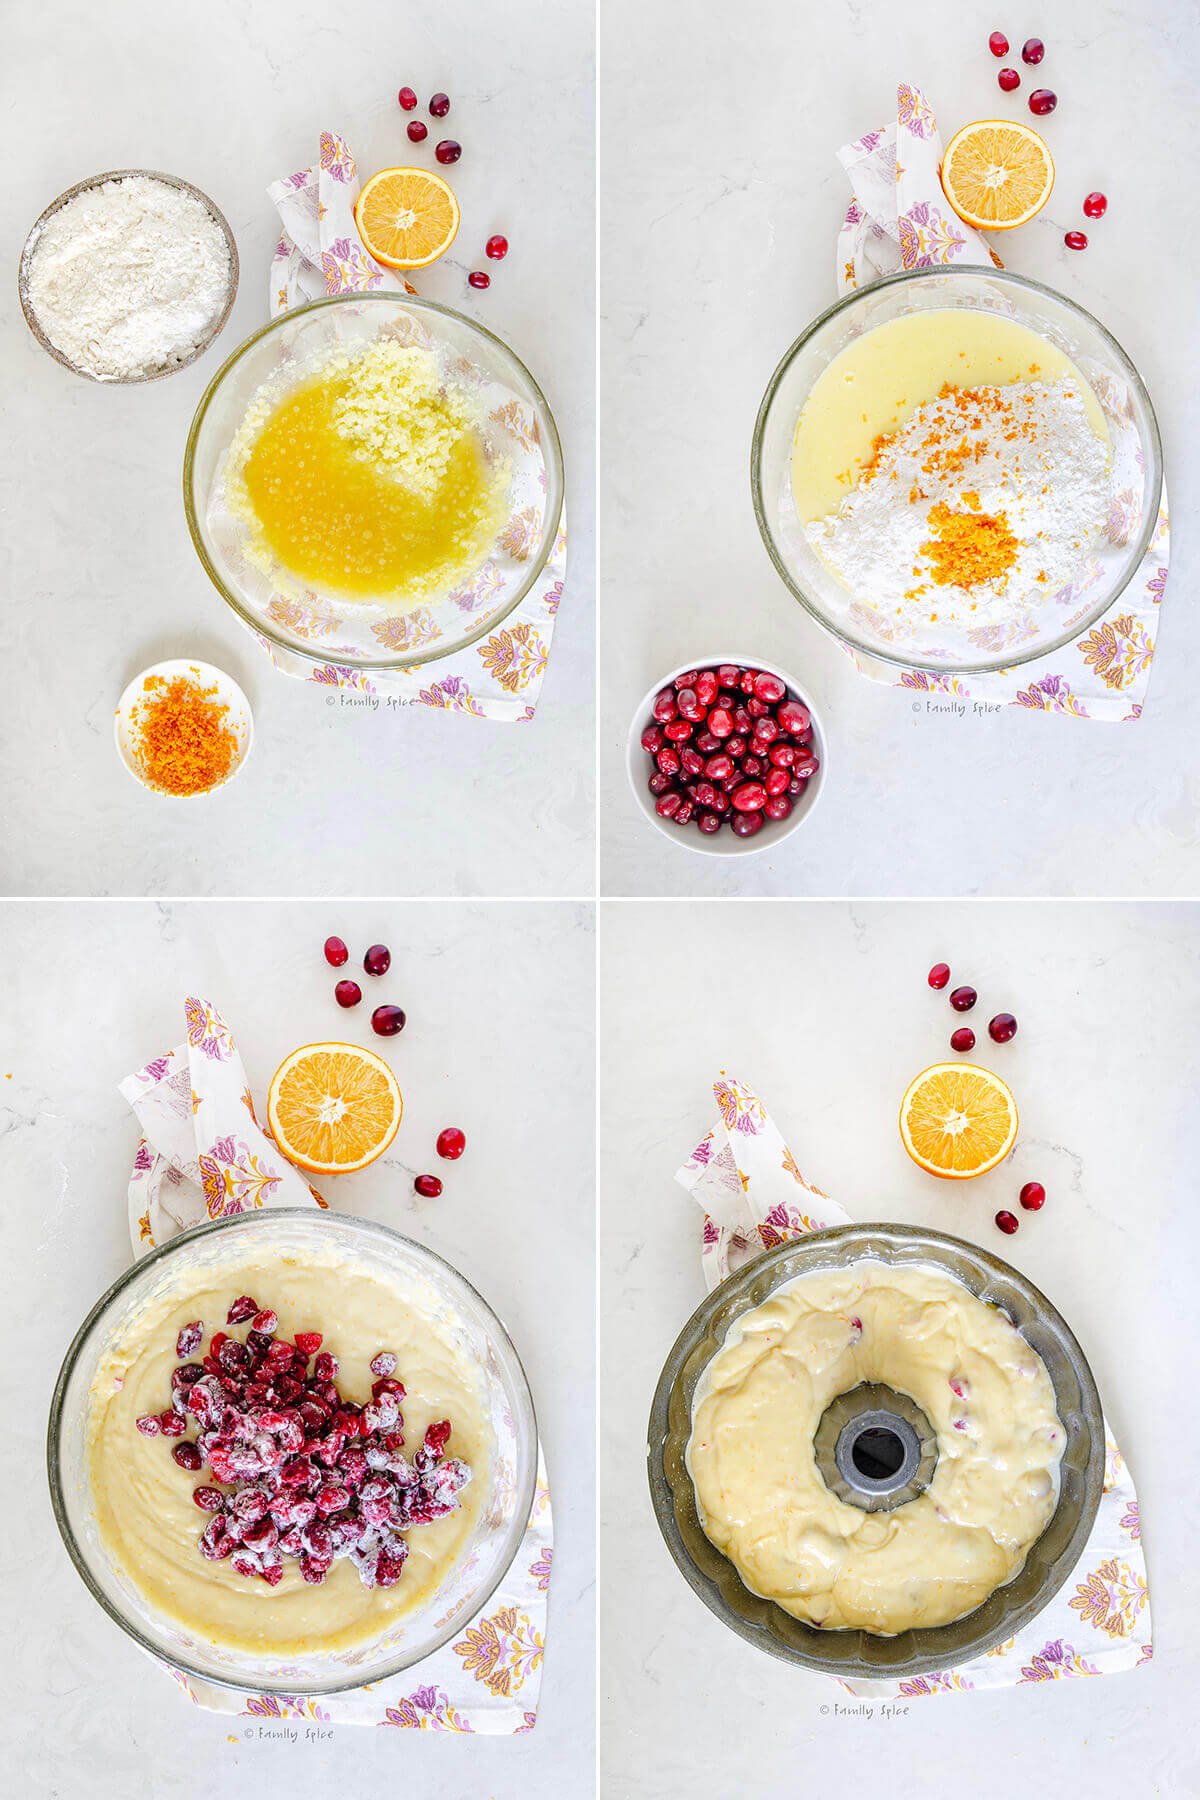
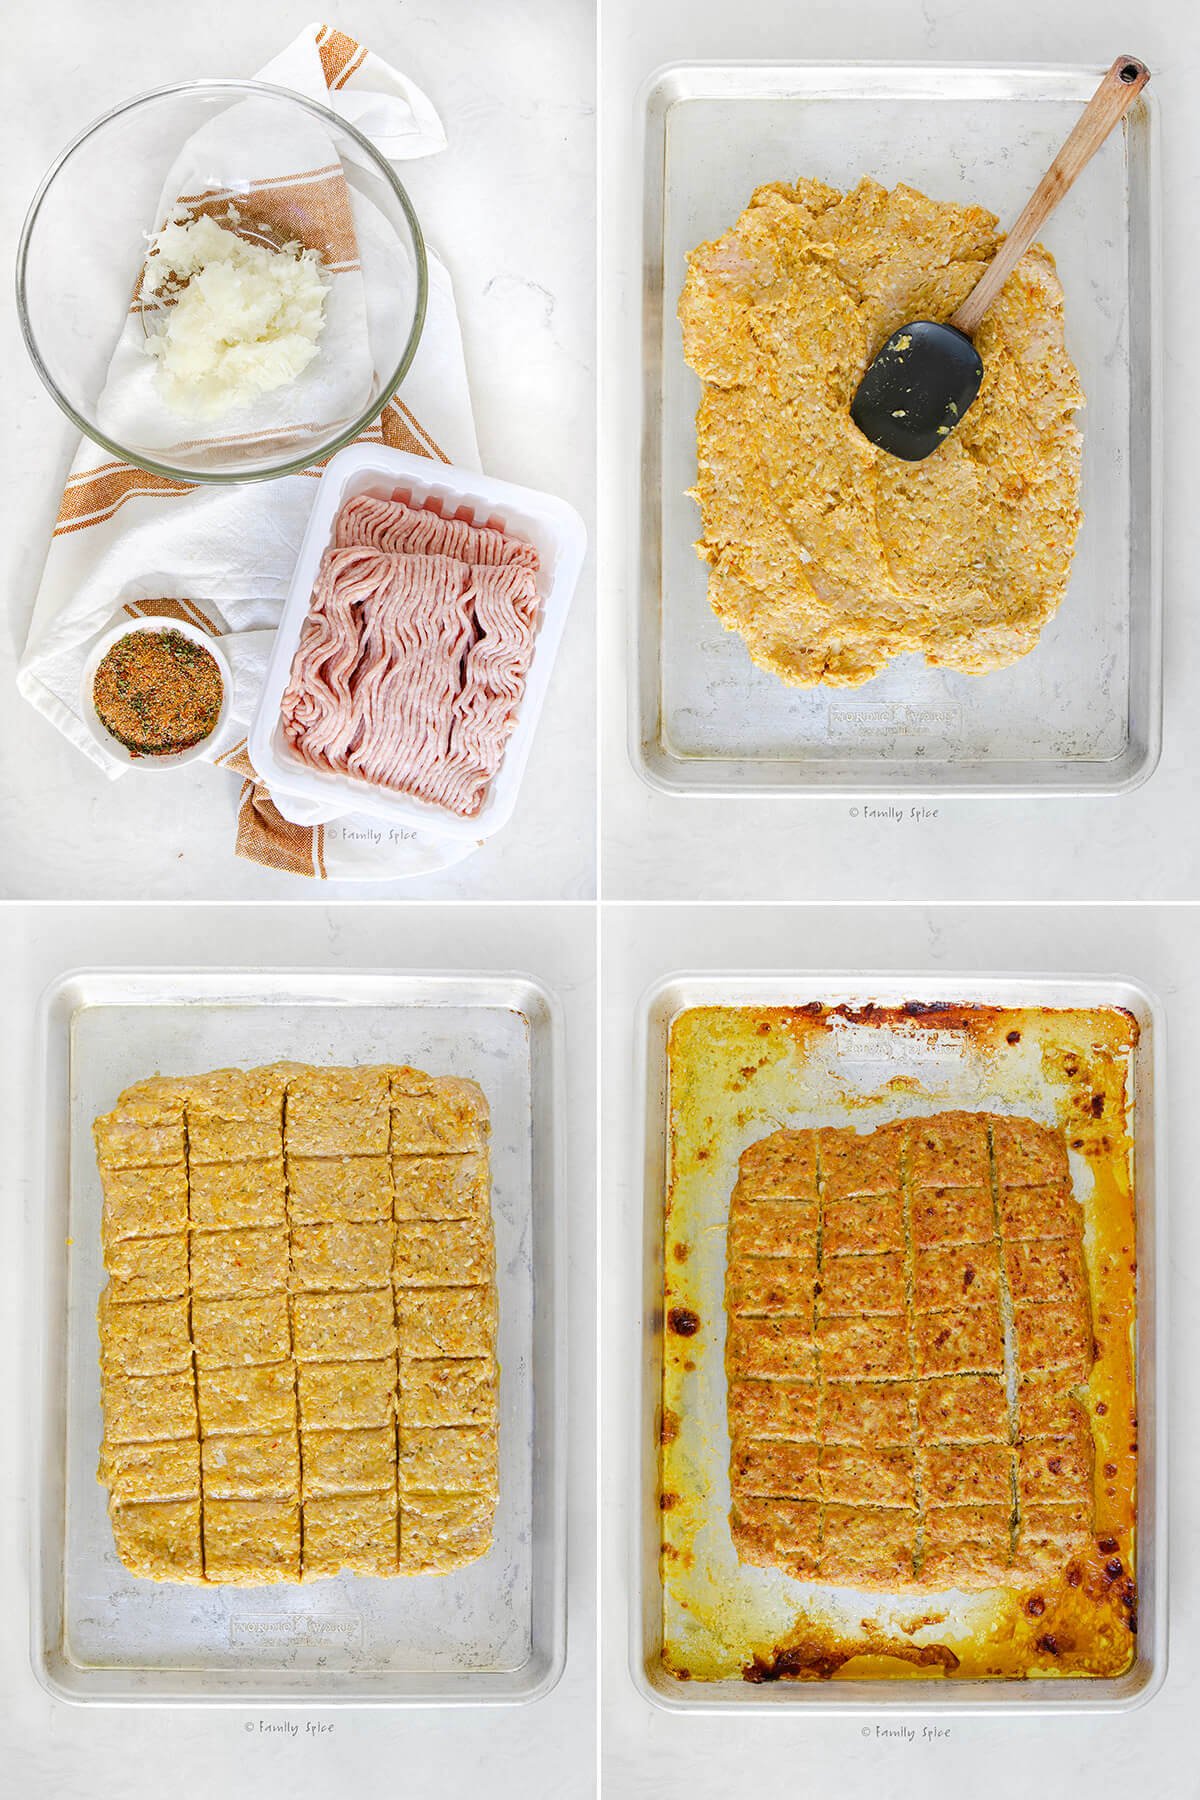
Step-by-step directions
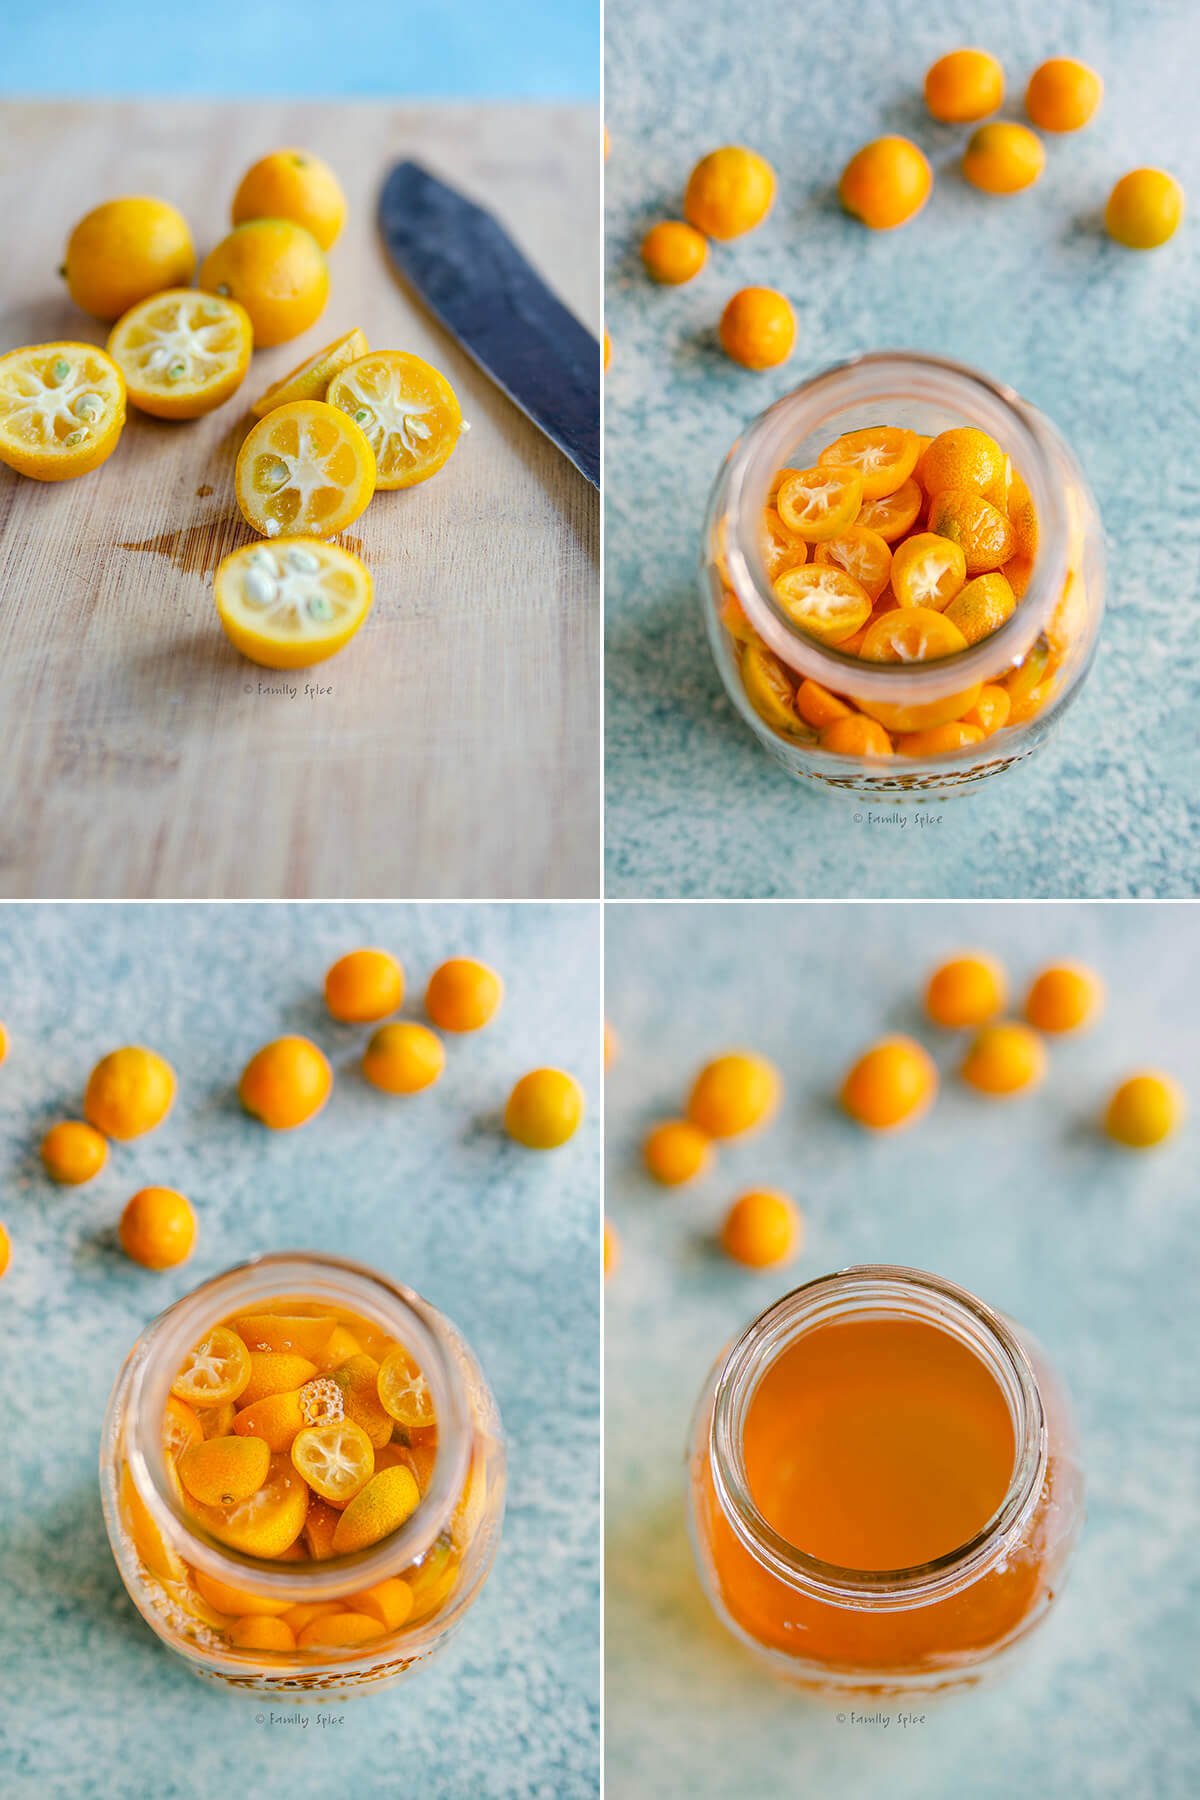
- Prep the kumquats. Cut the kumquats in half, give them a squeeze to remove the seeds. Place the halved kumquats in a sterilized glass jar.
- Steep the kumquats. Pour enough everclear or vodka so that all of the fruit is immersed. Cover the container and let it sit for at least 10 days or up to 40 in a cool dark place. No need to stir during that time.
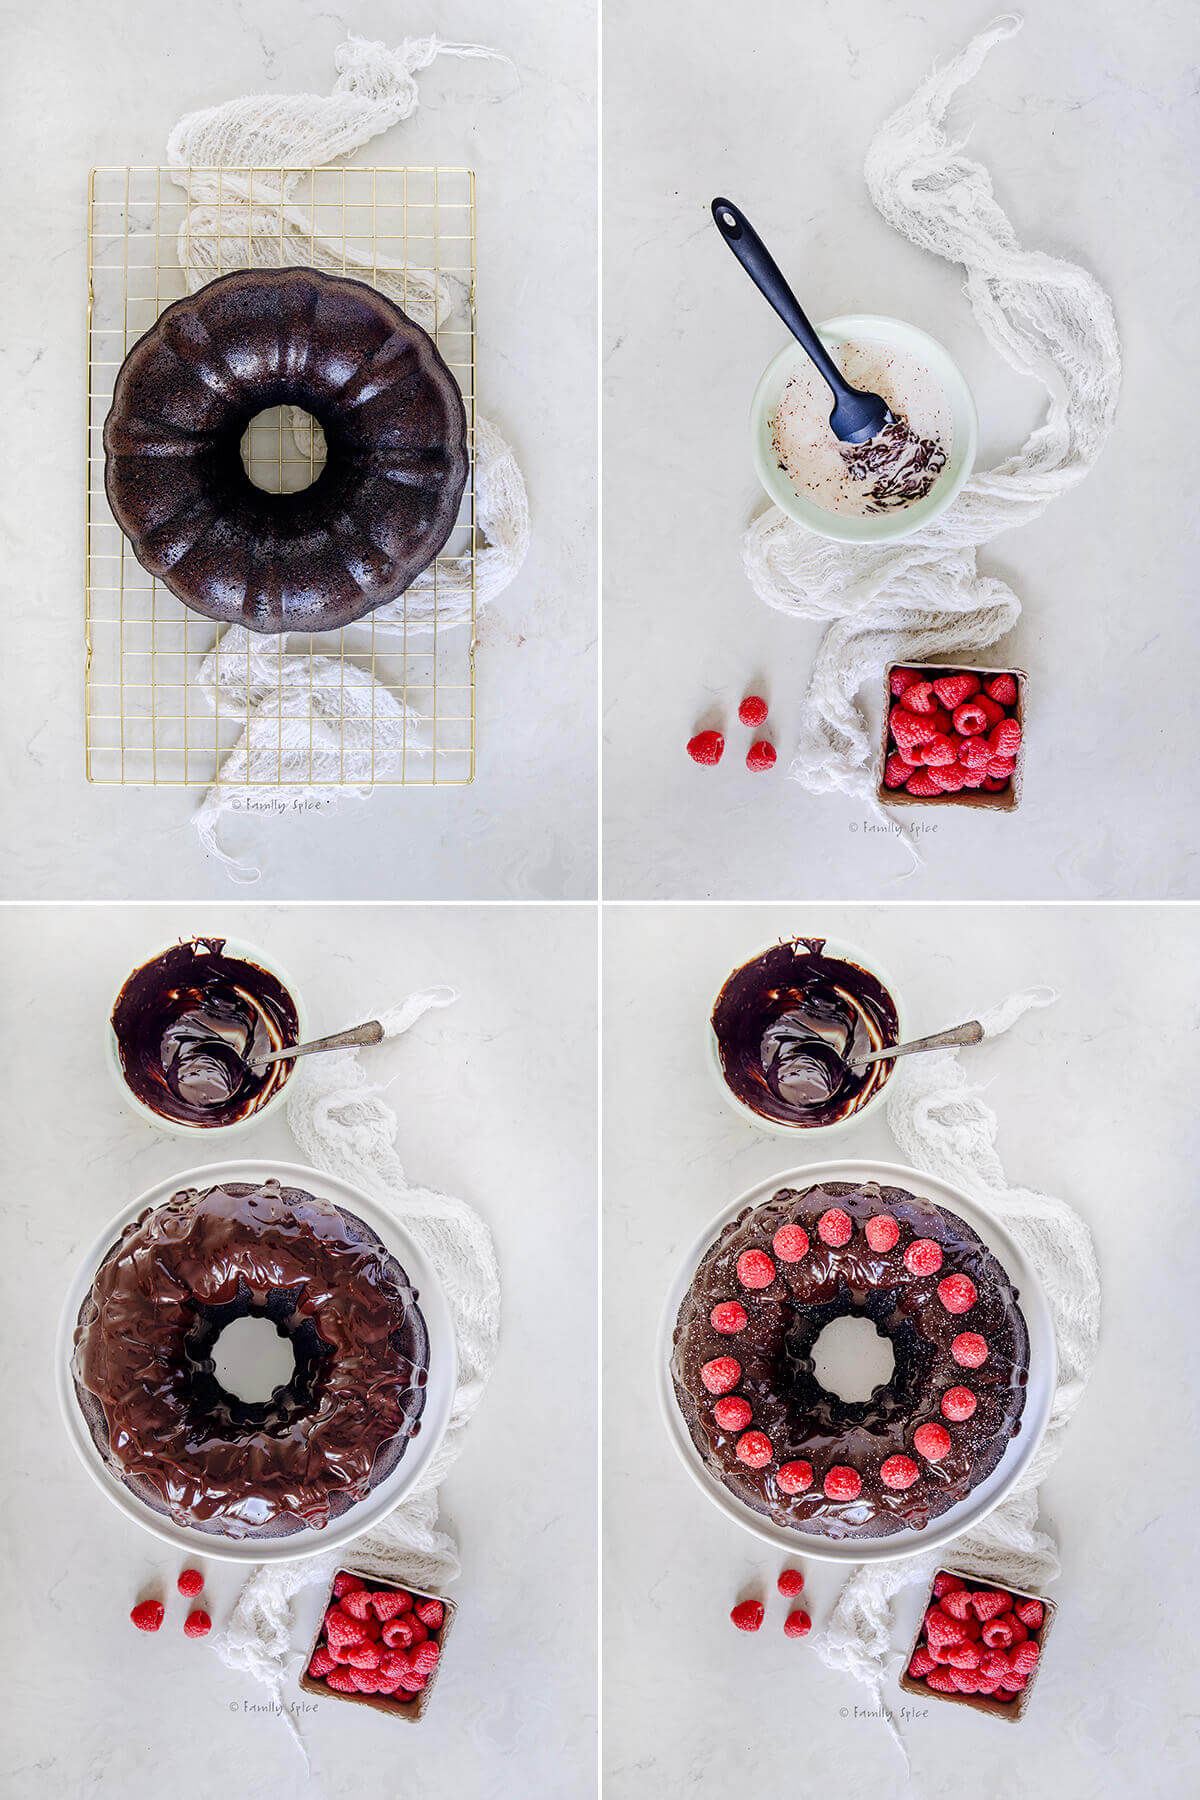
- Strain. Strain the fruit from the alcohol and discard.
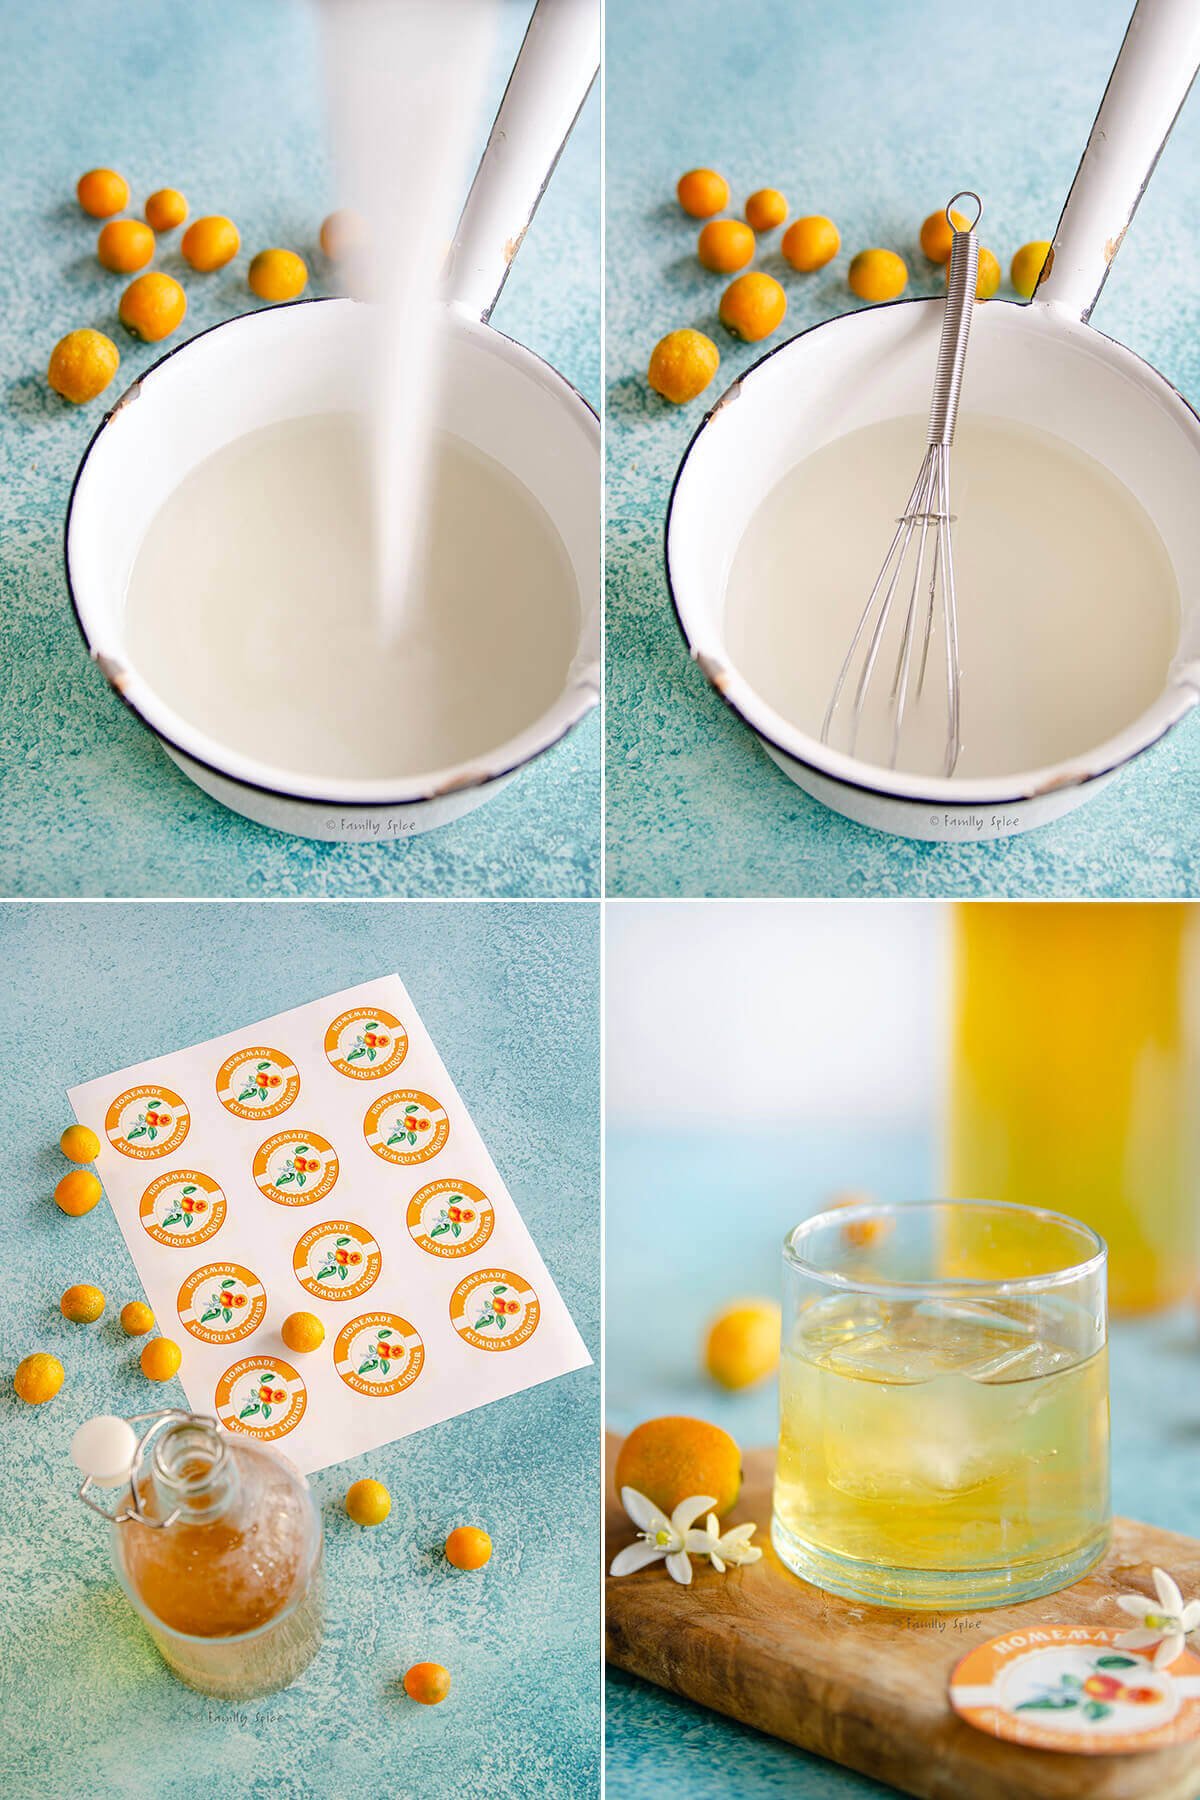
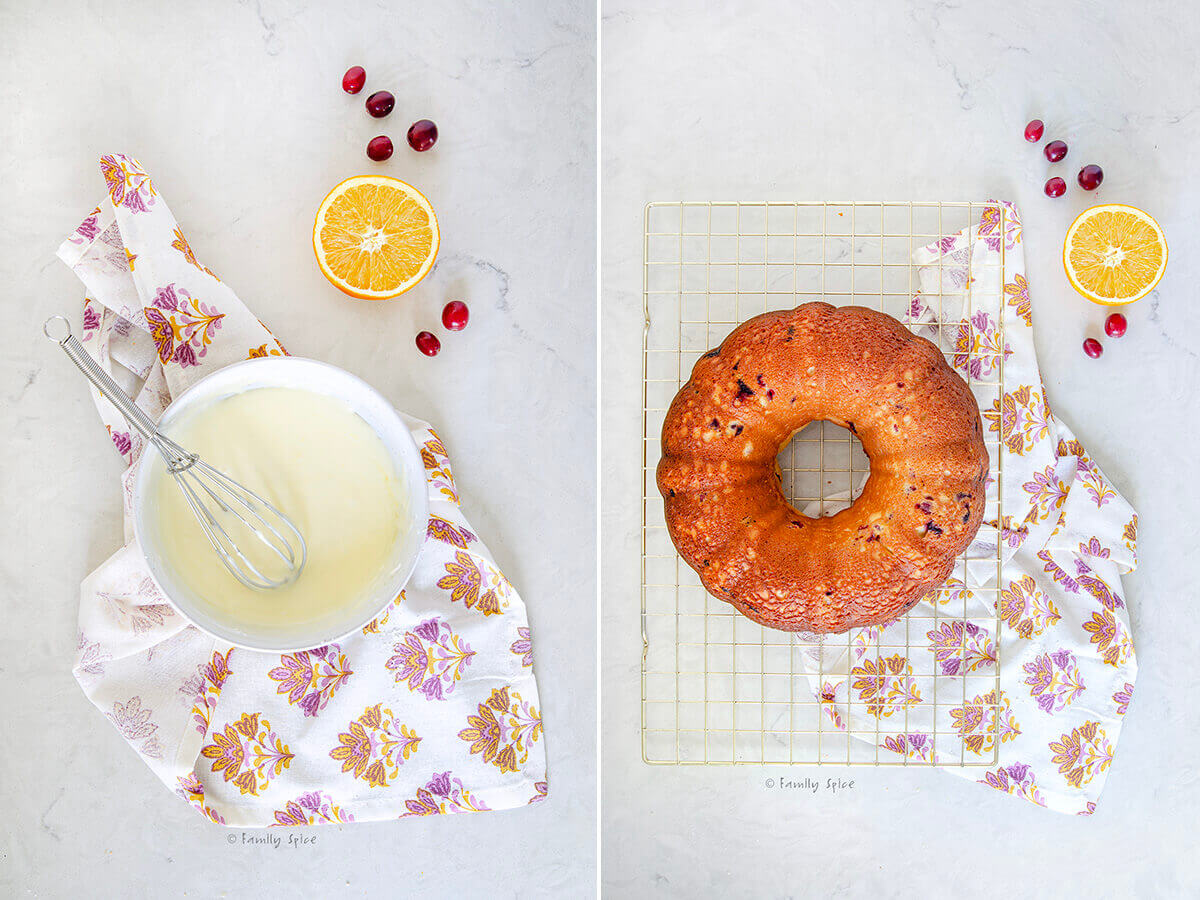
- Make the syrup. Heat the sugar and water and cook for 15 minutes, then remove from heat and cool.
- Combine. Stir sugar mixture into the alcohol. Store in the freezer until ready to serve.
Expert tips and recipe FAQs
There are a number of different ways to prepare this liqueur. You can peel the kumquats or spoon out the pulp and just use the peels. Some people feel including the inside of the fruit creates a more bitter liqueur.
Another method involves poking holes in the whole kumquat, immerse them in everclear with the sugar and letting it infuse together.
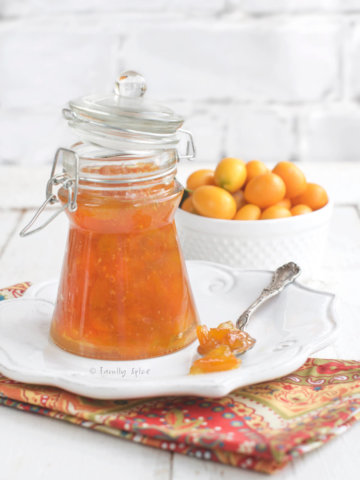
If you want to enjoy a glass of kumquat liqueur and you don’t have a bushel of kumquats or time for an infusion, spoon a little kumquat marmalade into some vodka with a splash of soda water and enjoy!
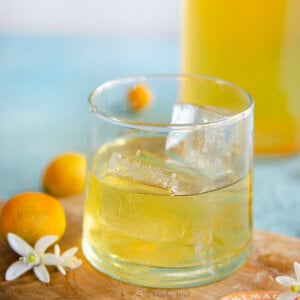
You can also skip the simple syrup and enjoy your kumquat vodka for other cocktails!
This post contains some affiliate links for your convenience (which means if you make a purchase after clicking a link I will earn a small commission but it won’t cost you a penny more)! Read my full disclosure policy
For additional flavor, you can add to the infusion:
I created a free printable if you are giving these as gifts. You can find my free kumquat liqueur label here. You can cut them out by hand or with a 2-inch circle cutter.
Storing/Freezing Instructions
TO STORE: Store your liqueur in a glass bottle and refrigerate for a month or two. If you did not add the simple syrup, your kumquat vodka will last indefinitely, even at room temperature.
TO FREEZE: You can also keep your bottle of kumquat liqueur in the freezer for up to one year, possibly longer. Because it is alcohol, it will not turn to ice.
SIGNS TO LOOK FOR: If your liqueur tastes funny or changes color, it has gone bad and should be discarded.
Traditionally, kumquat liqueur is made with grain alcohol, or everclear. But this can be difficult to find, so vodka is a great alternative.
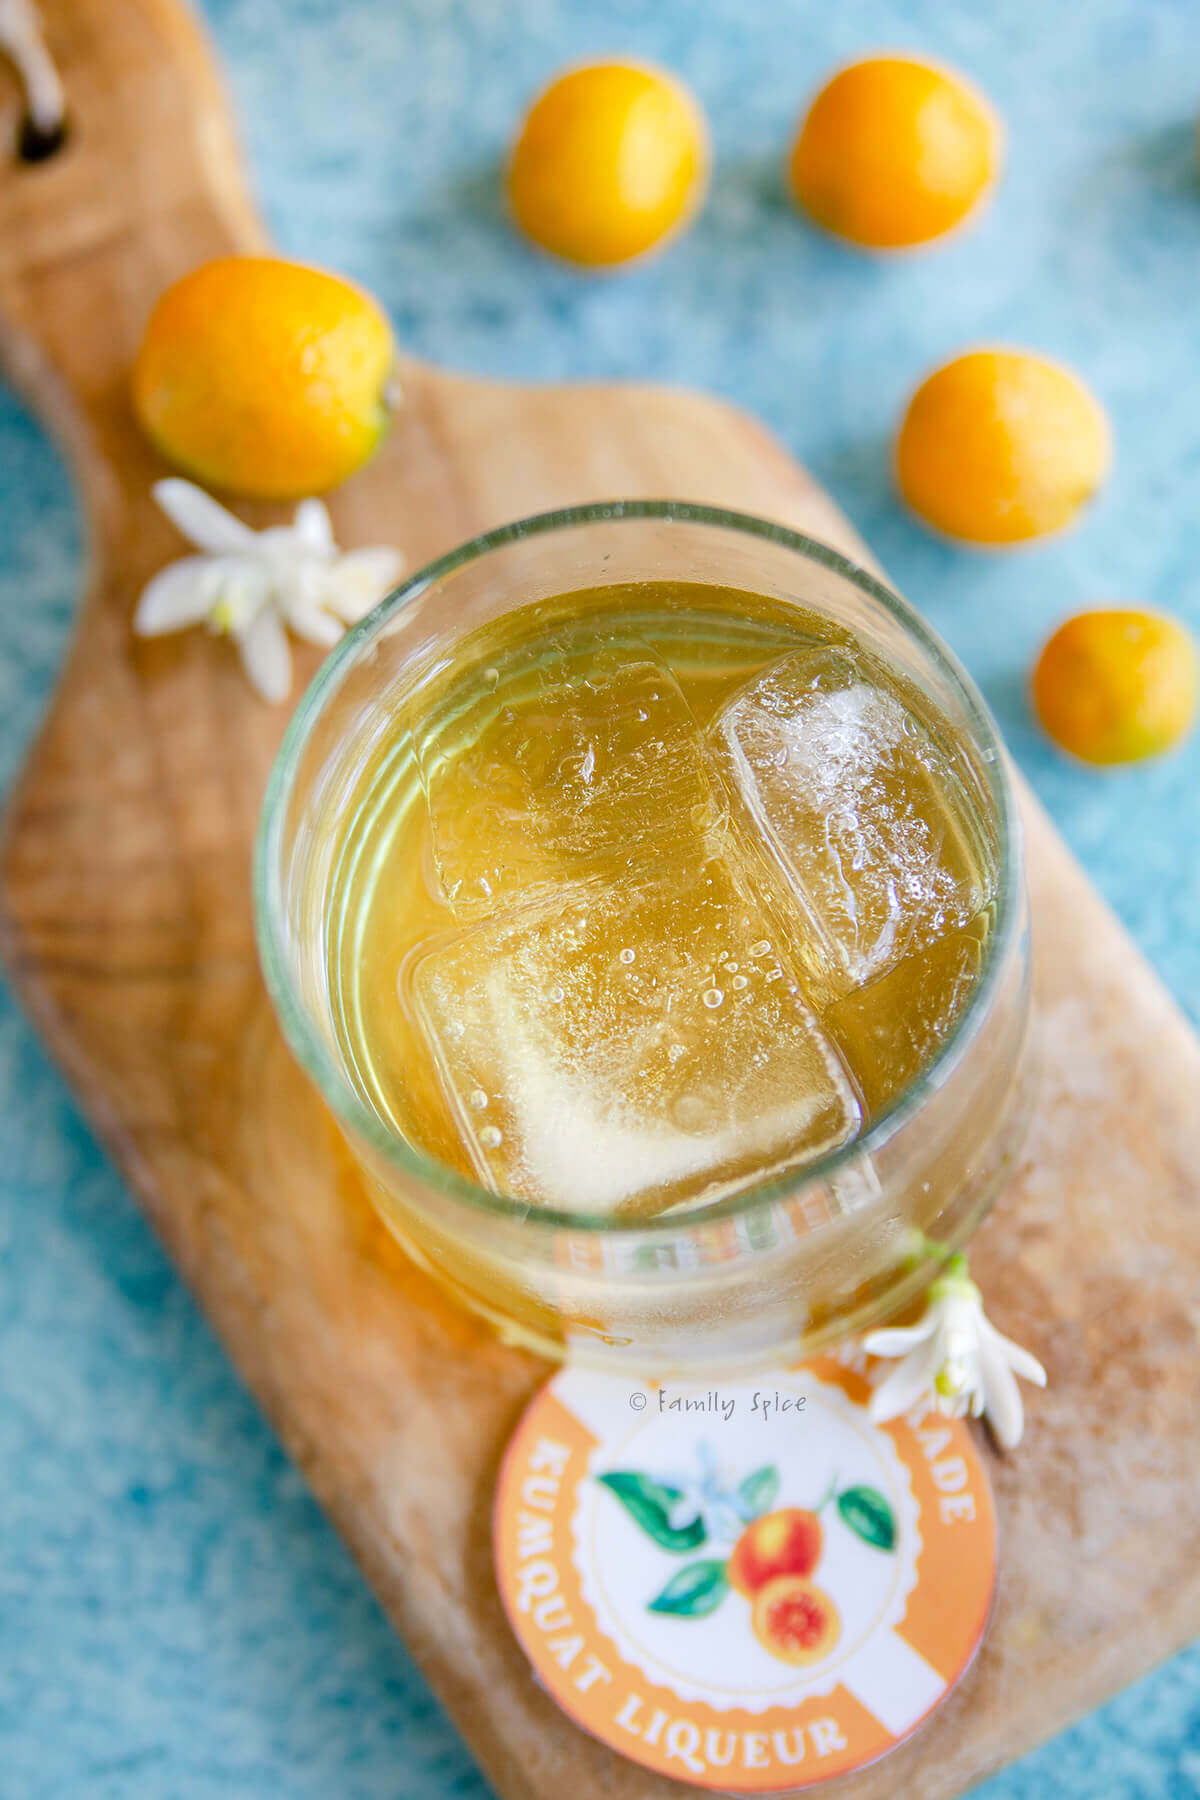
You can use it in cocktails, drizzle a little into champagne, mix with soda water, or serve it as a small after-dinner sip.
Yes, the entire fruit is edible. Kumquats are unique because their peel is sweet and their juice is tart. Enjoy them whole for the best flavor balance.
Homemade Kumquat Liqueur
Ingredients
- 30-40 kumquats approximately
- 3 cups everclear alcohol or vodka
- 2 cup granulated sugar
- 2 cup water
Instructions
- Wash and clean kumquats with hot water. Cut the kumquats in half and remove the seeds.
- Place the kumquat halves in a large glass jar and pour over it with everclear or vodka.
- Cover the container and let it sit for at least 10 days and up to 40 in a cool dark place. No need to stir during that time.
- Strain the kumquats from the alcohol and discard the fruit.
- In a large saucepan over medium heat stir together sugar and water. Cook for 15 minutes, then remove from heat and cool.
- Add sugar mixture to the kumquat infused alcohol.
- Store in the freezer until ready to serve.
Notes
Nutrition
Nutrition Disclaimer
Nutritional information is an estimate provided to you as a courtesy. You should calculate the actual nutritional information with the products and brands you are using with your preferred nutritional calculator.
PS If you try this recipe, why not leave a star rating in the recipe card right below and/or a review in the comment section further down the page? I always appreciate your feedback.
You can also follow me on Pinterest, Facebook or Instagram. Sign up for my eMail list, too!
Written by Laura Bashar
Hi, I’m Laura, a certified professional cook and cookbook author living in San Diego. I have been sharing my family’s favorite recipes inspired from all over the world since 2008. Let’s cook up something fun!