


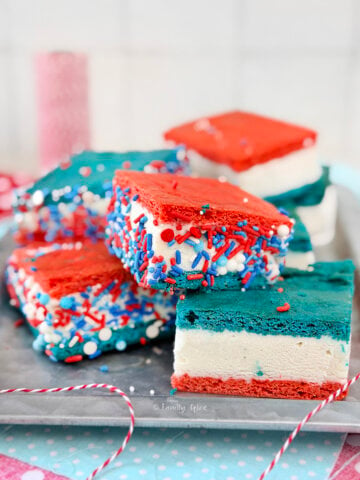
These vegan cake pops are dairy-free and egg-free and make a festive addition to any celebration or party. Don’t let food allergies keep you from enjoying these delicious treats!
We found out when my sweet little nephew was a baby that he absolutely could not eat dairy. When he was tested for more allergies, it was discovered that he was allergic to eggs, as well.
His parents took on this challenge full on. Me being the only baker in the family, I began my journey into making vegan friendly cakes, cookies and other treats so our boy could enjoy desserts for any special occasion.
I have been making his birthday cakes for the past 8 years. Whether it’s a simple layered cake or a monster truck mountain, I have loved seeing that his food allergies did not prevent him from having the birthday cake of his dreams.
He took his first bite of a cake pop a few years ago. A big smile spread over his face and told his allergy free little brother, “No wonder you always ask for a cake pop at Starbucks!”
Jump to:
Recipe highlights
- Simple: I break down the steps and give you lots of tips on how to make these cake pops without stress.
- Versatile: I give you several options on what kind of binder you can use to make the cake balls, so you can control the sugar and sweetness.
- Tested Results: I spent a small fortune on vegan chocolate and melting wafers to see which coats the cake pops the best and share these insights with you.
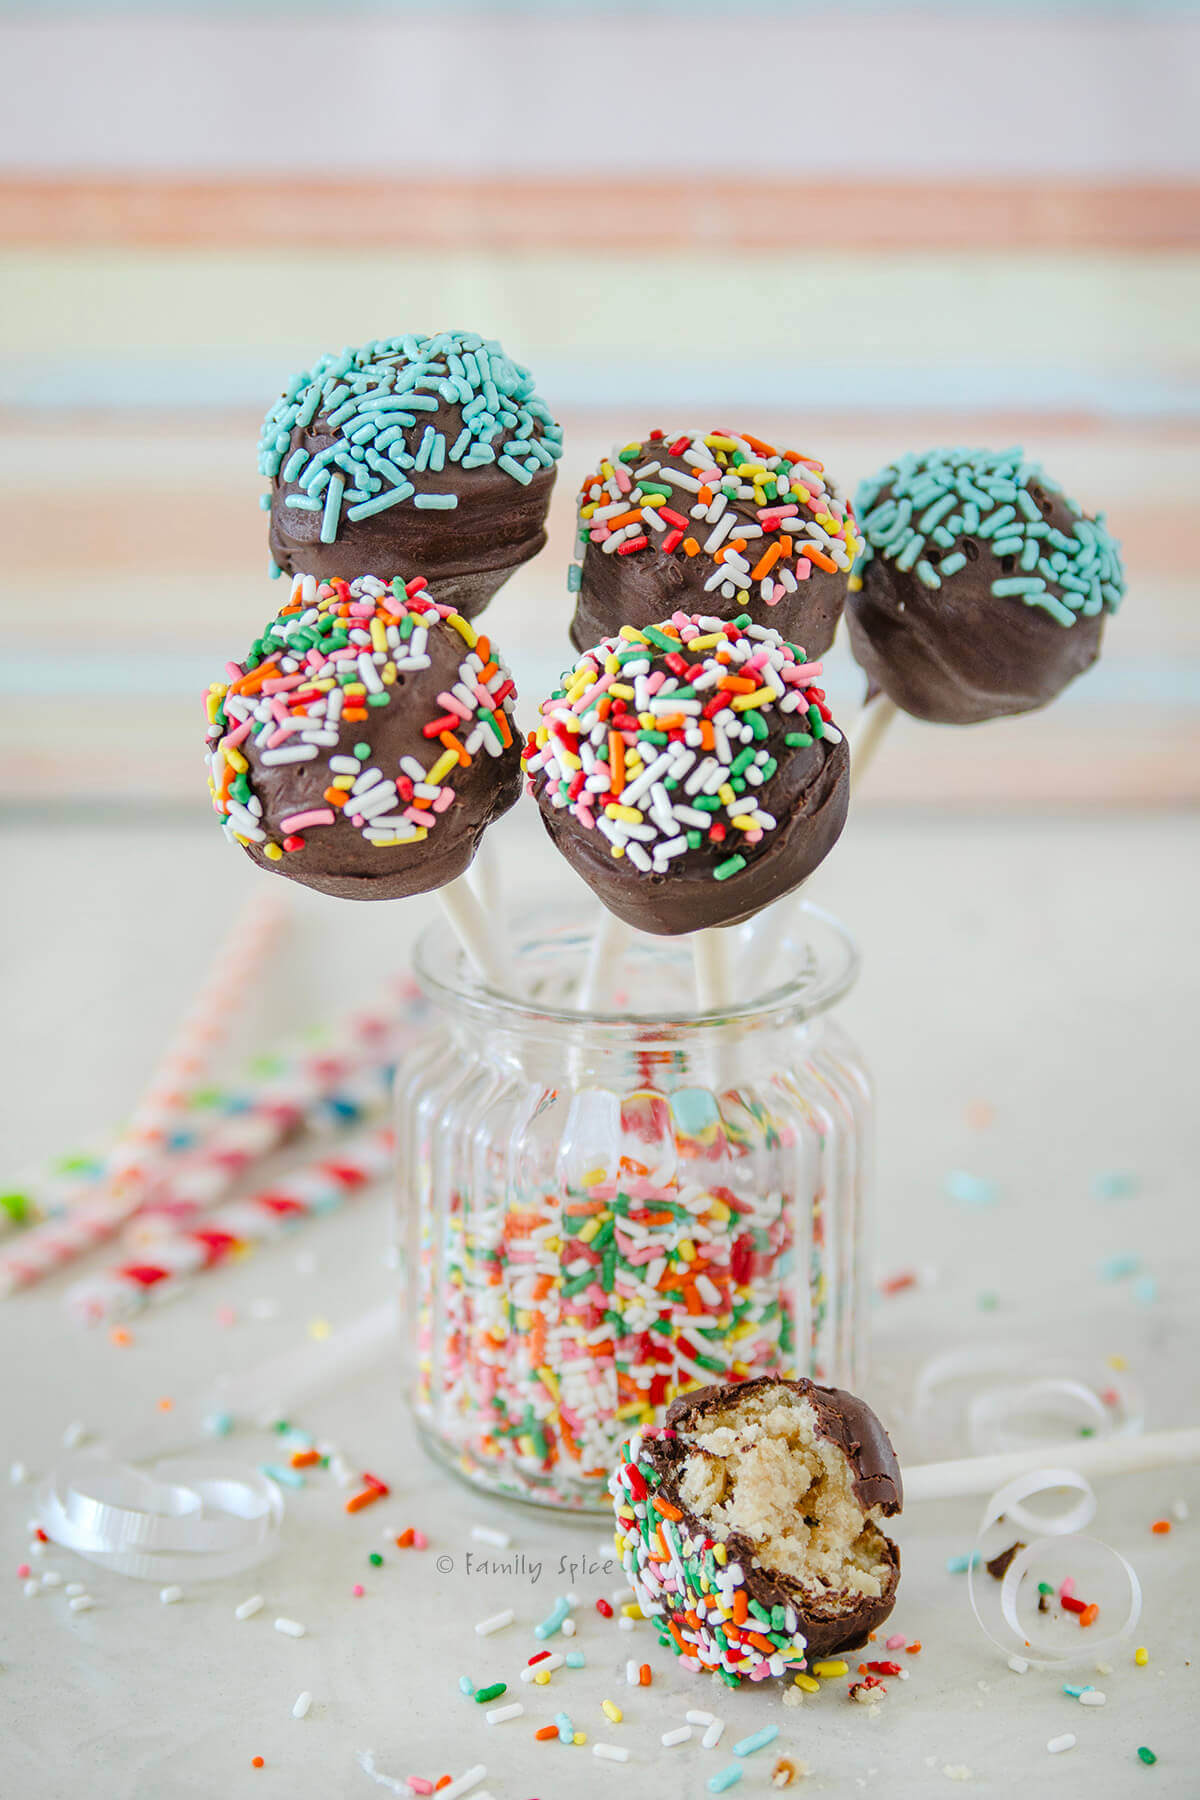
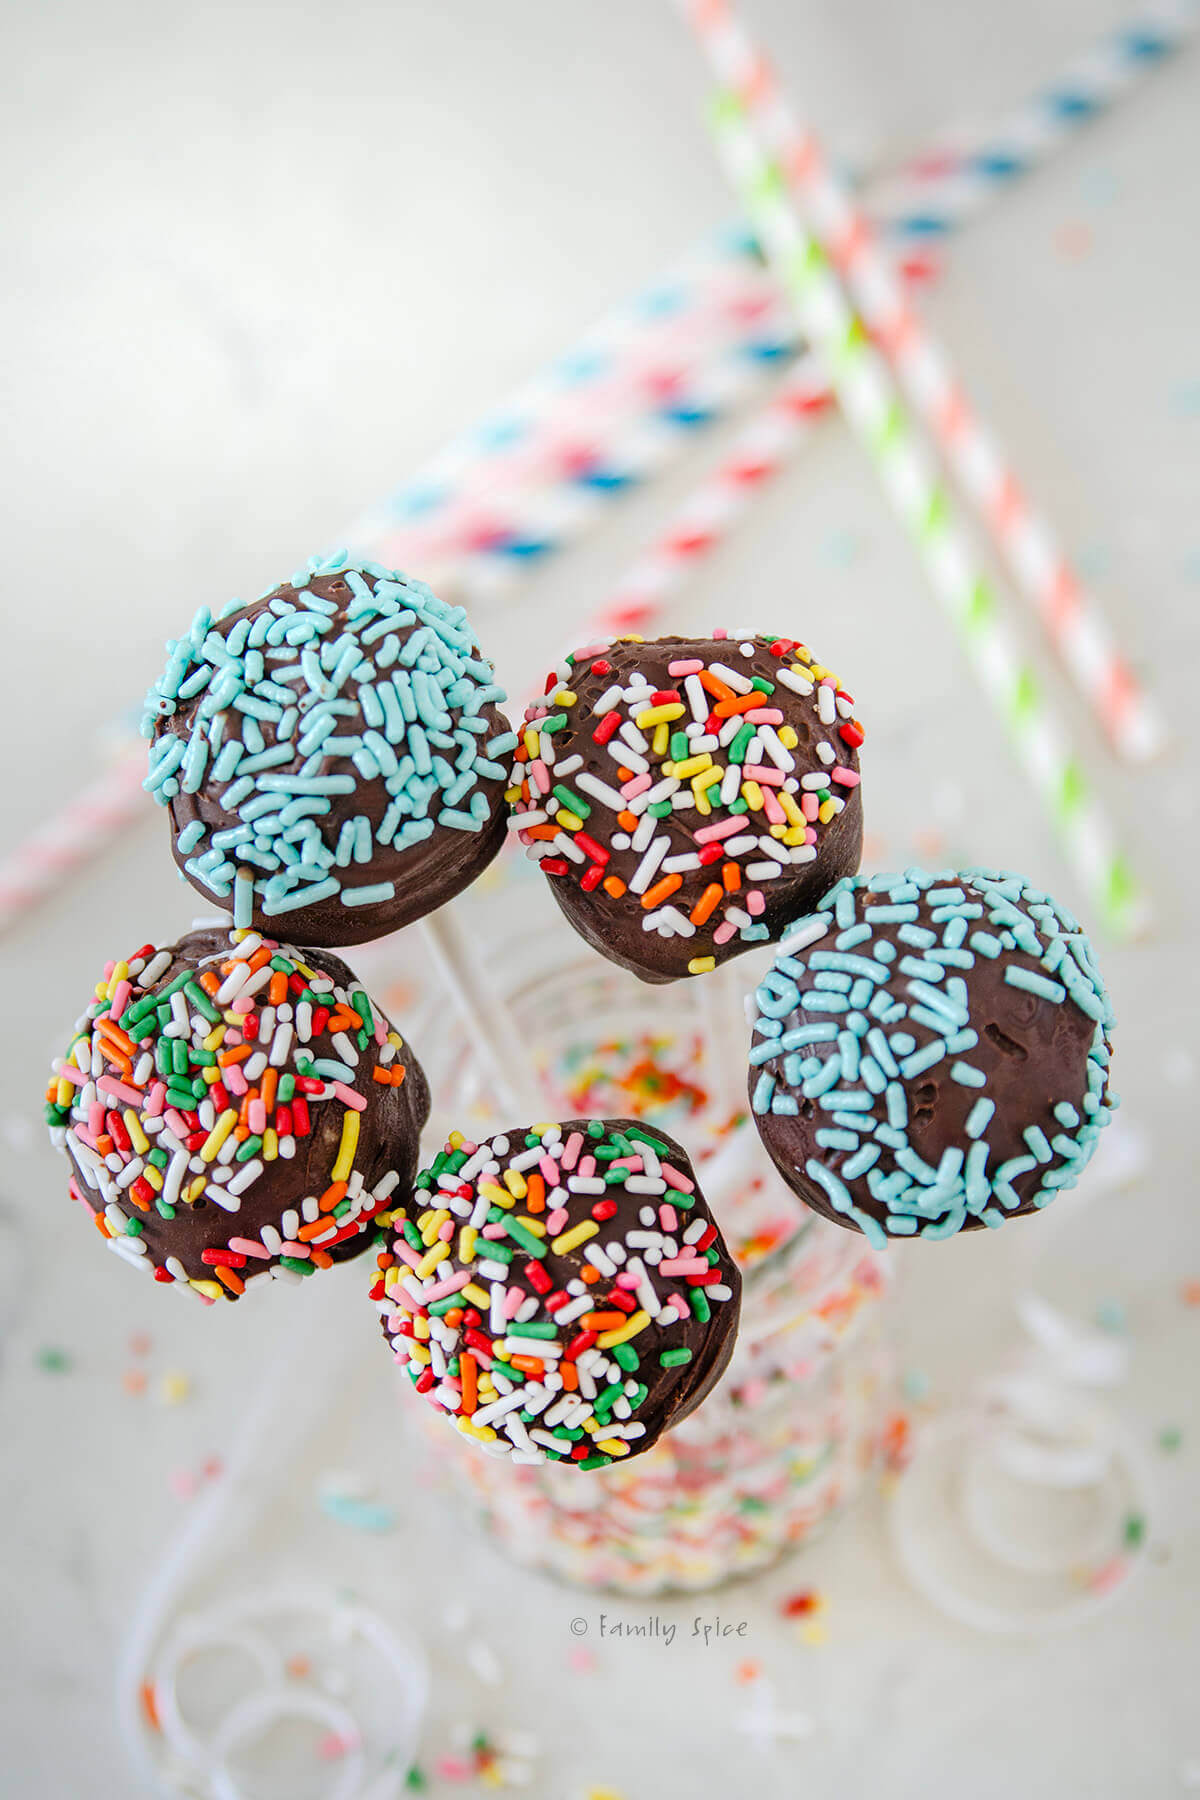
- Customize them: Go simple with just a chocolate dipped cake pop, adorn it with sprinkles or form them into whatever your heart desires! I made some camouflage cake balls for another sweet boy with food allergies.
No birthday should go without some sort of birthday cake, even if you have food allergies.
Vegan cake pops are made similarly to regular cake pops: cake scraps broken into crumbs and mixed with a binder (usually frosting) and formed into balls. The balls are frozen and then dipped into melted chocolate or candy melts.
You can use any vegan cake and I offer a variety of vegan binders you can use to form the balls. There are a variety of dairy-free chocolates you can melt and dip the cake balls in. In no time, you have a delicious allergy friendly treat!
Ingredients needed
This post contains some affiliate links for your convenience (which means if you make a purchase after clicking a link I will earn a small commission but it won’t cost you a penny more)! Read my full disclosure policy
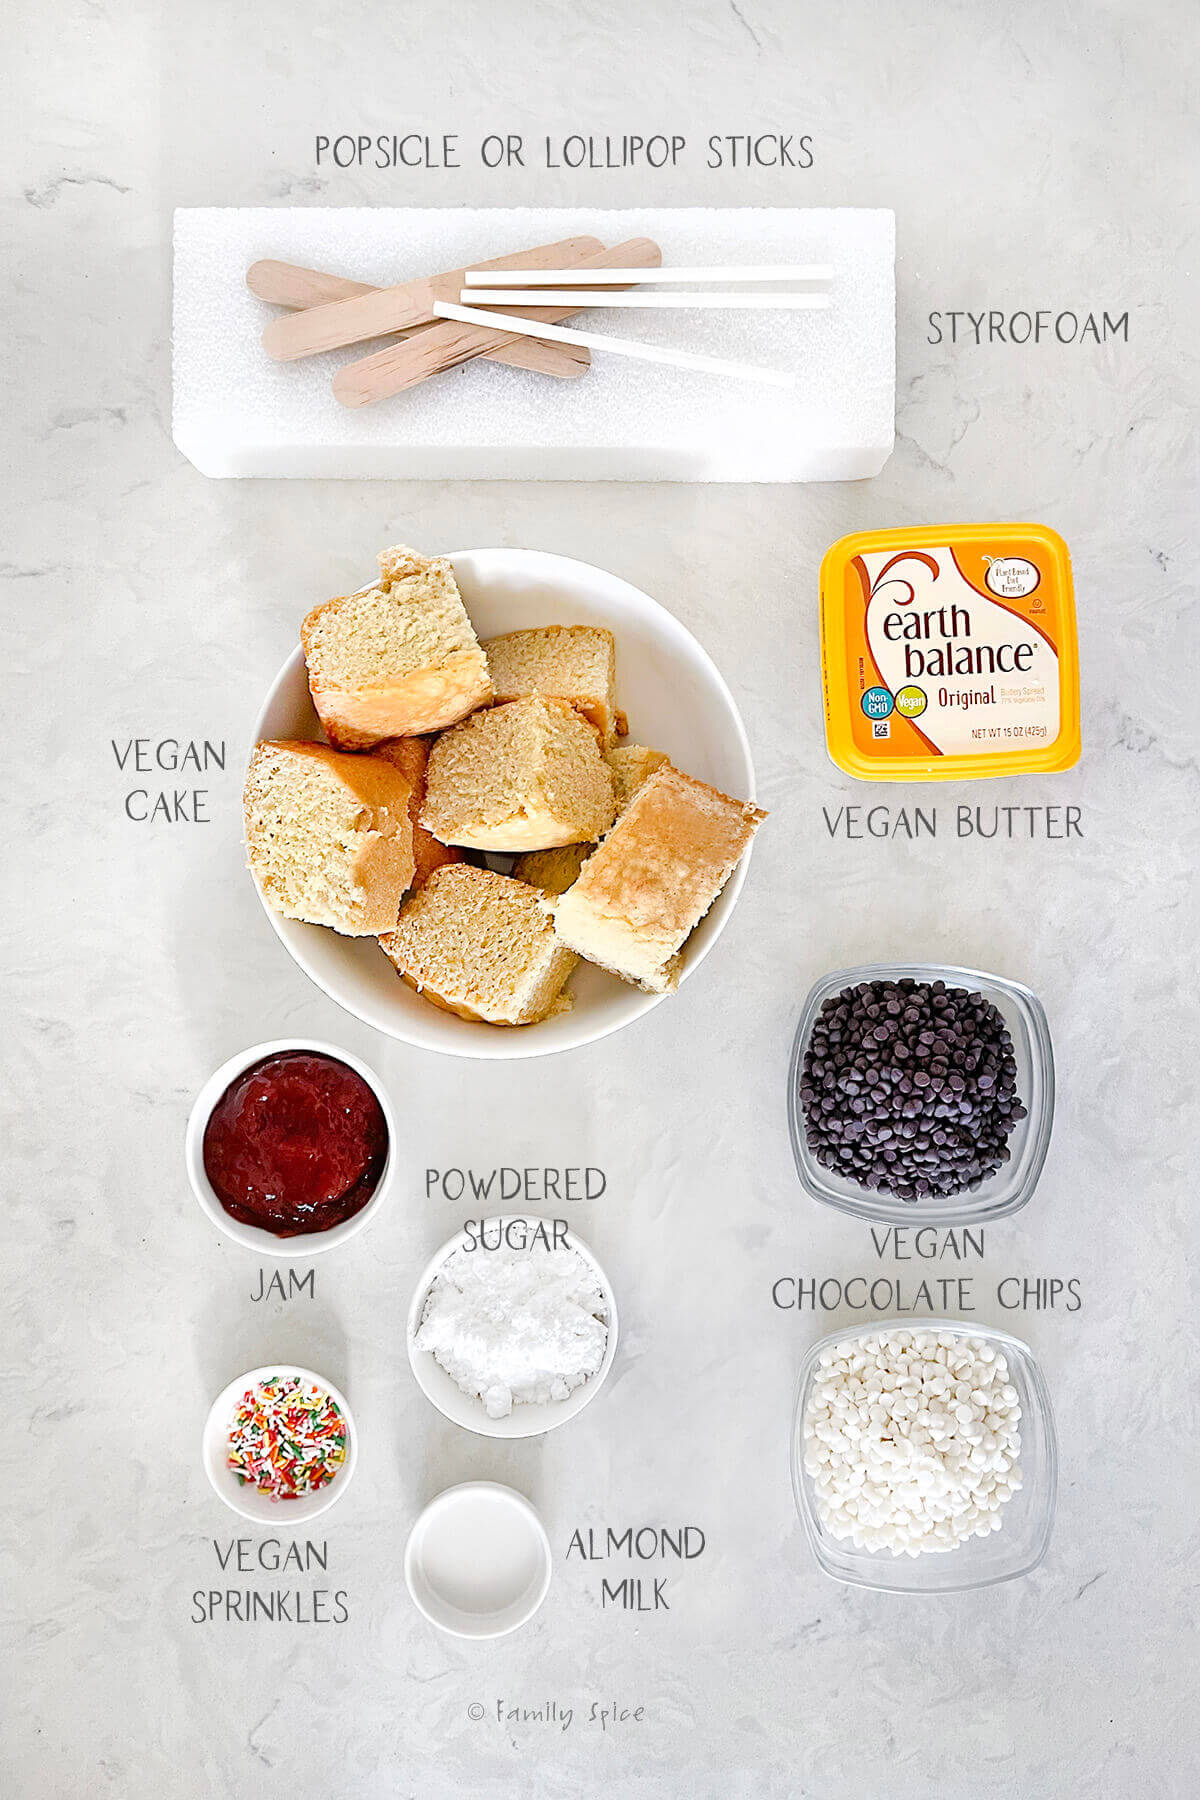
- Vegan cake: You can use leftover cake, cake scraps or bake a vegan cake specifically to make cake pops. I used leftovers from my vegan birthday cake recipe for these cake pops.
- Vegan frosting: If you have leftover frosting, feel free to use it for the binder. I made a small batch of vegan frosting for the binder of these cake pops by mixing vegan butter, powdered sugar and almond milk.
- Jam: Instead of vegan frosting you can also use any flavor of fruit jam (homemade or store bought) as your binder.
- Vegan cream cheese: Another binder option besides vegan frosting and jam is to simply use vegan cream cheese.
- Vegan butter: I add a dab of vegan butter to the chocolate while it melts. You can also use coconut oil.
- Vegan chocolate chips: I used Enjoy Life’s allergy friendly milk chocolate chips and white chocolate chips to coat the cake balls. I personally struggled with melting the white chocolate chips. See my notes in FAQ section of this post for more on this.
- Vegan sprinkles: You can dip the cake pops in sprinkles or not. My little nephew LOVES sprinkles so I used them.
- You will also need lollipop or popsicle sticks to insert into each cake pop. You can also use bamboo skewers. To aid in the assembly process, I like to use a floral or styrofoam block to insert the cake pops after dipping in the melted chocolate.
Step-by-step directions

- Break down cake. Place cake pieces in a bowl and work into uniform crumbs.
- Mix in a binder. Add enough binder for the “dough” to hold its shape when formed into balls. You can use fruit jam, vegan frosting or vegan cream cheese.
- Form balls and freeze. Scoop mixture, roll into 1-inch balls, place on a baking sheet and freeze at least 1 hour. A quarter sheet baking pan are small enough to fit in my freezer.
- Melt chocolate. Melt vegan chocolate in a double boiler. Add vegan butter and gently heat until melted. Do not get any water in the chocolate or it will seize.
- White chocolate burns VERYY easily and should be melted more slowly than regular chocolate.
- You can melt vegan chocolate in the microwave, but be sure to heat in small increments, 20-30 seconds, and stir between heat cycles.
- I do not recommend melting white chocolate in the microwave unless you can reduce the heat intensity.
Want to save this recipe?

- Insert the stick. Dip the tip of a lollipop stick into the melted chocolate then insert it gently into each frozen cake ball.
- Coat in melted chocolate. Dip each cake ball into the melted chocolate and smooth it out with a butter knife or rubber scraper. Keep rotating it to keep the chocolate from dripping.
- Add sprinkles and set. If using sprinkles, roll it in a plate of sprinkles. Place the stick of the cake pop into styrofoam and let the chocolate harden and set.
Expert tips and recipe FAQs
As I mentioned above, I tried melting the Enjoy Life white chocolates and struggled with it. Melting white chocolate is always a bit of a challenge, but I felt like this particular brand was extra finicky.
Next time I will try melting it with some coconut oil, since vegan butter has small amounts of water. Maybe this will keep it from seizing and create a smooth melt.
I wanted to dye the white chocolate, but you can only dye chocolates using OIL based food dyes otherwise the chocolate will seize. Unfortunately, it was seizing on me and I threw out 2 bags of seized white chocolate. I dipped the cake pops in the melted milk chocolate without any issues.
I have found vegan melting wafers on Amazon, but have not yet tried working with them yet. As you may know, these products are expensive and I had already spent $40 on vegan chocolates of various types.
The next time I make some cake pops I will try the vegan melting wafers and report back here.
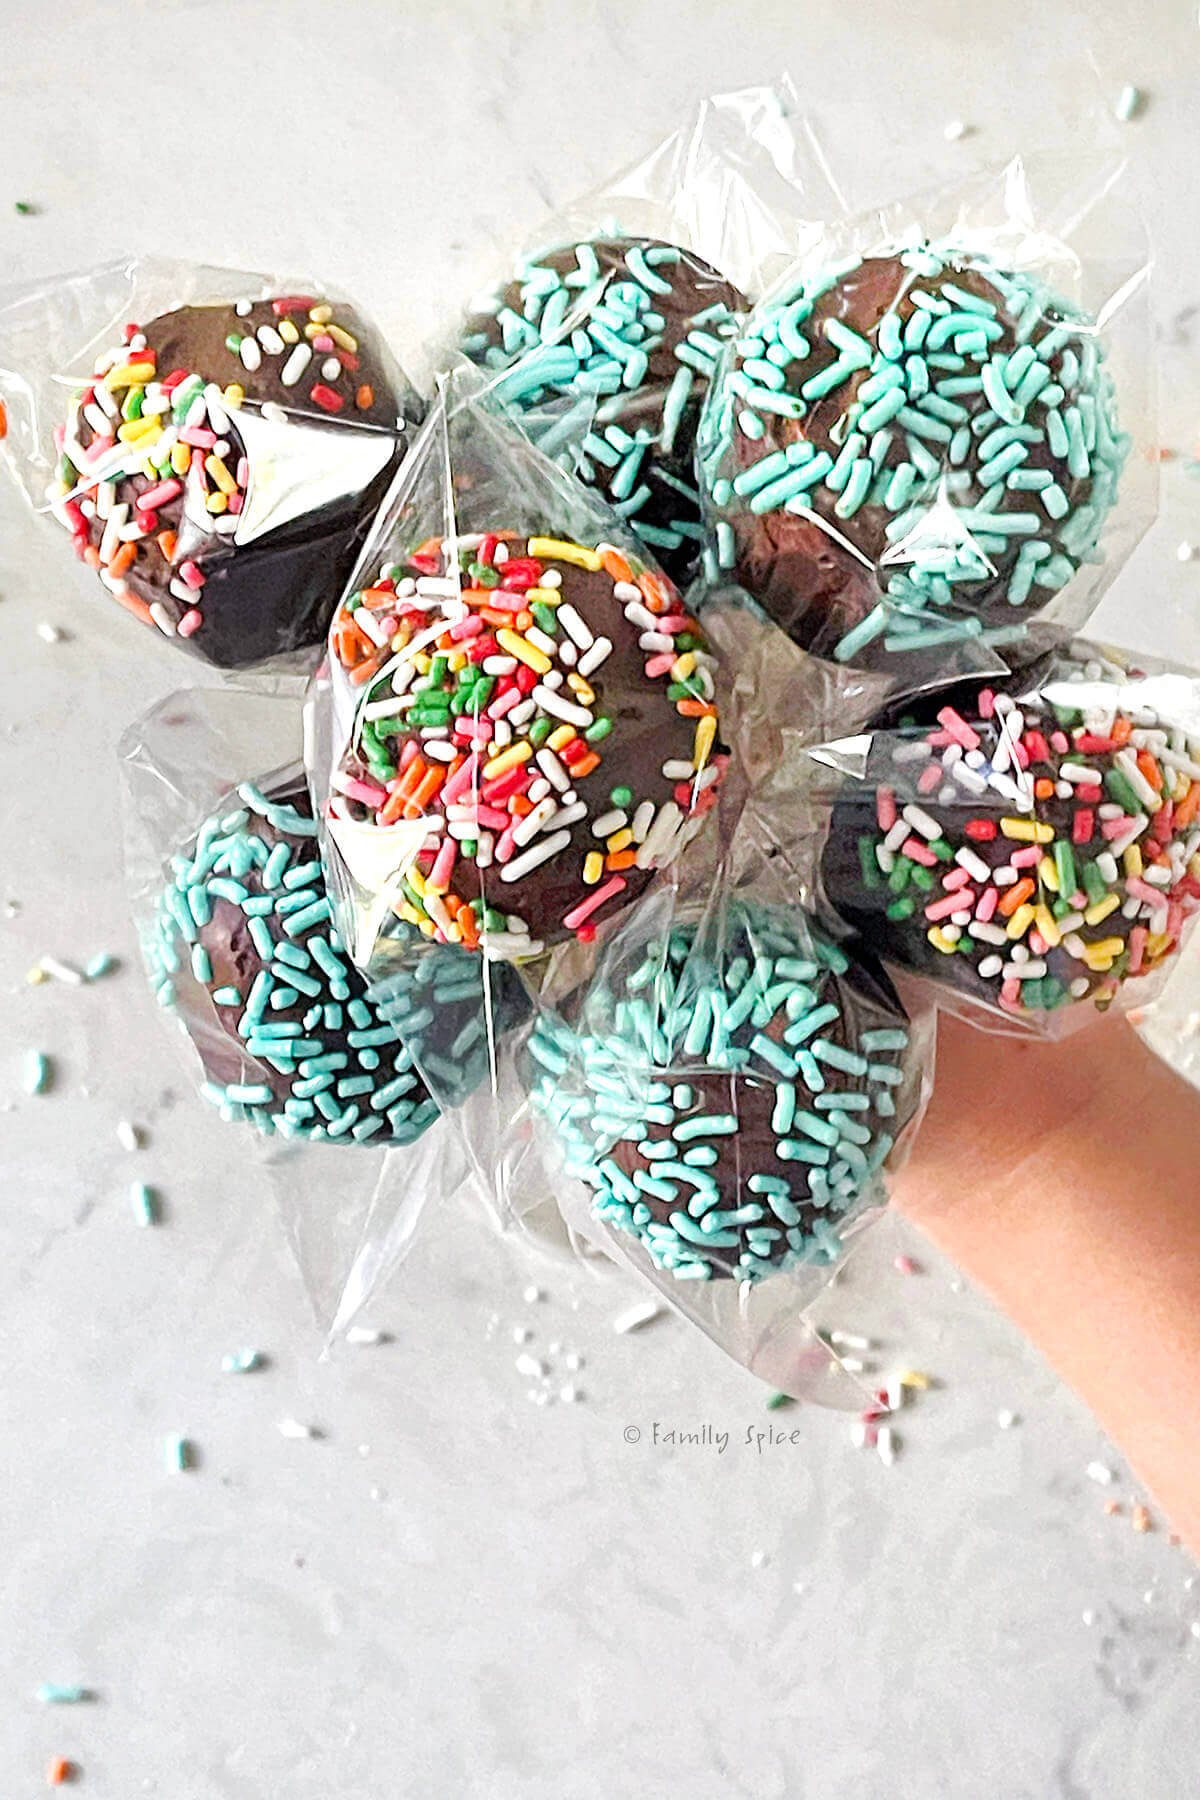
Once all the chocolate has set on the cake pops, I wrapped them in these lollipop bags. This helped them keep longer and made them travel friendly.
Storing/Freezing Instructions
TO STORE: These cake pops will keep in the refrigerator for up to one week.
TO FREEZE: You can also freeze them for up to 4 months.
Yes! Bake the cake a day or two ahead of assembling the pops. Once crumbled and mixed with the binder, they can be rolled into balls and frozen for up to 2 months. Transfer frozen cake balls to a resealable freezer bag and store in the freezer until you are ready to coat and finish.

If you are enjoying my recipes, please sign up for my newsletter and get my free 28-day meal plan! You can also follow me on Instagram or Facebook.

Vegan Cake Pops
Ingredients
- 4 lbs vegan cake
- 1 cup vegan frosting
- 10 oz vegan chocolate chips
- 3 tablespoon vegan butter
- ¼ cup vegan sprinkles
Instructions
- Place the pieces of cake in a mixing bowl and break it down into crumbs using your hands, fork or potato masher. You want uniform crumbs and not big chunks, otherwise the cake balls will crack and break.
- Add frosting and mix it in with the crumbs until it forms a moist dough that will hold its shape once formed into balls. See notes below for other binder options.
- Scoop out mixture and roll into balls, about 1-inch diameter, and place on a baking sheet. Freeze for at least 1 hour. If you are making these in advance of a party, transfer frozen cake balls to a resealable freezer bag and store in the freezer until you are ready to use.
- Place your vegan chocolate in a double boiler. Add vegan butter and gently heat until melted. Do not get any water in the chocolate or it will seize.
- Dip the tip of the popsicle or lollipop stick into the melted chocolate and insert gently into each frozen cake ball. The chocolate will harden quickly setting the glue that that holds the stick in place.
- Working one at a time, dip each cake ball into the melted chocolate. Use a butter knife or rubber scraper to smooth it out. Keep rotating the cake ball to keep the chocolate from dripping. As it chills, it will start to set.
- If using sprinkles, place them in a small bowl or plate and dip the still wet chocolate covered cake ball into the sprinkles. Place the stick of the cake pop into a brick of styrofoam and let the chocolate harden and set.
Notes
Nutrition
Nutrition Disclaimer
Nutritional information is an estimate provided to you as a courtesy. You should calculate the actual nutritional information with the products and brands you are using with your preferred nutritional calculator.
PS If you try this recipe, why not leave a star rating in the recipe card right below and/or a review in the comment section further down the page? I always appreciate your feedback.
You can also follow me on Pinterest, Facebook or Instagram. Sign up for my eMail list, too!
Written by Laura Bashar
Hi, I’m Laura, a certified professional cook and cookbook author living in San Diego. I have been sharing my family’s favorite recipes inspired from all over the world since 2008. Let’s cook up something fun!
A wonderful vegan option, because you never know who has an egg or dairy allergy. Vegan cake pops are a much more inclusive treat to serve to a group. Thank you!