


Make your own viral-style number birthday cake at home! I’ll walk you through all the tips and tricks to create a stunning, bakery-worthy cake decorated with fruit, flowers, candies, or cookies. Perfect for any celebration!

I don’t know what happened, but my baby just turned 20. I officially do NOT have teenagers anymore. Of course, in my eyes, all three will always be my babies.
I have always made my kids’ birthday cakes. In the early days, they were kinda wonky and nothing elaborate. But over time, with lots of practice, I got better and more creative with their cakes.
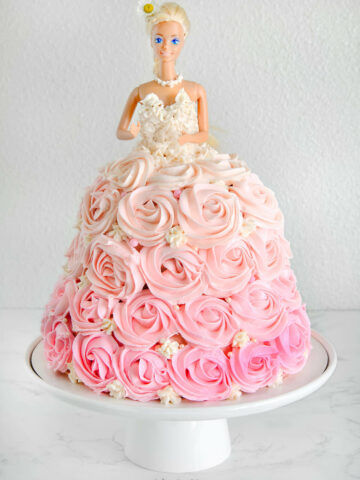
From kool-aid cakes to barbie cakes to ice cream cakes, I have made happily them all. I even make wild birthday cakes for my little nephews. So this year, to commemorate my little girl turning 20, I decided to go wild and make a number birthday cake.
Jump to:
Laura says :
Why this recipe works
- Bakery quality: You might have seen these viral number birthday cakes on social media, but you don’t have to spend a fortune to have one. I show you how to make these gorgeous cakes at home and without breaking the bank.
- Customizable: Whatever number cake you want, you can easily make it yourself. You can go over the top with the colors and garnishes or keep it simple.
- Detailed steps: I break down all the steps on how to make this cake, including any special equipment you will need. Plus, you don’t need any fancy piping skills and you can hide your mistakes with frosting and candies!
- Party ready: Number cakes are perfect for birthday parties of all sizes. This is a great cake when you have a large crowd to feed. It also makes a wonderful New Years dessert.


Ingredients needed

This post contains some affiliate links for your convenience (which means if you make a purchase after clicking a link I will earn a small commission but it won’t cost you a penny more)! Read my full disclosure policy
- Sheet cake: If you are using numbers that are 11-12 inches tall, each number will need one 2-layer cake recipe. I used my vegan birthday cake recipe for this cake, since my little nephew with food allergies was going to eat the cake, but you can use any recipe, even box mix. Just be aware that box mix cakes can be a little flimsy when cutting into different shapes. Since I was making a double digit cake, I doubled my cake batter.
- Frosting: I include my favorite buttercream recipe. I used 1 ½-pounds of butter and this gives you just enough for what you see created in the pictures. It may look a little naked, but there is plenty of frosting goodness offered. If you want to pipe flowers or use different colors, you will probably need to adjust the recipe and use 2-pounds of butter.
- Food coloring: I chose to use plain white frosting so that the colorful garnishes would pop. You can pipe your cake with different colors or however you like. For food coloring, I like to use gel food coloring so a little will go a long way.
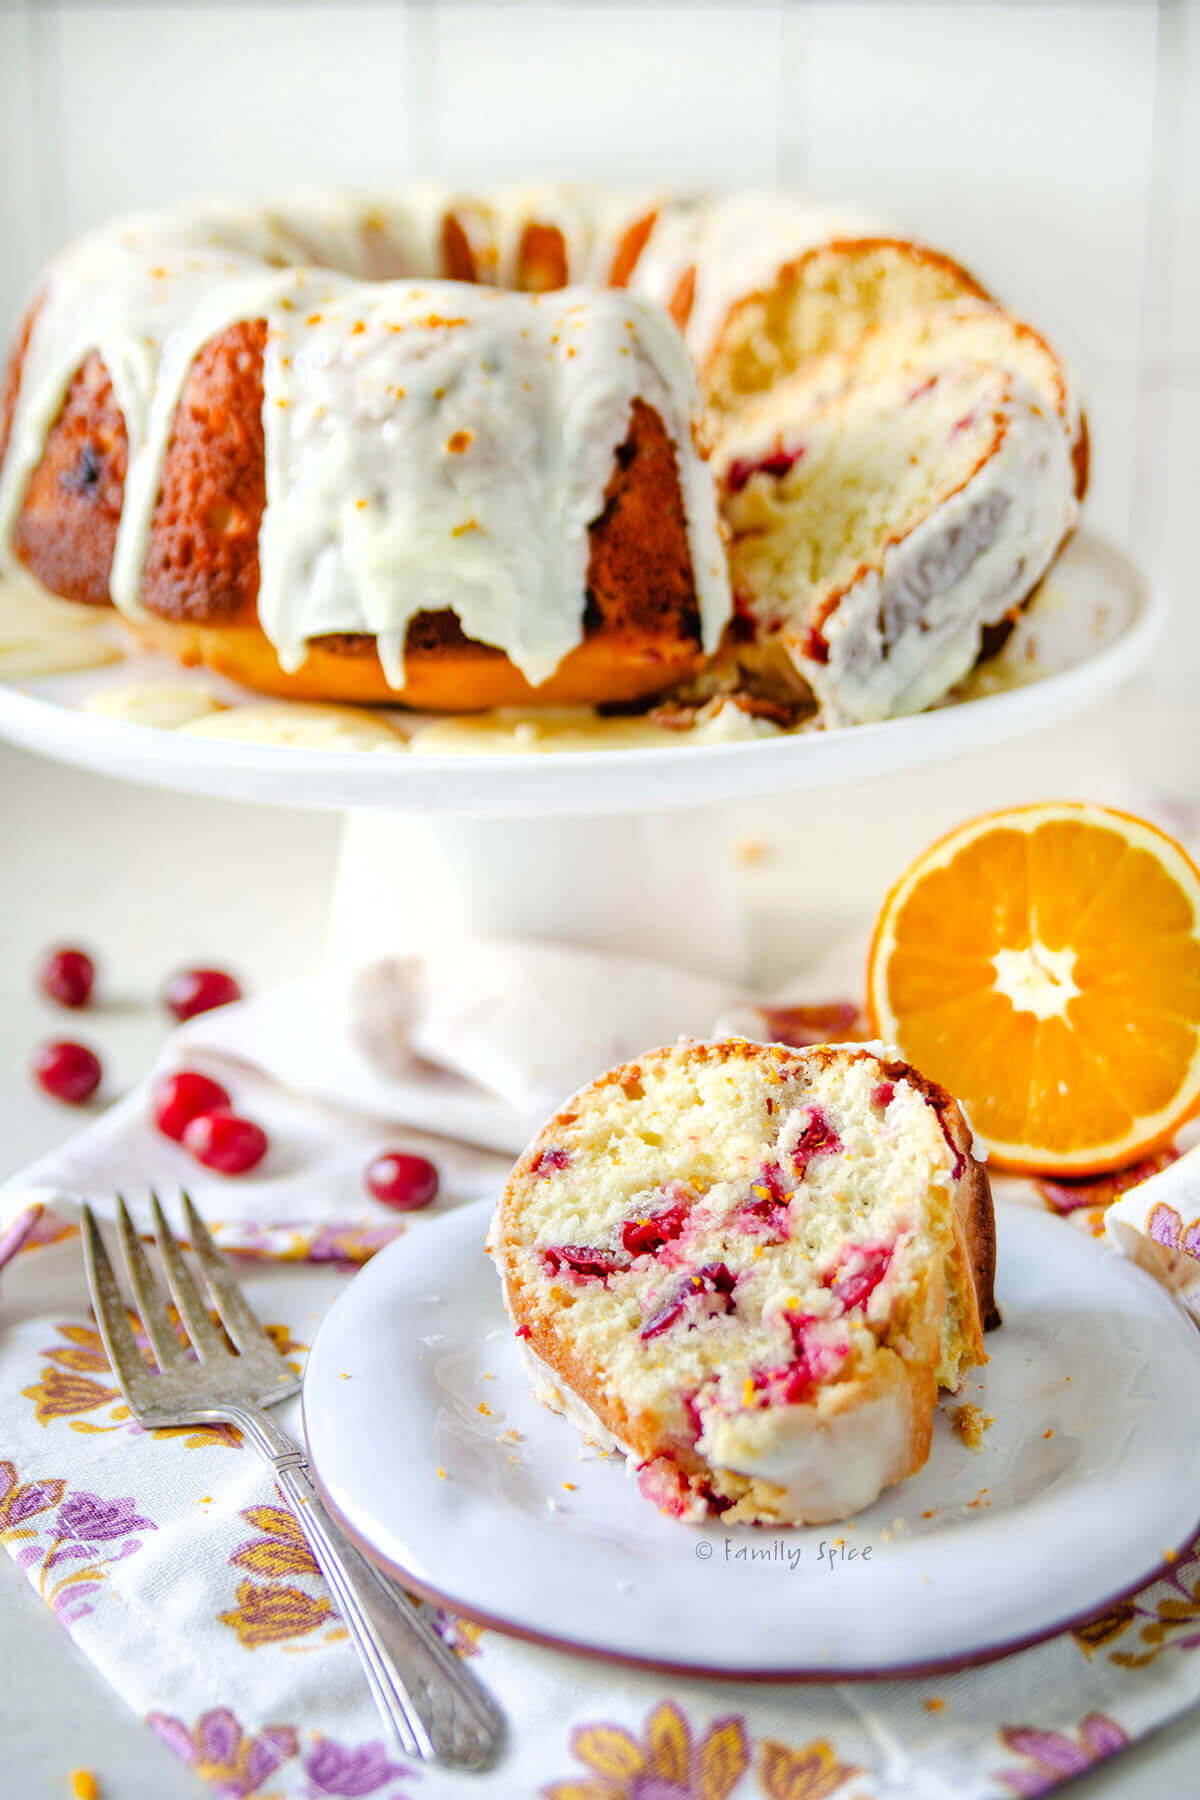
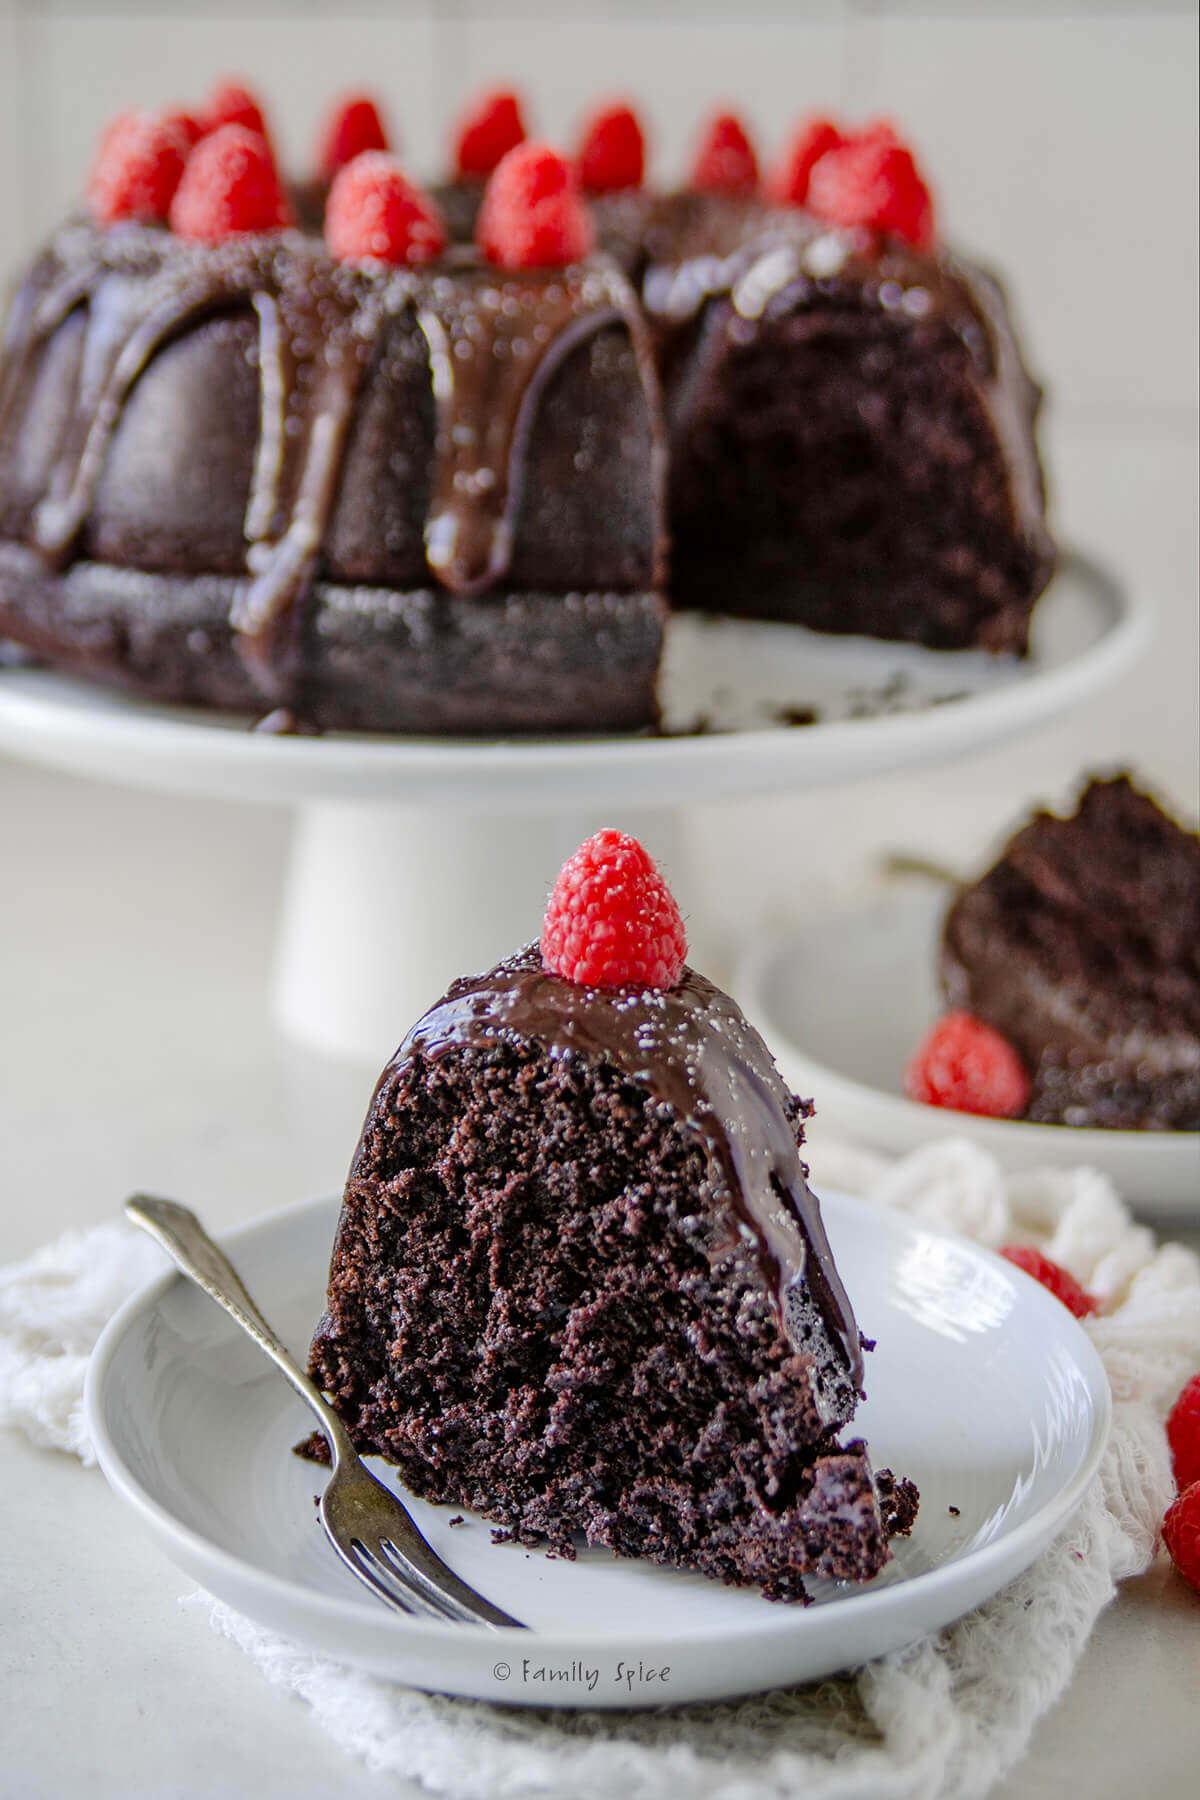
- Fruit: I am huge proponent of fresh fruit and cakes so I like to add fruits like strawberries and raspberries. You can also use blueberries, blackberries, peaches, nectarines, mangos, grapes or kiwi.
- Garnish options: You can decorate your cake as elaborately as you want, from simple to over the top! There are cake sprinkles of all kinds of colors and shapes available, plus you can use candies like gummies, chocolates or malt balls. For some added glam, you can use edible gold leaf (which I added to some white malt balls I found at Sprouts). You can also use edible flowers like roses, pansies and chamomile. Other options include cookies, yogurt covered pretzels or mini donuts.
Special equipment needed
You are making cakes in the shape of numbers. You could buy some number cake pans and bake your cake in those. I personally have too many cake pans and didn’t want to add anymore to my collection!
I chose to buy these plastic number forms (in case I wanted to do this again), but you can also make your own. Use your word processor and create a large number in any font you like and make the size as big as your cake pan allows. Print it out, cut it out and you have your one time use number form.
You will also need to place your number cake on a cake board. Double digit numbers will need a full sheet board, while single numbers need half. You can also cut your own cardboard piece and cover it with foil.
The size of your cake pan will affect how large your number cake will be. So be sure to match all this up before you bake your cake! For my double digit cake, I used my 12×18-inch cake pan. You can also use two 9×13 pans or just one if you are making a single digit cake.
You can still make a double digit cake with one 2-layer cake recipe and a 9×13 pan. The numbers will need to be smaller, 9-inches tall, but it is still doable.
Step by step directions

- Bake the cake. Mix and bake your cake in the size pan you are using. Again, I used my large 12×18 pan. Let it cool completely on a large cooling rack before cutting and decorating.
- Level the cake. You want a flat cake top, so use a long knife to cut the dome top off your cake.
- Cut the cake. Place your number forms on top of the cake and use a sharp thin knife to cut your numbers out. Save your scrap pieces of cake for snacking or cake pops!
- Cut in half. This number cake is a two layer cake, so you will need to gently and carefully cut each number cake into two layers. I used the same long bread knife that I cut and leveled the cake. Gently transfer the top layers to another cooling rack to begin frosting.

- Frost the center. Once you whip up your frosting, transfer it to a piping bag with a large round piping tip. I used the 1A tip. Squeeze rounds of frosting along the cake. You don’t have to cover ever speck of cake.
- Add the top. Carefully transfer the top cake layer over each number. Don’t worry if your cake cracks or breaks. My zero totally broke. The cracks will get hidden and mended with frosting.
- Frost the top. I first schmeared a thin layer of white frosting over the top of the cake since I had some cracks that needed cementing. You can use the same piping tip or any star tip to add dollops of frosting all along the top.
- Decorate. The hard part is over! Now is where you can go as crazy or as subtle as you want. I added berries first, then the sprinkles and candies. Be sure to dry the fruit off with a paper towel first. A friend brought my daughter some mini donuts, so I halved them and added them to the cake, as well.
- Chill. Keep the cake chilled in the refrigerator until about 30-minutes before serving. I like to have the frosting warm up a bit before slicing and serving.
Expert tips and recipe FAQs
If you don’t have piping bags or tips and don’t want to invest in them, don’t worry. Just transfer your frosting to a gallon size resealable bag, cut a corner off and pipe your dollops with this. Start with a smaller hole and practice before piping on the cake.
Some more options to decorate your number cake include:
Want to save this recipe?
- Macarons
- Oreos
- Wafer rolls
- Meringues
- Chocolate covered strawberries
- Lollipops
- Fondant
- Mini cupcakes
Again, you can use any theme or colors for your cake. My daughter loves pink, so we went with pinks, white and gold. The beauty of this cake is that you can make it for anyone, any age and any gender!
Storing/Freezing Instructions
TO STORE: If your cake is frosted, I suggest storing any leftovers in an airtight container and refrigerate for up to 5 days. If unfrosted, you can keep it covered on the counter for up to 3 days or refrigerate for longer.
TO FREEZE: You can also freeze leftovers. Wrap in foil, parchment paper or plastic wrap and freeze for up to 4 months.

Yes! You can bake and cut the cake layers a day ahead. Simply wrap them in plastic wrap and keep it on the counter at room temperature, if your kitchen is cool. For longer storage, keep in the refrigerator for 2-3 days or freeze for 3 months. Frost and decorate up to a day ahead of serving to give the fruit and flowers the freshest look.
Absolutely! You can trace your number template on parchment paper or print it and cut it out. Then place it on top of the cake, and cut around it with a sharp knife.
For each number, a 9×13-inch sheet cake works perfectly. For double digits, you can use a 12×18 pan. You can scale up or down depending on how many guests you’re serving.

If you are enjoying my recipes, please sign up for my newsletter and get my free 28-day meal plan! You can also follow me on Instagram or Facebook.

Number Birthday Cake
Ingredients
- 1.5 lbs butter softened
- 3 lbs powdered sugar
- 5 tablespoon vanilla extract
- 6 tablespoon heavy whipping cream
- 2 2-layer cake recipe
- 1 pound assorted berries
- 1 cup assorted candies
Instructions
- Prepare the cake batter for two 2-layer cakes. I doubled my vegan birthday cake recipe.
- For a double digit cake, you can use two 9×13 pans or one 12×18 pan. Coat the pans with non-stick spray, line bottom with parchment paper then add the cake batter.
- Bake at 350ºF until the cakes are done. A toothpick inserted into the center of the cake will come out clean. For a 9×13 cake, this should take about 30 minutes and for a 12×18 cake it should take 45-50 minutes.
- Let the cakes cool in the pan for 15 minutes, then invert onto a cooling rack to cool completely.
- To make the frosting, whip the softened butter in a stand mixer until light and fluffy, about 7-8 minutes.
- Add half of the powdered sugar and mix until mostly combined. Add remaining powdered sugar, vanilla and heavy cream and mix for another 5-7 minutes until smooth and silky.
- Use a long knife to cut the dome top off your cake and level it. Place your number forms on top of the cake and use a sharp knife to cut your numbers out.
- Gently and carefully cut each number cake into two layers. I used the same long bread knife that I cut and leveled the cake. Carefully transfer the top layers to another cooling rack.
- Transfer frosting to a piping bag with a large round piping tip, like a 1A tip and squeeze rounds of frosting along the cake. You don’t have to cover ever speck of cake.
- Carefully transfer the top cake layer over each number. Don’t worry if your cake cracks or breaks. My zero totally broke. The cracks get hidden with frosting.
- Add a thin layer of white frosting over the top of the cake, especially if you have cracks that need mending. You can use the same piping tip or any star tip to add dollops of frosting all along the top.
- Cut strawberries in half, if you want, and arrange all throughout the top of the cake along with any other berries and fruit you are using. Be sure to dry the fruit off with a paper towel first. Decorate with any cookies, candies and/or flowers you like.
- Keep the cake chilled in the refrigerator until about 30-minutes before serving.
Notes
- Macarons
- Oreos
- Wafer rolls
- Meringues
- Chocolate covered strawberries
- Lollipops
- Fondant
- Mini cupcakes
- Donuts
- Gummies
- Malt balls
- Chocolates
- Sprinkles
- Edible flowers
Nutrition Disclaimer
Nutritional information is an estimate provided to you as a courtesy. You should calculate the actual nutritional information with the products and brands you are using with your preferred nutritional calculator.
PS If you try this recipe, why not leave a star rating in the recipe card right below and/or a review in the comment section further down the page? I always appreciate your feedback.
You can also follow me on Pinterest, Facebook or Instagram. Sign up for my eMail list, too!
Written by Laura Bashar
Hi, I’m Laura, a certified professional cook and cookbook author living in San Diego. I have been sharing my family’s favorite recipes inspired from all over the world since 2008. Let’s cook up something fun!