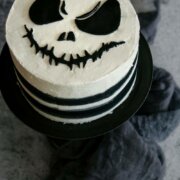
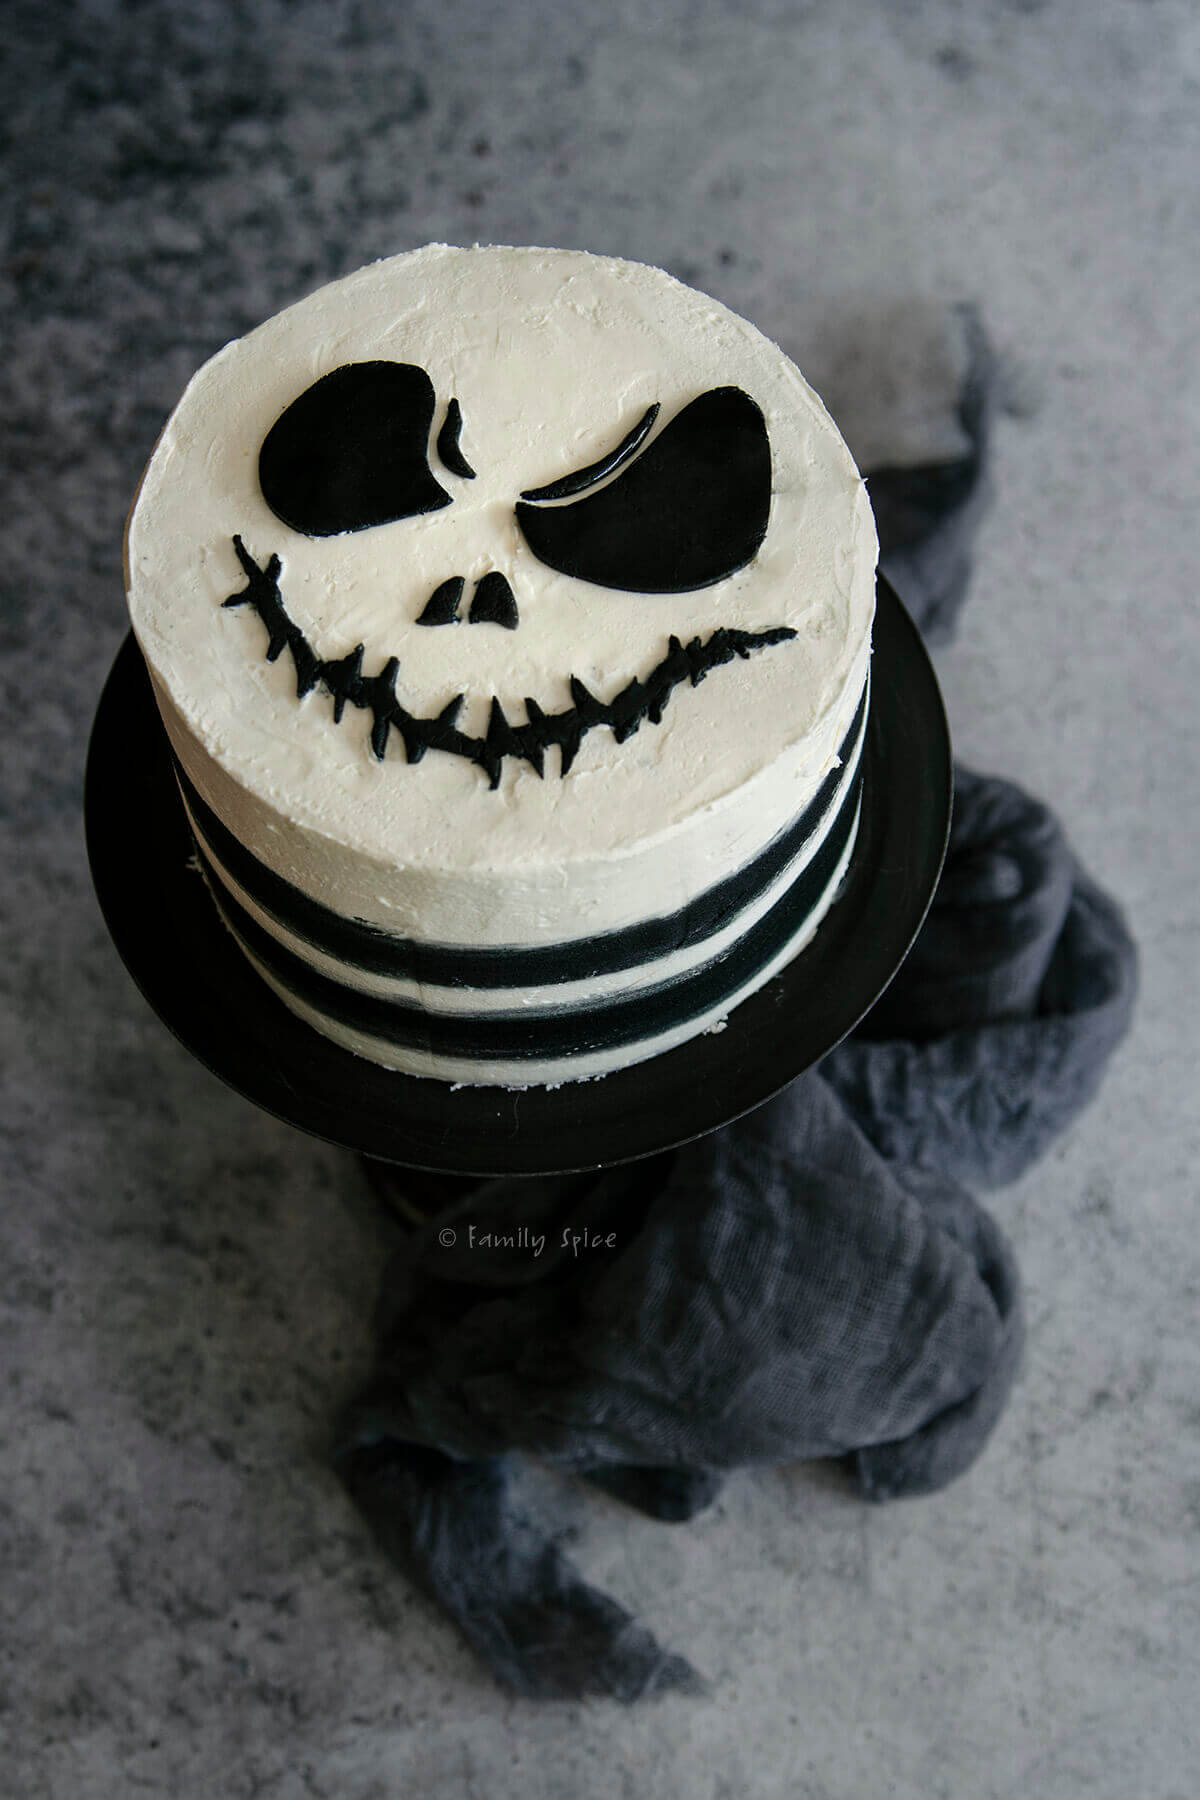
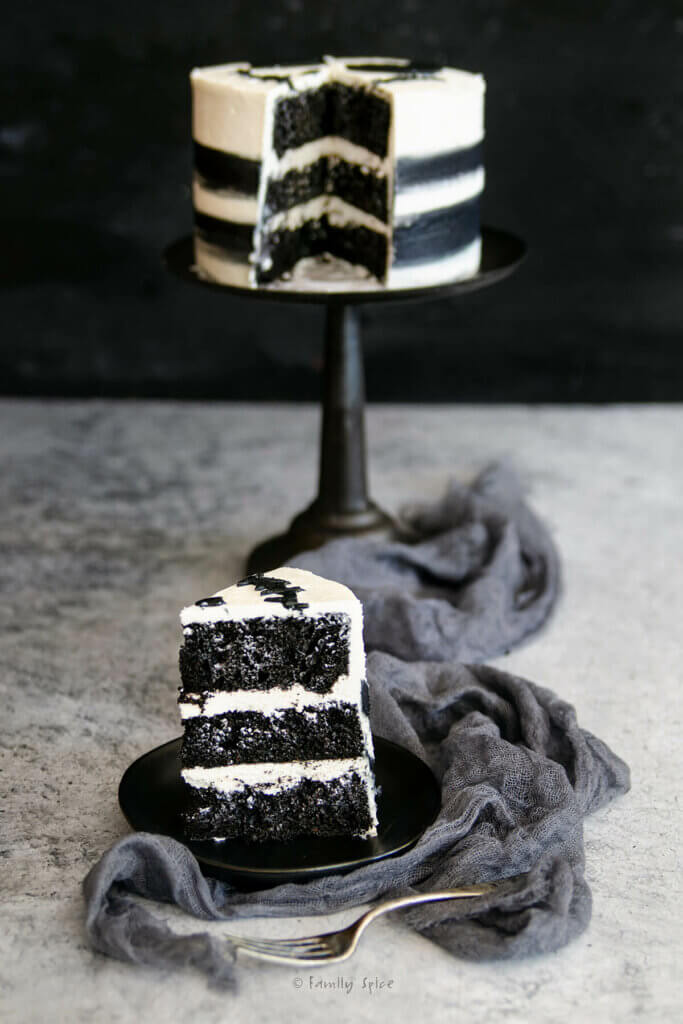
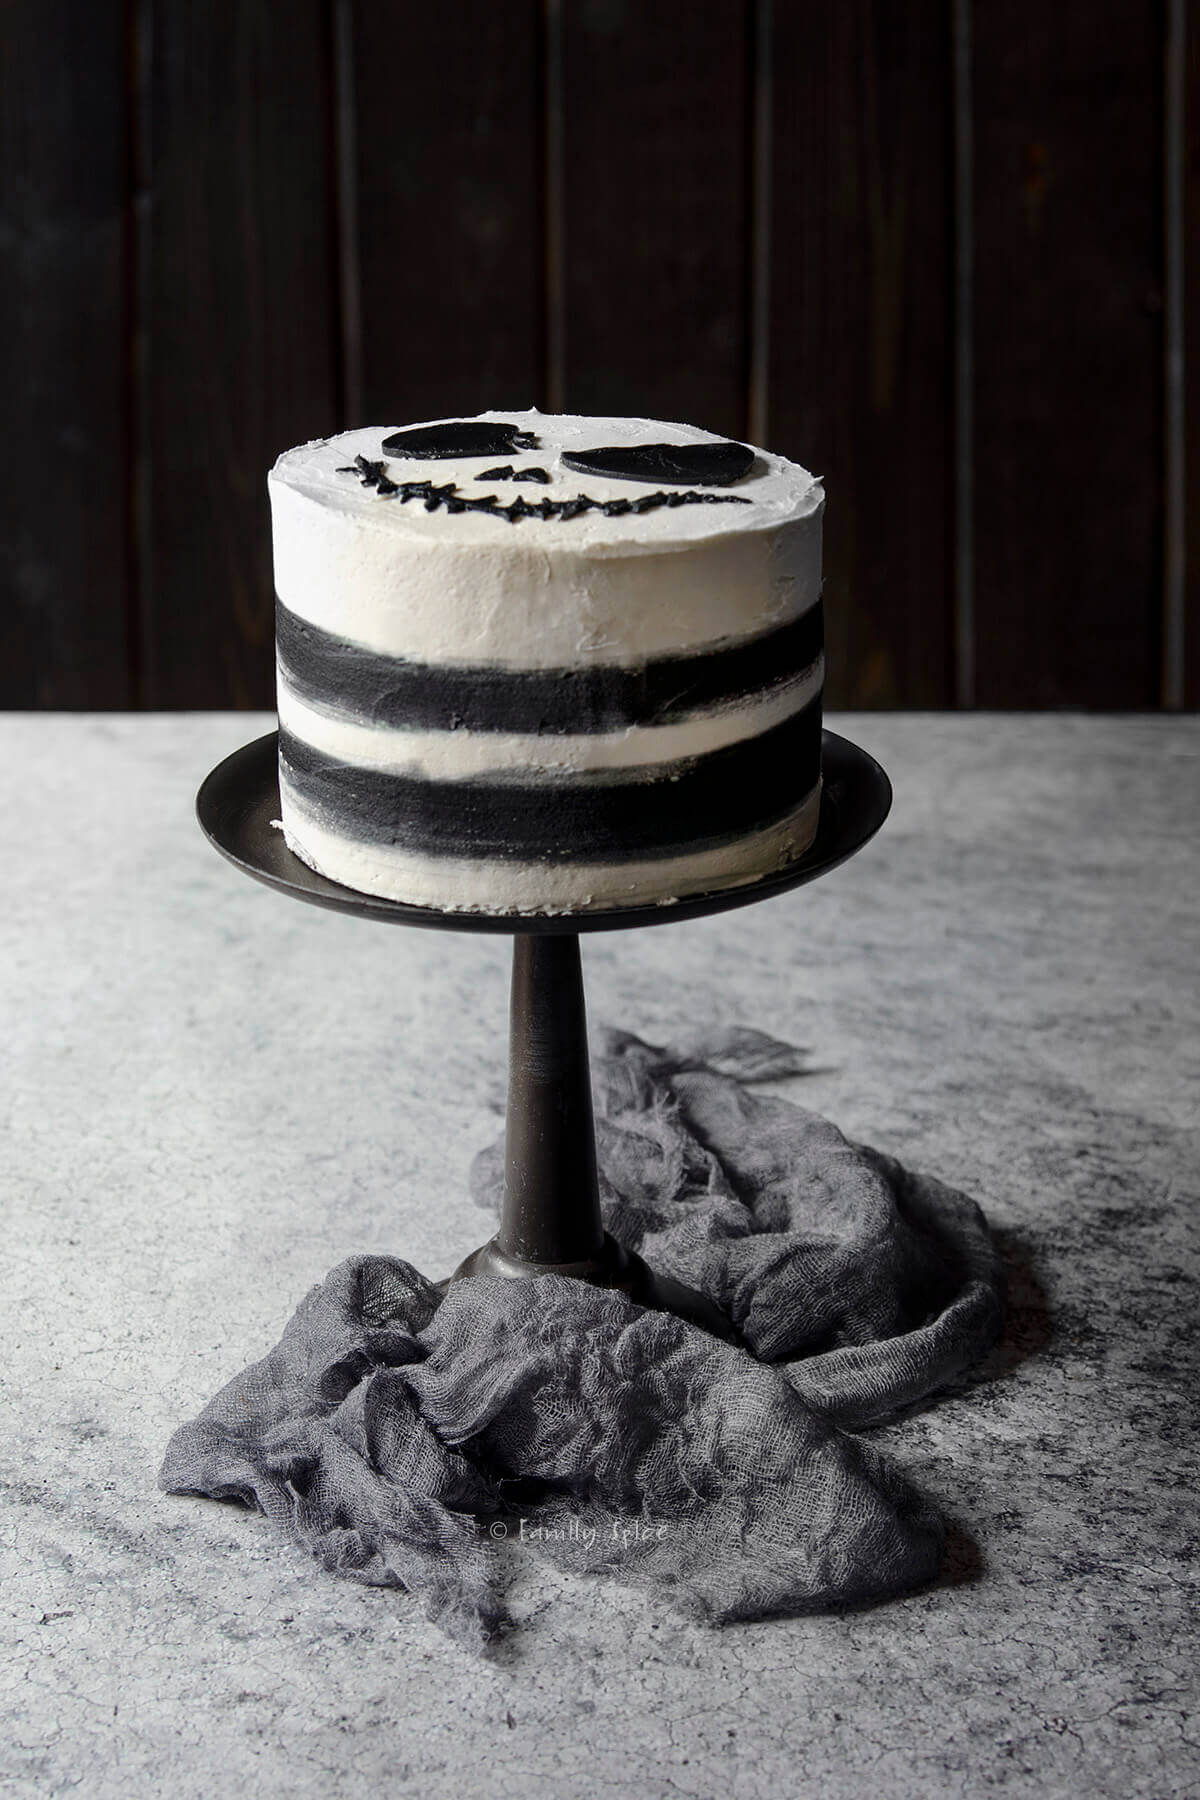
This Nightmare Before Christmas Cake is a fun and easy way to serve up a fabulous halloween cake or an amusing Christmas dessert. Don’t adjust your monitor. This black and white cake features moist chocolate cake surrounded by black and white buttercream frosting.
I love halloween. The kids and I really love halloween. I mean, what’s not to love? Dressing up, being silly, sweet treats and silly food? Goofy decorations and haunted houses… I grew up with great halloween memories.
I especially love answering the doorbell rings and finding the cutest little kiddos dressed up in the most adorable costumes. Not so cute as the night progresses and you have teenagers dressed in minimal costumes (if any at all) trying to score their sugar fix – hey, it’s still FUN!
When the kids got older, I found myself no longer making the fun halloween snacks and treats for school parties. But why? I mean, halloween was still fun despite the kids becoming broody teenagers.
So I started making halloween treats again. And you know what? My big kids were thrilled! I mean, hello, sugar, but they got to be little kids again. No, they didn’t show Mom they were having a good time, but they happily ate whatever I made.
Why this cake is so awesome
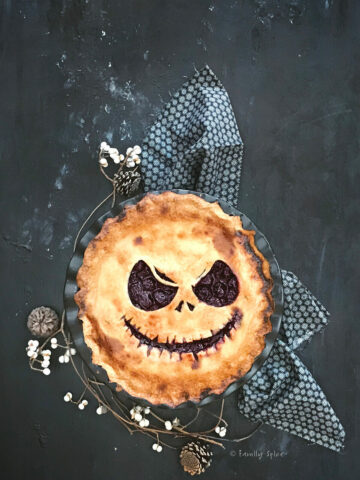
A few years back I made a wonderful balsamic cherry pie and created my Jack Skellington Pie for halloween. It not only looked perfectly creepy, but it was very delicious, too.
I decided to bring Jack back this year, but this time I made an all black and white Nightmare Before Christmas Cake. This was ridiculously fun to make and fairly easy, too.
Now, now, don’t freak out. I know that decorating cakes can be challenging. I do not consider myself to be an expert, by any means. I still get frustrated with the piping bags and end up finding frosting in my hair – how did that get there???!
So I broke the steps down for you and chose the easiest way to bake and decorate this cake. You can use your favorite homemade chocolate cake recipe or use a box mix. I am not one to knock the box mix. They make very delicious and moist cakes.
But I do prefer homemade frosting, which is crazy simple to make. A little bit of fondant for Jack’s face where all you need is a rolling pin and sharp tipped knife to cut everything out.
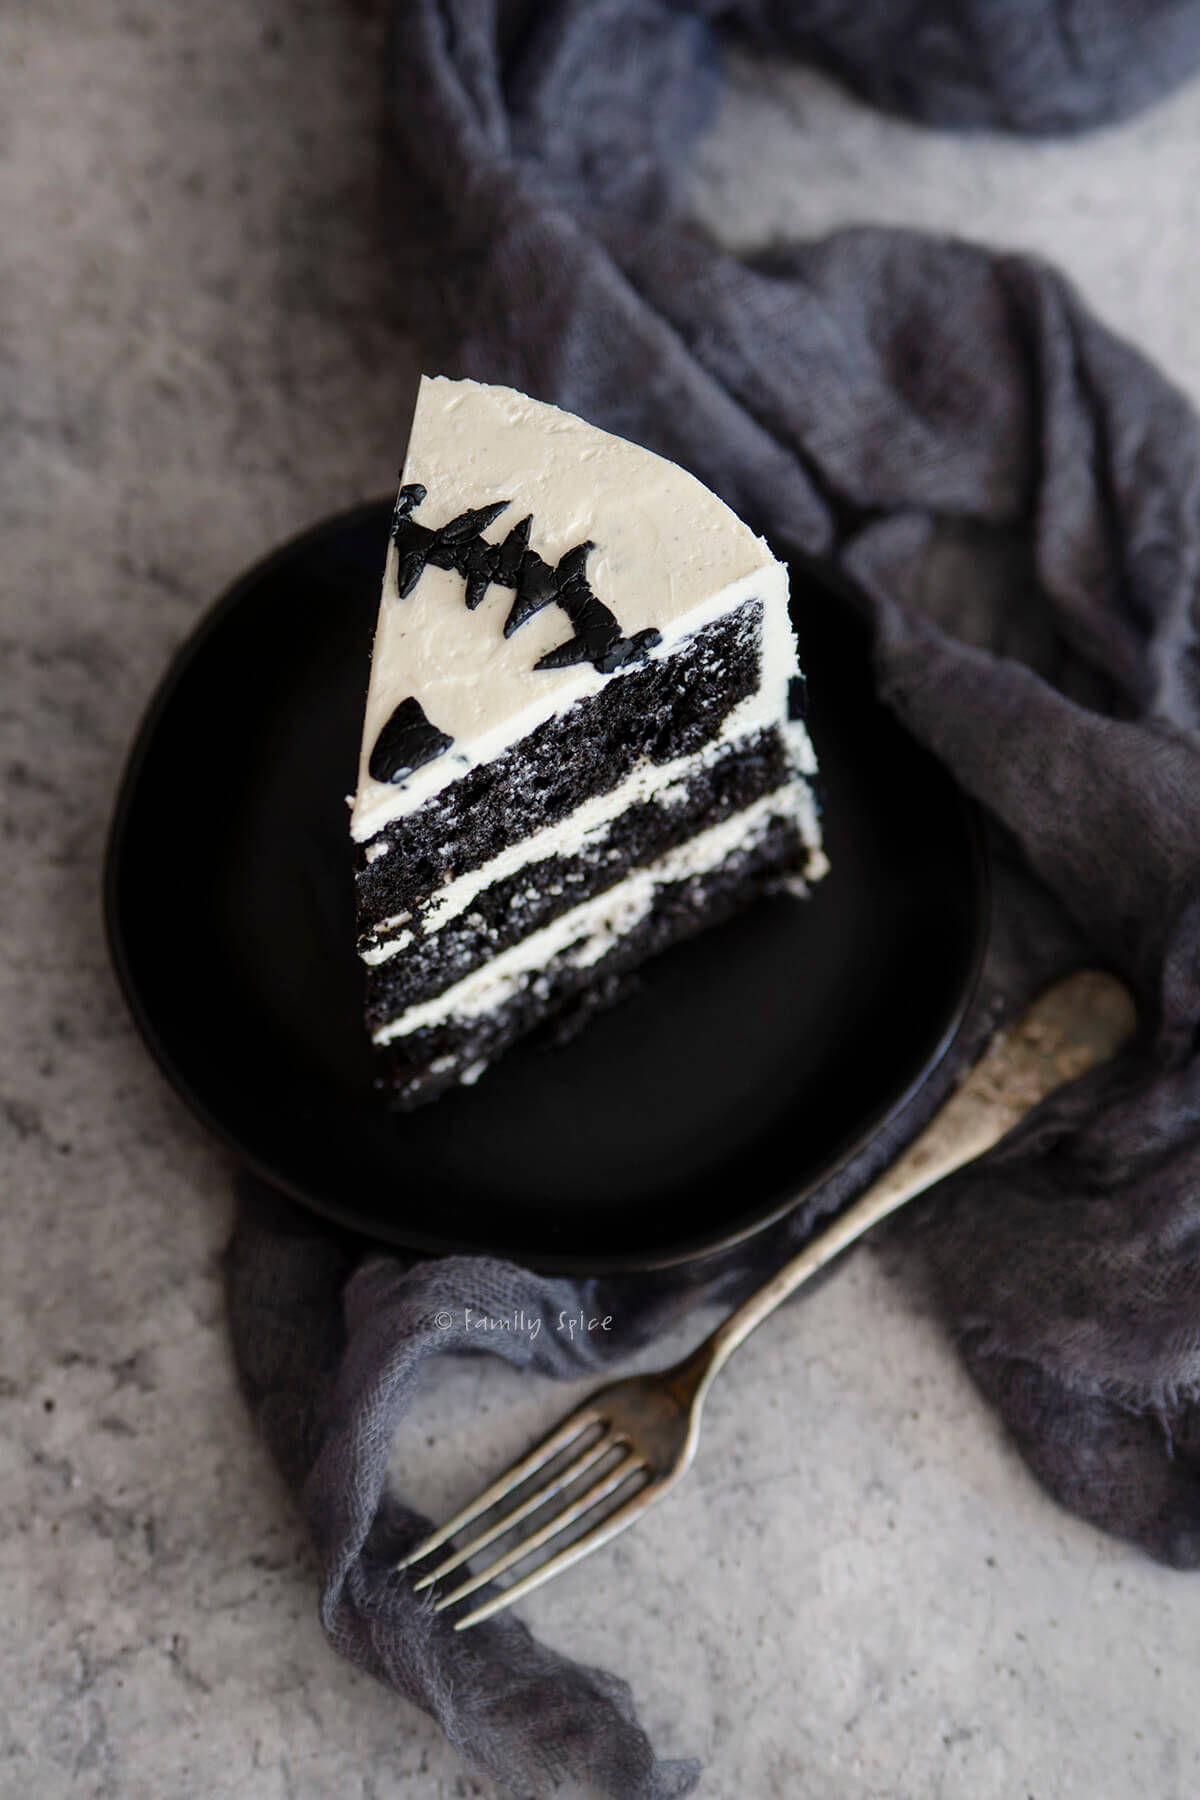
After frosting so many brightly colored cakes, I found this black and white cake to be refreshing and well, fun. Have I said that word too many times? Who cares! It’s a fun halloween cake (or Christmas cake) – whichever holiday you prefer from this wonderful movie.
So let’s get to it!
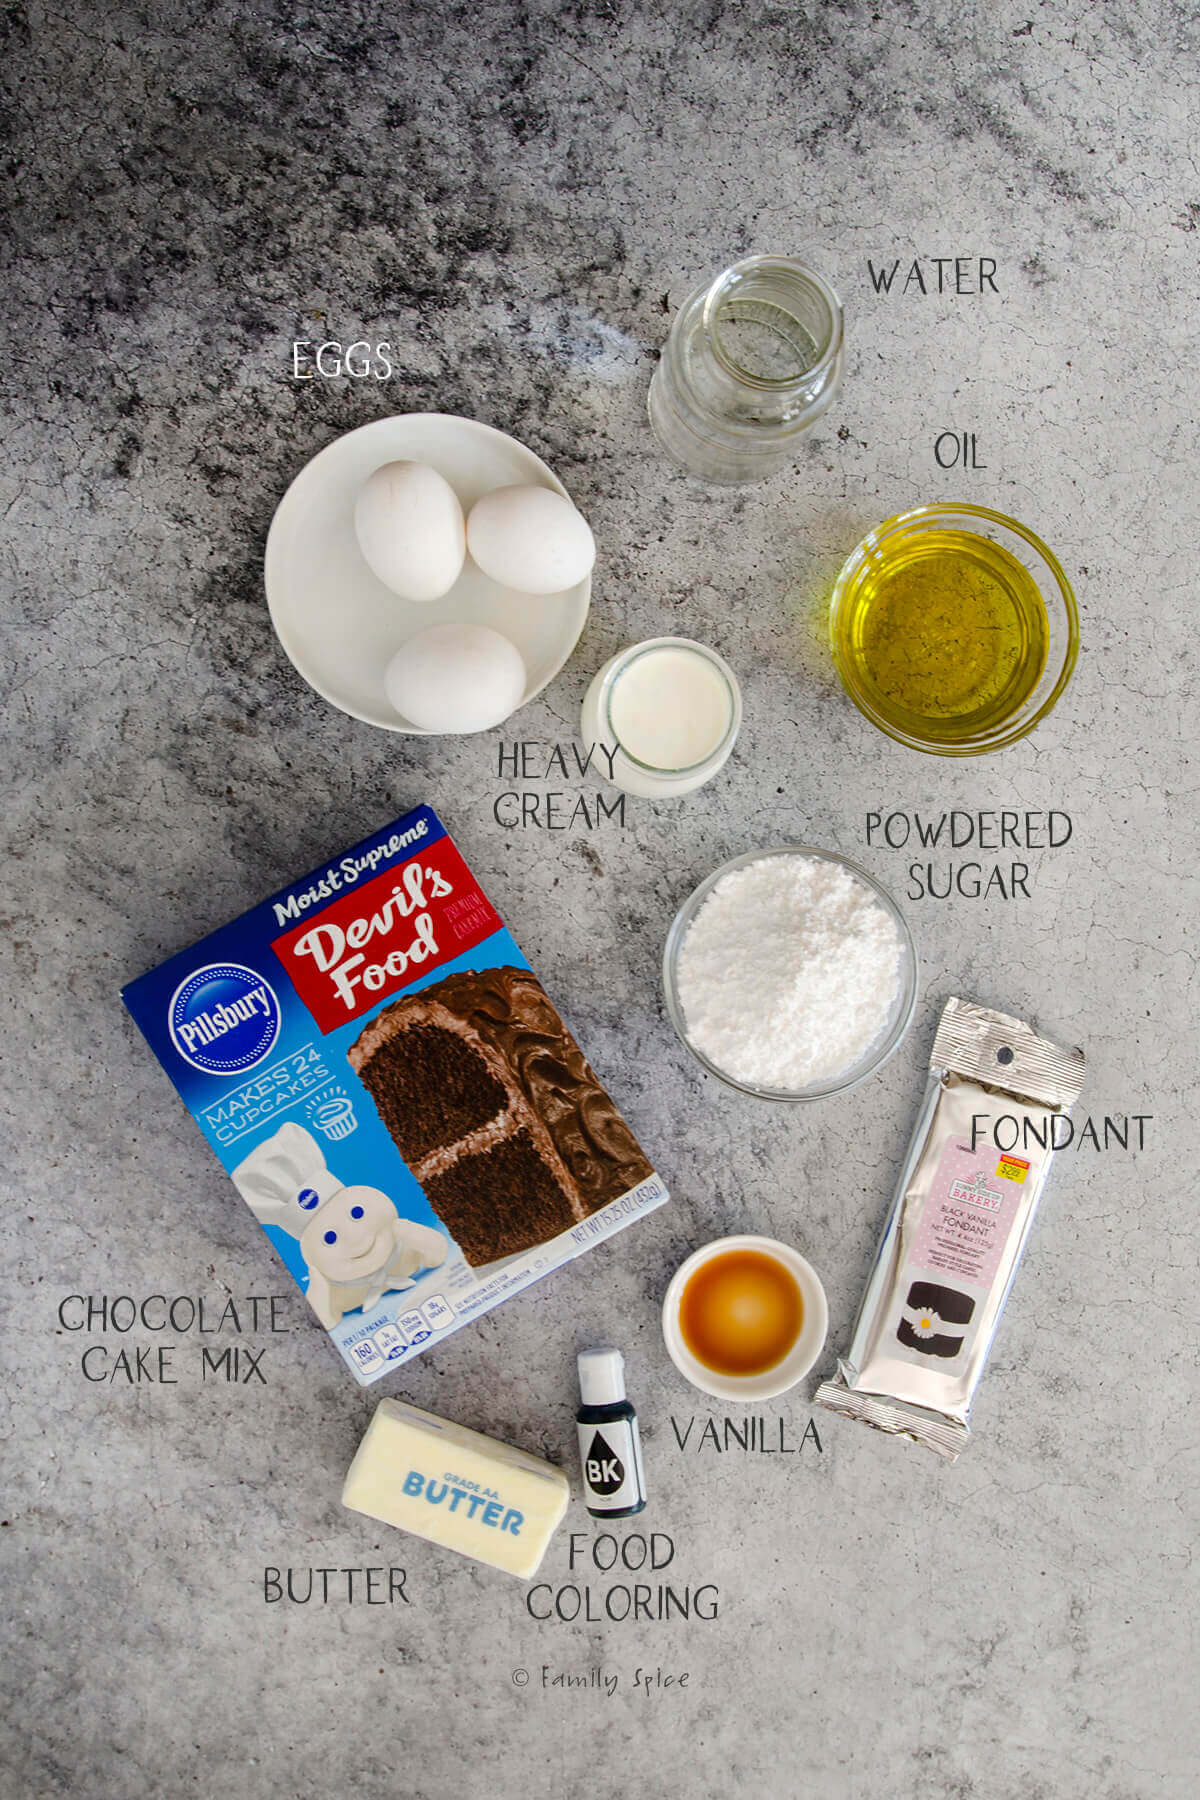
Ingredients you need
This post contains some affiliate links for your convenience (which means if you make a purchase after clicking a link I will earn a small commission but it won’t cost you a penny more)! Read my full disclosure policy
- 2-layer chocolate cake recipe or 1 chocolate cake box mix: This makes a 3-layer 6-inch cake. If you want something larger, double the recipe or use 2 box mixes for a 3-layer 8-inch cake.
- Butter: I prefer homemade frosting to canned, so I use butter for my buttercream. You can also use half butter and half vegetable shortening.
- Powdered sugar: You will need lots of powdered sugar for the frosting.
- Vanilla extract: This is optional, but I like to add a little vanilla to my homemade frosting.
- Heavy whipping cream: This helps smooth out your frosting and is thicker than using regular milk, which you can use.
- Black food coloring: To make your cake batter and some of the frosting black, you will need black gel food coloring. Gel food coloring is preferred as you need less of it to color your cake than regular food coloring.
- White food coloring: This is optional, but I used it to make my frosting a bright white.
- Black fondant: I used black fondant to cut out the eyes, nose and mouth of Jack Skellington for the top of the cake.
Tools to Use
Step-by-step directions
1. Prepare your chocolate cake batter, whether homemade or a box mix. Don’t worry, I won’t tell anyone if you do use box mix! You can leave it brown or add some black food coloring, like I did, to make the cake batter black.
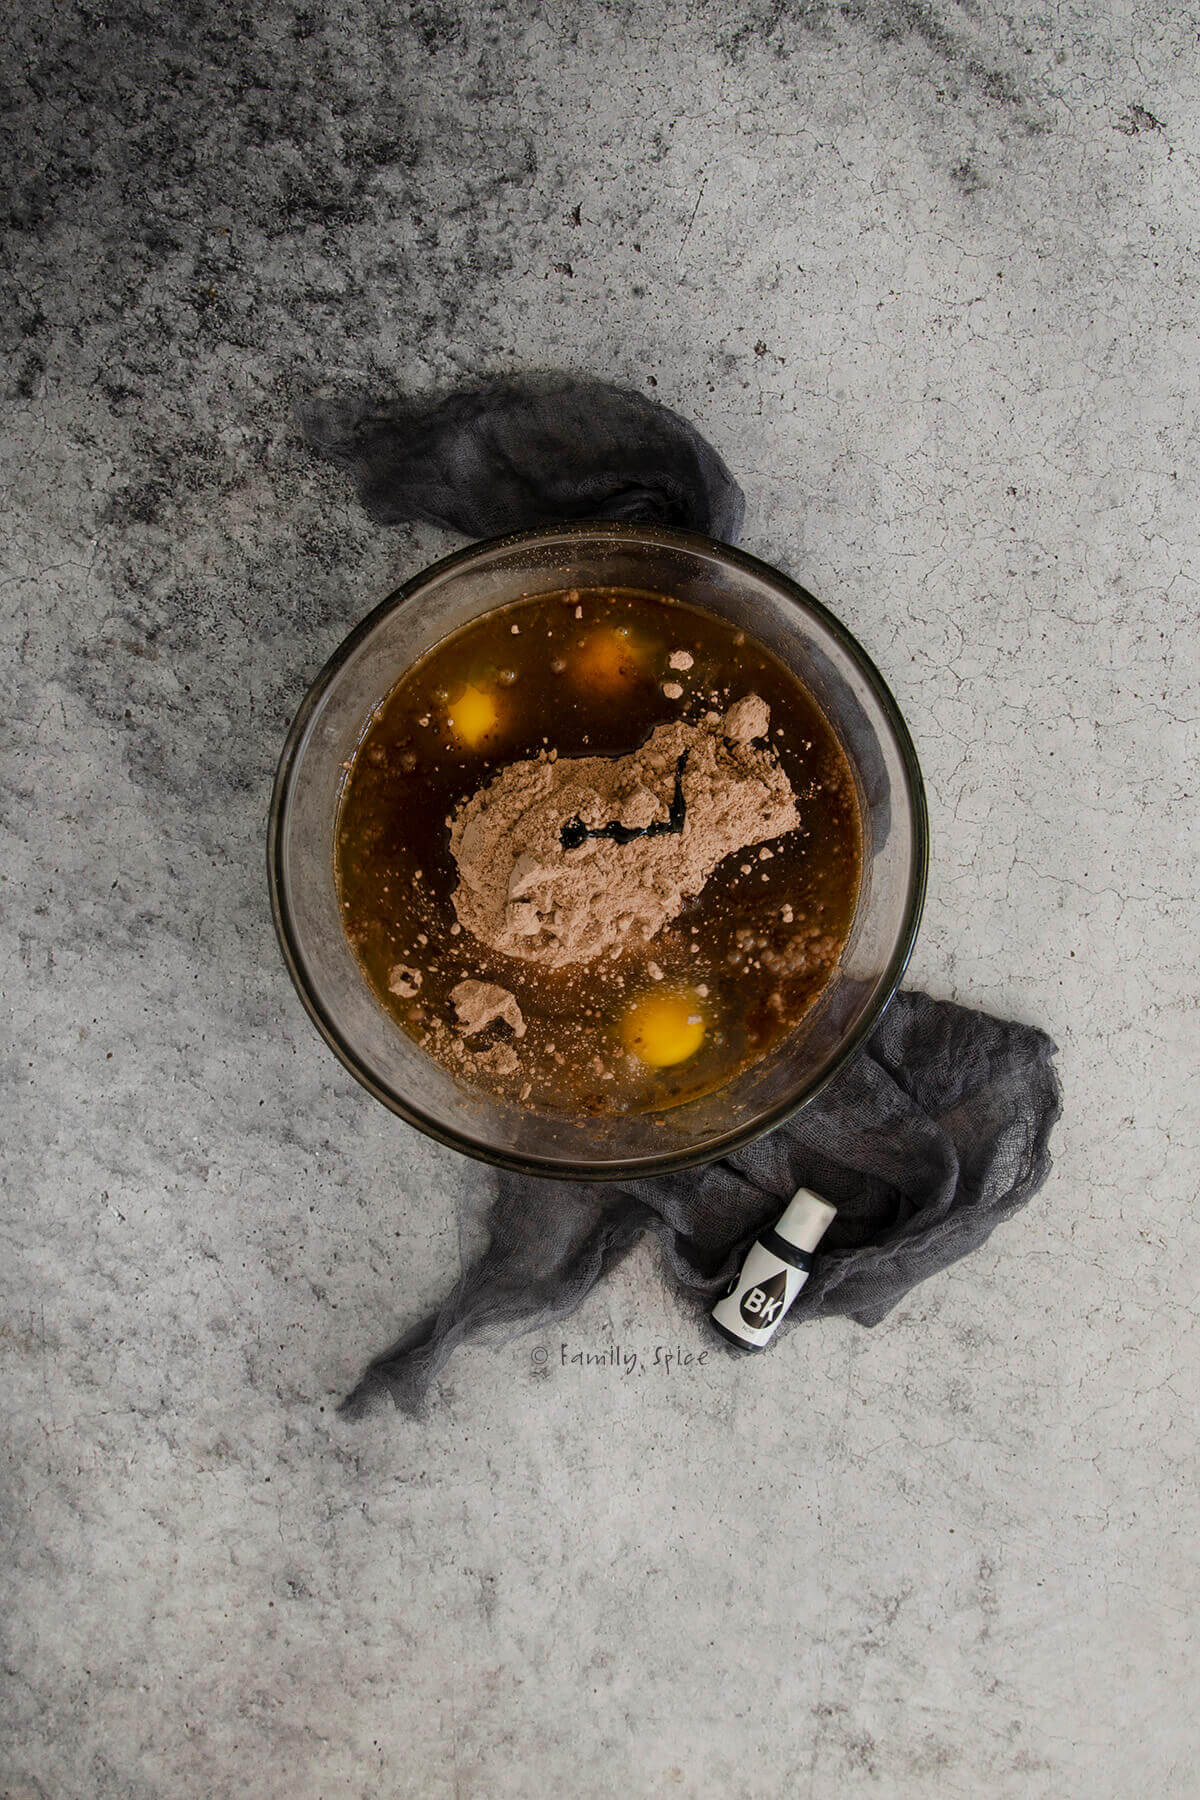
2. Coat your cake pans with non-stick spray and line the bottom with parchment paper. This is for easy removal and to insure a smooth bottom, which ends up at the top of the cake. Divide the batter evenly into the 3 cake pans. A digital kitchen scale helps make this so much easier!
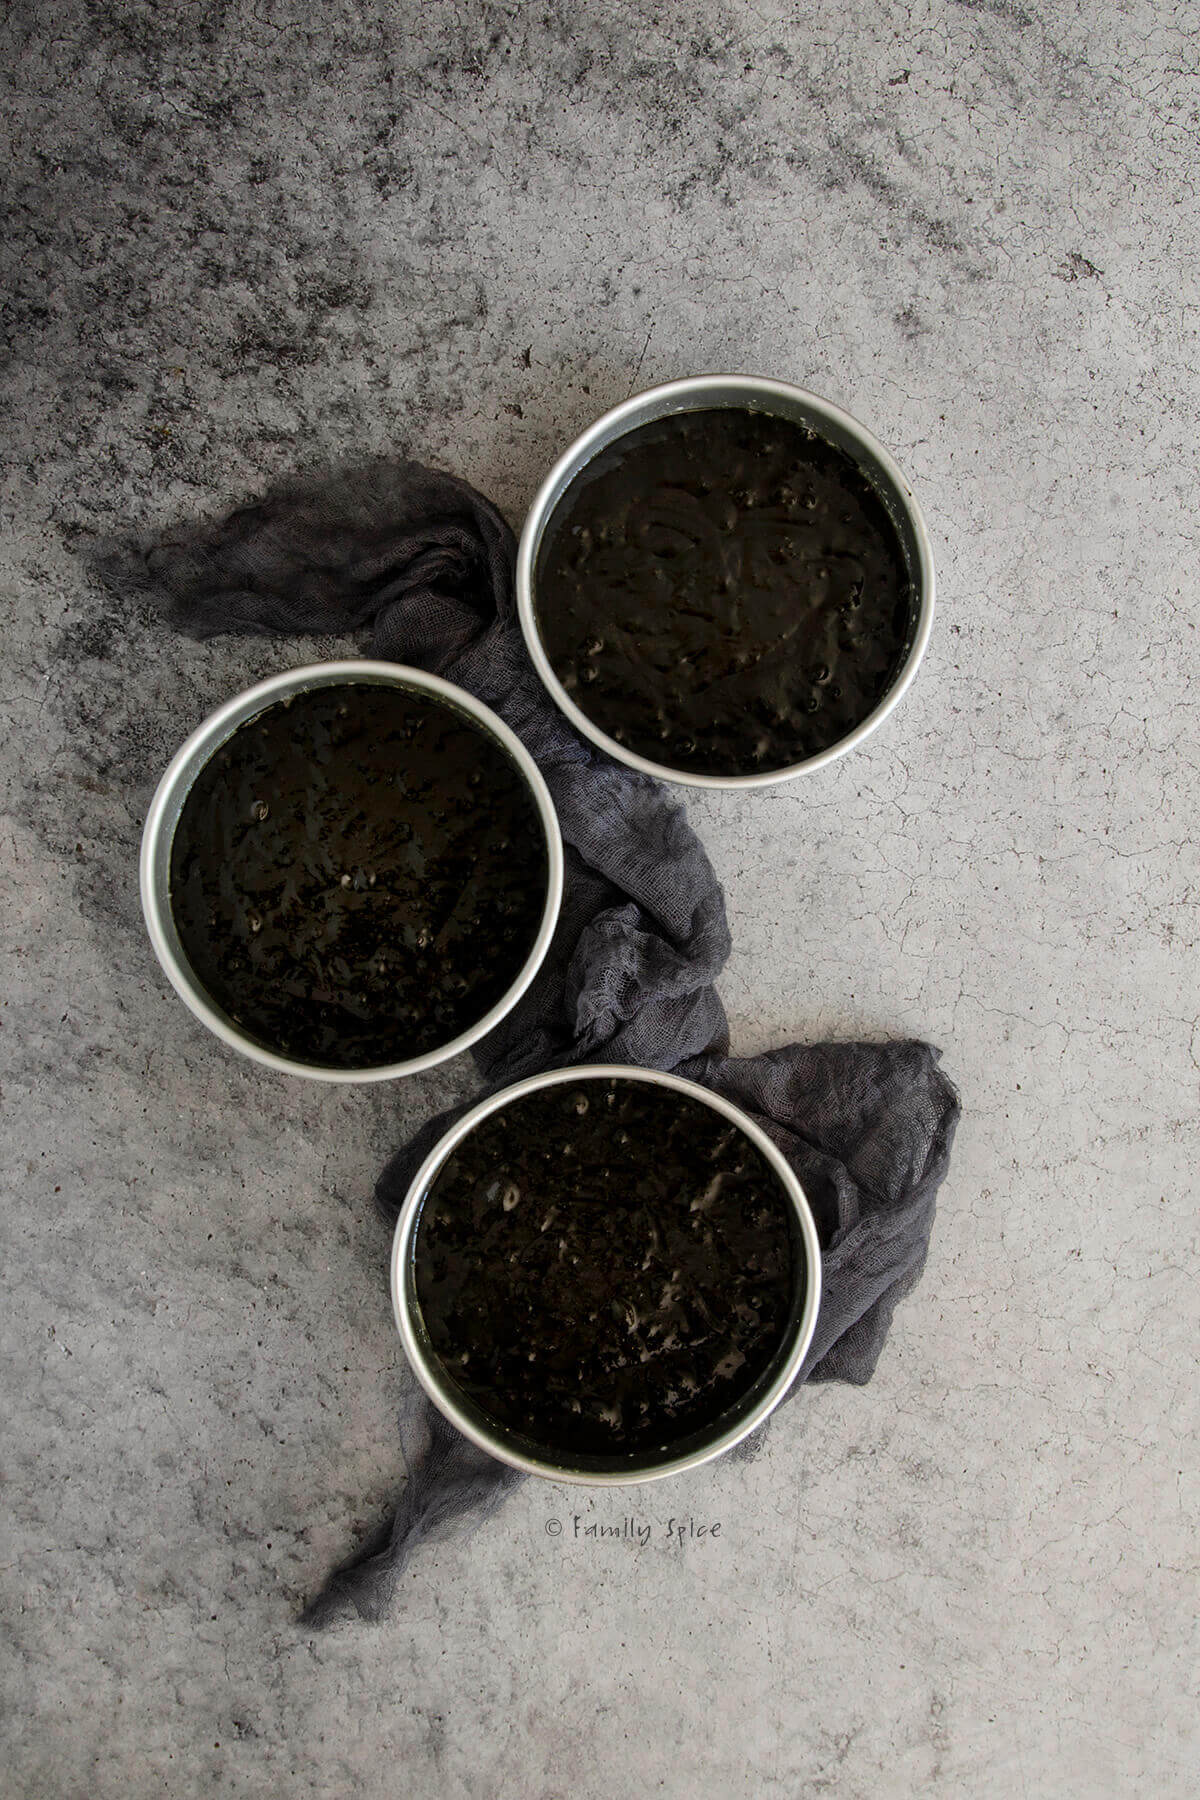
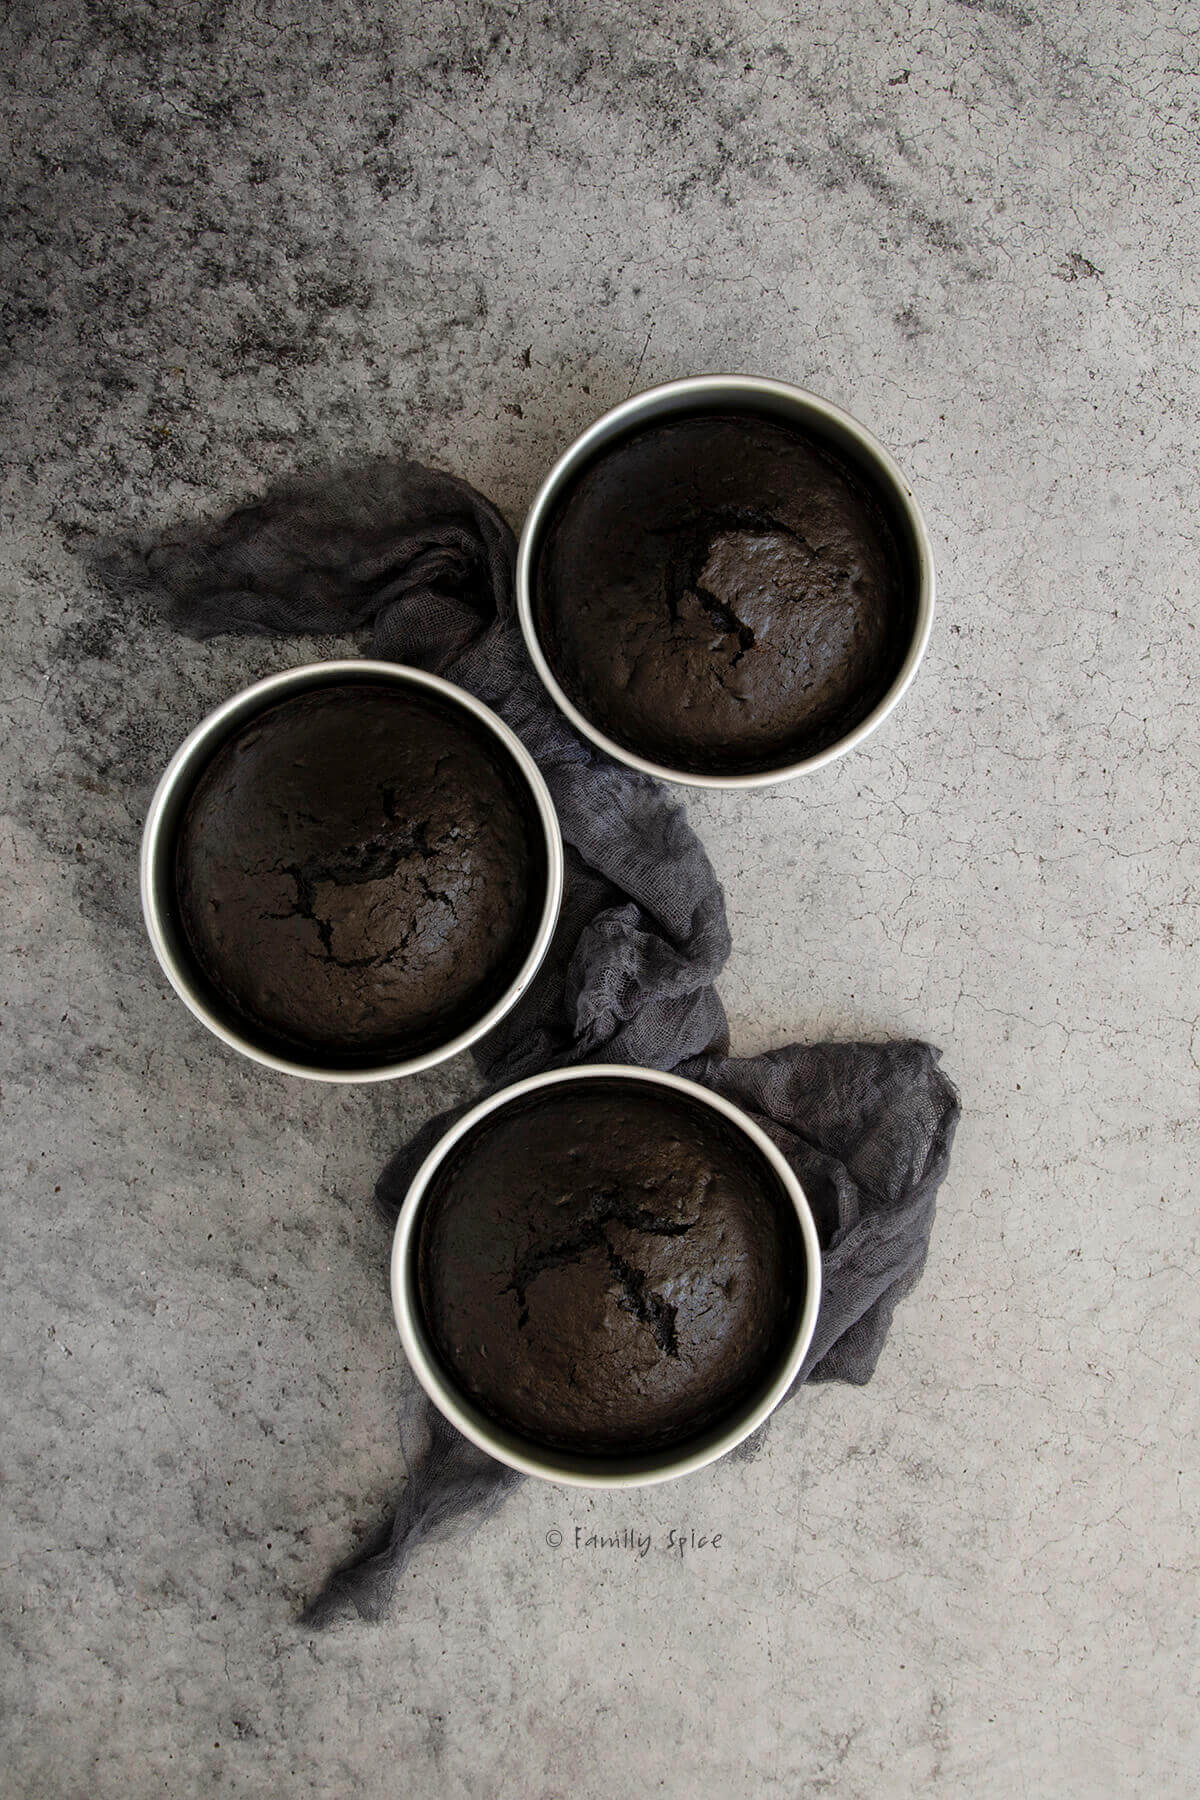
3. Bake the cakes per recipe or package directions. Use a skewer or toothpick inserted into the center of the cake to test doneness. It will come out clean when the cake is baked through.
Cool the cakes completely before removing from the pans. Use a long serrated knife to slice the domes off each cake layer to flatten them out. You can use these scraps for cake pops or do what do, eat them while you decorate!
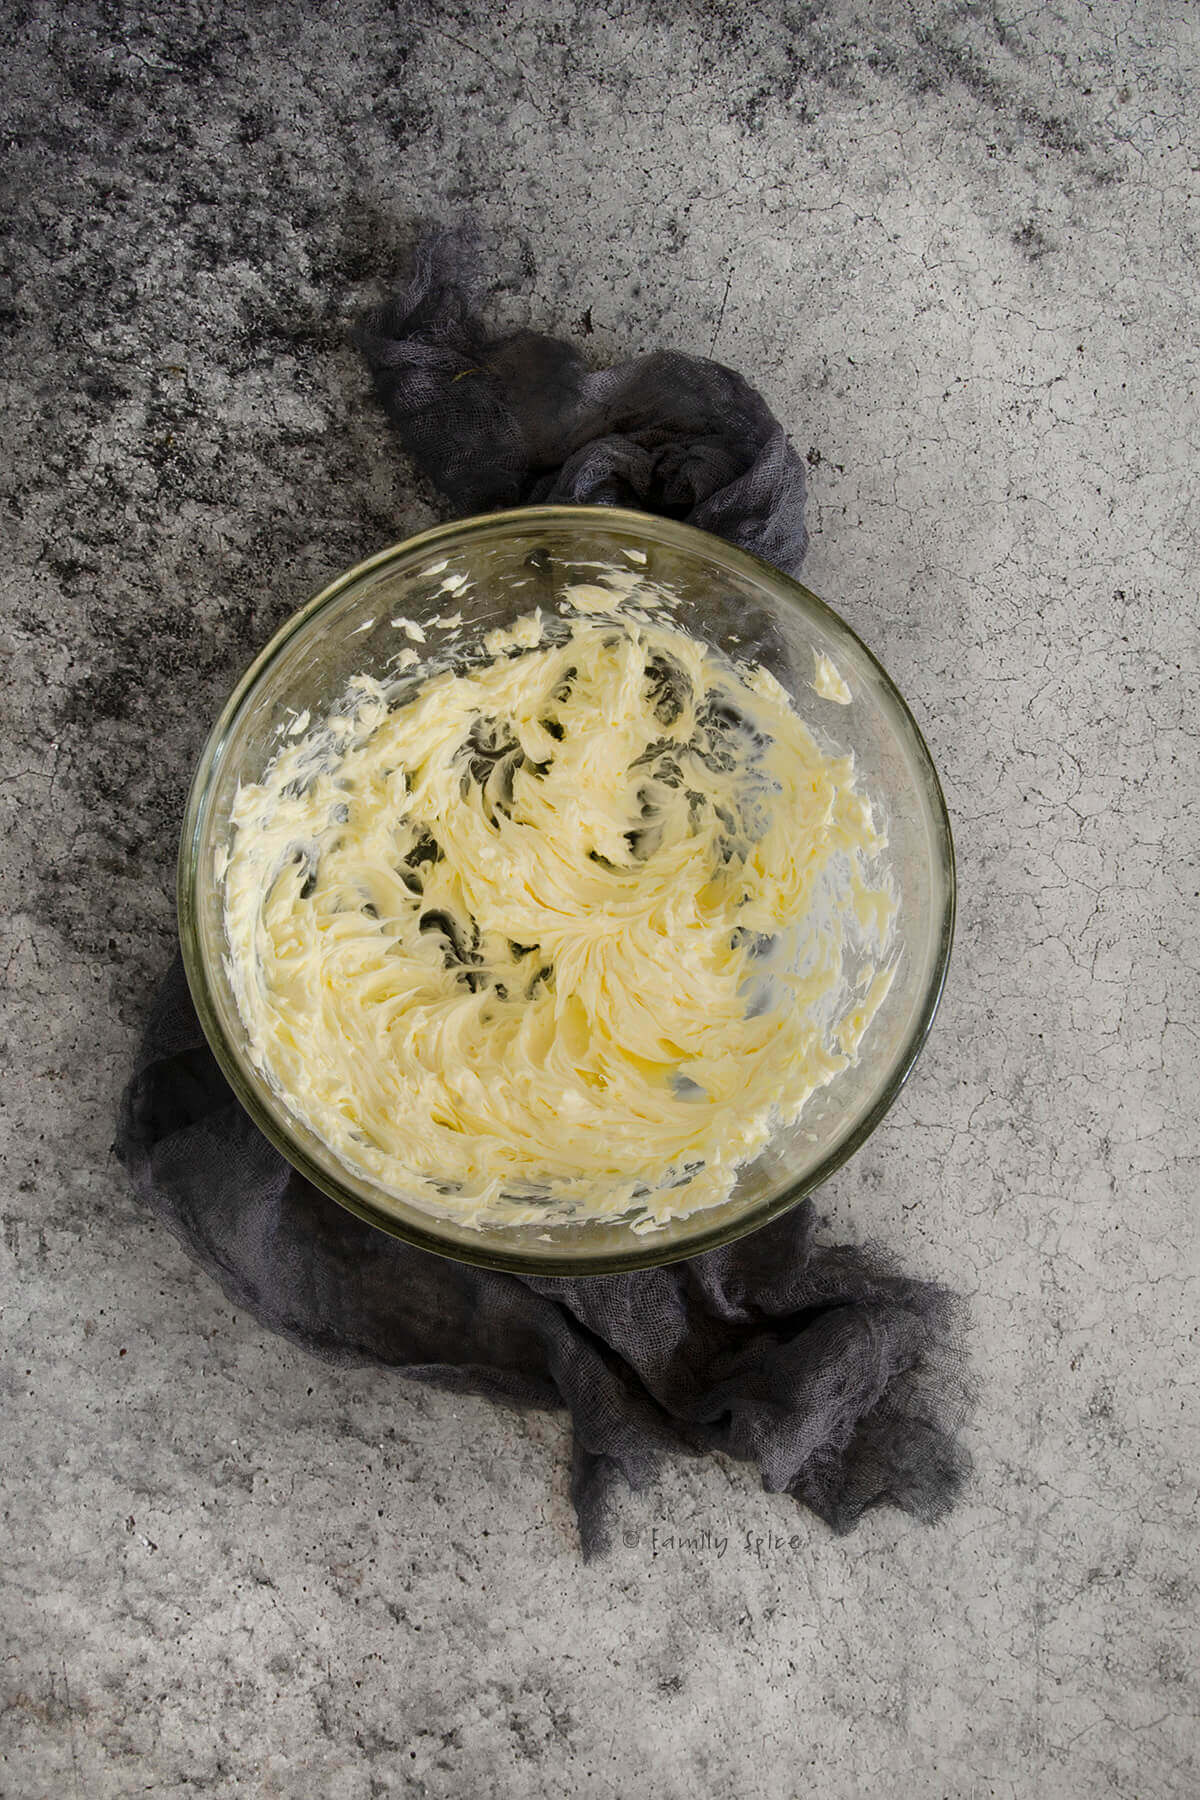
4. To mix up the frosting, whip up the softened butter (or butter and shortening combo) until fluffy and smooth.
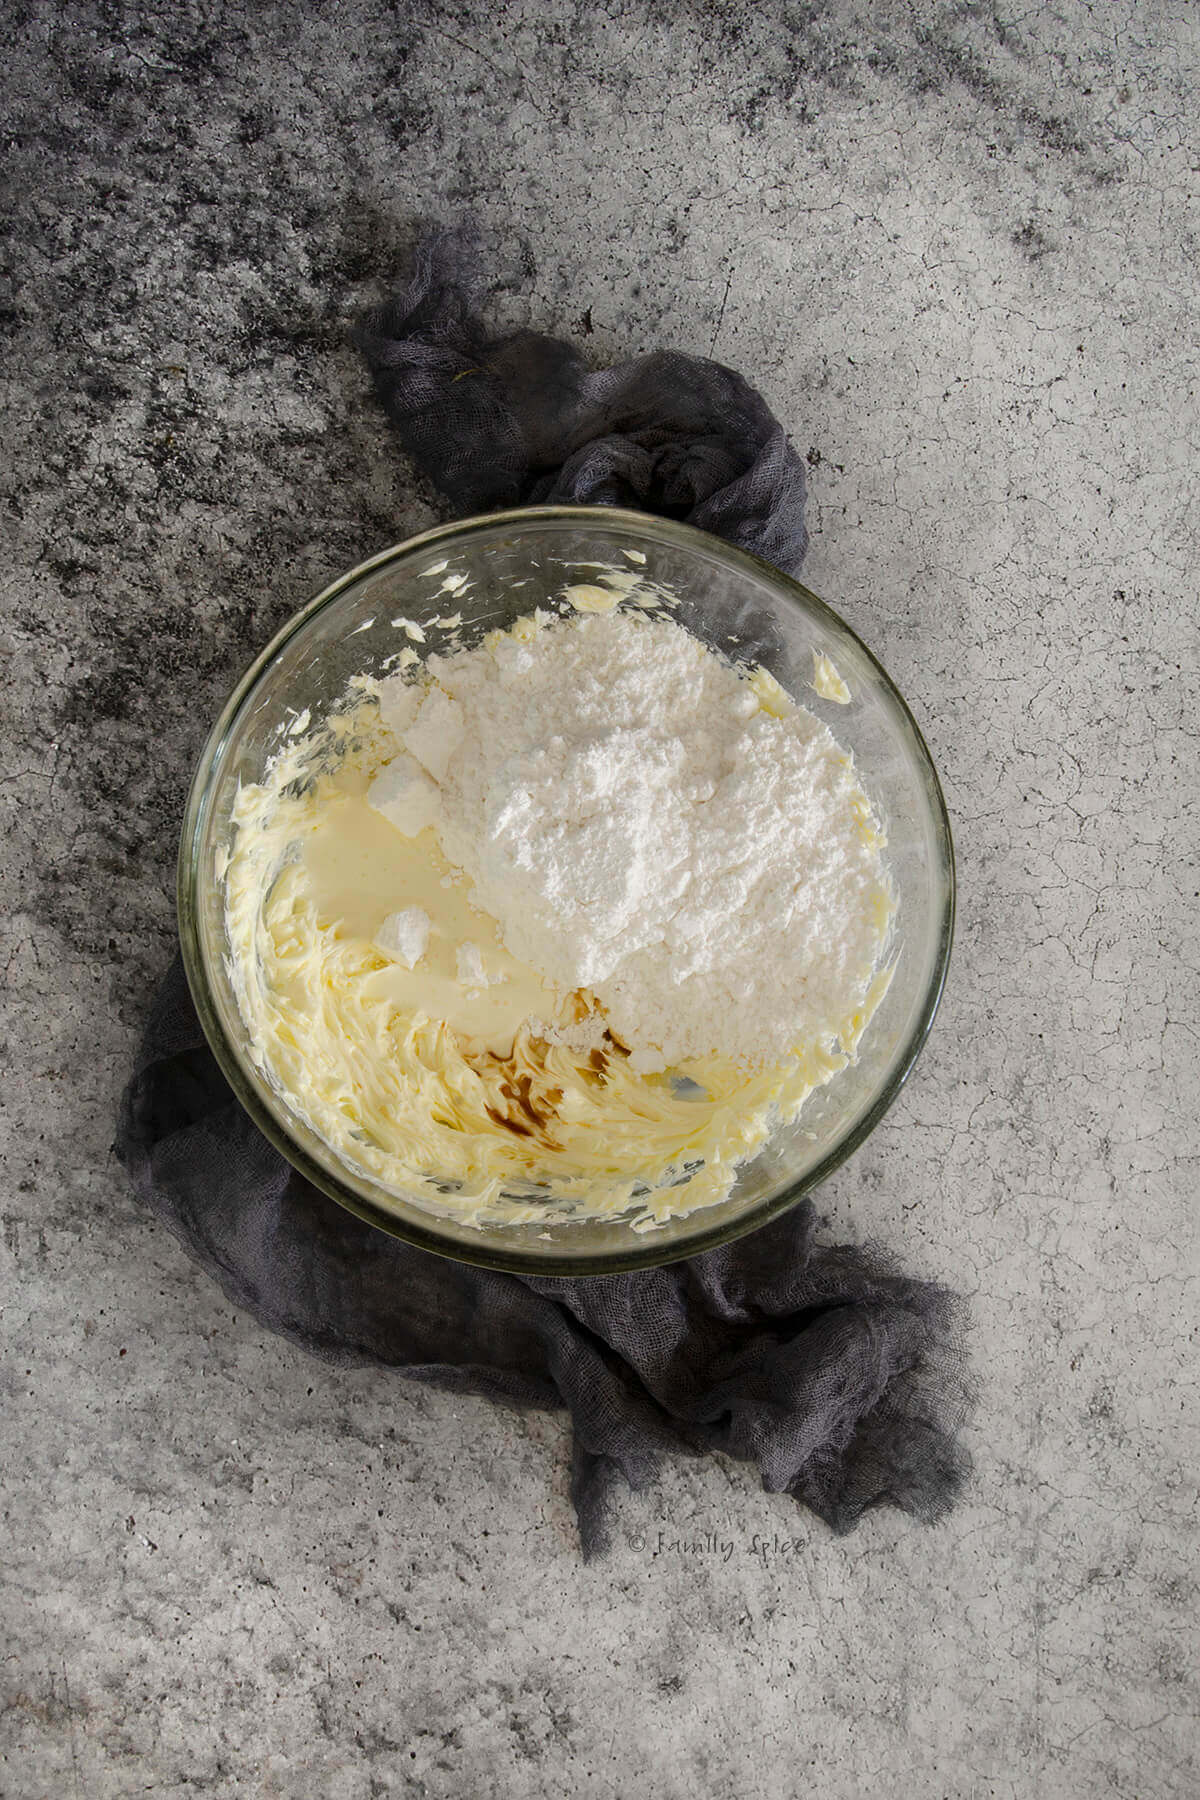
5. Add powdered sugar, vanilla extract and heavy whipping cream and mix until smooth and velvety. I added a bit of white food coloring (yes there is white food coloring) to make the frosting bright white. If you are using shortening, you will have a lighter colored frosting than all butter.
6. Start frosting your cake, one layer at a time, with the white frosting. Remember to invert the top layer (bottom side up) for a smoother cake top. Be sure to choose the smoothest bottom for your top!
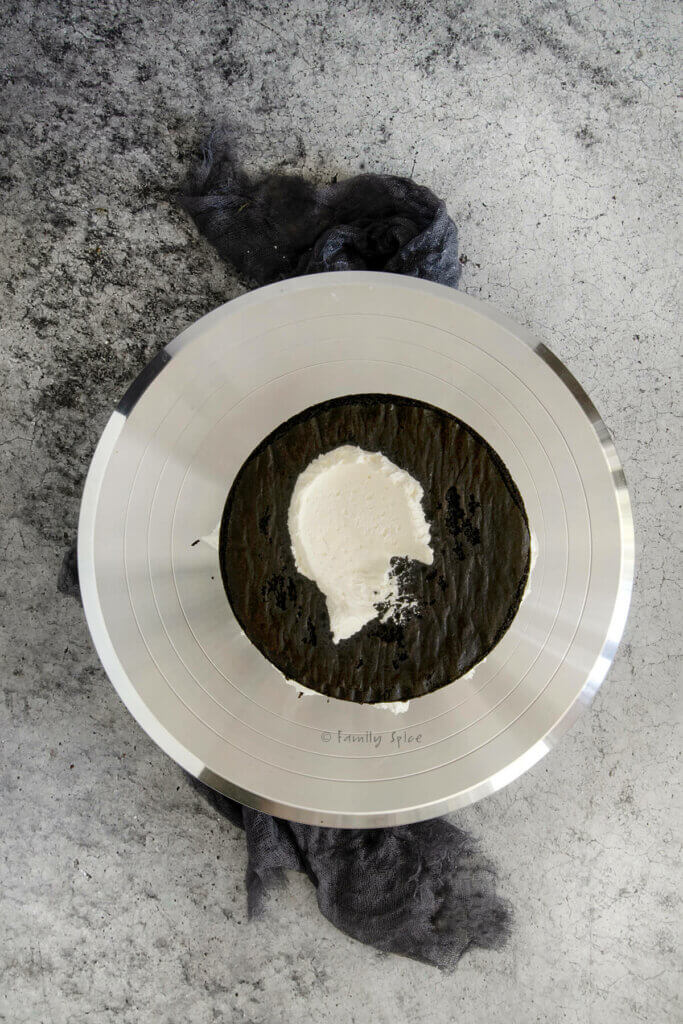
7. Frost the sides and smooth it down with a cake scraper or icing spatula for the crumb coat. Chill at least 30 minutes before applying the next layer of frosting. You can scrape off more than what I have left on my cake. All up to you.
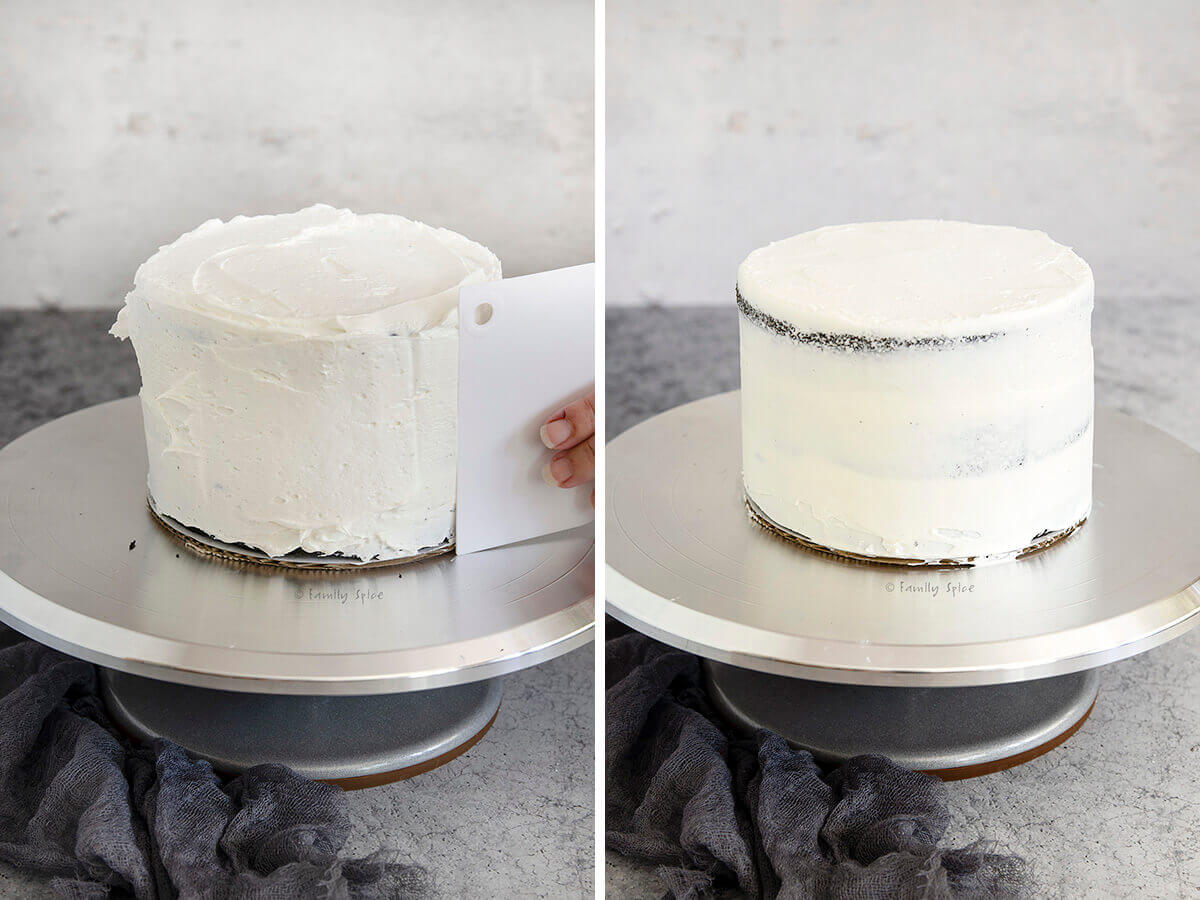
8. Separate about ¾ cup of the remaining white frosting and mix in black food coloring. Transfer to a piping bag and snip off the tip. Transfer the remaining white frosting to another piping bag and cut that bag tip, too. You want at least a ½-inch opening.
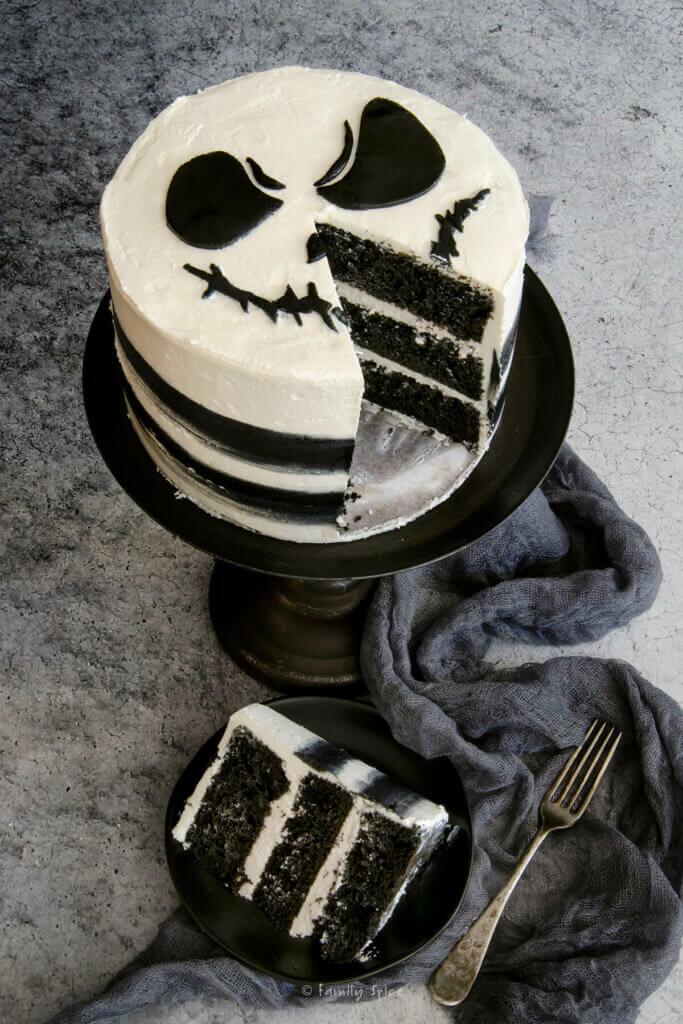
9. Start piping in alternate layers the black and white stripes around the cake. I have invested in a swiveling cake stand that has really helped with the spinning and adding/removing frosting. Much smoother results than without the swivel.
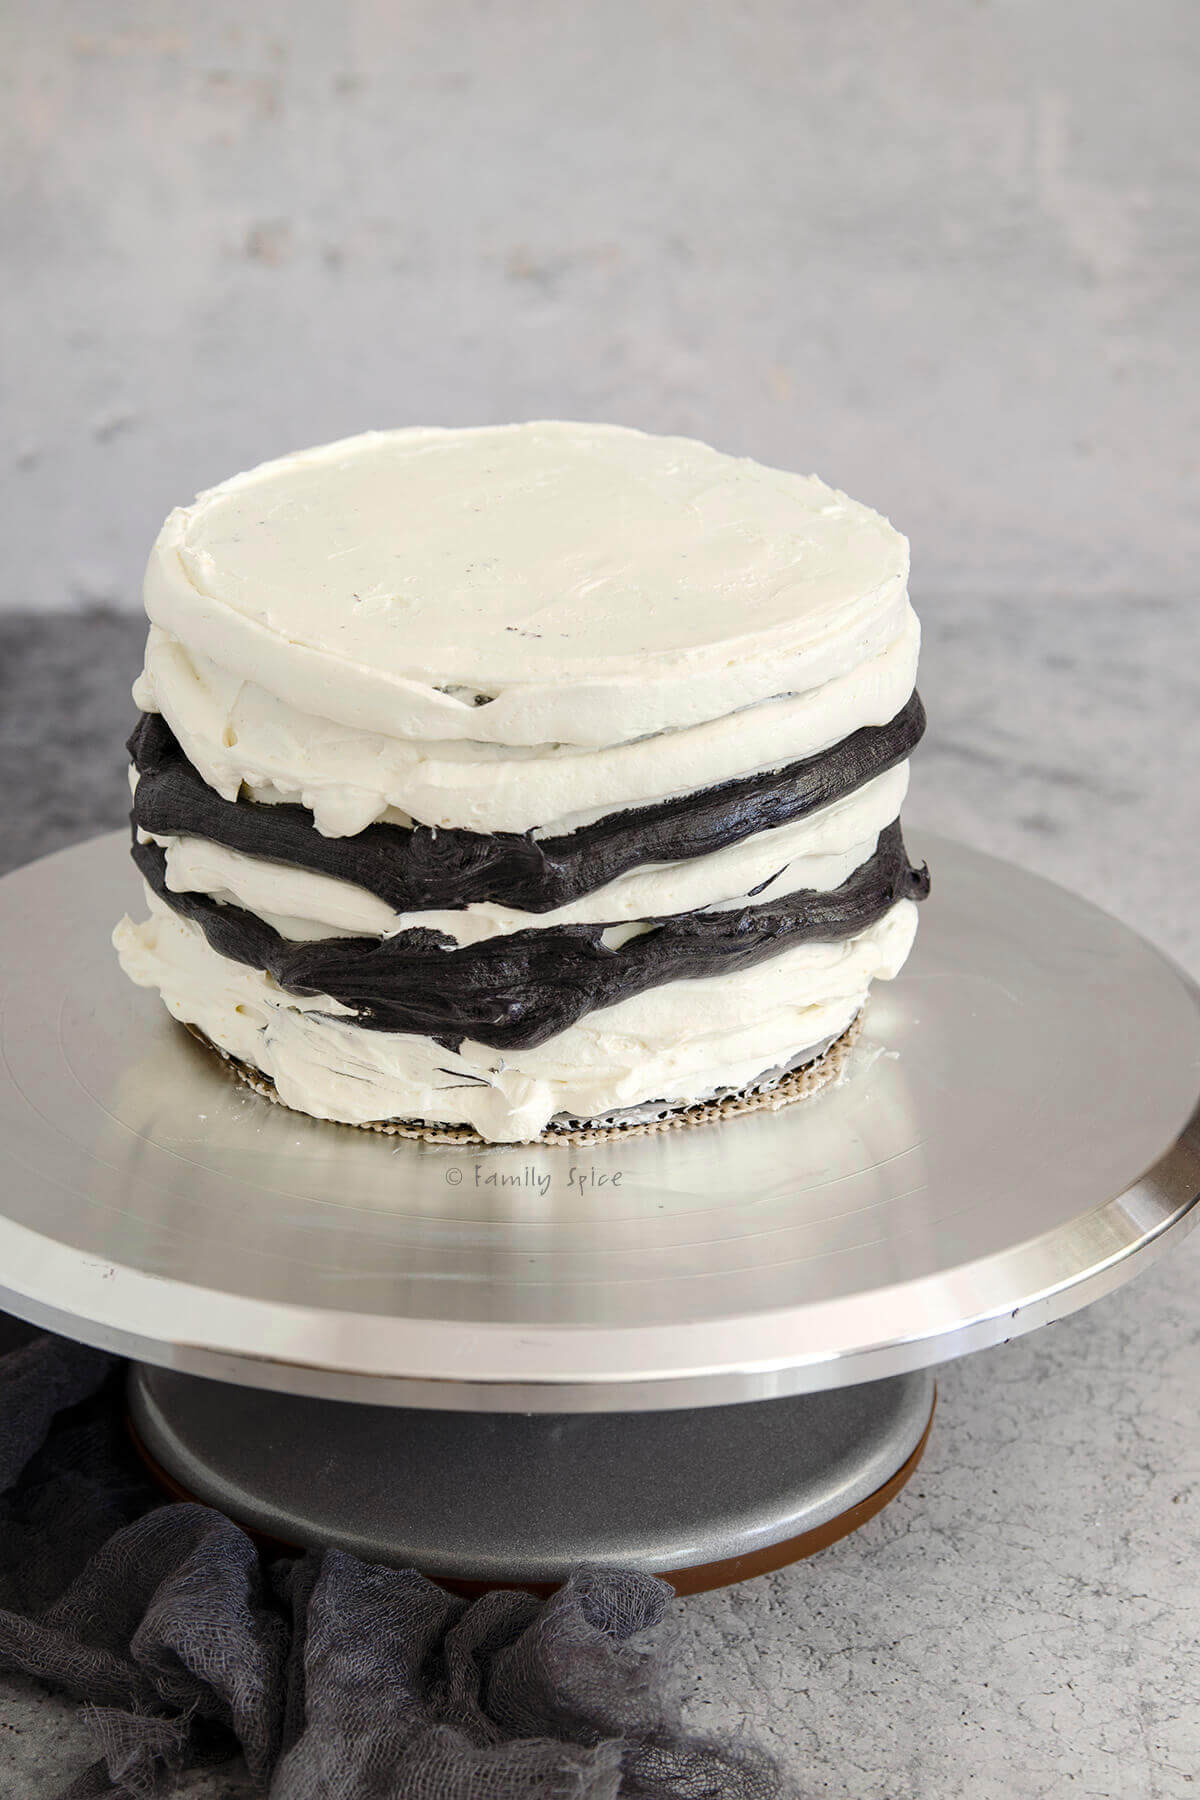
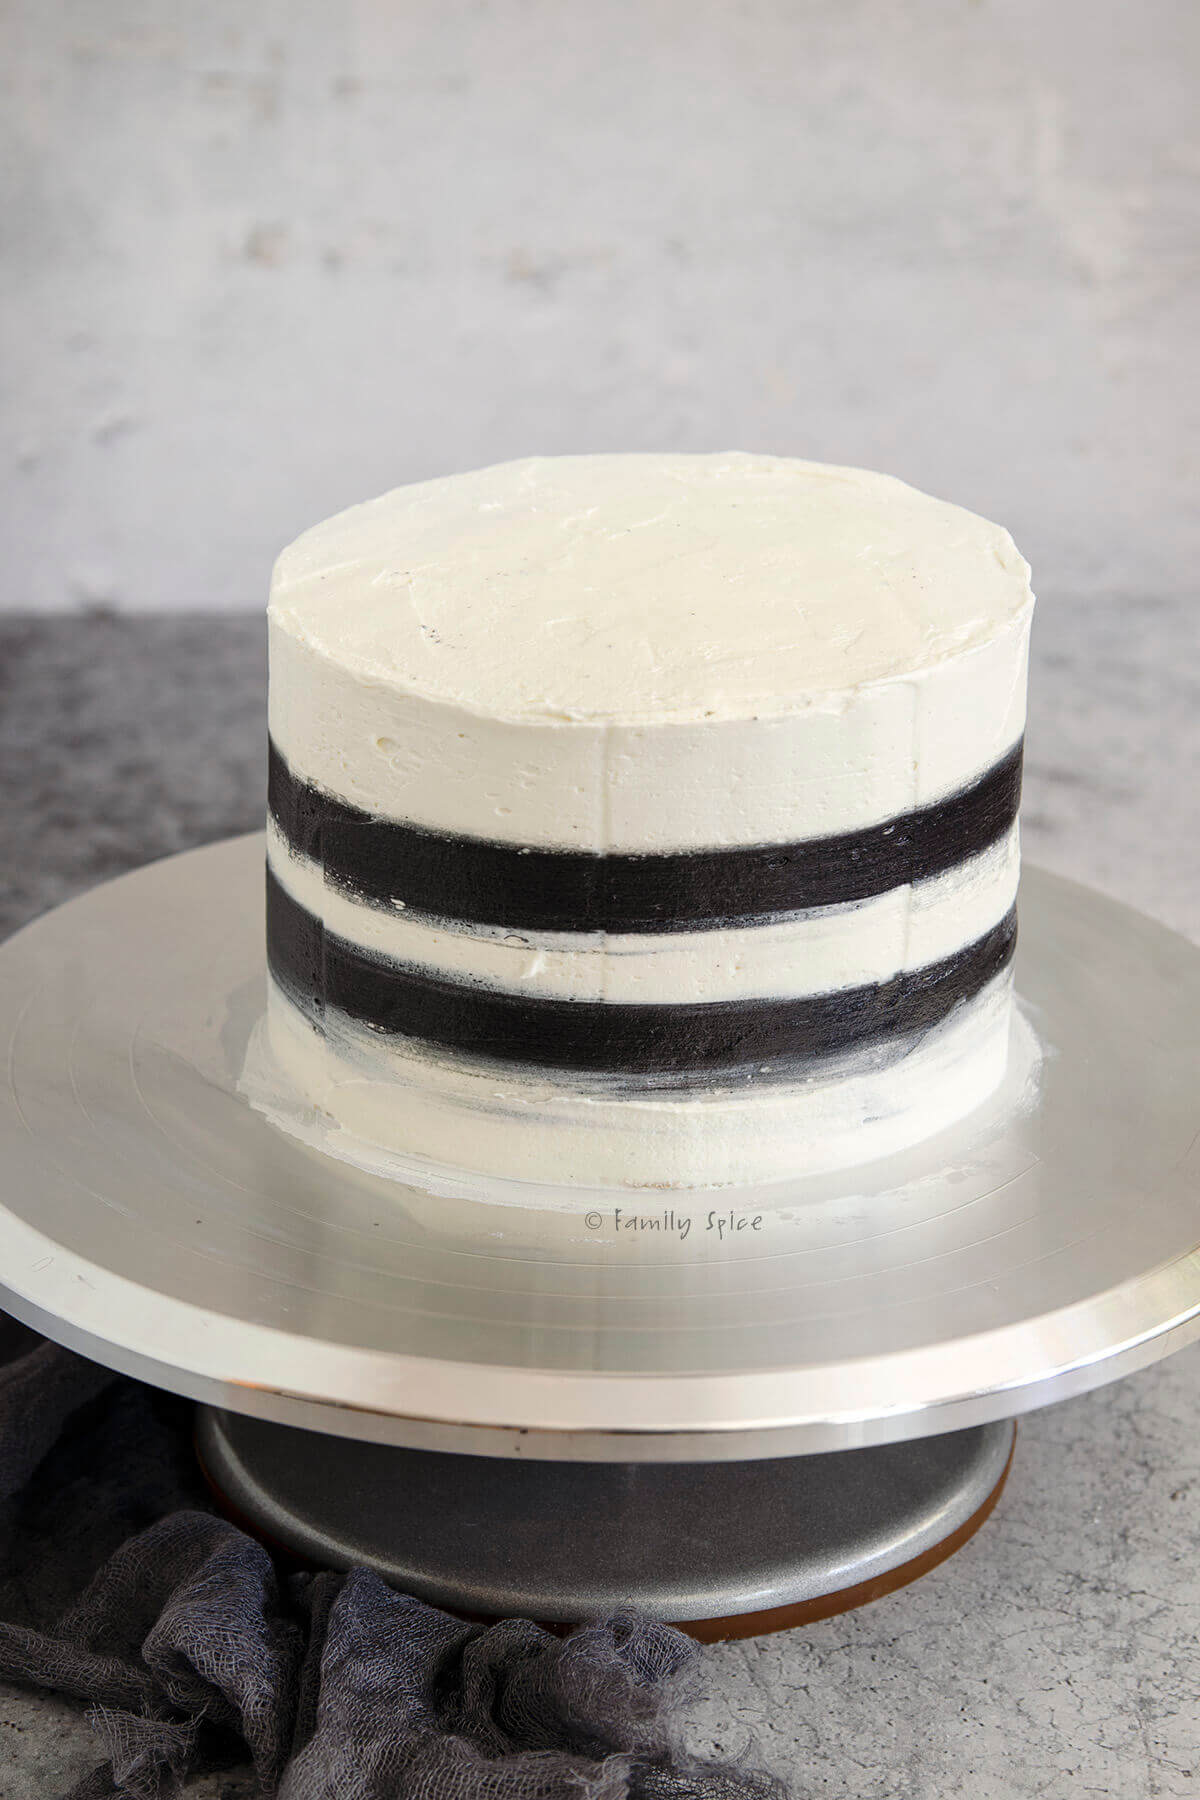
10. Once the frosting is piped on, use your cake scraper to smooth out the layers. Be sure to stop and clean off the scraper a few times to prevent the over smearing of black into the white. Although, I kinda like the smears. Once you are happy with how your cake looks, let it chill in the refrigerator.
11. For the top of the cake, I used the Jack Skellington template I have for my Jack Skellington Pie. For my 6-inch cake, I printed it at 83%. For an 8 or 9-inch cake, just print it at 100%.
My printer was running out of ink so I had to run a black marker along it to make it look better for this picture!
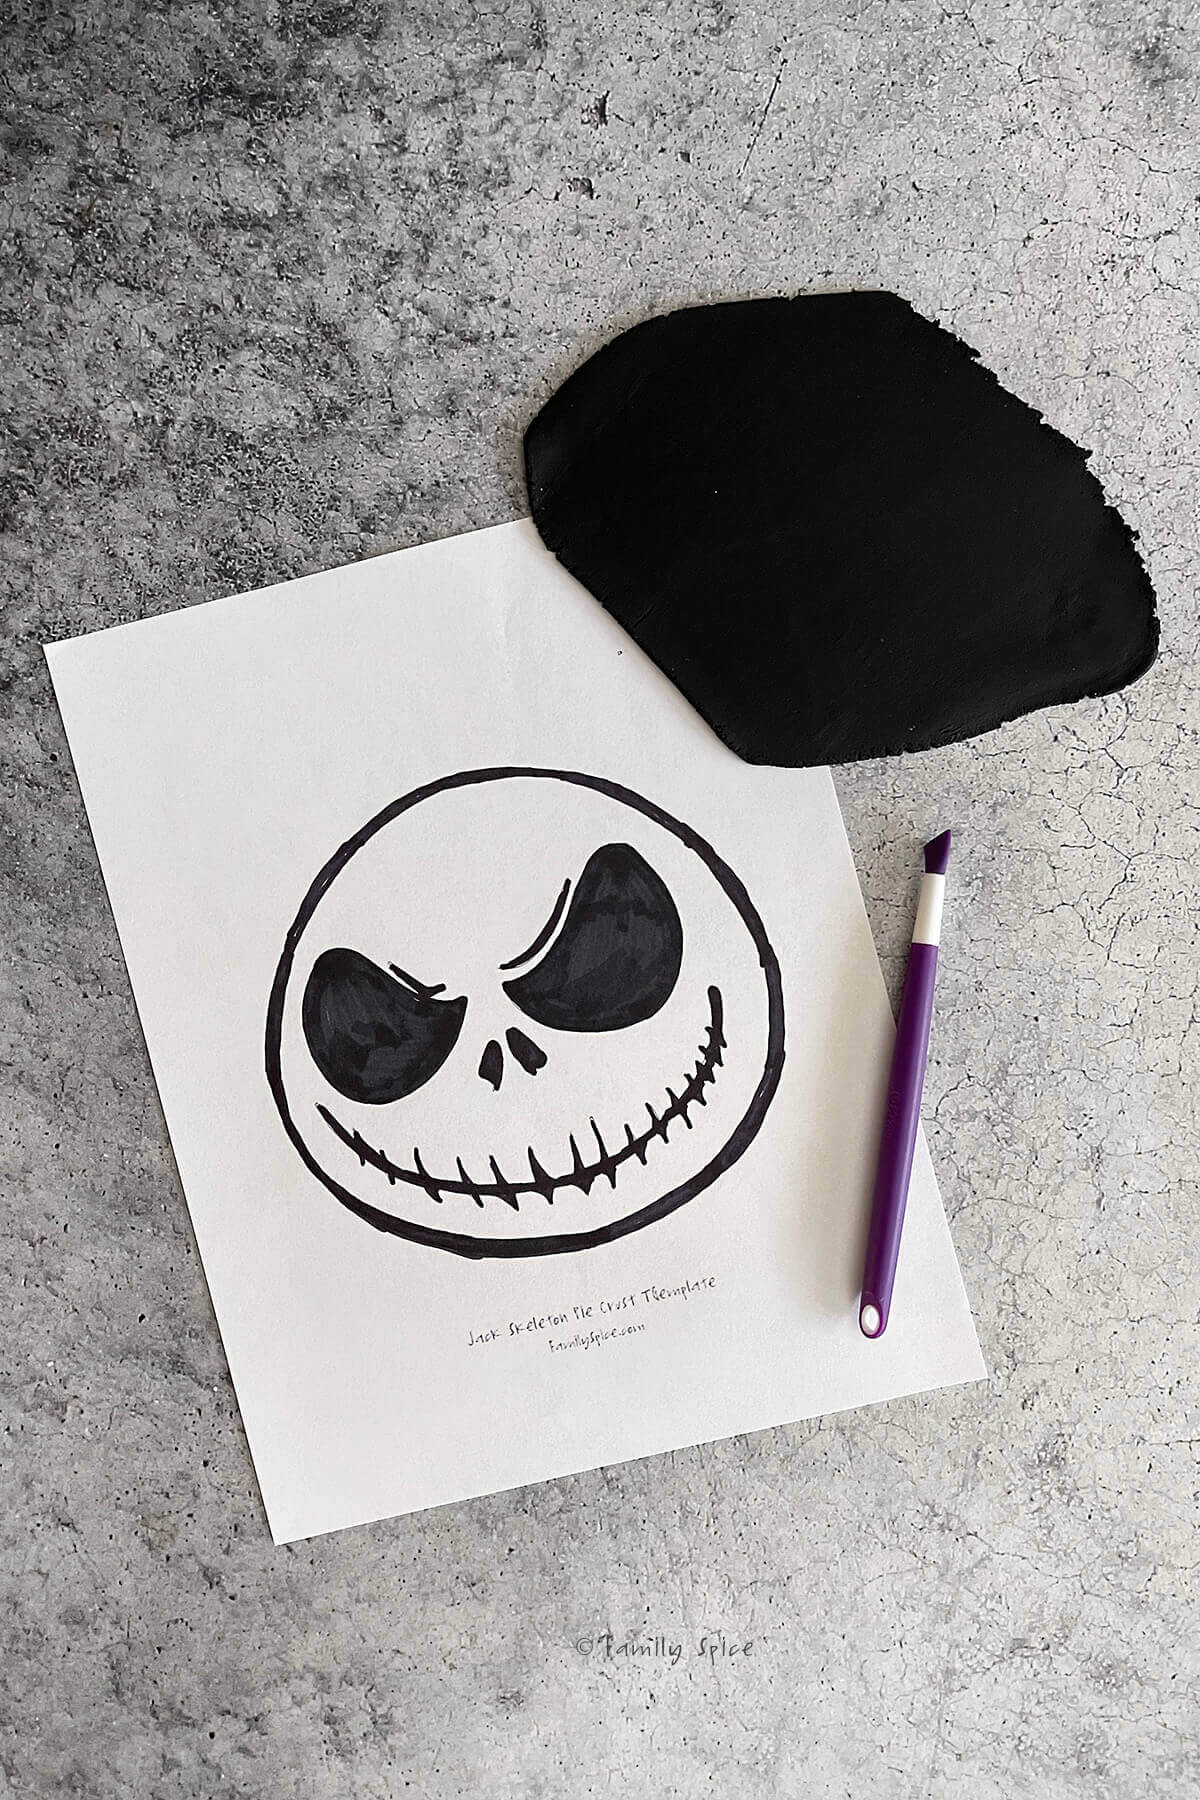
12. Cut out the black eyes, nose and most of the mouth and placed it over a rolled out piece of black fondant. I used the tip of a very small sharp knife to trace and cut out the pieces of fondant.
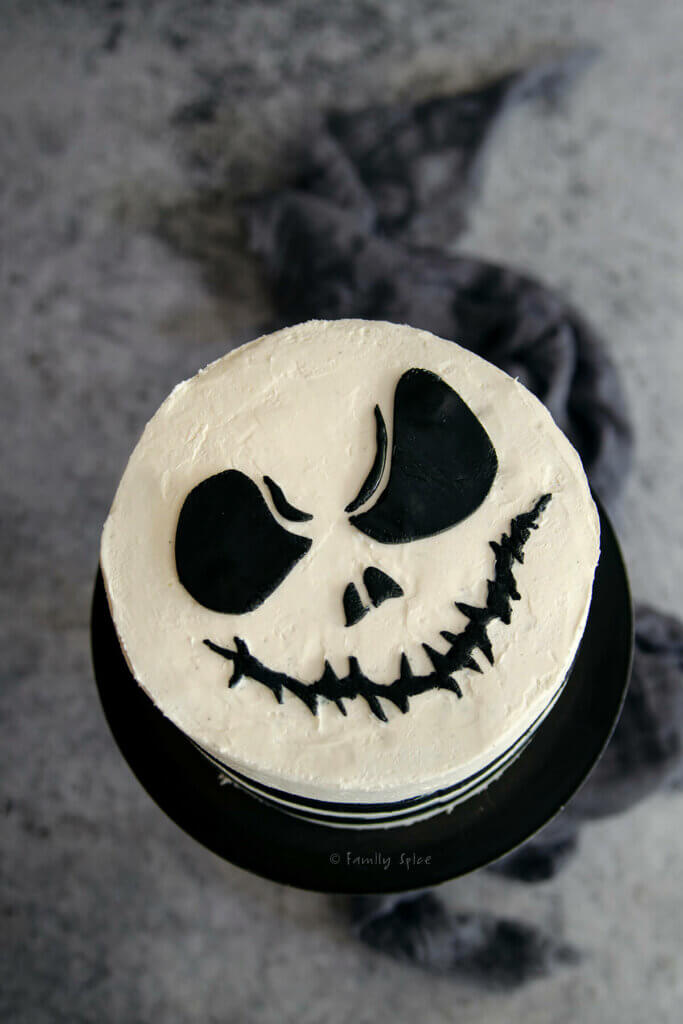
The mouth was more tricky, but I managed to cut out something wickedy cool. I rolled out little logs of fondant to form the eyebrows. Once cut out, I let the fondant dry up a little and then very carefully transferred and arranged them on the top of the cake.
Gently push them into the top of the cake to stick. I did break the mouth while I was transferring it, but I just pressed the pieces next to each other on the cake. Use the knife tip or the tip of a fondant tool to smooth out the cut fondant pieces and help position it better on the cake. Chill the cake until you are ready to serve.
Expert tips and recipe FAQs
Although you can bake and decorate your cake all in one day, I prefer to bake the cake a day before decorating and serving. Once decorated, you can keep the cake refrigerated for 1-2 days prior to serving. You don’t want it refrigerated for too long as it will change the cake texture before anyone enjoys a slice.
When working with fondant, it is good to have a silicone mat handy. You can use parchment paper, but I prefer silicone. To keep it from sticking to your rolling pin, dust it with a little powdered sugar. Too much powdered and your black fondant will look a little gray, so use sparingly.
If you don’t want to work with fondant, you can ice the eyes, nose and mouth with additional black frosting and a piping bag. Just use the print out template as a guide. You can mark the shapes lightly on your cake using the tip of a knife.
You can also create the black and white lines on the sides of your cake by using less frosting. Simply add white frosting on the sides in between the cake layers only and smooth it out. This is more of a naked cake presentation, where the black cake layers are clean and unfrosted.
I have found that decorating my cakes on cardboard rounds has been tremendously helpful. This way I can decorate my cakes on my swivel stand and easily transfer it to the serving cake stand and refrigerator.
Decorating cakes takes practice and patience. I may not have the patience of many professional bakers, but I do find that practice makes me more confident in my abilities. This was my first attempt at adding stripes to a cake. It was tremendous fun so I plan on adding it to more cakes in the future.
Adding stripes is also how you create an ombre effect on cakes. I show you how to do that with my Kool Aid Ombre Cake.
Although piping tips are great for elaborate cake decorations, you don’t need them to frost a cake. You can add the frosting in a piping bag or resealable bag without tips and simply cut the tip of the bags. For simply applying frosting onto the cake, you should cut a wider hole about ½-inch wide. You can also forgo the bag altogether and use an icing spatula or long butter knife.
Always let your cakes cool to room temperature or cooler before attempting to frost your cake. Cakes can be made the day before frosting and serving. Your frosting should be soft but not melty. It should hold its shape when applied. Smooth it out using a cake scraper or icing spatula and let it chill in the refrigerator for the crumb coat set. Chill at least 30 minutes before applying the final layer of frosting. You can frost a cake a day before serving. Just keep it refrigerated.
In my house, a homemade cake gets eaten a few days! If your cakes has no frosting or icing on it, keep it covered and it will last for about 5 days at room temperature. If it is frosted, cover and refrigerate for 3-4 days. Over time, the texture of the cake will dry so the longer it sits in the fridge, the less fresh it will taste.

If you are enjoying my recipes, please sign up for my newsletter and get my free 28-day meal plan! You can also follow me on Instagram or Facebook.
Nightmare Before Christmas Cake (Jack Skellington Cake)
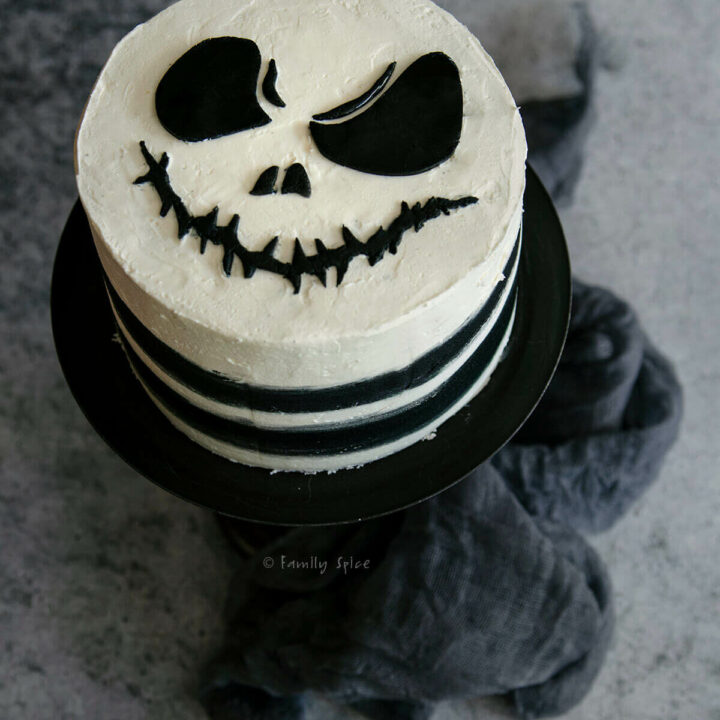
This Nightmare Before Christmas Cake is a fun and easy way to serve up a fabulous halloween cake or an amusing Christmas dessert.
Ingredients
- 2-layer chocolate cake recipe or 1 chocolate cake box mix
- 1 cup water
- ½ cup vegetable oil
- 3 large eggs
- 1 ½ cups unsalted butter, softened
- 4 ½ cups powdered sugar
- 1 ½ teaspoon vanilla extract
- 3 TBS heavy whipping cream
- Black food coloring
- White food coloring (optional)
- Black fondant
Instructions
- Prepare your chocolate cake batter, whether homemade or a box mix. I used box mix since I had it on hand. It required adding vegetable oil, water and eggs You can leave it brown or add some black food coloring, like I did, to make the cake batter black.
- Coat your cake pans with non-stick spray and line the bottom with parchment paper. Divide the batter evenly into the 3 cake pans.
- Bake the cakes per recipe or package directions. My cake was baked at 350ºF for 25-30 minutes. Use a skewer or toothpick inserted into the center of the cake to test doneness. It will come out clean when the cake is baked through.
- Cool the cakes completely before removing from the pans. Use a long serrated knife to slice the domes off each cake layer to flatten them out.4.
- To mix up the frosting, whip up the softened butter (or butter and shortening combo) until fluffy and smooth.
- Add powdered sugar, vanilla extract and heavy whipping cream and mix until smooth and velvety. I added a bit of white food coloring (this is optional) to make the frosting bright white.
- Start frosting your cake, one layer at a time, with the white frosting. Remember to invert the top layer (bottom side up) for a smoother cake top.
- Separate about ¾ cup of the remaining white frosting and mix in black food coloring. Transfer to a piping bag and snip off the tip. Transfer the remaining white frosting to another piping bag and transfer that bag tip, too.
- Start piping in alternate layers the black and white stripes around the cake.
- Once the frosting is piped on, use your cake scraper to smooth out the layers. Be sure to stop and clean off the scraper a few times to prevent the over smearing of black into the white. Once you are happy with how your cake looks, let it chill in the refrigerator.
- For the top of the cake, I used the Jack Skellington template I have for my Jack Skellington Pie. For my 6-inch cake, I printed it at 83%. For an 8 or 9-inch cake, just print it at 100%.
- Cut out the black eyes, nose and most of the mouth and placed it over a rolled out piece of black fondant. Use the tip of a very small sharp knife to trace and cut out the pieces of fondant.
- Once cut out, very carefully transfer the pieces and arranged them on the top of the cake. Gently press them into the top of the cake to stick.
- Use the knife tip or the tip of a fondant tool to smooth out the cut fondant pieces and help position it better on the cake.
- Chill the cake until you are ready to serve.
Notes
This makes a 3-layer 6-inch cake. If you want something larger, double the recipe or use 2 box mixes for a 3-layer 8-inch cake.
Nutrition Information:
Yield:
12Serving Size:
1Amount Per Serving: Calories: 591Total Fat: 40gSaturated Fat: 18gTrans Fat: 1gUnsaturated Fat: 20gCholesterol: 118mgSodium: 119mgCarbohydrates: 58gFiber: 1gSugar: 54gProtein: 3g
PS If you try this recipe, why not leave a star rating in the recipe card right below and/or a review in the comment section further down the page? I always appreciate your feedback.
You can also follow me on Pinterest, Facebook or Instagram. Sign up for my eMail list, too!

