
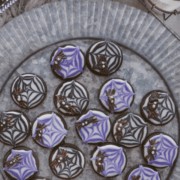
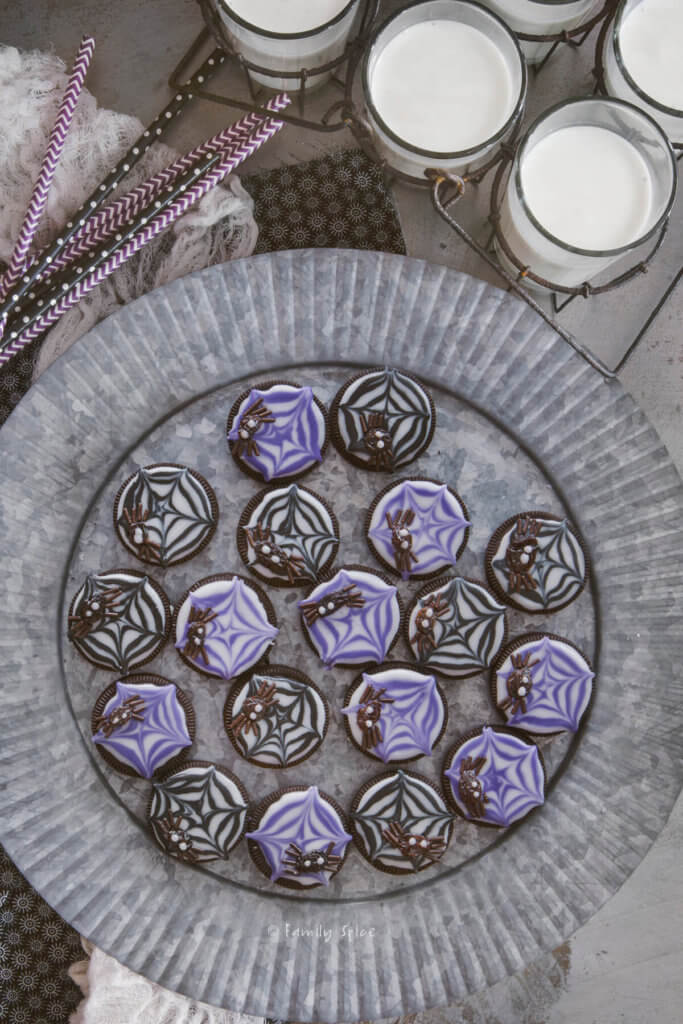
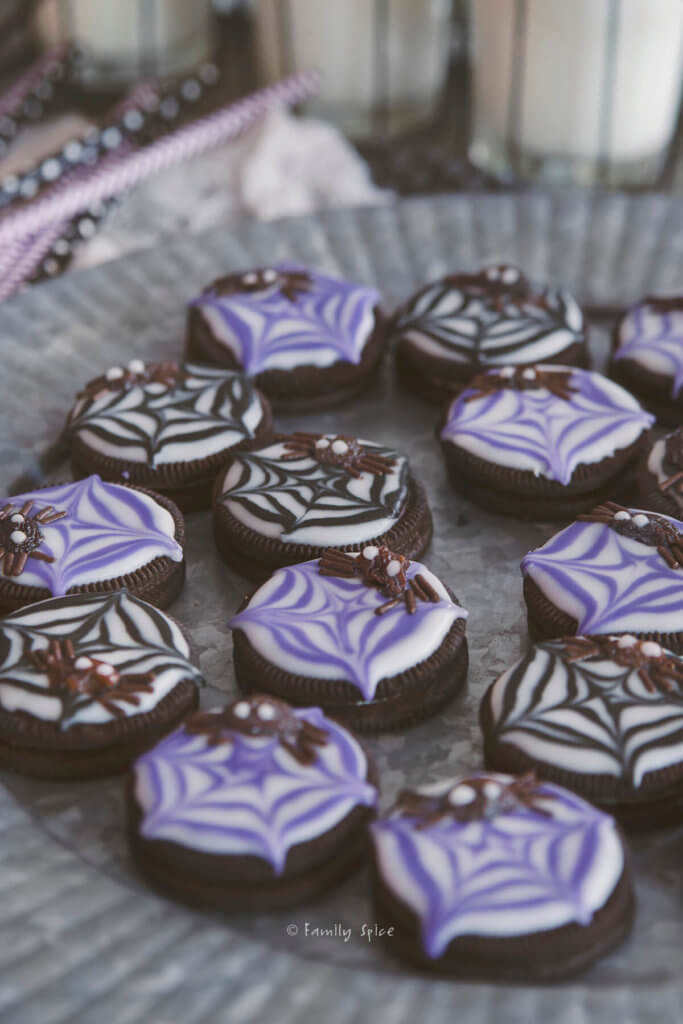
Get in the Halloween mood without baking a thing! You can decorate store bought cookies with spider webs and raisin spiders to make these simple and ghoulishly fun Halloween Oreos! Sponsored by Sun-Maid Raisins.
Decorating cookies for any holiday or season is a favorite past time for the kids and I. It is not only fun, but a fabulous way to get creative without dealing with the complex rules normally associated with baking and cooking.
It’s like coloring and painting with sugar – hello?! Now that’s crazy fun! With Halloween around the corner, it’s totally time for cookie decorating. So let’s get in the spirit of the holidays without busting into cold sweats.
Jump to:
Laura says :
Why this recipe works
- Economical: You can make way more halloween themed cookies with a box of Oreos for less money and work than if you bake the cookies yourself! They are a great choice if you want to decorate cookies for a big crowd.
- Allergy Friendly: Did you know that Oreos are dairy and egg free? What a great cookie choice when you have kids with allergies. They also come in gluten free!
- Simple: The usual Halloween Oreos you see are usually coated in melted chocolate or candy melts. I keep it simple by using powdered sugar and water – that means no meringue powder (allergy alert!) or egg whites. And I decorated all these WITHOUT piping tips and only snipped the end of my piping bag.
- Versatile: Kids LOVE Oreos so why not decorate them?! You can make a simple design or more intricate. I share a super easy spider web that uses a raisin to create a delicious spider!

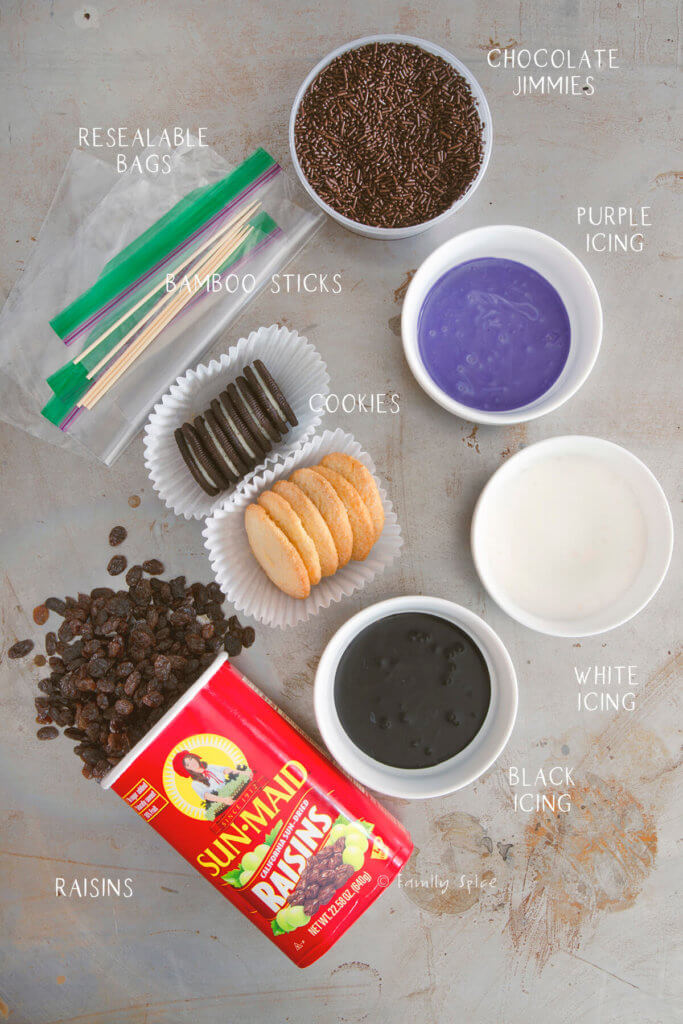
Ingredients you need
This post contains some affiliate links for your convenience (which means if you make a purchase after clicking a link I will earn a small commission but it won’t cost you a penny more)! Read my full disclosure policy
- Powdered Sugar: For the royal icing you need powdered sugar and not regular granulated sugar.
- Black and Purple food coloring: For my web colors I chose black and purple. You can use other colors if you prefer.
- Water: Royal icing is made with powdered sugar and a liquid. I normally use water, but some people use milk. If you use milk, you have to refrigerate the cookies.
- Oreo Cookies: I liked the Oreos as they are a great dark background that is perfect for Halloween. You can use any kind of cookie, homemade or store-bought.
- Raisins: The body of the spider for these spider cookies is made with raisins. You could also use brown M&Ms or chocolate covered raisins.
- Chocolate Jimmies: These are used for the legs of the spider.
Step-by-Step Directions

- Make icing. Combine powdered sugar and water until icing is smooth but thick. You will need three colors: white, purple and black.
- Transfer to bags. Pour each color into its own resealable bag and squeeze icing into one corner. Snip a tiny piece of the corner of the bag off.
- Add white background. Pipe one of the cookie white icing. Use a toothpick or bamboo skewer to spread icing evenly.
- Add spiral. Starting at the center of the cookie, pipe a spiral of purple or black for the web. Turn and spiral the icing outwards towards the edge of the cookie.
- Make web. Place a tooth pick at the center of the cookie then slowly drag it through the icing towards the edge of the cookie. Continue dragging the toothpick around the rest of the cookie to create a spiderweb design.
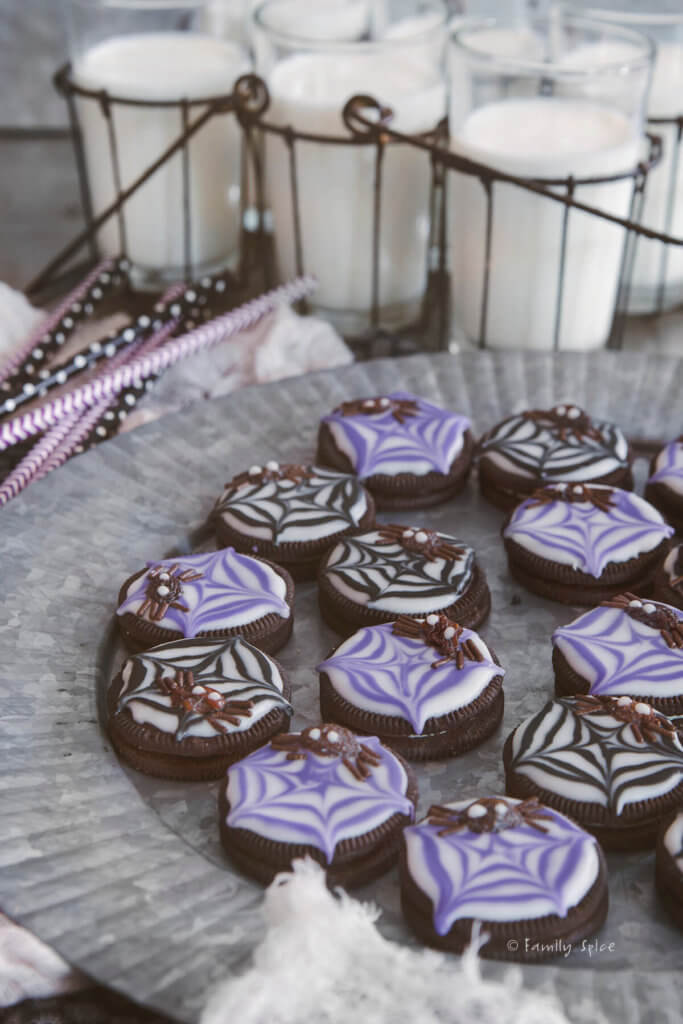
- Add spider. Place one raisin for the spider’s body anywhere on the cookie and place 4 chocolate jimmies on either side of the raisin for the spider’s legs.
- Add eyes. Using white icing, add two tiny dots for eyes and let cookie dry.
Want to save this recipe?
Expert Tips and Recipe FAQS
So this Halloween Oreo is definitely a “low skills required” kinda decorating project. My 12-year old daughter even joined in on the decorating fun, so this is very kid friendly.
- This is a great cookie decorating project to do for a Halloween party. Just set up the work stations and let the kids have fun decorating!
- You can also use pre-made cookie icing which come in their own squeeze bottles for even easier decorating and less work.
- Try other Halloweeny colors like orange, green and brown.
Oreos also come in fun colors and flavors during the holidays. So you can also use orange filled Oreos.
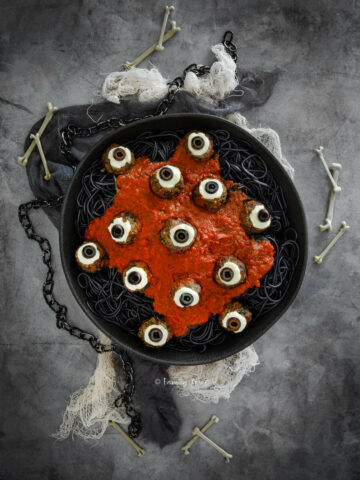
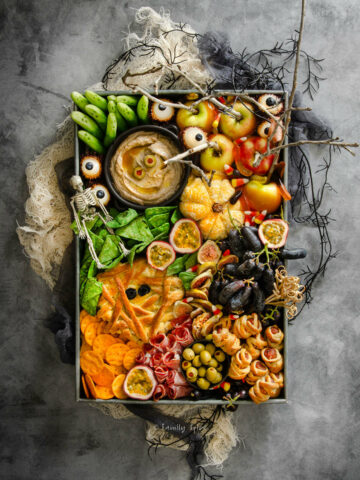
Add these to a halloween charcuterie board for a touch of sweet. For more fun halloween recipes that are low skills and kid-friendly, you should also try my monster cake using red vines or this very easy kitty litter cake!
Storing/Freezing Instructions
TO STORE: Once the icing is dry, store the cookies in a resealable bag or container. If you are taking these to a party, use a container and place a sheet of parchment paper between the layers to protect the cookie designs.
Meringue powder is often added to royal icing to make it dry and harden more quickly. You can also use egg white powder or pasteurized egg whites.
Store iced cookies in an airtight container at room temperature for up to one week and in the refrigerator for up to 2 weeks, especially when they are iced with just powdered sugar and water.


If you are enjoying my recipes, please sign up for my newsletter and get my free 28-day meal plan! You can also follow me on Instagram or Facebook.

Halloween Oreos: Spider Cookies
Ingredients
- 3 ½ cups powdered sugar
- Purple food coloring
- Black food coloring
- 5-7 teaspoons water
- 24 assorted cookies like Oreos or sugar cookies
- 24 raisins
- ½ cup chocolate jimmies
Instructions
- Add 1 cup powdered sugar into a small bowl with black food coloring.
- Add 1 cup powdered sugar into a second small bowl with purple food coloring (red and blue).
- Slowly add up to 2 teaspoon water into each bowl and stir with a fork or whisk until icing is smooth, but thick. You want it pourable, but not runny.
- In a third bowl add 1 ½ cups powdered sugar and slowly add 2 to 2 ½ teaspoon water.
- Stir with a fork or whisk until icing is smooth, but thick. You want it pourable, but not runny.
- Pour each icing into its own resealable bag and squeeze icing into one corner. Snip a tiny piece of the corner of the bag off and place each bag in a glass, cut tip side down.
- Place 1 cookie on work surface.
- Start with the white icing and pipe an outline of a circle along the edge of the cookie. Once outline is done, fill in center with white icing.
- Use a toothpick or bamboo skewer to spread icing evenly.
- Start at the center of the cookie and pipe a swirl of purple or black for the web. Turn and spiral the icing outwards towards the edge of the cookie.
- Using a toothpick or bamboo skewer, place the tip at the center of the cookie and drag it out through the icing toward the edge of the cookie. Continue doing this throughout the cookie until your web is formed and complete.
- While the icing is wet, place 1 raisin, for the spider’s body anywhere on the cookie.
- Place 4 chocolate jimmies on one side of the raisin for the spider’s legs and 4 more on the other side.
- Using white icing, add two tiny dots for eyes and let cookie dry.
- Continue icing the other cookies.
- Allow icing to cool completely before handling, about 1 hour.
Notes
Nutrition
Nutrition Disclaimer
Nutritional information is an estimate provided to you as a courtesy. You should calculate the actual nutritional information with the products and brands you are using with your preferred nutritional calculator.
PS If you try this recipe, why not leave a star rating in the recipe card right below and/or a review in the comment section further down the page? I always appreciate your feedback.
You can also follow me on Pinterest, Facebook or Instagram. Sign up for my eMail list, too!
Written by Laura Bashar
Hi, I’m Laura, a certified professional cook and cookbook author living in San Diego. I have been sharing my family’s favorite recipes inspired from all over the world since 2008. Let’s cook up something fun!
Disclosure: I did receive a stipend from Sun-Maid Raisins to develop a recipe using their raisins. The story I have written is all true, and the opinions are truly mine. If I didn’t like it, I wouldn’t blog about it.


I love how adorable–and easy–these little guys are! Plus raisins = healthy!
Such a fun project to do with the kids or the young at heart in your family. And oreos are my favorite store-bought cookies and the raisins give it just a nudge of healthy 🙂
These are adorable!
These are so fun and spooky!
These would be so cute for a class Halloween party!
Those raisin spiders are so creepy! Perfect!