Homemade jam doesn’t always set perfectly, but don’t toss that batch just yet! Learn why jam turns out too runny or too thick, how to tell when it’s done cooking, and what you can do to get the consistency you’re looking for.
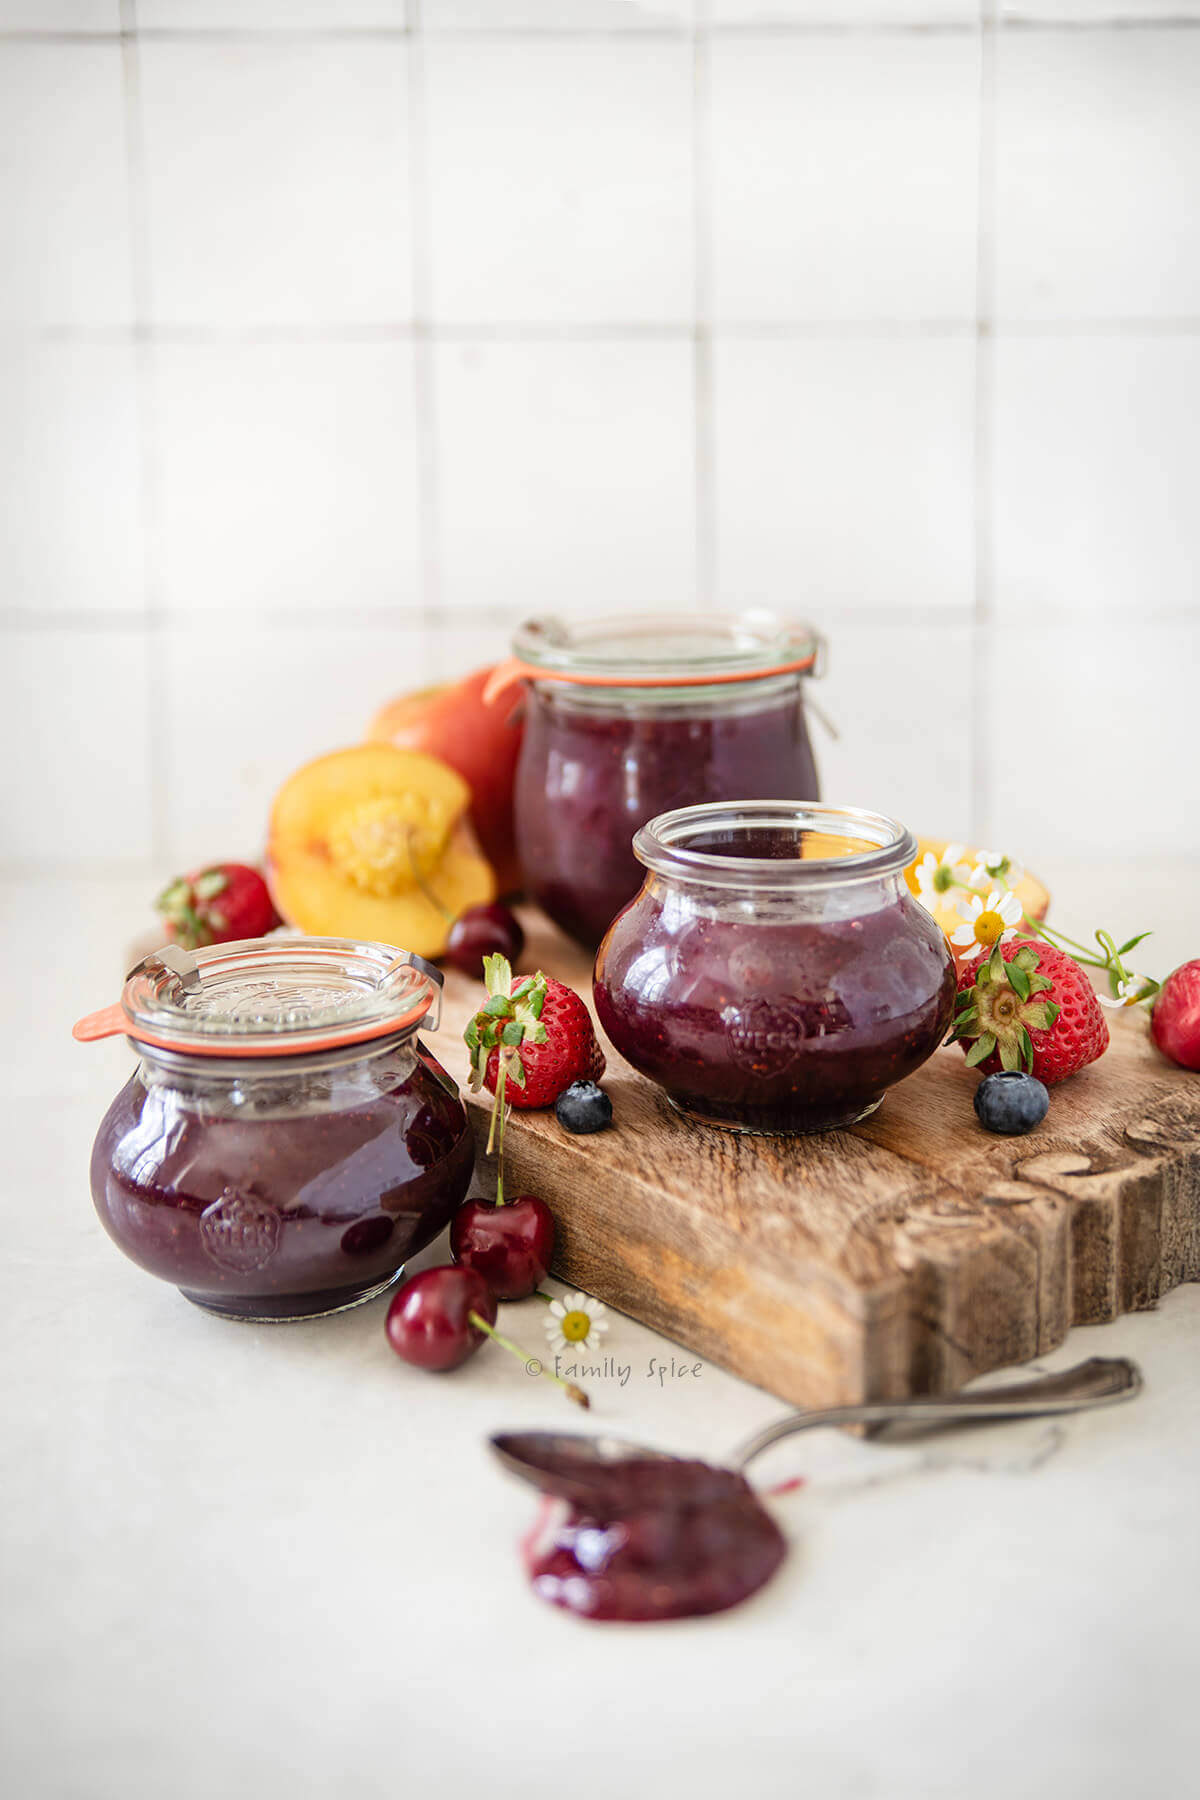
I come from a long line of jam makers. A homemade jar of quince jam or peach jam wasn’t just a way to preserve fruit, but a way to show love to family.
My Aunt Agnes taught me the secrets of jam making, and I’ve learned a few of my own over more than 20 years of making jam. I’ve also answered countless questions from readers and helped them through their own jam-making emergencies.
I created this homemade jam troubleshooting guide to share what I’ve learned and help you solve common jam-making problems, from runny jam to getting that perfect set.
Jump to:
How Homemade Jam Works
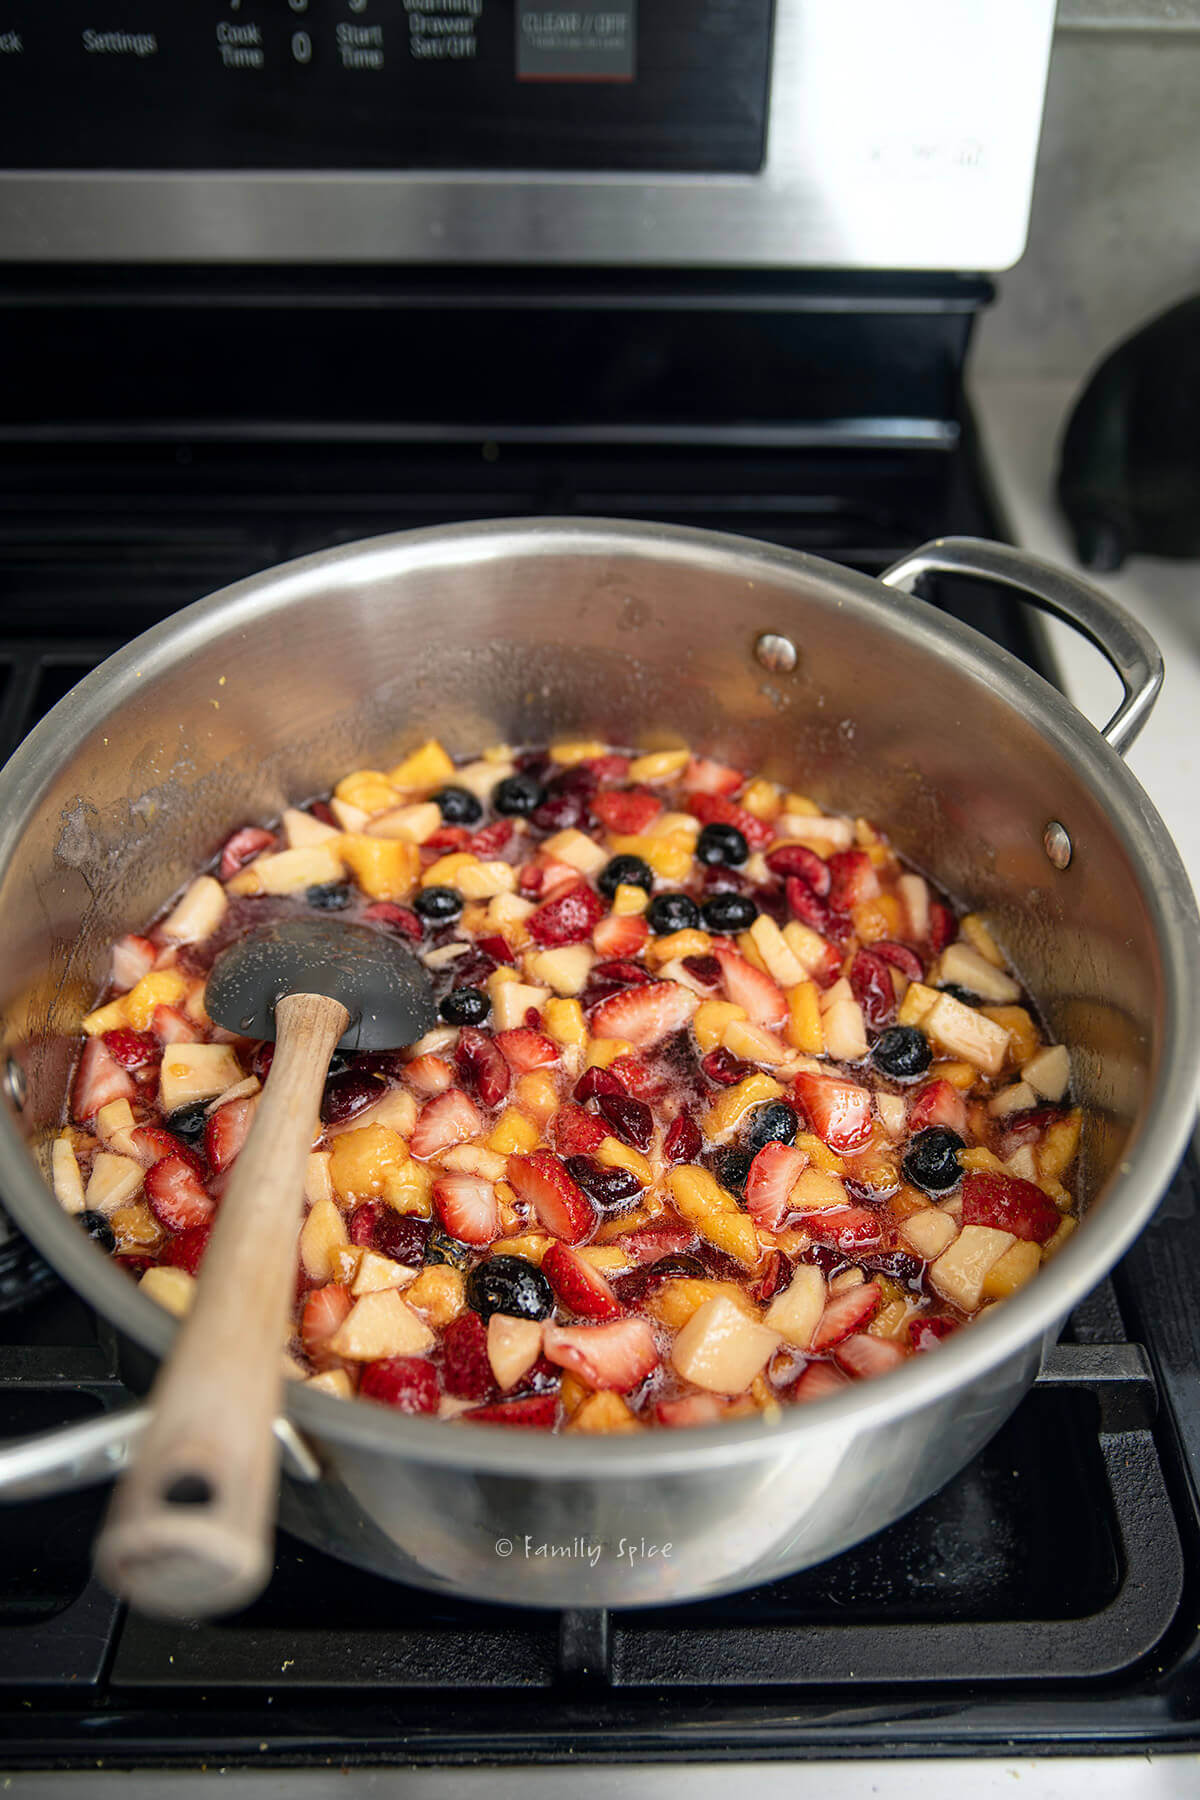
Jam making is all about chemistry! You combine fruit, sugar, and sometimes added pectin and acid, then cook everything until the fruit breaks down and excess water evaporates. The result is a thick, spreadable fruit preserve that can range from chunky to smooth, depending on the fruit and how you cook it.
Cook fruit with little or no added sugar, and you might end up with a fruit sauce or compote, depending on how it’s prepared. Jam is different because sugar, the fruit’s natural pectin, and cooking all help determine its final texture.
Pectin is one of the keys to thickening jam. This naturally occurring substance is found in fruit and helps form a gel under the right conditions. Some fruits contain more natural pectin than others, and the amount also depends on the fruit’s ripeness. That’s why some jam recipes call for commercial pectin while others don’t need any added.
Sugar does more than sweeten the fruit. In traditional jam recipes, it helps pectin form a gel, contributes to the final texture, and helps preserve the fruit. Acid also plays an important role in many jams by helping pectin gel properly. The balance of these ingredients depends on the fruit and the recipe.
So do you always need to add pectin? Not necessarily! Some recipes rely on the fruit’s natural pectin, while others achieve their thicker consistency mainly by cooking off excess water. The result can be a more concentrated, fruit-forward preserve rather than a firm, jelly-like gel.
And sometimes it comes down to the texture you prefer. If you like a thick, fruity jam with soft pieces of fruit and don’t mind a looser set, a recipe without added pectin may be just what you’re looking for.
One important note: acidity also matters for food safety when canning jam. You can’t assume a jam is safe for shelf-stable storage just because it contains fruit or tastes tart. Always follow a tested recipe and the appropriate canning instructions.
How To Tell When Jam Is Done
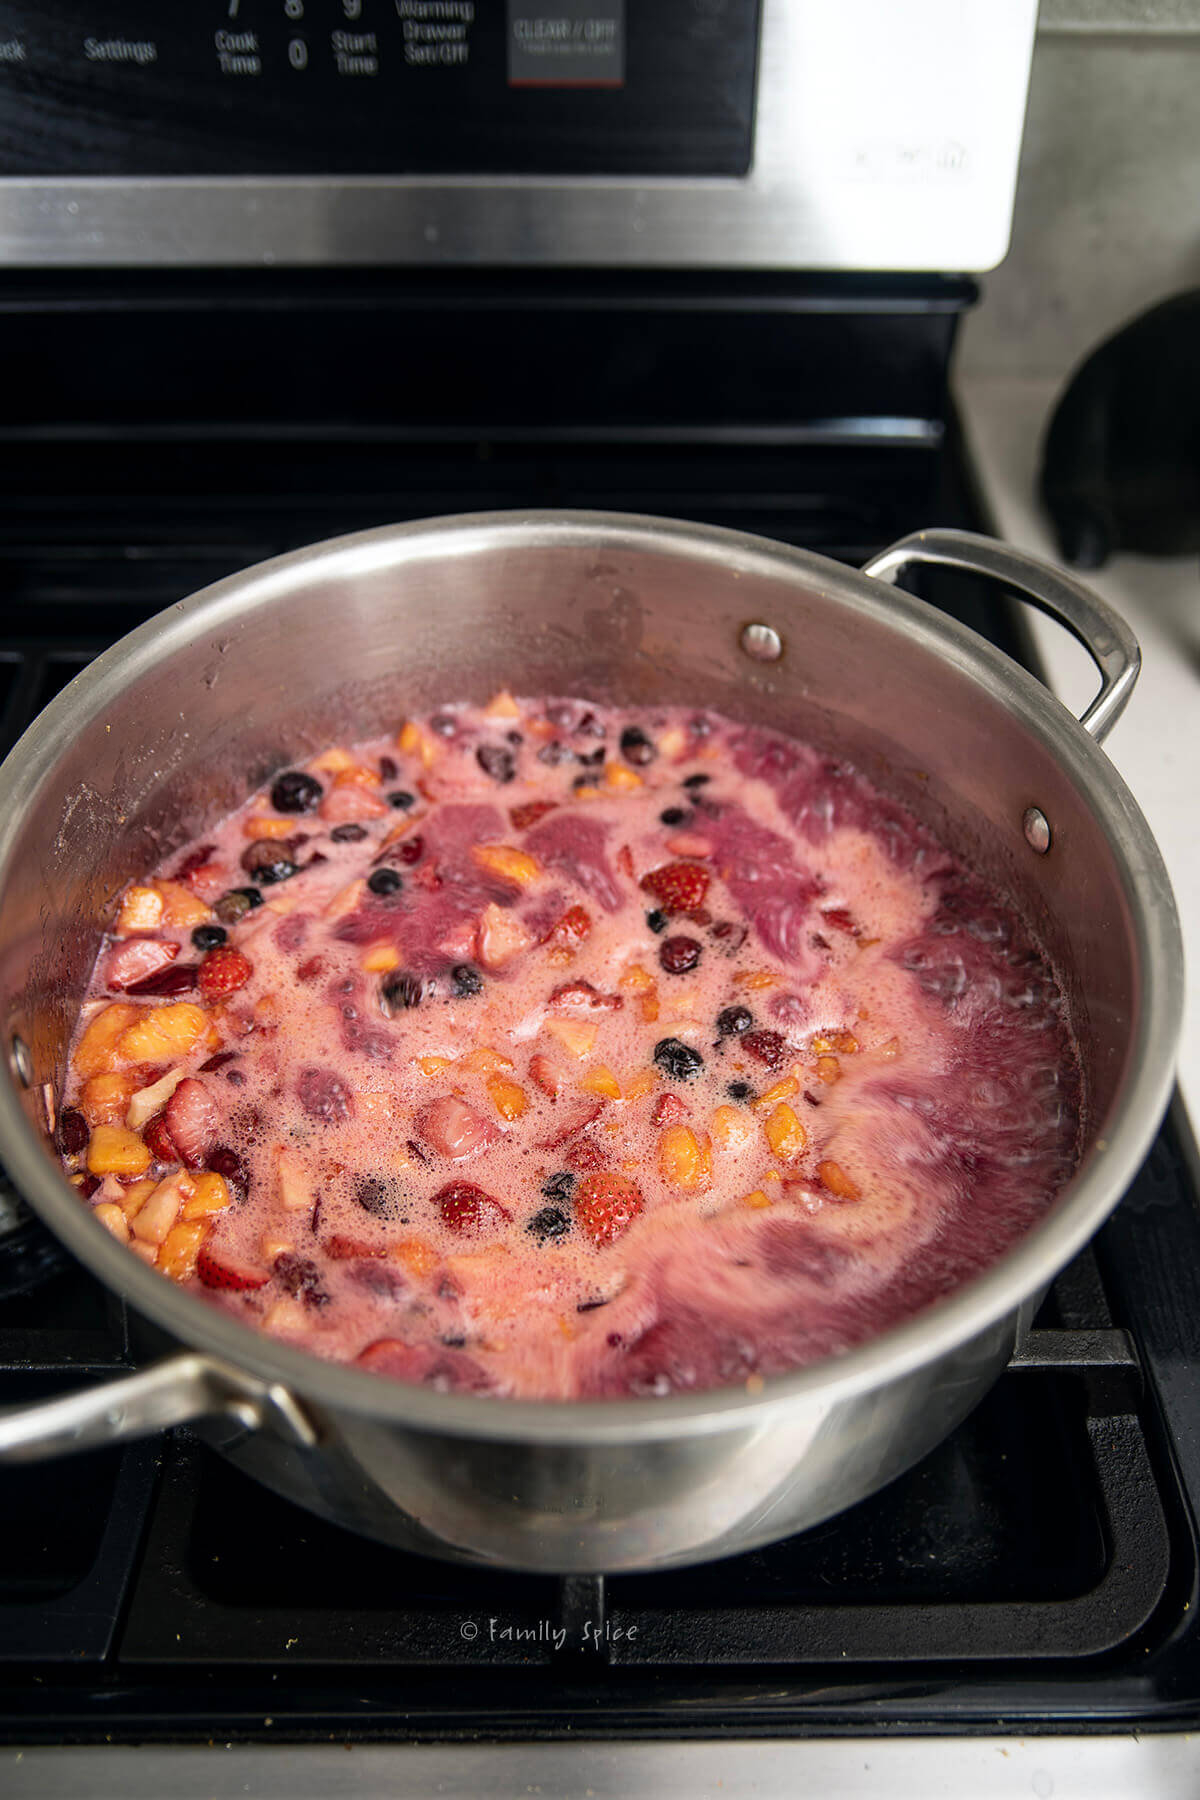
If you’re new to making jam, you might not know what to look for when deciding whether it’s done cooking. A recipe may tell you to cook the jam for 20 minutes, but that doesn’t necessarily mean your batch is ready. Cooking time varies depending on the fruit, the amount of liquid, your pan, and the heat.
Look for visual cues. As the jam cooks and thickens, the bubbles may become slower and more viscous, and the mixture will coat the back of a spoon. If you draw a line through the jam on the spoon, it should hold briefly rather than immediately running back together. Keep in mind that hot jam is thinner than cooled jam, so don’t expect it to look as thick in the pot as it will after chilling.
Try the cold-plate test. Place a few small plates in the freezer before you start cooking. To test the jam, spoon a small amount onto a cold plate and return it to the freezer for a minute or two, until the sample cools. Gently push the jam with your finger. If the surface wrinkles and the jam holds its shape, it’s a sign that it may be ready. If it remains very runny, continue simmering and test again.
The cold-plate test is a useful guide, but it isn’t foolproof for every recipe. Follow the setting instructions for your particular recipe, especially if you’re using commercial pectin, which may require a specific cooking method.
Why Homemade Jam Doesn’t Set
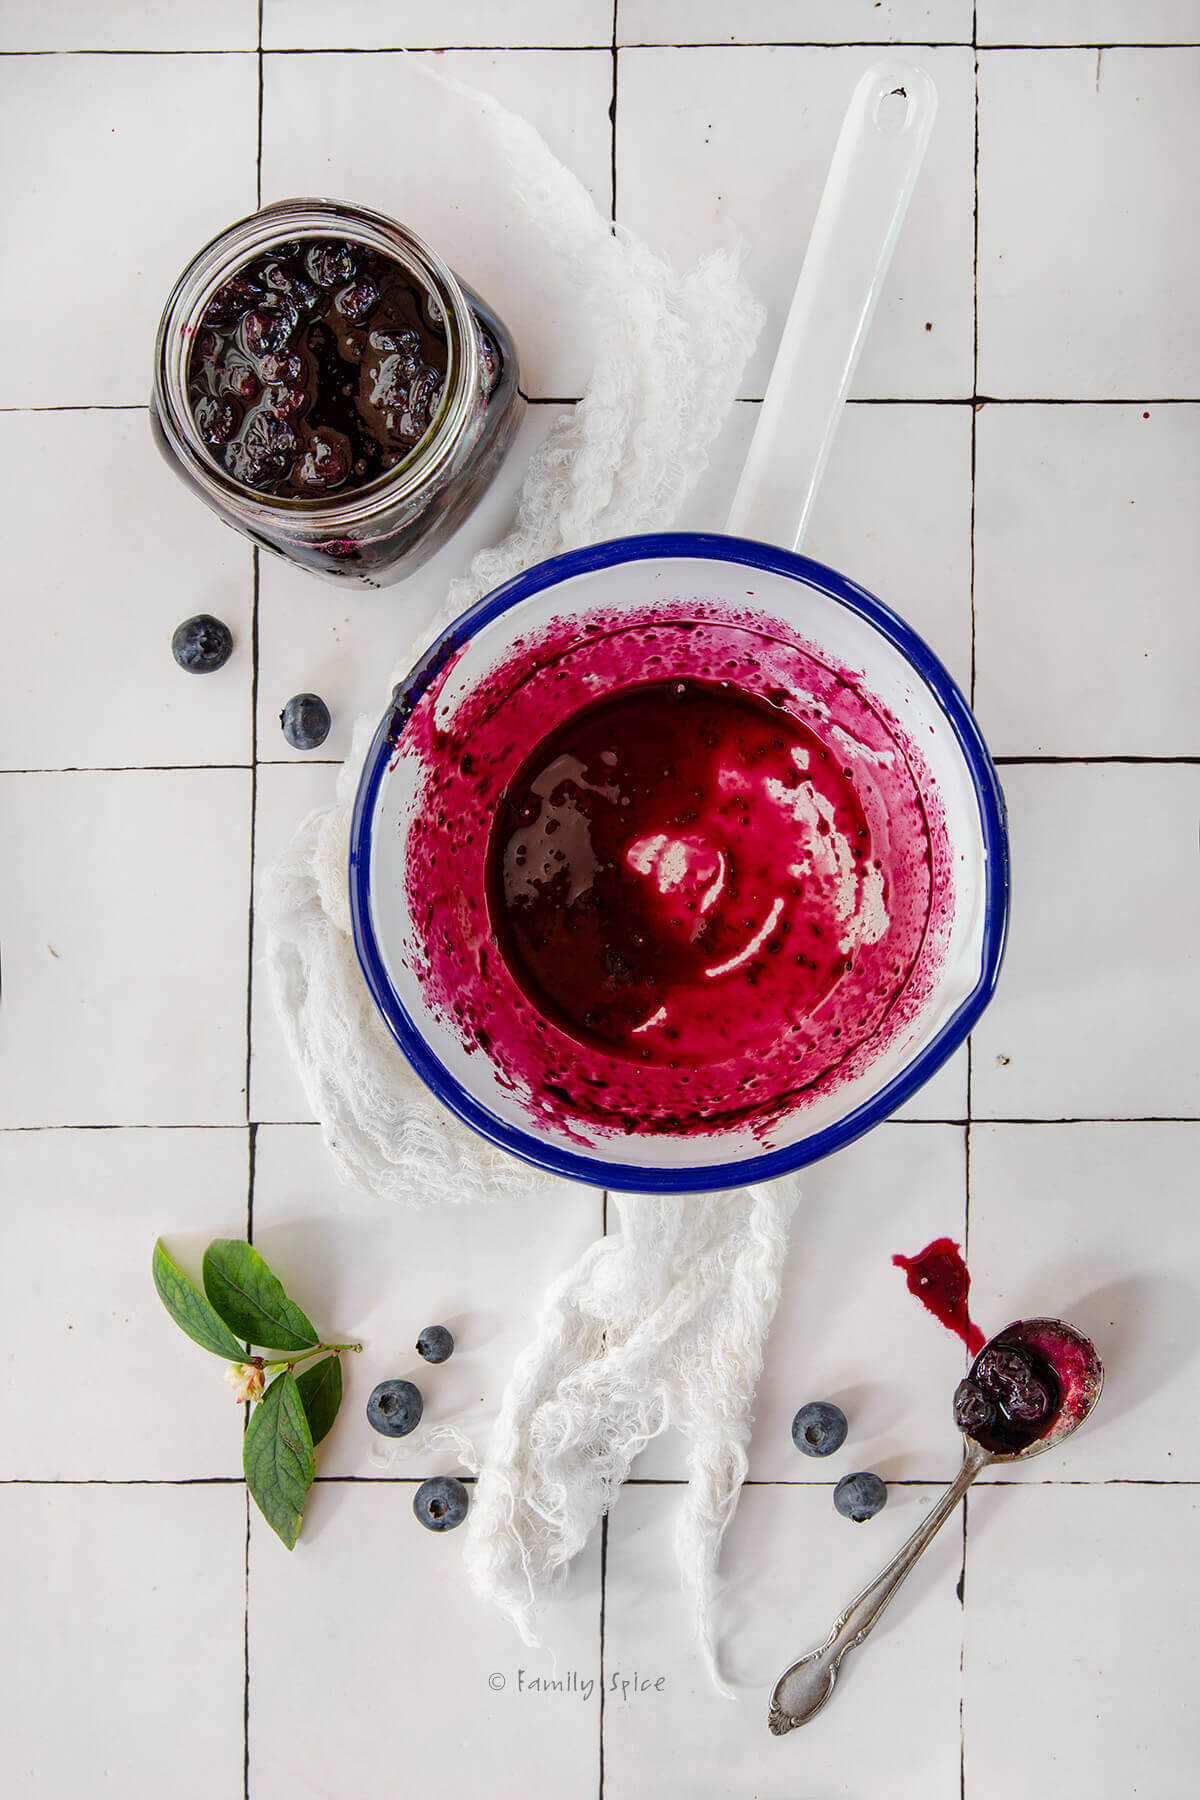
There are a few reasons your homemade jam might not set. The most common are too much water, not enough cooking time, or an imbalance of sugar, acid, and pectin.
Too much liquid: Some fruit releases more juice than others. If you haven’t cooked off enough water, the jam may remain runny. Continue simmering if your recipe calls for it, then test the consistency again.
Not enough acid: Acid helps pectin form a gel in many traditional jam recipes. If the fruit or recipe doesn’t provide the right balance, the jam may not set properly. Follow your recipe’s recommended amount of lemon juice or other acid rather than adding a random amount. Most of us do not have a way to measure our food pH level. There is no clear consensus on what is the perfect pH level for jams, but I suggest a pH level of 3.0–3.3.
Pectin and sugar balance: Traditional pectin-based jams depend on the right balance of pectin, sugar, and acid. Other recipes rely more on reducing the fruit’s liquid through cooking. Check which method your recipe uses before trying to fix a batch.
Cooking temperature: Around 220°F (104°C) is often cited as a traditional jam-setting temperature at sea level, but it isn’t a universal target for every recipe. Use the doneness cues and instructions appropriate for your particular jam.
How To Fix Runny Jam
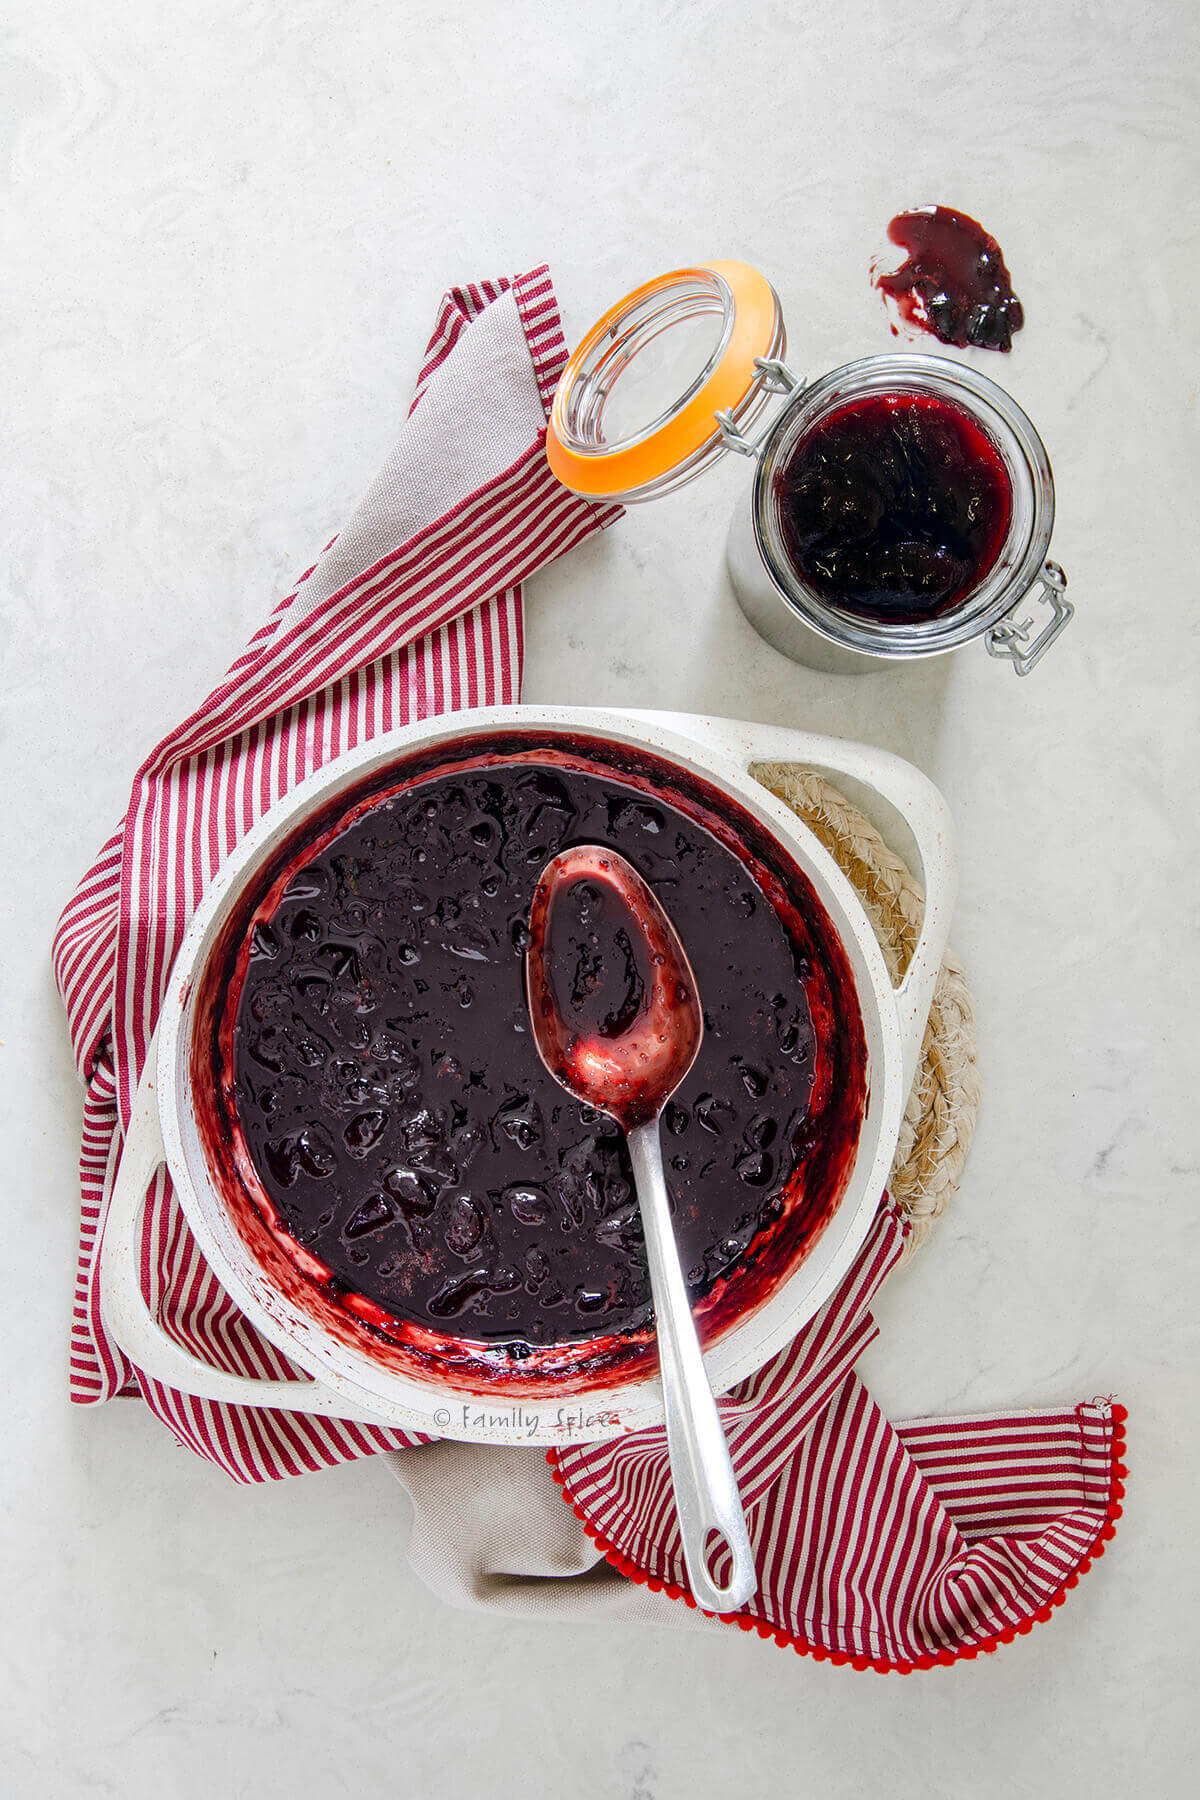
If your homemade jam isn’t setting, don’t panic! There are a few things you can try before giving up on it.
- Cook it a little longer. Some fruit is juicier than others, and your jam may simply need more time for excess water to evaporate. Continue simmering, then test the consistency again.
- Check the sugar. Sugar does more than sweeten jam. It also helps with thickening and preservation. If you reduced the sugar in the recipe, that may be why your jam isn’t setting as expected. Use the amount specified in the recipe unless it’s specifically designed for less sugar.
- Check the acidity. If the jam is still runny after cooking off excess liquid, the acidity may be too low for the pectin to form a proper gel. Adding lemon juice can help lower the pH and improve the set. Add a measured amount, stir well, and test again rather than adding it by guesswork.
Remember that fruit, sugar, acid, and pectin work together to determine how jam sets. If you’ve followed the recipe and your jam is still runny, check the ingredient amounts and method before making further adjustments.
Making Jam Without Added Pectin

I personally don’t use commercial pectin when making jam. I save it for my jelly recipes, like watermelon jelly, which is made with fruit juice rather than whole fruit. Since juice contains less of the fruit’s natural pectin than the whole fruit, commercial pectin helps the jelly set.
Fruit naturally contains pectin, but the amount varies. Apples, quince, citrus, and currants are naturally high in pectin, while strawberries, peaches, and cherries generally contain less. Slightly under-ripe fruit often has more pectin than fully ripe or overripe fruit, which is why some jam makers combine ripe fruit with a little under-ripe fruit.
Want to save this recipe?
Pectin is also found in the skins and other parts of many fruits. When I make homemade grape jam or plum jam, I leave the skins on rather than peeling the fruit. The skins contribute natural pectin, along with flavor and texture, helping the jam thicken as it cooks.
When I make orange jam, or orange marmalade, I use both the juice and zest. Citrus fruit is naturally rich in pectin, particularly in the peel and the white pith beneath it, so a traditional marmalade can set without commercial pectin when the fruit, sugar, acid, and cooking method are properly balanced.
Why Jam Cooking Times Vary
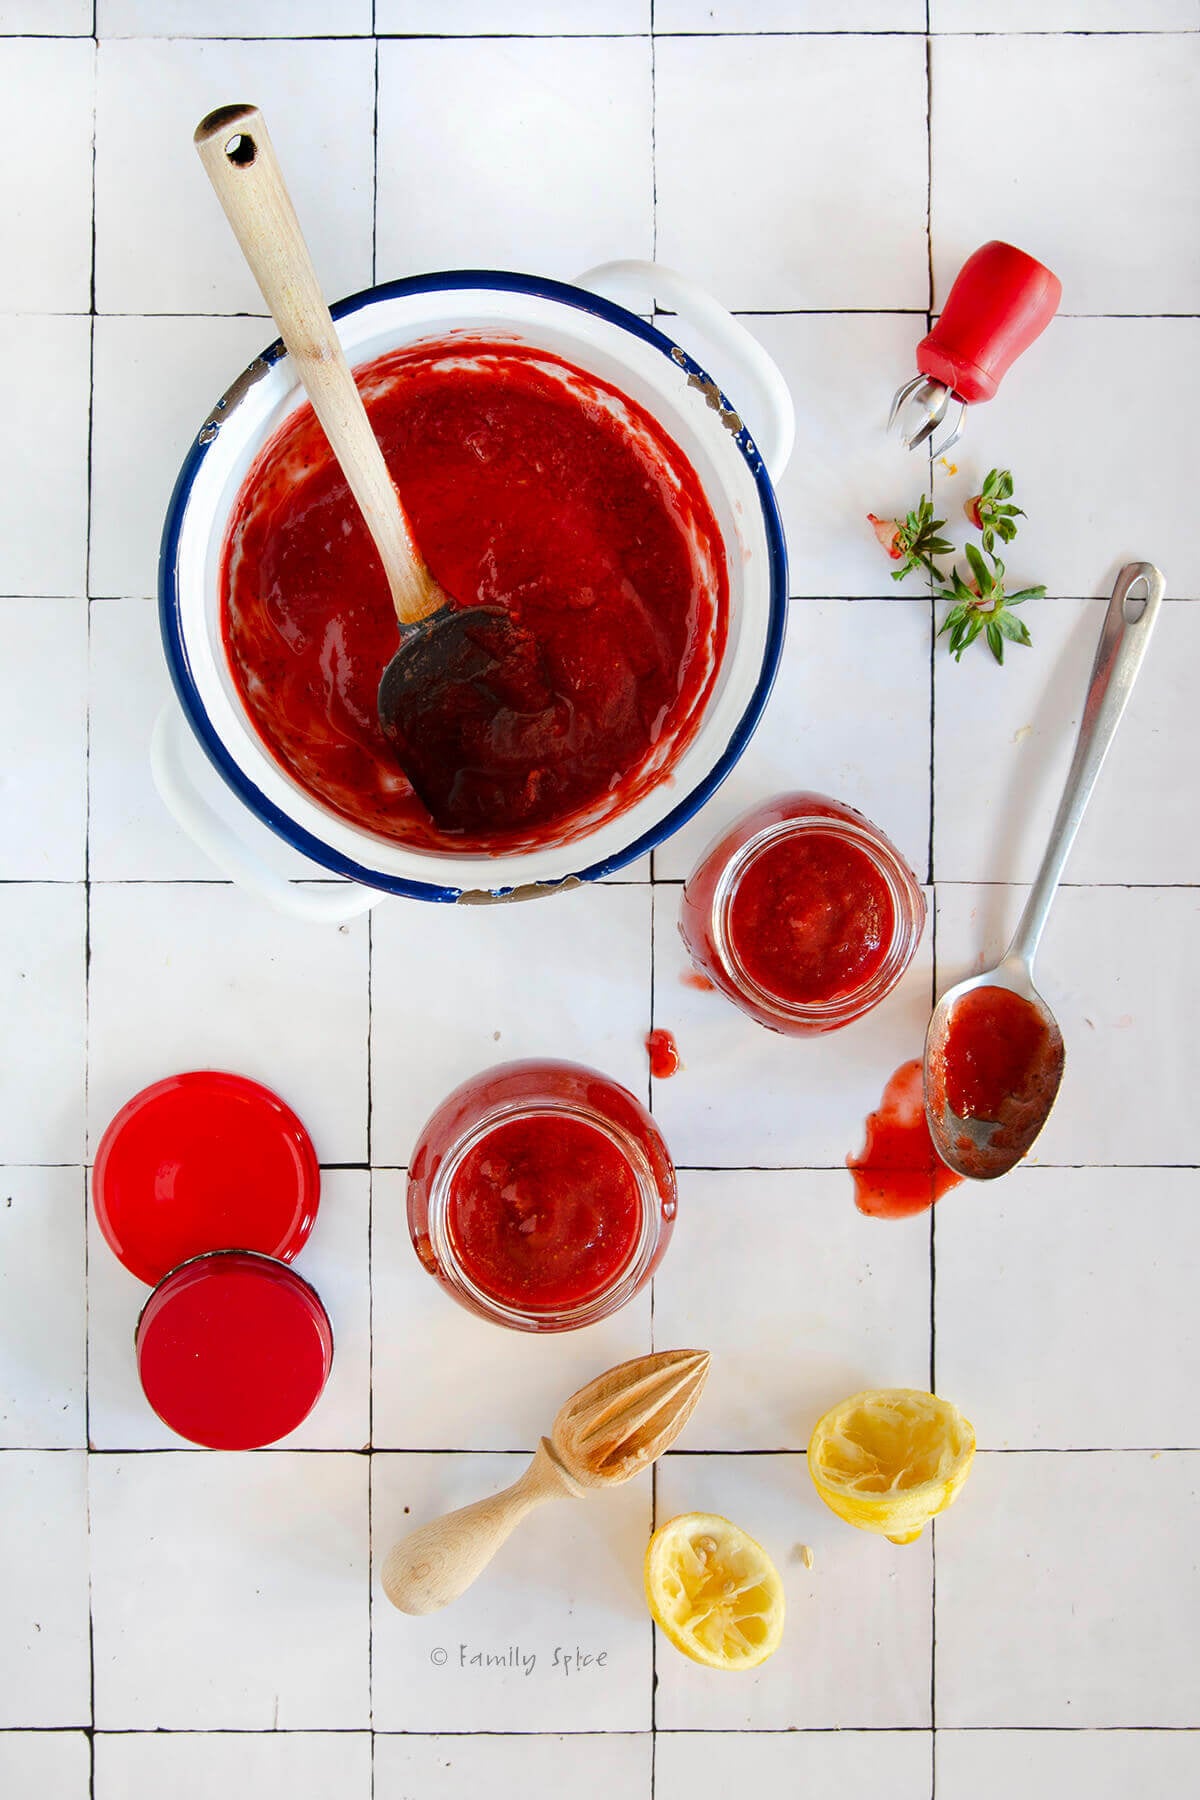
For most jam recipes, the cooking time is a guideline rather than an absolute rule. Several factors can affect how long your jam takes to cook and set.
Fruit ripeness. As I mentioned earlier, slightly under-ripe fruit often contains more natural pectin than fully ripe fruit. It also tends to have less juice and a more tart flavor. Combining ripe fruit with some under-ripe fruit can help provide the pectin needed for a good set, depending on the recipe.
Water content. If your fruit is extra juicy, your jam may need more cooking time for excess water to evaporate and the mixture to thicken.
Batch size. When you scale up a jam recipe, the larger volume takes longer to heat and may need more time for excess water to evaporate. Around 220°F (104°C) is a common reference point for traditional jam making at sea level, but temperature alone doesn’t guarantee a proper set. Keep an eye on the visual cues and use the doneness test described above.
Pan width. A wide pan exposes more of the jam’s surface to the air, allowing water to evaporate more quickly. This can help a larger batch cook down more efficiently. Copper pans are also popular among some jam makers because copper conducts heat well and responds quickly to changes in temperature. However, unlined copper can react with acidic fruit, so use an appropriate food-safe pan rather than relying on that reaction to help the jam set.
Heat level. If the heat is too low, it may take longer for the mixture to reach a full boil and evaporate excess water. If the heat is too high, the jam can scorch or burn before it reaches the right consistency. Aim for a steady, controlled boil and stir as needed.
Overcooked Jam?
If you’ve cooked off too much liquid and your jam is thicker than you’d like, don’t panic! As long as it isn’t scorched or burnt, you can often fix the consistency by stirring in a little water or fruit juice. Gently reheat the jam, adding liquid a little at a time until you reach the consistency you want.
How To Store Homemade Jam Safely
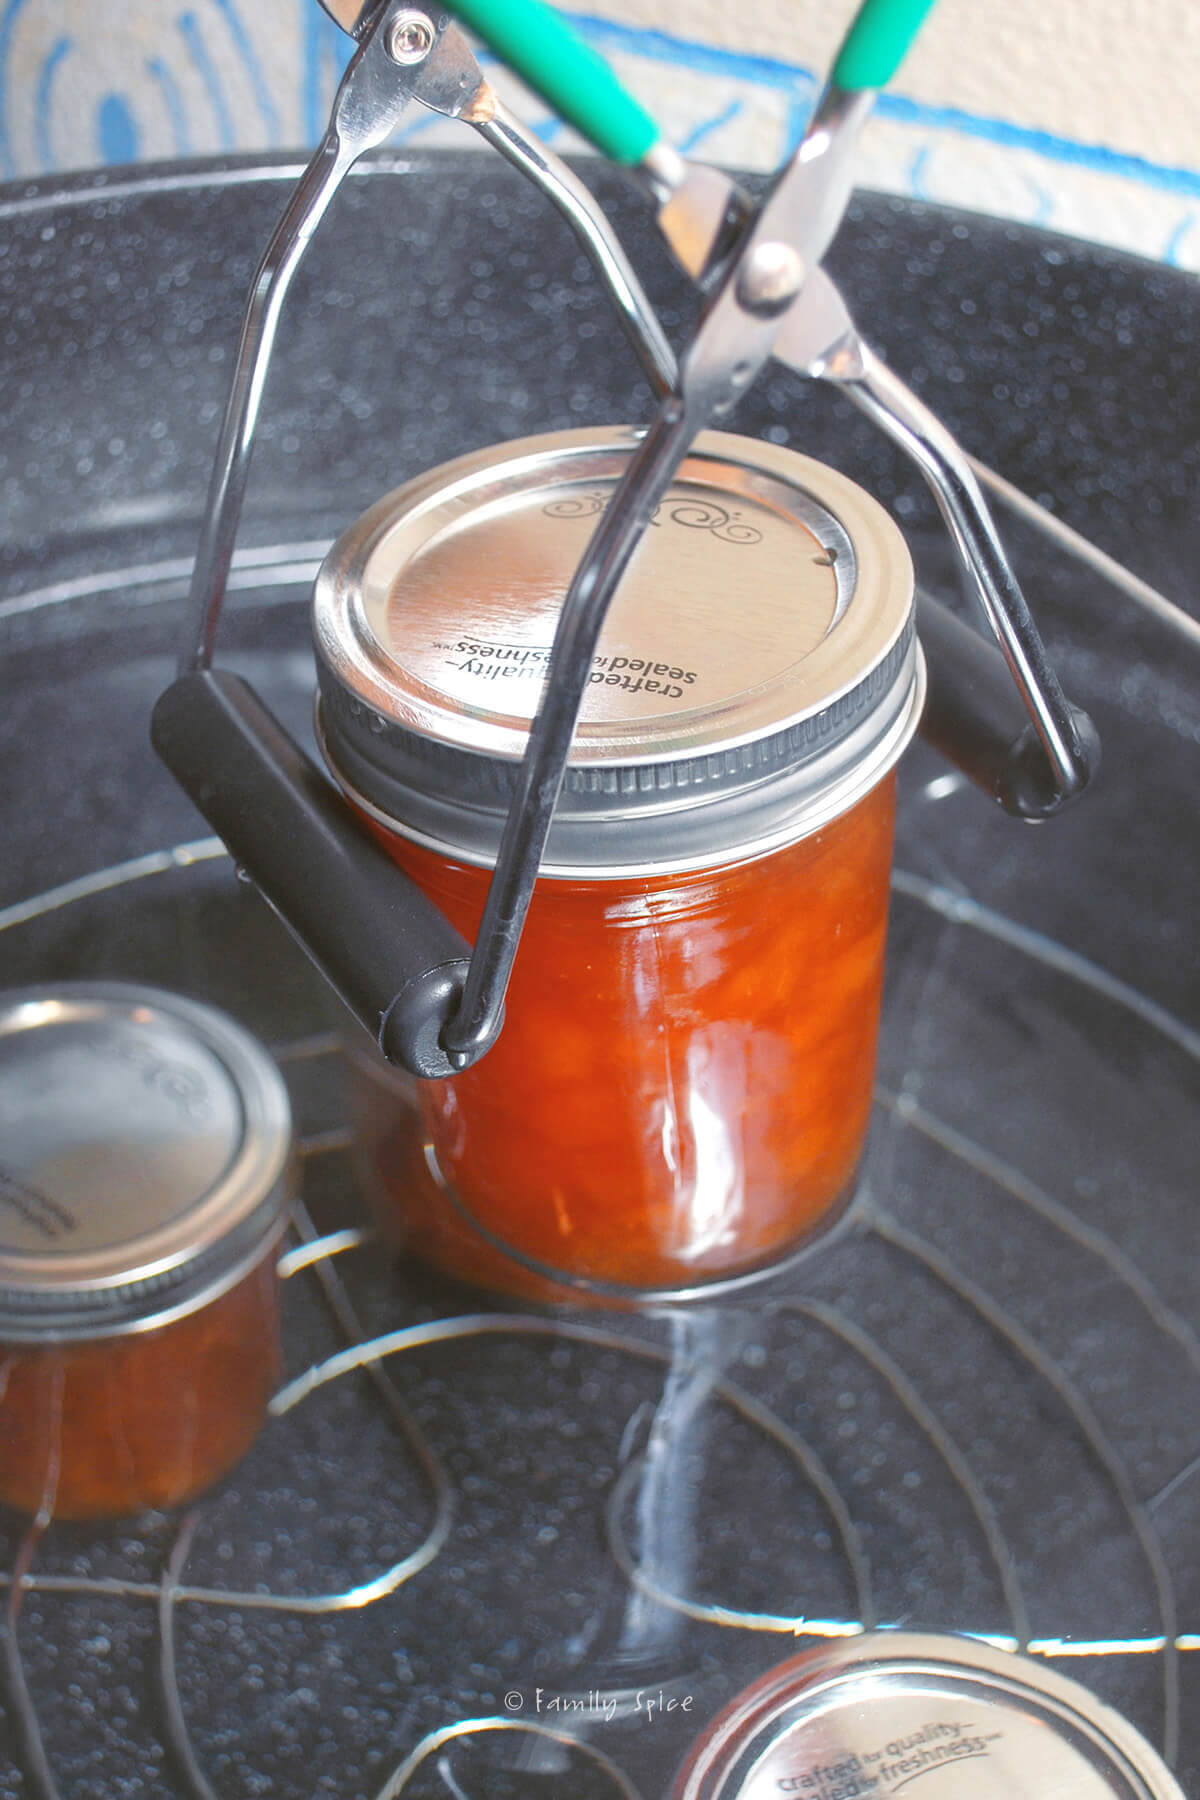
Once your jam is made, you have three ways to store it: in the refrigerator, in the freezer, or canned for shelf-stable storage.
- Refrigerated jam. This is a great option for small batches, especially if you’re making a low-sugar jam that isn’t designed for canning. Store it in a clean, covered container and refrigerate promptly. How long it lasts depends on the recipe and how it’s handled, so follow the storage guidance for your particular jam. When in doubt, don’t risk it!
- Freezer jam. Yes, you can freeze jam! This is a great way to save extra jam without going through the hot water bath canning process. Use freezer-safe containers or bags, such as these plastic freezer jars. Avoid ordinary glass jars, which can crack as the jam expands during freezing; only use glass containers specifically designed for freezer use. Leave the recommended headspace in your container, and thaw frozen jam in the refrigerator.
- Canned jam. For shelf-stable storage, hot water bath canning is a tried-and-true method when you use a tested recipe and follow the recommended processing instructions. It requires some special equipment, but it’s relatively easy to do and works well for preserving larger batches of jam.
Properly processed and sealed jam is best used within a year for quality. Store it in a cool, dark place, and check the seal before opening. If a jar has a broken seal, leaks, bulging, or signs of mold, discard it without tasting. A jar that looks normal isn’t proof of safety if it wasn’t prepared and processed correctly.

PS If you try this recipe, why not leave a star rating in the recipe card right below and/or a review in the comment section further down the page? I always appreciate your feedback.
You can also follow me on Pinterest, Facebook or Instagram. Sign up for my eMail list, too!
Written by Laura Bashar
Hi, I’m Laura, a certified professional cook and cookbook author living in San Diego. I have been sharing my family’s favorite recipes inspired from all over the world since 2008. Let’s cook up something fun!