


Preserving food is a time-honored past time that has become popular again. Here are step-by-step directions all about hot water bath canning.
Preserving food is a time-honored past time that has become popular again for those families who want to control what goes into the foods and mouths of their families. From jams and jellies, to pickles and peppers, even meats and vegetables, hot water canning is not only economical but also a fabulous way to enjoy foods all year long.
For homesteaders, that means preserving all of the abundance of fruits and vegetables you grow at home. For fisherman, it means canning your own tuna to enjoy whenever you want it.
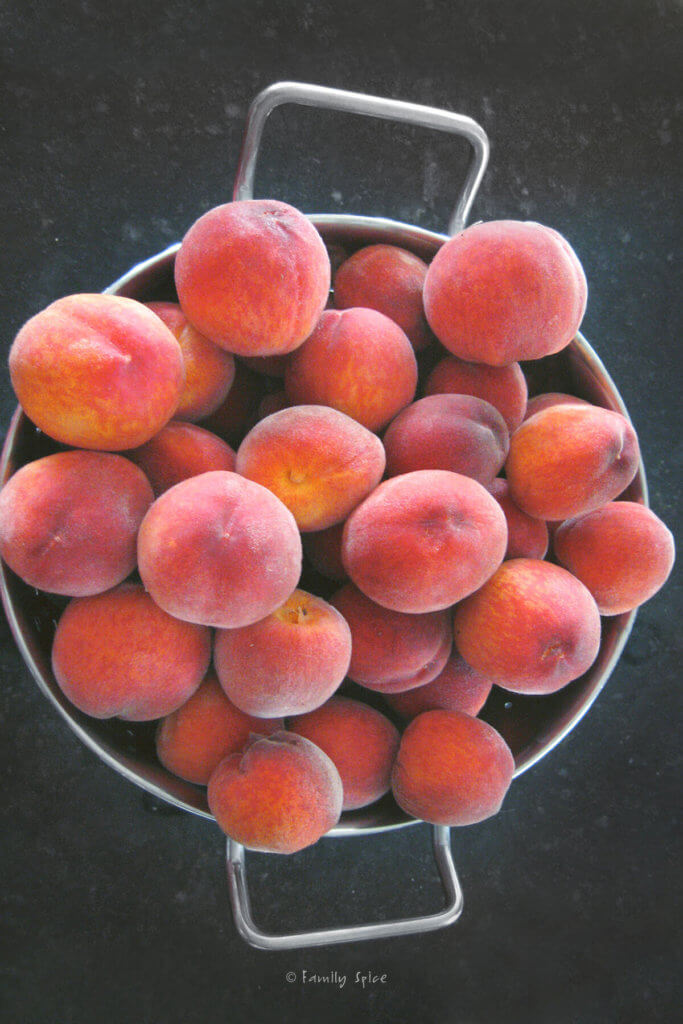
For those of us who love our trips to the farmer’s market or were gifted a box of fresh peaches, it is another way to extend the life of a very perishable food.
Jump to:
Recipe highlights
- Economical: Preserving food is wonderful way to save money, especially if you grow the food you are preserving. When you have a bumper crop of peaches over the summer, you will really appreciate those canned peaches in the dead of winter! Homemade preserves and pickles also make great hostess and holiday gifts. Glass jars are also reusable, they just need cleaning and sterilizing. Only the lids need replacing as the rubber seals can lose their grip after over use.
- Simple: When I first started canning, I was terrified. Terrified I was doing it wrong. Terrified I would make people sick. But the process to can with boiling water is easy. I have broken down all the steps on how to sterilize your Mason jars as well as how to preserve your favorite foods using water bath canning.
- Longevity: A general rule of thumb is that your canned good should last for a year, if the seal hasn’t broken and you store your goods in a cool dark pantry. Some people have had no issues with their home canned good lasting even longer. Use good judgement. Check your seals and make sure no mold has grown on older jars.
Reader’s Reviews
“Just followed this method to can my peaches. I actually followed your recipe for peach jam without pectin, then I followed your canning method. It was so very simple. I added some Jalapeno to your jam recipe, because my kids love the sweet and spicey. Yummy!!!” — P. Phani
Supplies needed for water bath canning
This post contains some affiliate links for your convenience (which means if you make a purchase after clicking a link I will earn a small commission but it won’t cost you a penny more)! Read my full disclosure policy
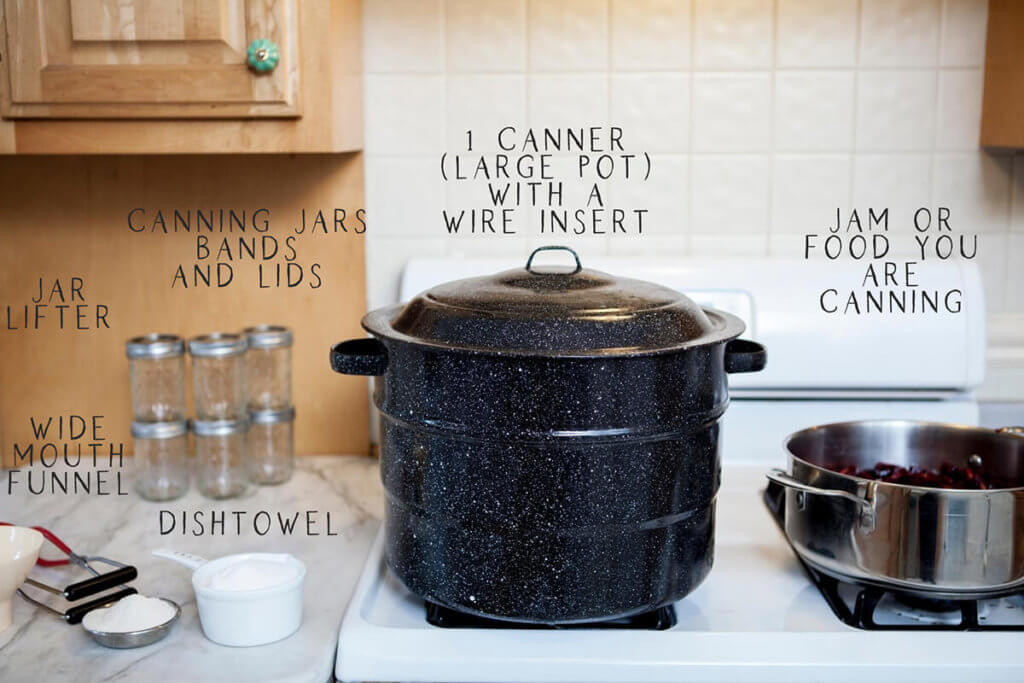
There are some basic supplies you need when it comes to canning. And luckily for us, canning supplies are not super expensive. Glass jars are reusable. You can purchase mason jars or use your own leftover jars. You only need the canning bands and lids to fit your jars.
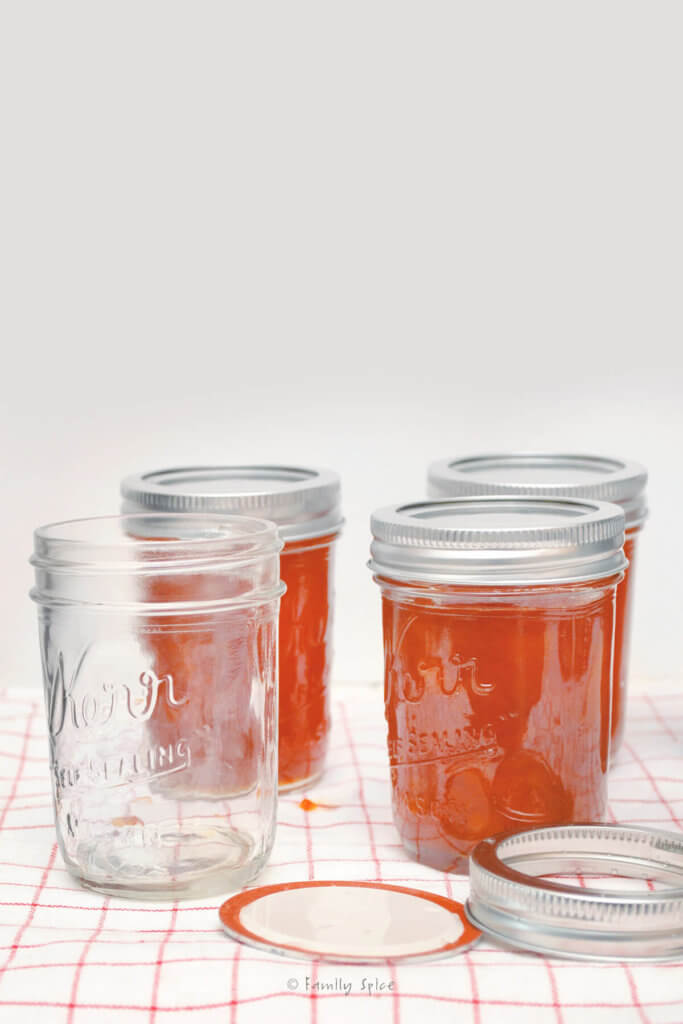
The actual lids, the flat circle with the sticky seal, should only be used once. So even if you have a lot of lids from previous canning adventures, you will nee to purchase new ones. This guarantees that anything you can and seal, keeps the seal, and keeps the food inside from spoiling.
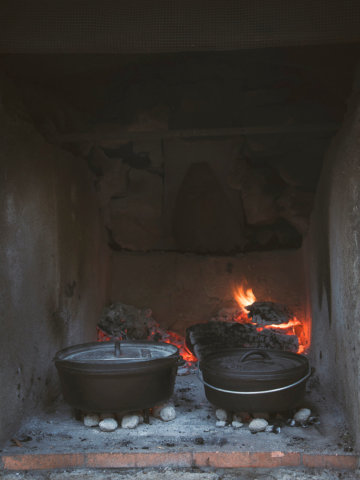
- Canner (large pot) with a wire insert
- Jar lifter
- Wide-mouth funnel
- Long handled tongs
- Newspaper or dishtowel
- Canning jars, bands and lids
Step 1: Sterilize canning jars

The first step to water bath canning is to sterilize your canning jars, bands and lids.
- Wash with soap. Wash everything in hot soapy water and rinse clean.
- Place in a pot. To sterilize, set the empty jars (without the lids) upright onto the wire rack set inside of your canner (large pot). Do not stack the jars on top of each other. Do not over-crowd them or they might break in the boiling water.
- Fill with water. Pour in enough water to cover the jars, making sure there is at least one inch of water over the top of the tallest jar.
Always start with room temperature water. You never want to add glass jars to a pot of boiling water because you can crack or shatter the jars. When the water has reached a full rolling boil, keep the jars in the canner for an additional 10 minutes.
- Bring to boil. Cover your canner and bring water to a boil. Depending on altitude, this might take up to 30 minutes.
- Add bands and lids. Turn the heat off from under the canner and add the bands and lids into the hot water. Keep bands and lids in the hot water for 5 minutes, then using tongs, remove from water and set it on a dish towel.
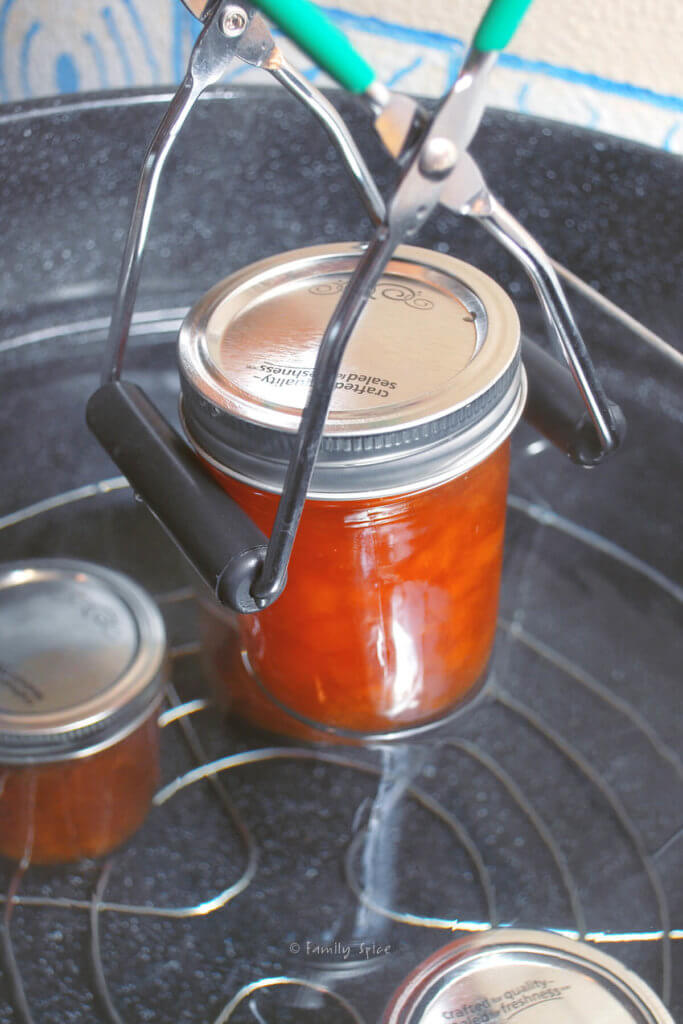
- Remove jars. Using a jar lifter, carefully remove the hot jars from the hot water, pouring any water inside of it back into your canner. This can be a little tricky, so work slowly.
- Long handled tongs with no slip silicone tips are also useful in grabbing the hot jars and pouring out the hot water. Place the jars on a dish towel to rest.
Want to save this recipe?
Step 2: Can your food

All of this sterilizing and preparing of the jars, bands and lids is done AFTER the food you want to preserve is prepared and ready. You also want to make sure you are adding hot food into the hot jars.
- Fill the jars. A wide mouth funnel is a great way to pour or ladle in your jam or any other food into your jars without making a huge mess. Using a wide-mouth funnel, spoon the hot food mixture that you want to preserve inside each hot jar.
- Head space. Leave ¼-inch gap from the top of your food inside the jar to the top of the jar open. This is called the head space. Remove air bubbles by running a rubber spatula between the jar and food. Repeat around the jar 2 to 3 times.
- Close the jars. Wipe rims with clean towel. Center lid on jar. Screw the band down until fit is fingertip tight. Do not over tighten. Place the filled and closed jars back in the hot water in the canner and make sure jars are completely covered with water.
- Bring to boil. Once all of the jars are in the canner, bring the water to boiling again. Again, do not over-crowd the canner. Process jars in boiling water for 10 minutes. Make adjustments depending on altitude.* Turn the heat off and allow jars to stand in the canner for 5 more minutes.
- Remove jars. Remove jars from canner and set upright on a dish towel to prevent jars from breaking. Leave jars undisturbed for 12 to 24 hours. Bands should not be retightened as this may interfere with the sealing process.
- Check seals. Check lids for seals. Lids should not pop up or down when you press on the center of the lid. It should remain flat. That is how you know your seal has held.
Remove bands and try to lift lids off with your fingertips. If the lid cannot be lifted off, the lid has a good seal. If a lid does not seal within 24 hours, the product can be immediately reprocessed or refrigerated.
* For altitudes higher than a 1,000 ft (305 meters), an additional minute is added for each 1,000 ft (305 meters) above sea level.
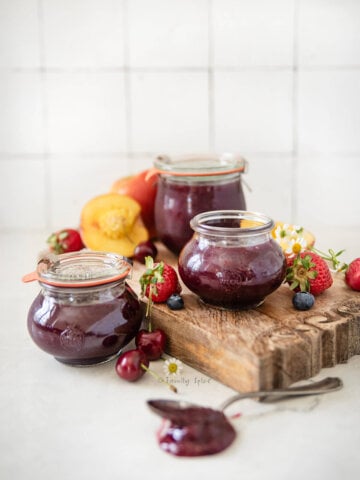
Recipes for canning
Here are some of my favorite recipes that are perfect for canning. Remember, homemade canned goods make a great holiday gift for friends and family:
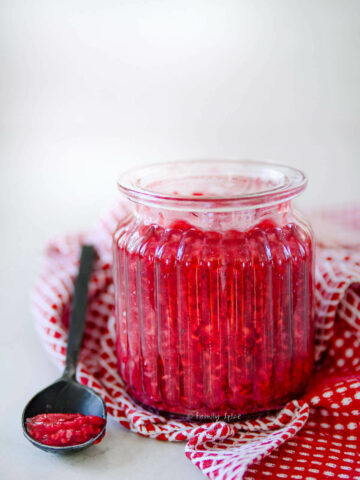
Jam Recipes:
- Blueberry Jam Made with Honey
- Strawberry Balsamic Jam
- Sour Cherry Jam (Moraba Albaloo)
- Strawberry Rhubarb Jam
- Blueberry Jam with Brown Sugar
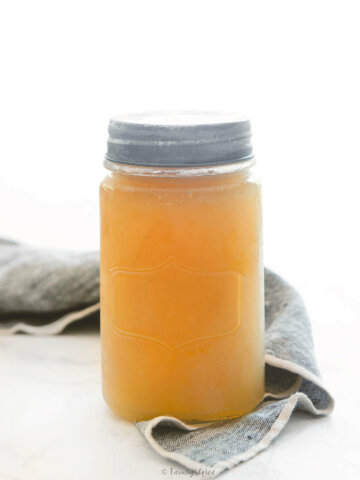
- Homemade Peach Jam
- Cinnamon Fig Jam
- Pomegranate Jelly
- Kumquat Marmalade
- Quince Jam
- Valencia Orange Marmalade
- Homemade Grape Jam
Pickle Recipes:
- Homemade Pickled Okra
- Pickled Eggplant and Vegetables with Pomegranate (torshi-yeh bademjan va anar)
- Pickled Banana Peppers
Expert tips and FAQs
Once you know your lids have kept their seal and the jar has cooled to room temperature, give them a final wipe down and make sure they are clean on the outside. Label and store your canned food in a cool, dry, dark place for up to 1 year.
Be sure to follow proper canning and sterilization procedures for the boiling water canning process to ensure the safety of your food. For more information on canning and preserving food, visit the Ball website.
When hot water canning food, remember to always start with room temperature water. You never want to add glass jars to a pot of boiling water because you can crack or shatter the jars. Place the jars in room temperature water, sitting on a rack and keeping elevated from the bottom of the pot. Then bring the water to a boil and let sit in the rolling boiling water for an additional 10 minutes before turning off the heat.
Jams, preserves and pickles are some of the foods that are perfect for hot water bath canning. Check the lids and seals after the jars have cooled. Lids should not pop up or down when you press on the center of the lid. It should remain flat. That is how you know your seal has held. Foods can last for one year if stored in a cool dark pantry.


If you are enjoying my recipes, please sign up for my newsletter and get my free 28-day meal plan! You can also follow me on Instagram or Facebook.

Hot Water Bath Canning
Equipment
- 1 canner (large pot) with a wire insert
- Jar lifter
- Wide-mouth funnel
- Long handled tongs
- Newspaper or dishtowel
Ingredients
- Canning jars bands and lids
Instructions
- To sterilize, set the empty jars (without the lids) upright onto the wire rack set inside of your canner (large pot). Do not over-crowd them or they might break in the boiling water.
- Pour in enough room temperature water to cover the jars, making sure there is at least one inch of water over the top of the tallest jar.
- Cover your canner and bring water to a boil. Depending on altitude, this might take up to 30 minutes.
- When the water has reached a full rolling boil, keep the jars in the canner for an additional 10 minutes.
- Turn the heat off from under the canner and add the bands and lids into the hot water. Keep bands and lids in the hot water for 5 minutes, then using tongs, remove from water and set it on a dish towel.
- Using a jar lifter, carefully remove the hot jars from the hot water, pouring any water inside of it back into your canner. Place the jars on a dish towel to rest.
- All of this sterilizing and preparing of the jars, bands and lids is done AFTER the food you want to preserve is prepared and ready.
- Using a wide-mouth funnel, spoon the hot food mixture that you want to preserve inside each hot jar. Leave ¼-inch gap from the top of your food inside the jar to the top of the jar open. This is called the head space.
- Remove air bubbles by running a rubber spatula between the jar and food. Repeat around the jar 2 to 3 times.
- Wipe rims with clean towel. Center lid on jar. Screw the band down until fit is fingertip tight. Do not over tighten.
- Place the filled and closed jars back in the hot water in the canner and make sure jars are completely covered with water.
- Once all of the jars are in the canner, bring the water to boiling again. Again, do not over-crowd the canner. Process jars in boiling water for 10 minutes.
- Turn the heat off and allow jars to stand in the canner for 5 more minutes.
- Remove jars from canner and set upright on a dish towel to prevent jars from breaking. Leave jars undisturbed for 12 to 24 hours. Bands should not be retightened as this may interfere with the sealing process.
- Check lids for seals. Lids should not pop up or down when you press on the center of the lid. It should remain flat. That is how you know your seal has held. Remove bands and try to lift lids off with your fingertips. If the lid cannot be lifted off, the lid has a good seal. If a lid does not seal within 24 hours, the product can be immediately reprocessed or refrigerated.
Notes
PS If you try this recipe, why not leave a star rating in the recipe card right below and/or a review in the comment section further down the page? I always appreciate your feedback.
You can also follow me on Pinterest, Facebook or Instagram. Sign up for my eMail list, too!
Written by Laura Bashar
Hi, I’m Laura, a certified professional cook and cookbook author living in San Diego. I have been sharing my family’s favorite recipes inspired from all over the world since 2008. Let’s cook up something fun!

Just followed this method to can my peaches. I actually followed your recipe for peach jam without pectin, then I followed your canning method. It was so very simple. I added some Jalapeno to your jam recipe, because my kids love the sweet and spicey. Yummy!!!
Oooh, I love the combination of jalapeño and peaches! Sounds amazing! Thank you for sharing your kind words.
Laura
Just did a “trial” run of the Homemade Grape Jam before I process the30lbs of grapes from our local produce rescue market. VERY easy to follow directions and I was super happy with the results.
Hi Donna-
Yay! Now you can enjoy your grape jam all year long!
Laura
Just a tip—-you are using your jar lifter upside down—-if you turn it over, the green sides are shaped to hold the jars and they are coated in a material that won’t let the jars slip, fall and break on the floor—it’ll be safer and more comfortable if you flip it over!
Oh that’s funny! ha ha! I didn’t realize I did that until now. Thank you for pointing this out.
Laura
This is great site love the instructions easy to follow a big thanks
Thank you for your kind words! Happy New Year! Laura