


If you’ve got ripe plums, you’ve got jam! This homemade plum jam is incredibly easy to make, no peeling and no pectin needed. With just a few simple ingredients, you’ll have a sweet, tangy preserve that’s perfect for toast, baking, or spooning straight from the jar.

I absolutely love jams! I love that they come in so many flavors and colors. I have been bejewelling my breakfast toast with a dollap of fruit since childhood. It is my favorite my way to start the day.
I love making homemade jams because I can use whatever fresh fruit I have on hand. Plus, I can control the sugar and add other flavors to make unique combinations.
From strawberry jam with balsamic vinegar to quince jam, I made them all. This plum jam recipe is my 14th jam recipe I have shared on my blog! What?!
Jump to:
Laura says :
Why this recipe works
- Super Simple: This homemade plum jam is easy to make—no fancy tools or pectin needed. You don’t even need to peel the plums, since the skins are naturally rich in pectin and help the jam set perfectly.
- No Added Pectin Needed: Thanks to the natural pectin in plums, this plum jam recipe thickens beautifully without any boxed pectin. Just fresh fruit, sugar, and a little time.
- Flexible Storage Options: Whether you prefer water bath canning, freezing, or storing in the fridge, this plum jam is made to last. Stock your pantry or enjoy a small batch right away.
- Seasonal and Versatile: This easy jam recipe works with more than just plums—try it with peaches, figs, berries, or any fresh seasonal fruit you love.
- Small Batch Friendly: Make as much or as little as you like. This small-batch plum jam recipe is perfect if you have just a few ripe plums on hand or want to test flavors before canning larger quantities.


Ingredients needed

This post contains some affiliate links for your convenience (which means if you make a purchase after clicking a link I will earn a small commission but it won’t cost you a penny more)! Read my full disclosure policy
- Plums: Be sure to use sweet ripe plus. The quality of the fruit you use will affect the quality and flavor of your jam. Plums come in a variety of colors and flavors, so understand that this will affect the final jam color
- Granulated Sugar: I typically use regular granulated sugar for jam making, but you can use brown sugar or honey.
- Lemon: Citrus fruits are naturally high in pectin, so I add a little lemon juice and zest to my plum jam. It also balances the sweetness of the sugar and plums.
- Water: Sometimes I reduce my jam too much and I need to add water to the mixture. Plums are typically juicy, so you probably won’t need to add additional water.
Step by step directions

- Chop the plums. Pit and coarsely chop the plums. You do NOT need to peel them!
- Add sugar. Stir in sugar, lemon juice and zest.
- Bring to boil. Bring plum mixture to boil slowly, stirring often to prevent sticking. Reduce temperature so your mixture doesn’t boil over. Use a spoon to remove any foam.
- Simmer jam. Cook until thickened, approximately 1 hour.
- Purée fruit. If you want a smoother jam, use a hand blender and blend everything in the pot. I skipped this step.
- Store. If you are going to store in the refrigerator, cool until room temperature first then transfer to an airtight container. Or, if you are canning your jam, click here for directions on click here for directions on how to can using boiling water.
Expert tips and recipe FAQs
As I mentioned before, what makes this recipe so great is that you control the ingredients and the sugar quantity. By letting the fruit sit overnight with the sugar and lemon, the fruit’s natural pectin gets released.
Want to save this recipe?
This method can be done to make almost any fruit jam.
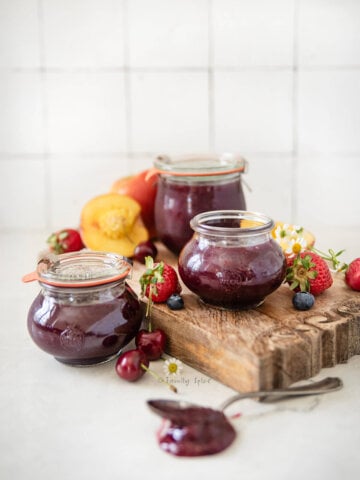
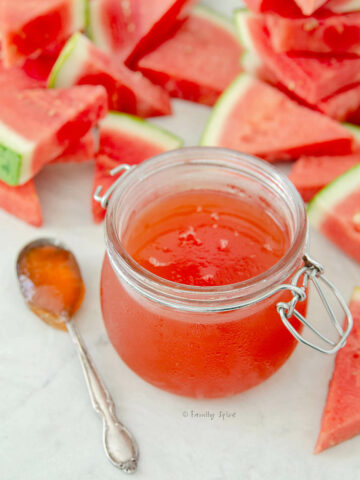
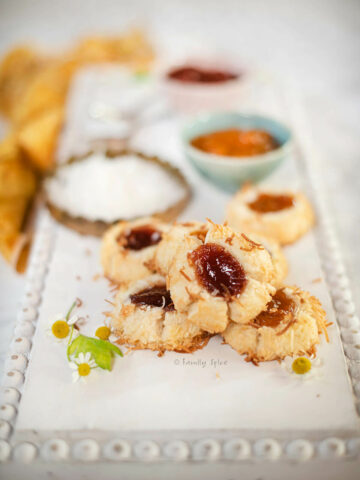
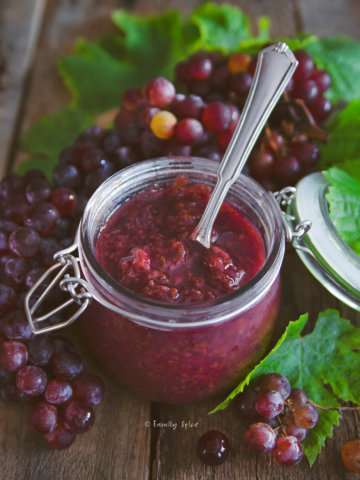
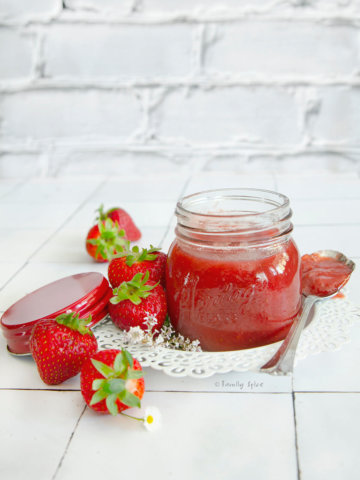
If you’re a jam lover like me, try my peach jam, homemade grape jam, orange jam or my watermelon jelly.
And if you love plums, be sure to try my plum crisp or my plum cake with yogurt.
Storing Instructions
CANNED: Jams that have been canned using hot water canning, can last in a cool dark pantry for up to a year. As long as the seal is intact and mold is not present, the jam is safe to eat past a year.
REFRIGERATE: You can also store jam in the refrigerator. The USDA says that it will last for 10 days, but I have found that it lasts longer than that. Use your best judgement.
FREEZE: There are freezer safe jam containers that can be used to store your jam in the freezer. Again, the USDA says it will keep in the freezer for up to 3 months but I have found that it does last longer. Again, use your best judgement.

Absolutely! Brown sugar is just a combination of white sugar and molasses. Brown sugar does have more moisture than white sugar and using it in jam, it will darken the color a bit. Overall, it will not alter the flavor.
Yes, you can! Jam is simply fruit cooked down with sugar. Although granulated sugar is traditionally used, you can easily create a syrupy jam using honey or agave nectar.
Nope! You do NOT need to peel the plums as the skins contain pectin which helps the jam to set.


If you are enjoying my recipes, please sign up for my newsletter and get my free 28-day meal plan! You can also follow me on Instagram or Facebook.

Homemade Plum Jam
Ingredients
- 2 lbs fresh plums
- 2 ½ cups granulated sugar
- 1 lemon juice and grated zest
Instructions
- Pit and chop the plums. You do NOT have to peel the plums.
- In a large 4-quart pot combine chopped plums, sugar and lemon juice and zest.
- Over medium heat, bring plum mixture to boil slowly, stirring often to prevent sticking. Reduce temperature to medium-low if peach mixture is about to boil out of your pot.
- Cook until thickened, approximately 1 hour.
- Use a potato masher to break down the bigger chunks of plums. If you want a smoother jam, use a hand blender and blend everything in the pot.
- Store in an airtight container in the refrigerator.
Notes
Nutrition
Nutrition Disclaimer
Nutritional information is an estimate provided to you as a courtesy. You should calculate the actual nutritional information with the products and brands you are using with your preferred nutritional calculator.
PS If you try this recipe, why not leave a star rating in the recipe card right below and/or a review in the comment section further down the page? I always appreciate your feedback.
You can also follow me on Pinterest, Facebook or Instagram. Sign up for my eMail list, too!
Written by Laura Bashar
Hi, I’m Laura, a certified professional cook and cookbook author living in San Diego. I have been sharing my family’s favorite recipes inspired from all over the world since 2008. Let’s cook up something fun!
I tasted the lemon instead of plums. So I will leave out the zest next time.
Hi Marilyn-
That’s strange, but everyone’s taste buds are different and it may be possible that your plums were not sweet or flavorful enough.
Laura