Whether you are starting a new blog or a seasoned veteran looking to improve your skills, I share what I have learned these 9+ years blogging with these food photography tips on a budget.
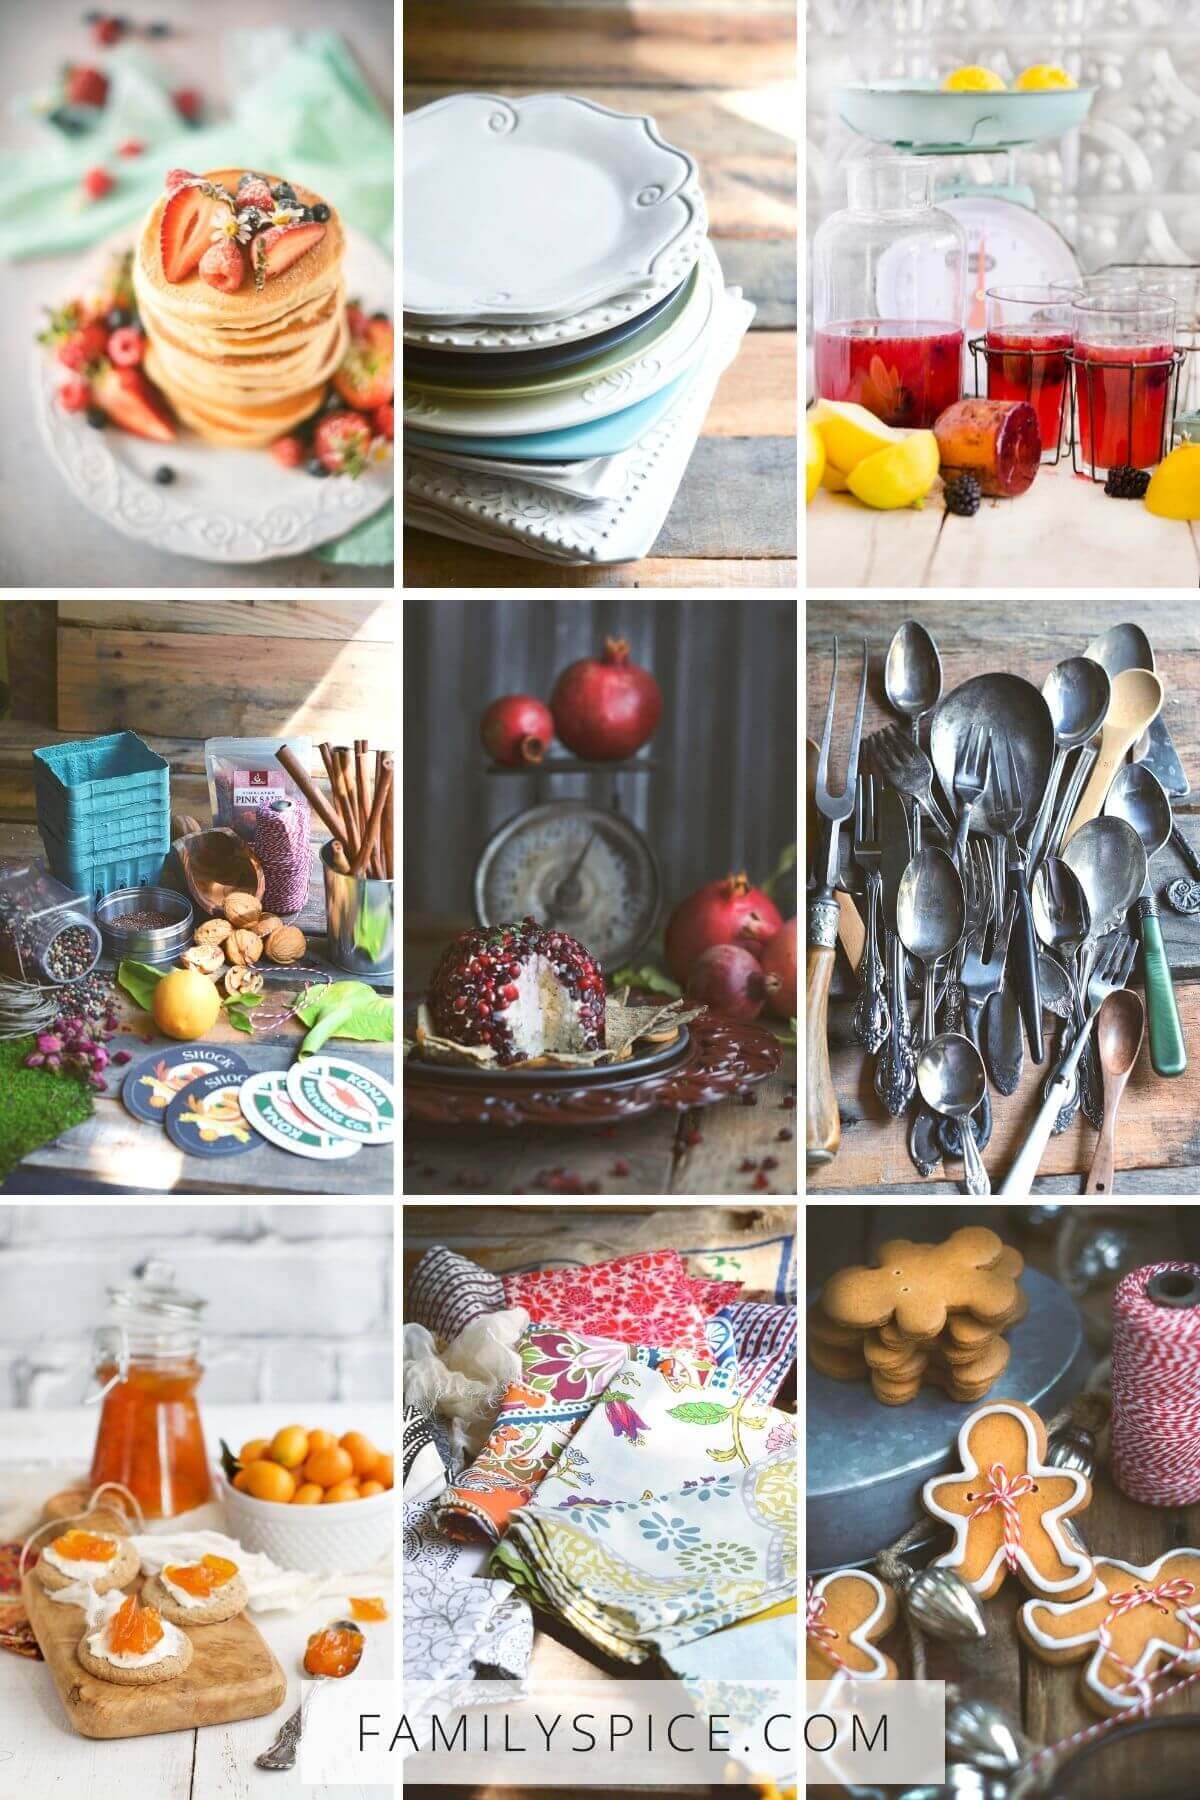
It’s hard to believe that I have been blogging here for over NINE YEARS. I started this as a hobby, it grew into a creative channel for me, and now I have opportunities to make it into a business. The evolution I have made is nothing new in the blogging world. So many of us started clueless in this game and we were all self-taught.
I began by learning HTML and my site wasn’t even a blog at first. When I learned about blogging, I thought to myself, “Who the hell wants to read about my boring life? It’s about the food!” But it was inevitable, and I started a blog.
Today’s post is an old one that I have updated and is geared towards bloggers, specifically food bloggers. But these money-saving tips also help those of you who want to decorate on a low budget. With millions of blogs out there to choose from, the average person can get lost trying to find the right content.
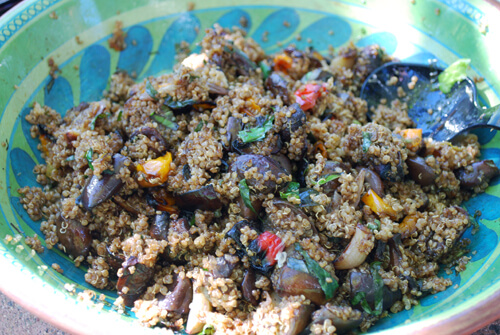
I am going to share with you about my evolution in food styling and photography. These are my cheap and inexpensive food photography tips. Let me disclose, I do not consider myself as the end-all-be-all in food photography. But, I will admit that I went from taking crappy food pictures to pretty ones (you can see some of the crappy shots later on in this post!).
And if I can do it, ANYONE ELSE can do it, too.
Black versus White
My first mistake when I first began was to buy all these colored plates that I found on clearance or at garage sales. I thought the colors were interesting and bright and happy. But oh, did they clash with the food!
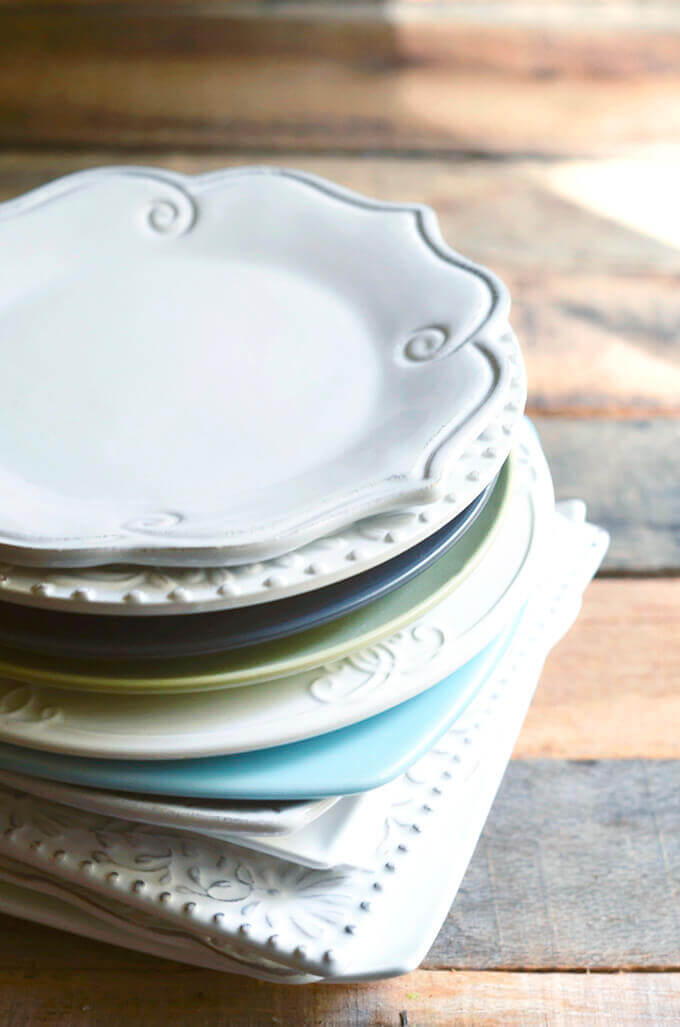
I’ve chucked most of them out and have gravitated not just to white plates, but to white textured plates. They are my favorite and most often used. Food and colors pop on white. But don’t diss the dark dishes.
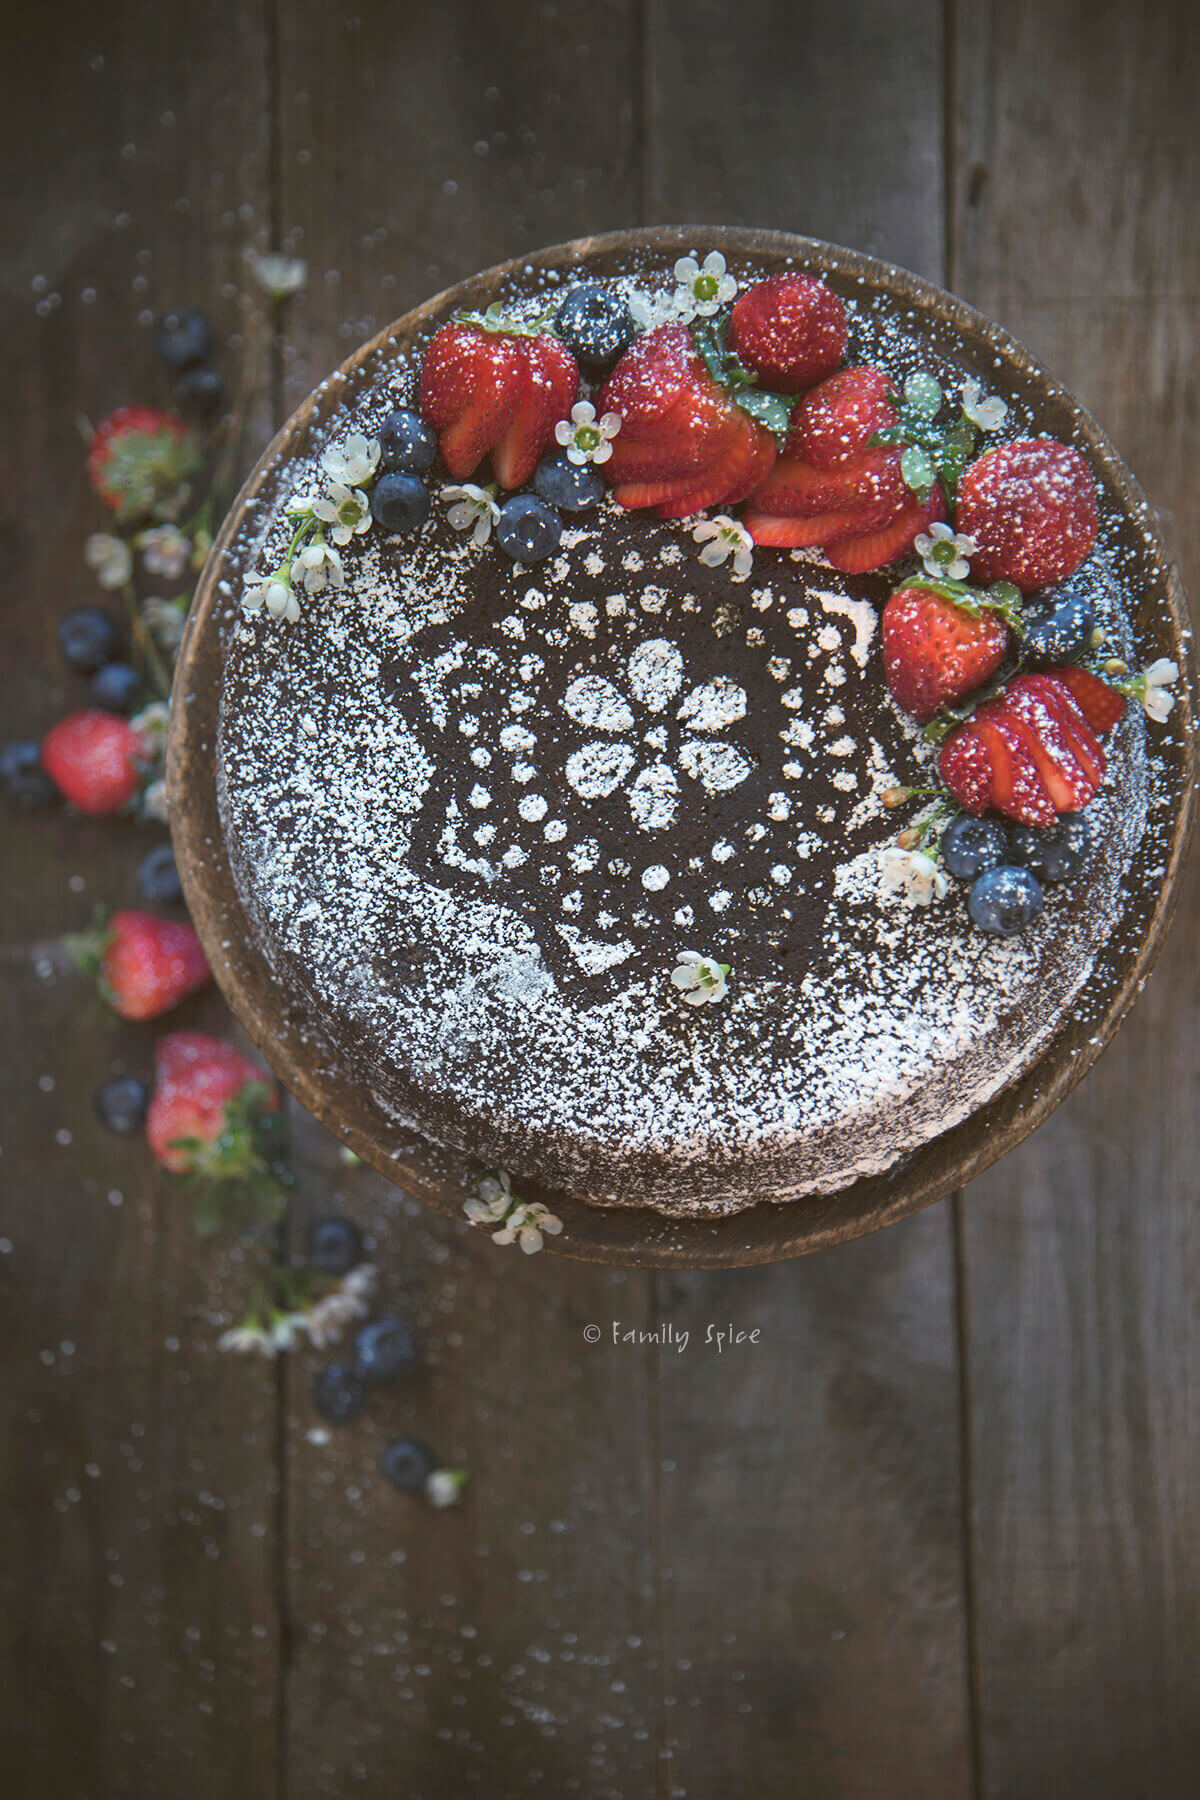
Dark brown and black offer a great mood, too. Remember, whether we like it or not, food can be an expression of emotion. So try to figure out what emotion you want to trigger in your picture.
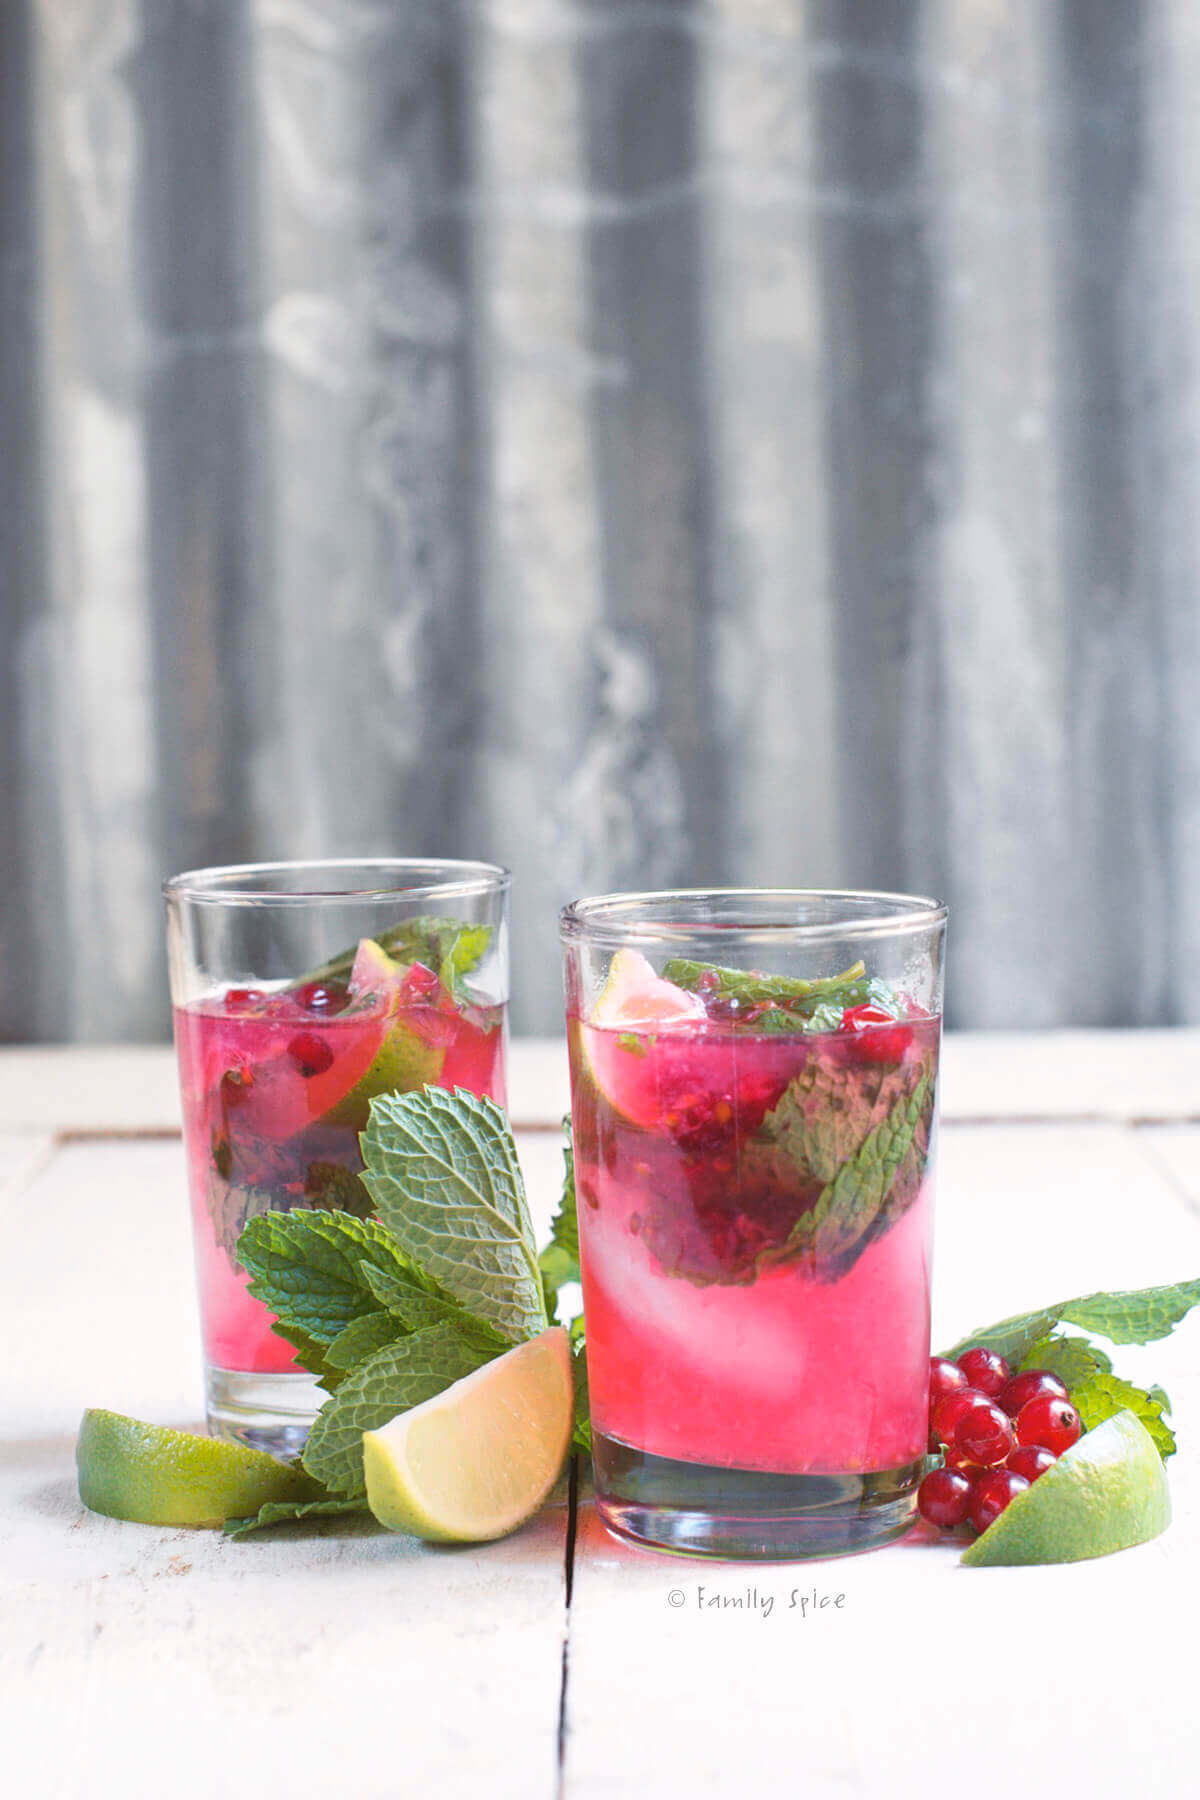
Is it a bright happy lunch, or is it a dark romantic dinner? A party cocktail, or a sultry dessert? The mood dictates the color and dish to use.
Don’t get my drift? Here’s a fabulous post from Stephanie/Desserts for Breakfast that features the same chocolate cake photographed eight different ways, depicting eight different moods. It’s a terrific way for a new photographer to find the perfect style that fits his/her blog.
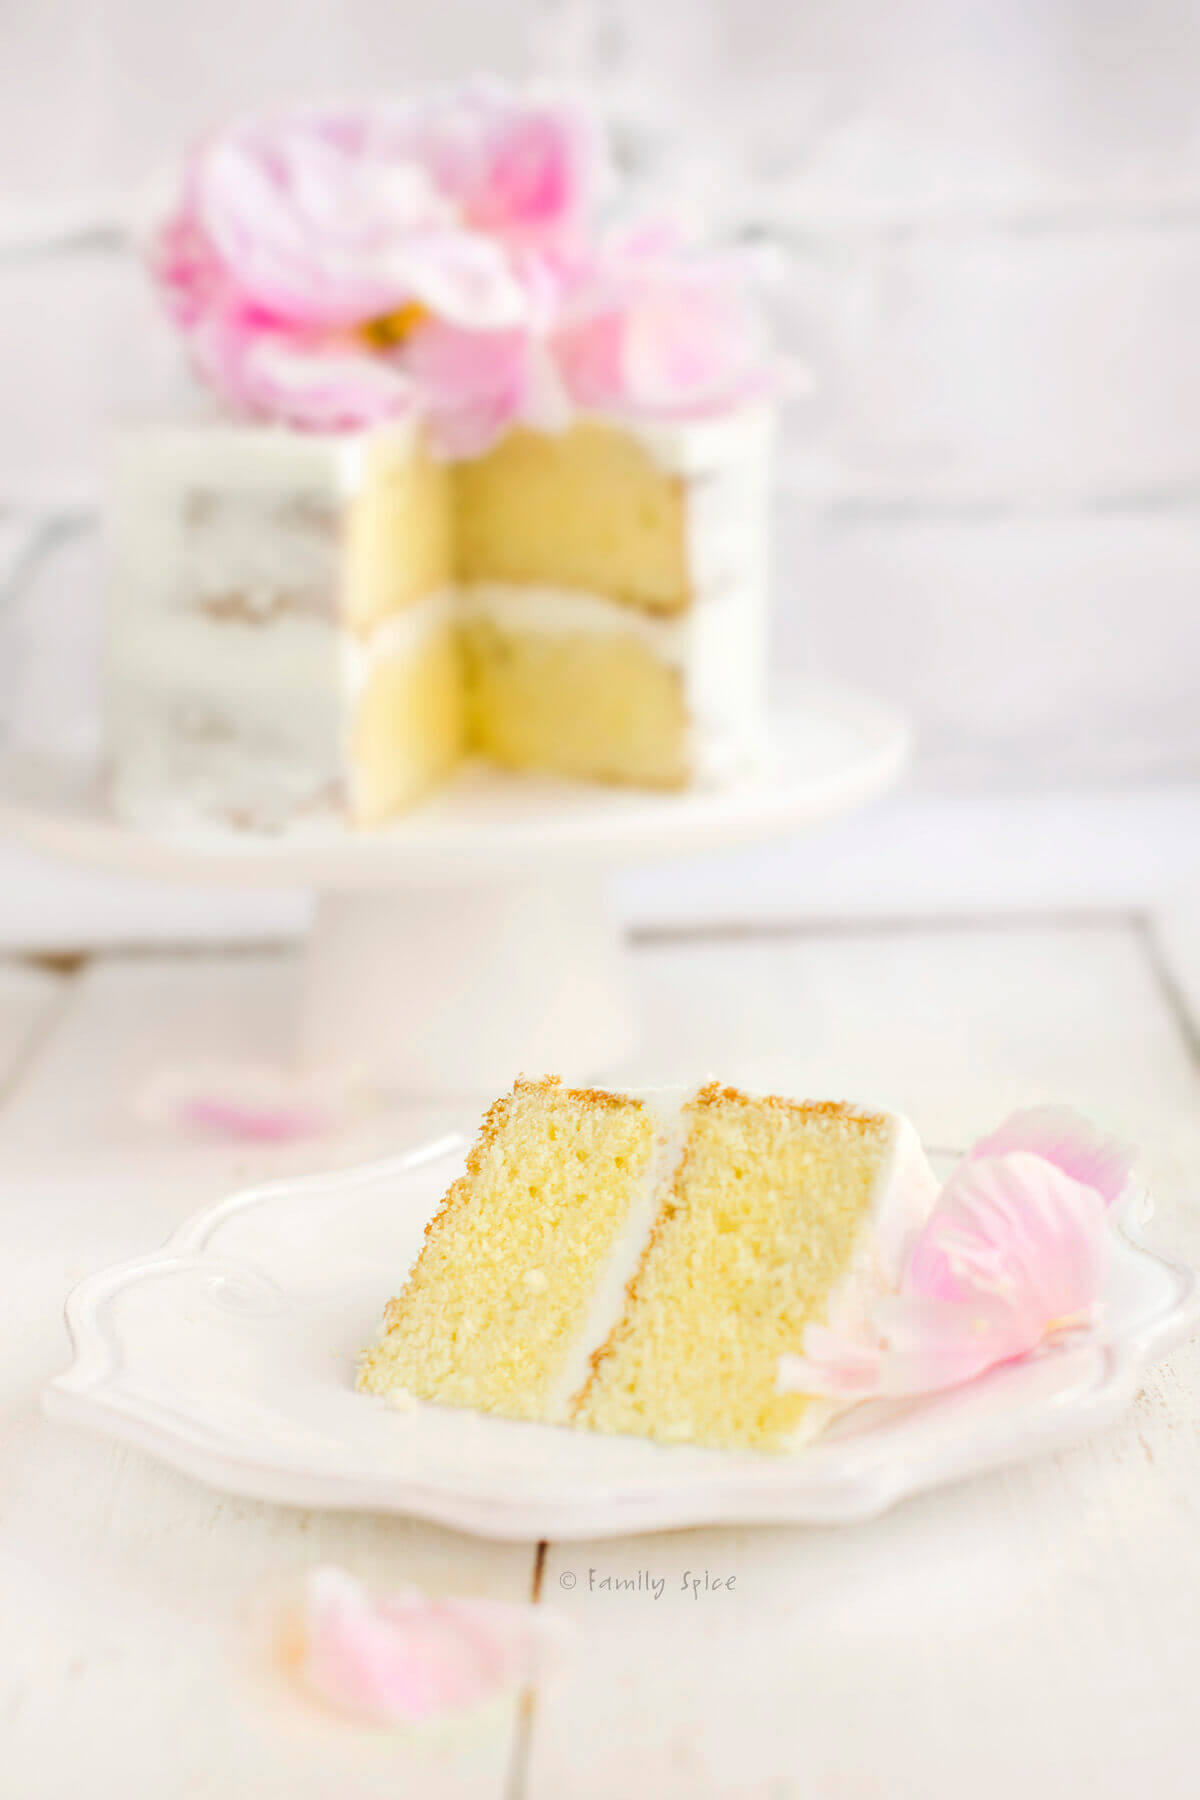
Now you don’t have to spend a fortune on dishes. I typically spend $3 or less on my plates, where most of what I spend is under $2. The key is to buy individual pieces, look for sales, shop off season, and rummage through the clearance aisle.
You will ways find me hitting the back end of the aisle at Target checking out the clearance bins or even the front of Target where you can find deals for $5 or less.
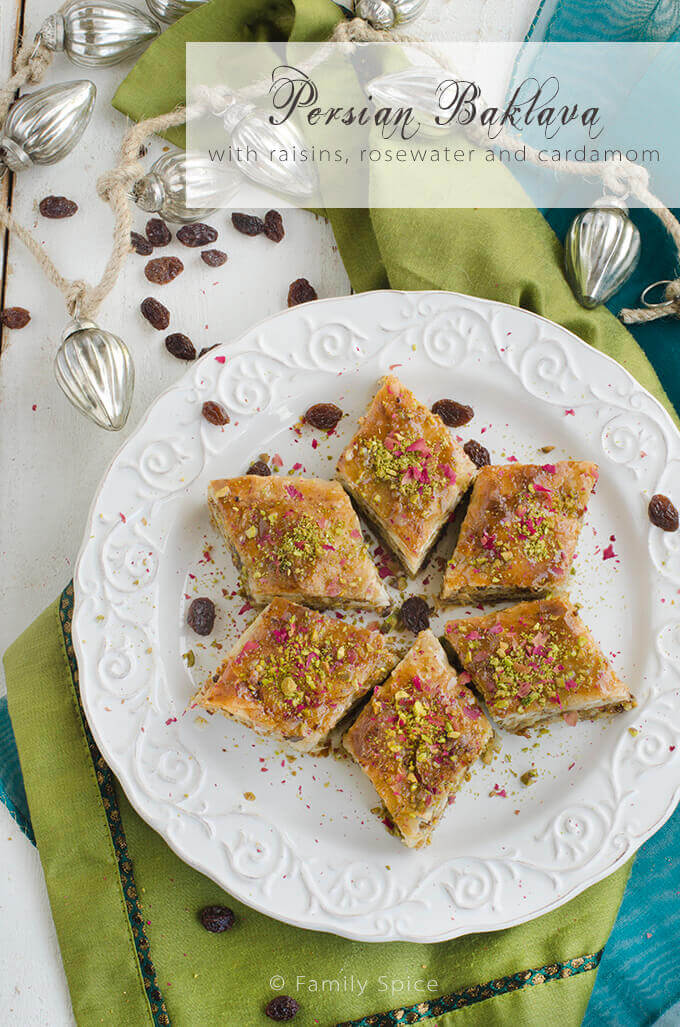
Where to shop: Marshall’s, Ross, TJ Maxx, Home Goods, Michaels, Joann’s Fabrics, Tuesday Morning, Cost Plus World Market, Target, IKEA, Crate and Barrel, outlet stores, thrift stores, antique stores, swap meet, garage sales.
On the pricey side, but still great finds: Pottery Barn, Sur La Table, Anthropologie (especially their clearance sections), small independent kitchen stores. And don’t forget your friends!
I scope out the dishes, platters, bowls and trays when I go to a friend’s house. And they are gracious to let me borrow their things because I return them full of delicious food.
Online I have shopped at Etsy, Ebay, Save On Crafts, Joss & Main and Zulily to name a few.
Tips on picking out dishware:
- Choose smaller sized plates – less real estate to fill up.
- Starter kit – white dishes with a couple black/gray/metal ones.
- If you want a colored patterned dish, make sure the pattern is small and doesn’t fight with the food placed on it.
- Solid color dishes with texture add an extra bonus.
- Small shallow bowls work well with soups and stews.
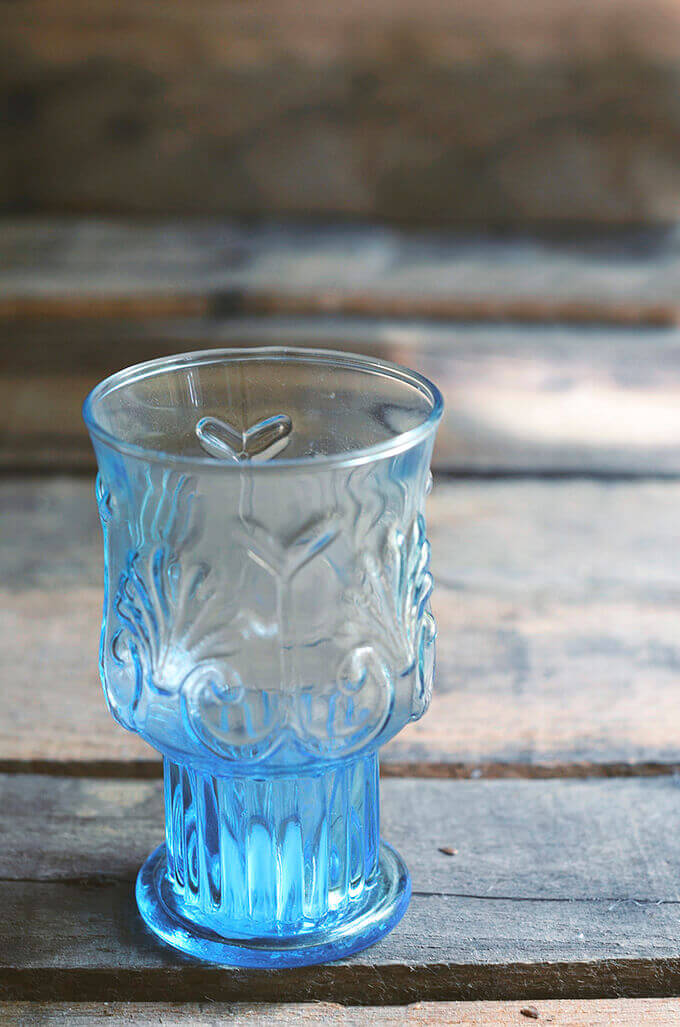
- Find usual shaped dishes and features, like a bowl with a pedestal or a clear glass with texture.
- And don’t forget trays! You can add layers placing your bowl or plate on a pretty tray.
Old versus New
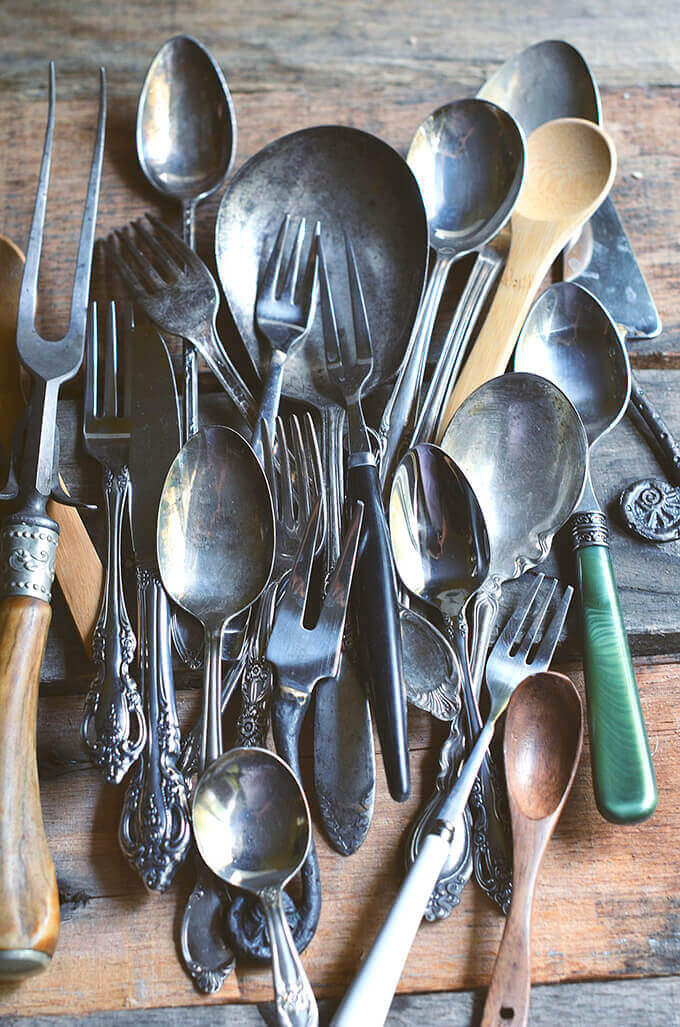
If you like the antique or shabby chic look, you don’t have to buy expensive antiques to get the look. Yes, you can find gorgeous pieces with character on etsy and ebay, but when you add shipping to the cost you are still spending a pretty penny.
For antique silverware, I find the best deals at swap meets, garage sales and estate sales. I’ve purchased rustic knife collections pretty cheaply on Etsy.
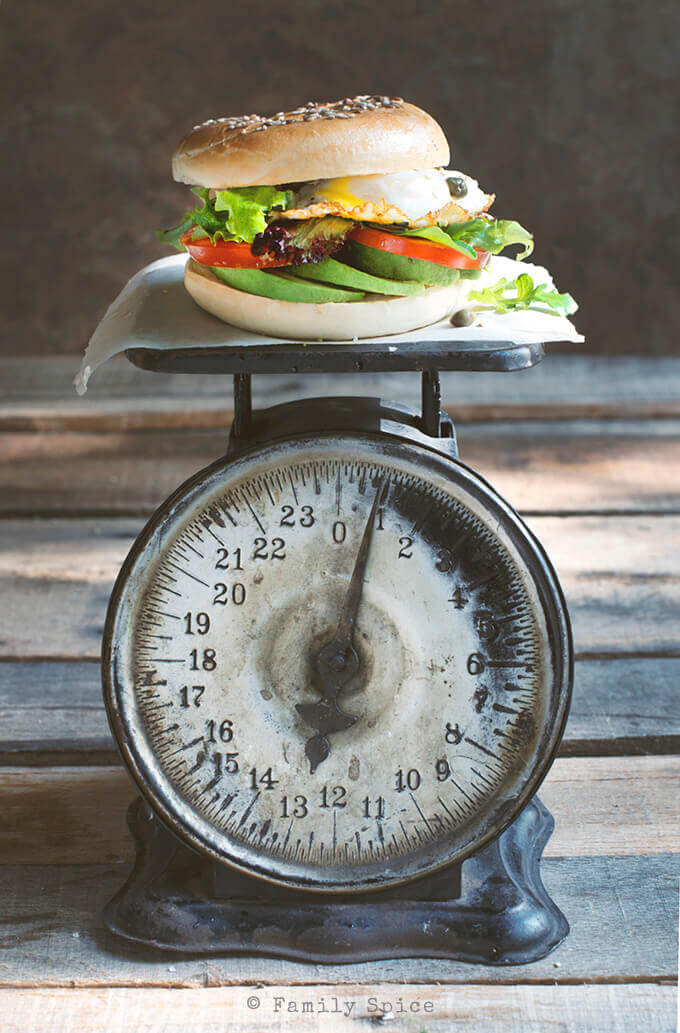
I save Etsy for those one-of-a-kind pieces, like the antique scale pictured below or hard-to-find antique utensils. When I shopped local antique shops, scales like this were well over $50. And many were downright ugly.
There was more variety on etsy and I spent less than $40 (including shipping) and got the exact color, age and feel I wanted. Here’s part of a great photography series by Sylvie/Gourmande in the Kitchen that features Naomi/Bakers Royale’s secrets to finding unique props.
But not everything needs to be an antique or cost a fortune. I found this teal scale pictured below at Michaels Craft Store, for 40% off, plus an additional 20% off coupon from their app made this beauty less than $20. I’ve since found it online for as much as $70.
Michael’s has become one of my favorite prop stops since they’ve added more and more housewares in their stores, especially antique-looking home accessories. Add a coupon and it’s a bargain! Hobby Lobby is another great resources for faux antique home accessories.
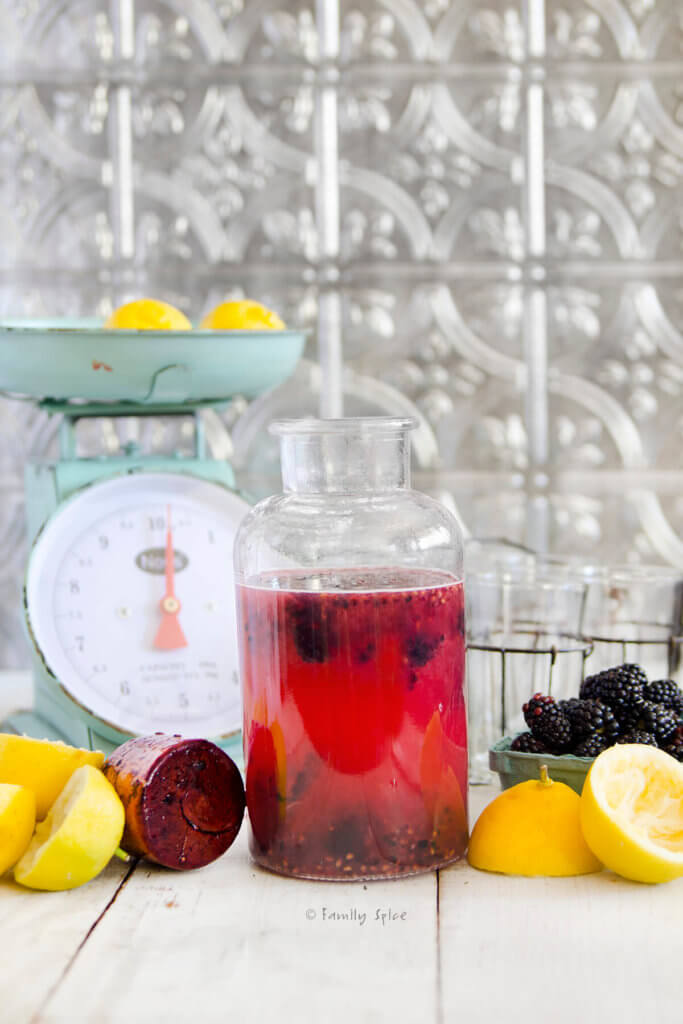
I have a weakness for jars and bottles and have accrued a rather large collection of these beauties. One hidden treasury of jars is Wal-Mart. Since The Pioneer Woman has added a line of fun household and kitchen items to Wal-Mart, I’ve scored many cute props there, like her colorful bowls, measuring spoons and etched mason jars.
Baby Got Back!
For many years I used my ugly, UGLY kitchen table for my pictures because it was next to the window. I moved outside to our dark grey wood benches and continued shooting outside as much as I could.
I finally went to Home Depot and bought some wooden planks and painted them white. I kept them outside in the elements to age them.
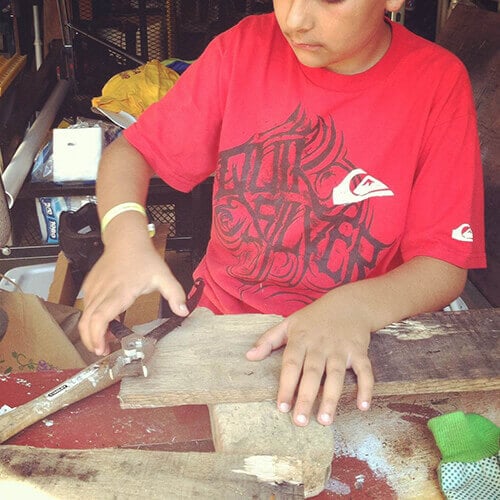
But, I also wanted weathered natural wood, so the hubby brought back from work a wooden pallet one day. Who needs flowers when you can have a pallet!!! The kids had fun pulling out the nails and taking the pallet apart.
I left some of the planks untouched and painted the others black, green and blue. I still prefer my white and grey neutral backgrounds, but sometimes a pop of color is perfect for the picture.
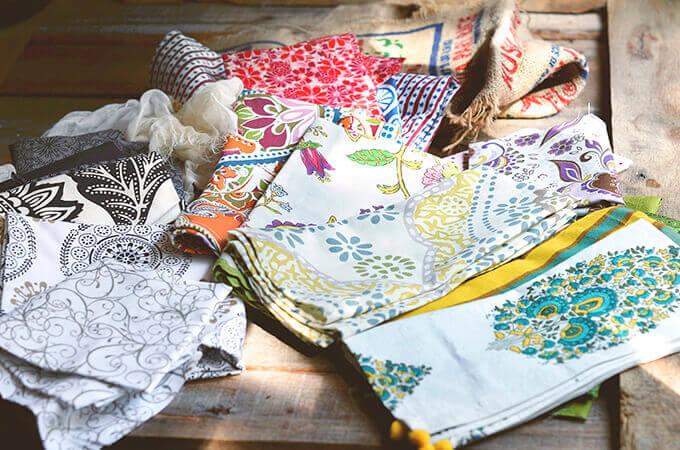
I also invested in table cloths in the beginning. That quickly became expensive (and seriously stupid). Now, I rummage through fabric swatches and remnants at my local fabric store (JoAnn’s always has coupons to make it even cheaper).
But my all-time favorite fabrics come from Cost Plus and their napkins and dish towels. They typically run about $3-$6, but I usually buy them off season – there’s always a lonely fabric napkin that didn’t get purchased.
Need a cheap neutral fabric backdrop? The khaki colored paint tarp at Home Depot works like a charm. I also love to use those burlap bags that my basmati rice comes in.
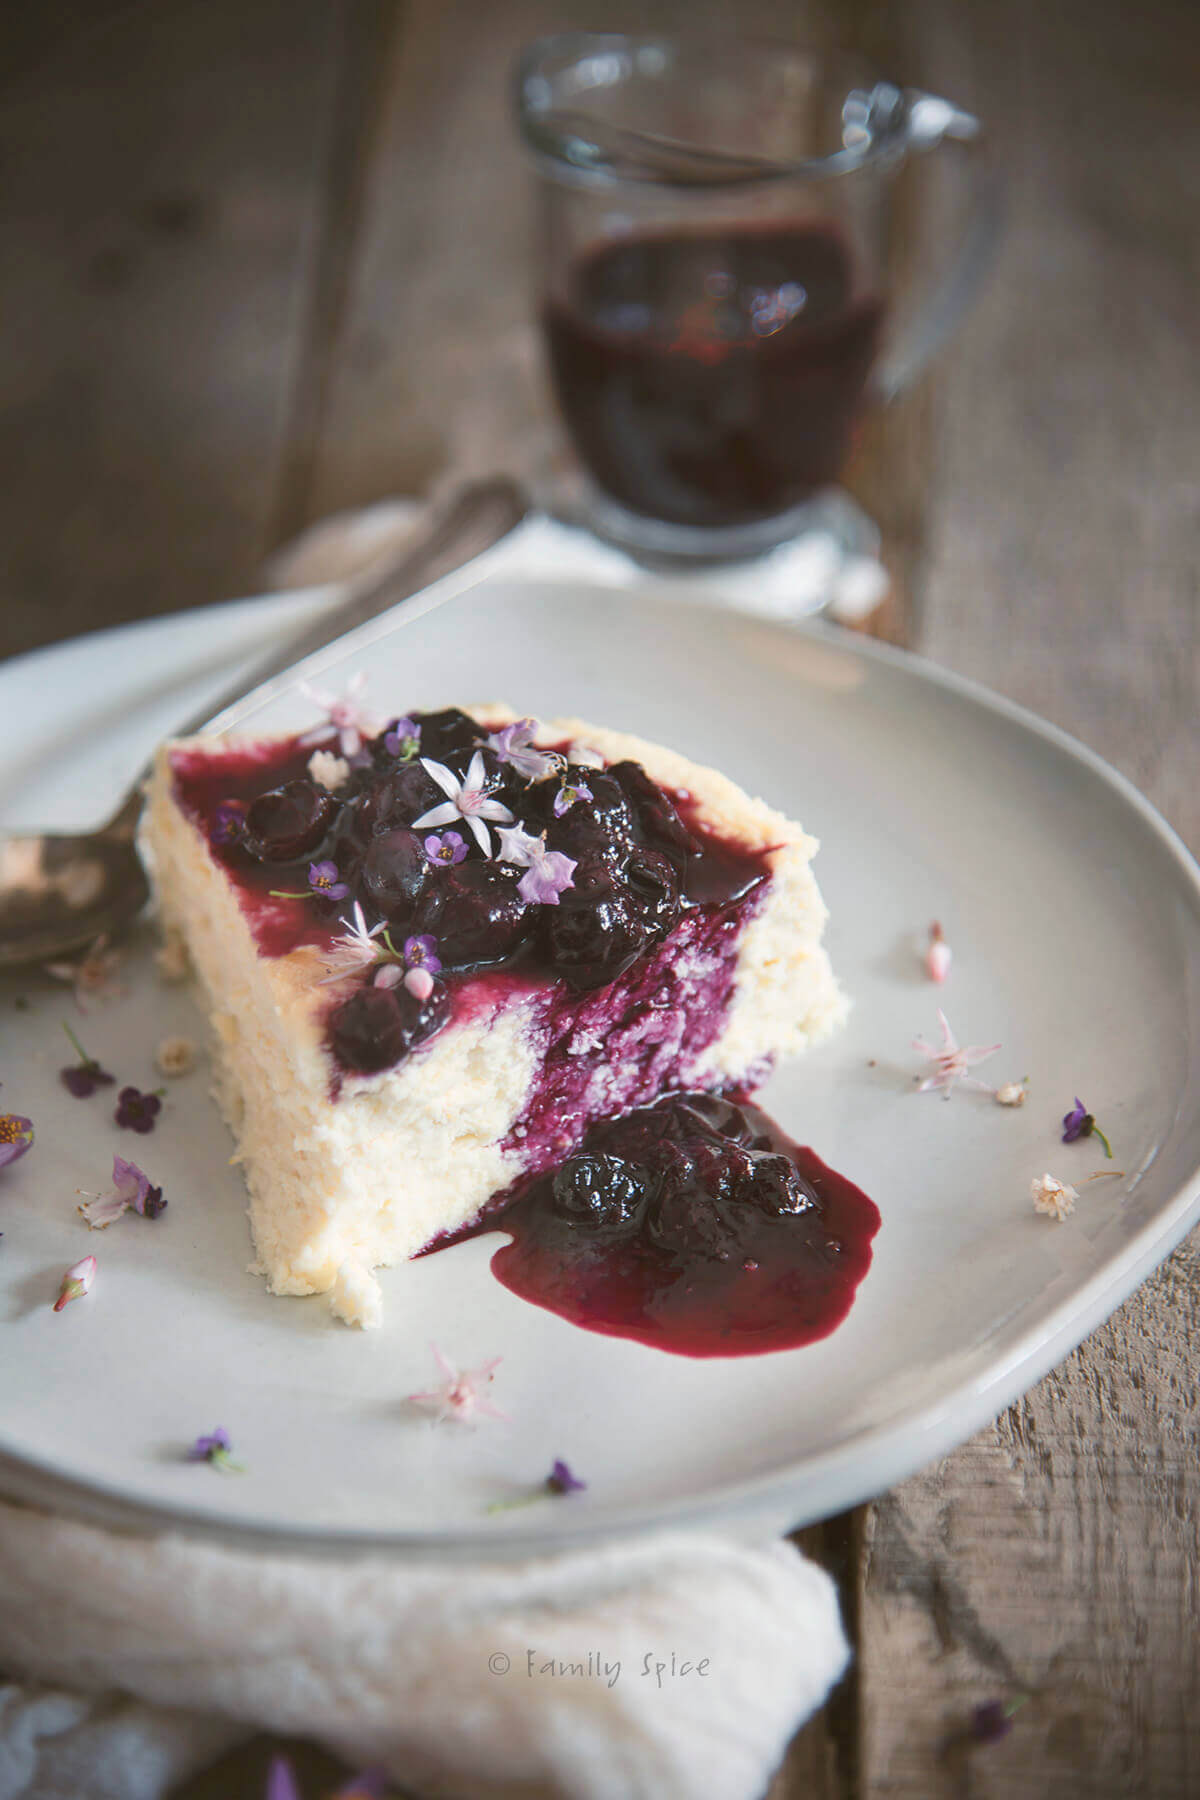
Another one of my favorite pieces of fabric is that cheese cloth you can find in ANY grocery store. So versatile and neutral in color, but easy to dye if you want a soft shade of whatever you like.
A lot of food bloggers also like to use colored scrapbook paper for backgrounds. Those 12×12-inch sheets are super cheap, easy to store and even easier to replace if they get ruined.
Props, Doodads and Chachkies
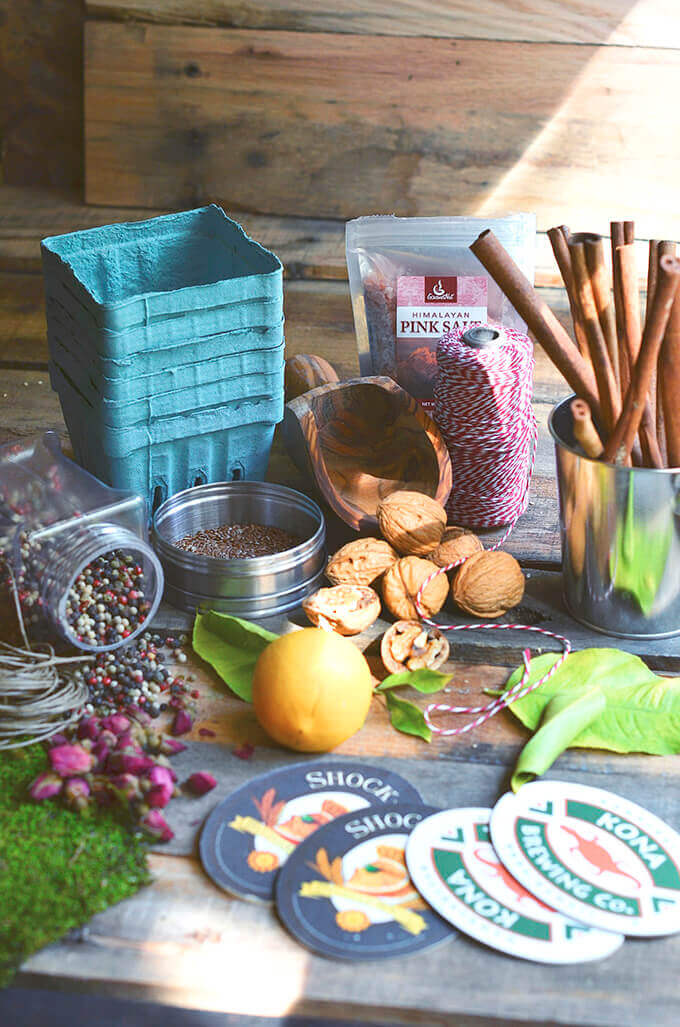
I am not huge on props, but I managed to have a nice collection of them! But, seriously, I do not have the patience to intricately style my dishes. I prefer to keep them simple.
That’s my style that not only fits my abilities, but also my state of mind. I can not spend 2-3 hours photographing a dish. Not unless I’m getting paid for it!
I have three kids going to different schools with two different schedules and carpools. So, to make the most use of my time, I think about how I will shoot the picture before I cook.
Confession: I have turned into an insomniac and yes, I do a lot of this planning while I lay there in bed, wide awake for 2 hours at 3am. It could also happen while I’m driving or at the grocery store or while I’m cooking.
Props for me are usually natural: food, ingredients, a spoon, a napkin for color, perhaps a bit of twine or peppercorns. Simple, simple, simple. I also buy funky crackers or gourmet salts – all can be found cheap at discount stores.
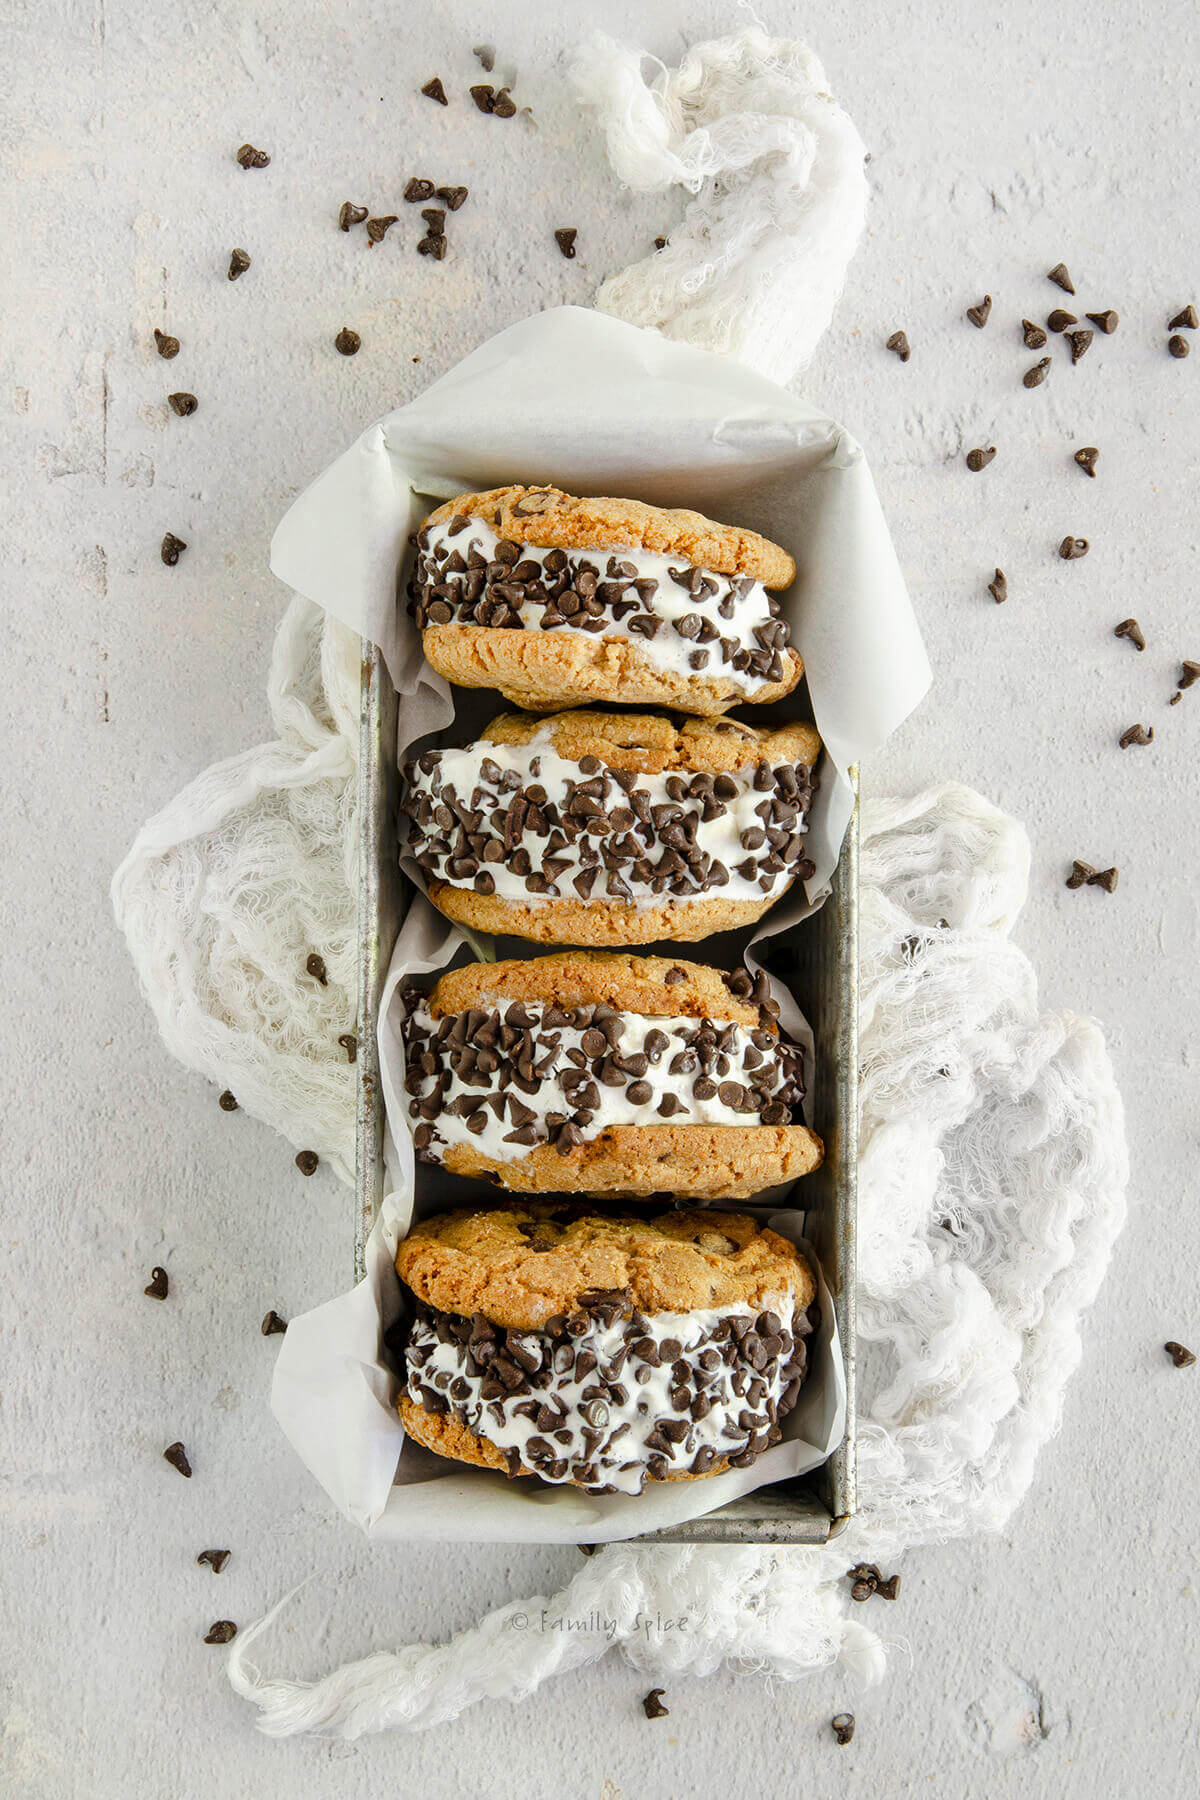
Again, Michaels also has little seasonal knick knacks that make great accent pieces and props for my shots – again, bought on clearance and/or with a coupon.
Edible flowers are an especially favorite cheap prop I use. I buy flowers from Trader Joe’s or grow them in my yard. Flowers add a touch of color and whimsy that I just love!
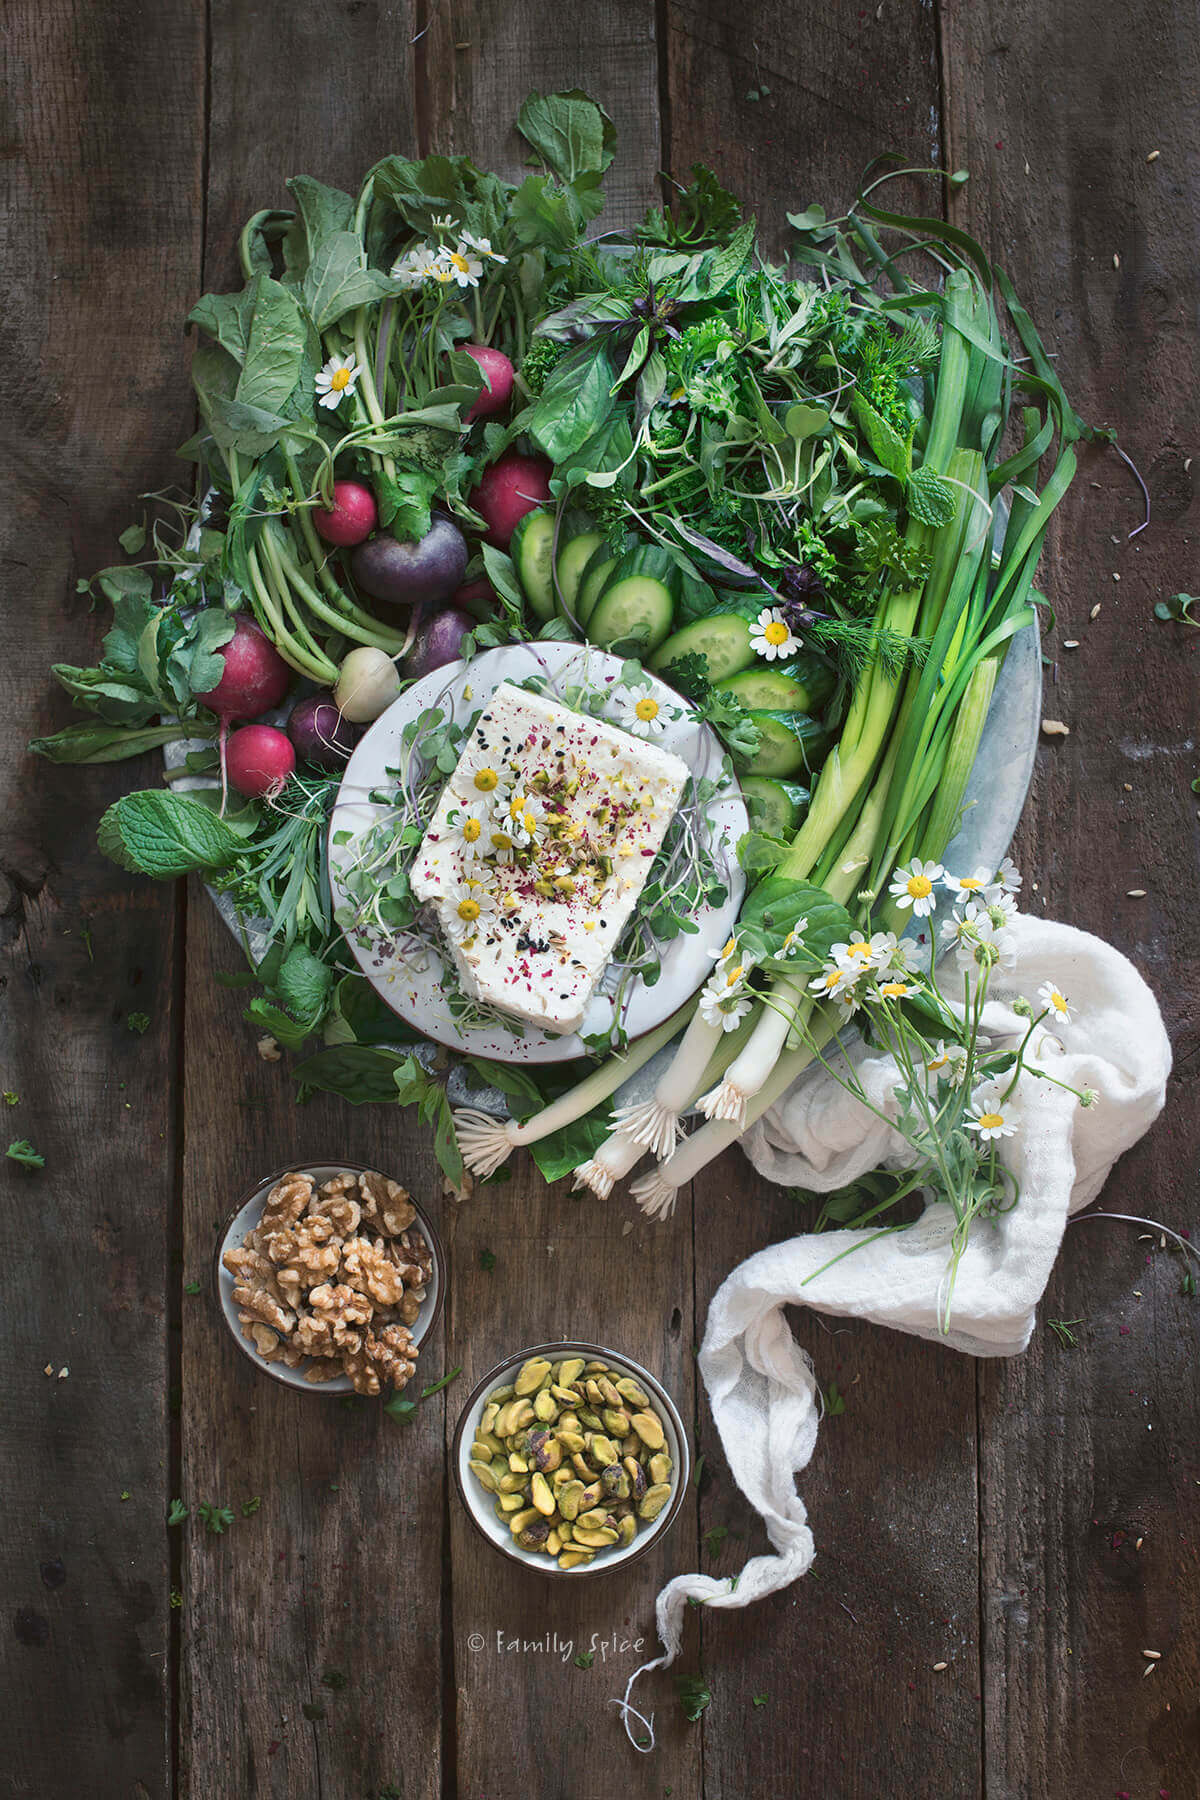
Some edible flowers I use often: chamomile (pictured above), roses, violas, pansies, herb flowers, hibiscus, lavender, honeysuckle, marigold, nasturtium, lilac, and orange blossoms.
Be resourceful! I have used twine that I got from a label hanging off a new shirt. I’ve taken cool coasters from bars. I’ve even asked for cute items from restaurants and many are happy to give it to a food blogger.
Props can found anywhere and you probably have many in your house already, waiting to be repurposed.
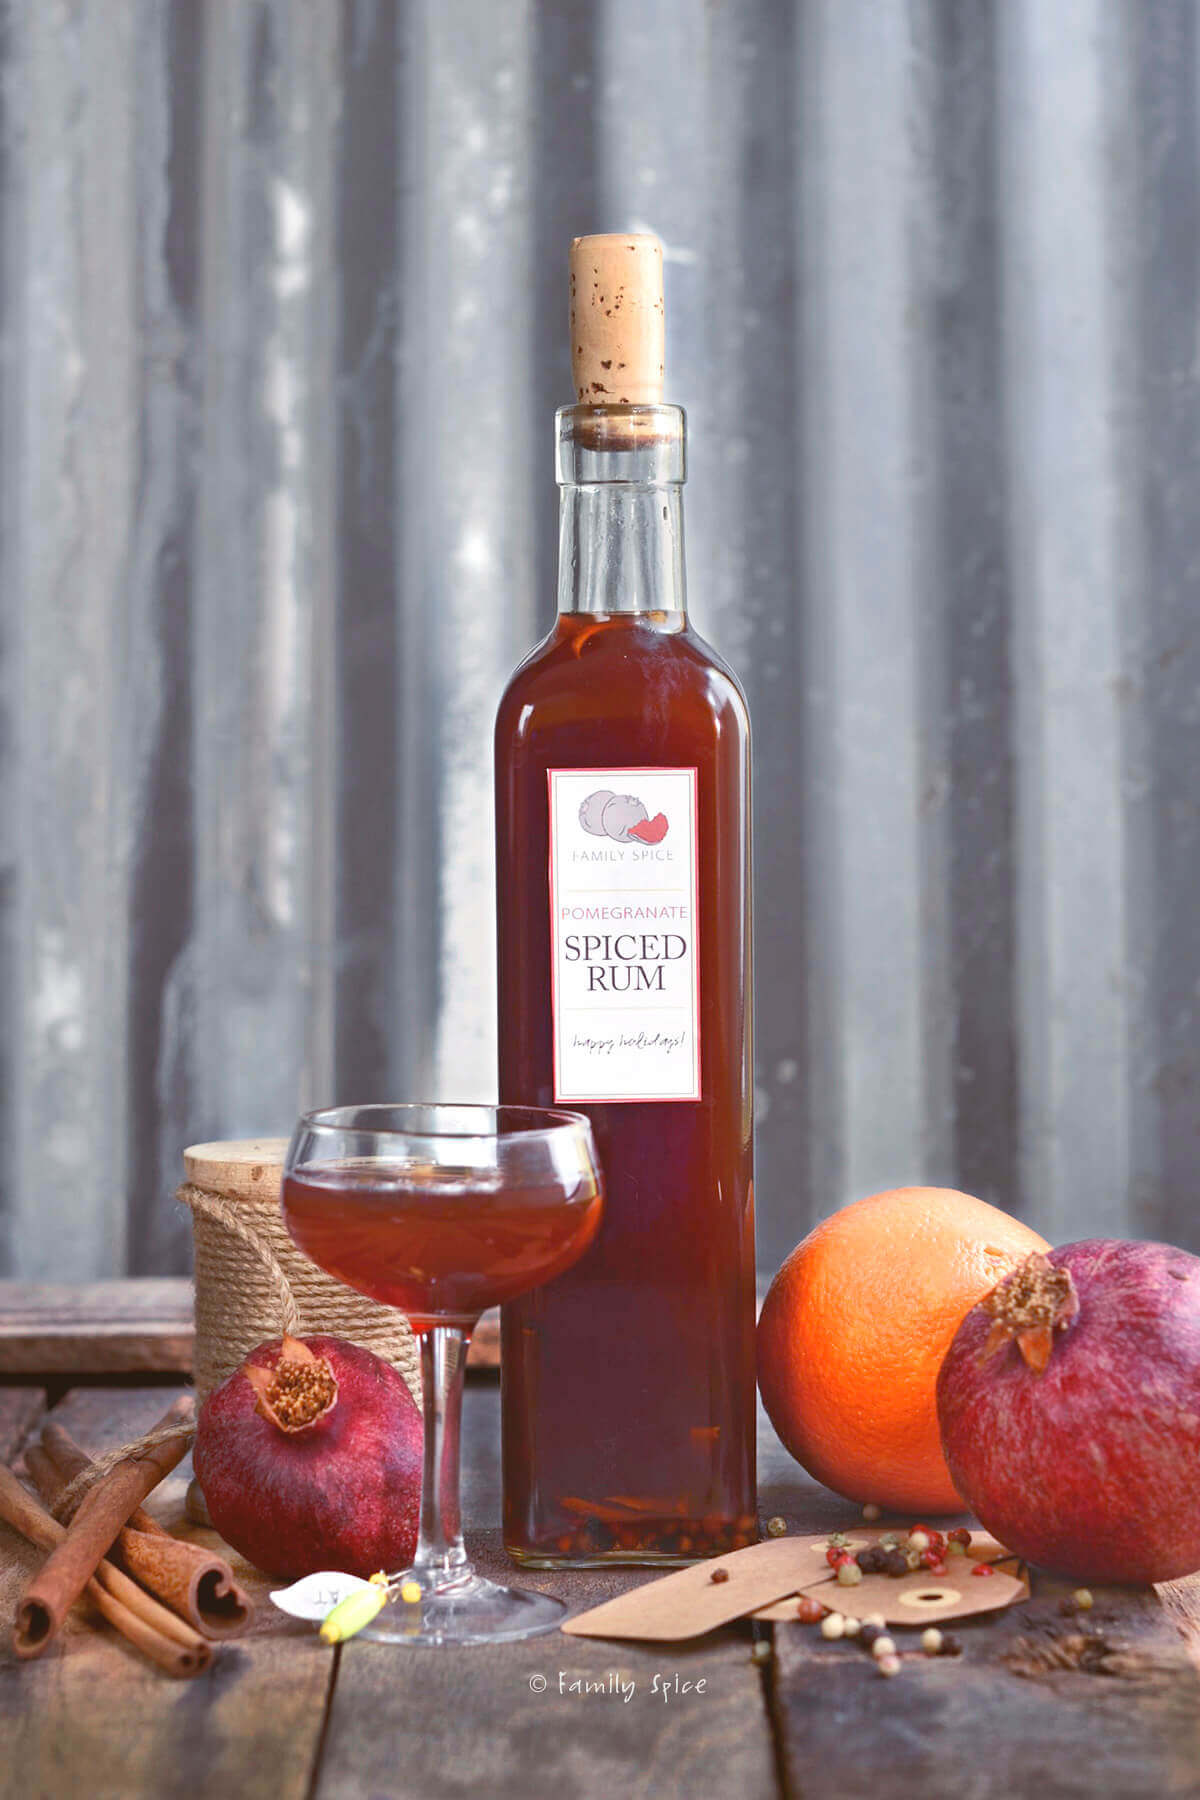
Many times I eat the meal right after I photograph it. That means that I do not add any hair spray or chemicals to make the food more photogenic. My chicken is ready to eat, my pizza has been baked completely.
I am not a magazine, but a food blogger. And what separates us from the big leaguers is that we eat what we photograph.
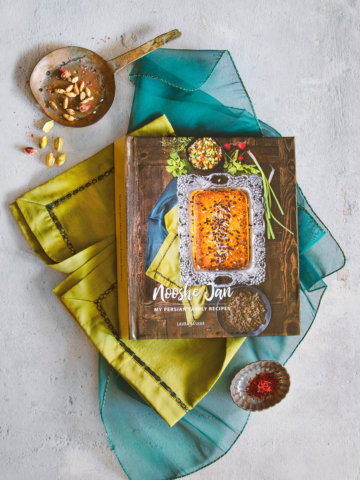
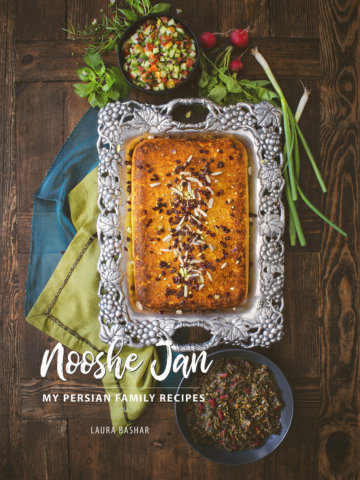
But my friend Denise Vivaldo has wonderful tips on food styling in her updated book, The Food Stylist’s Handbook. I used many of these tips when I was shooting for my new cookbook.
Lights…
If you haven’t heard it before, let me repeat it for you: Natural lighting is the best and it should be your first choice. Turn the flash off on your camera. If it’s dark, use a tripod. Even if it’s not dark, USE A TRIPOD (I use this one). I fought it for years, and now never shoot without it.
If you can not use natural light, buy a nice lamp for your photography. Many food bloggers (like Jaden/Steamy Kitchen) like this Lowel EGO Light. It is small, compact and emits natural light.
It is also expensive ($100-$120) and small and does not come with a stand (if you need the light to shine from a higher point). I have also read on many blogs that one light is not enough, and many buy two.
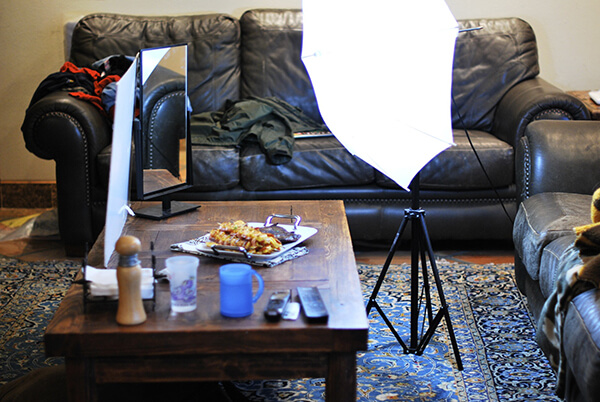
I use this umbrella light when I need additional lighting or to use at night. It is significantly cheaper ($30) than the Ego light, but it can be tough to manage if you have little ones around. I store it in my studio/office. I have recently purchased this soft box and stand.
For some period of time before my umbrella light, I bought a flash. I bounced the light off the ceiling and it washes everything beautifully with light. The problem? It washes everything beautifully with light.
The pictures are flat, no shadows, no mood. I do use the flash for instructional pictures, where mood doesn’t matter. But, for my final photos, I use natural light or my soft box.
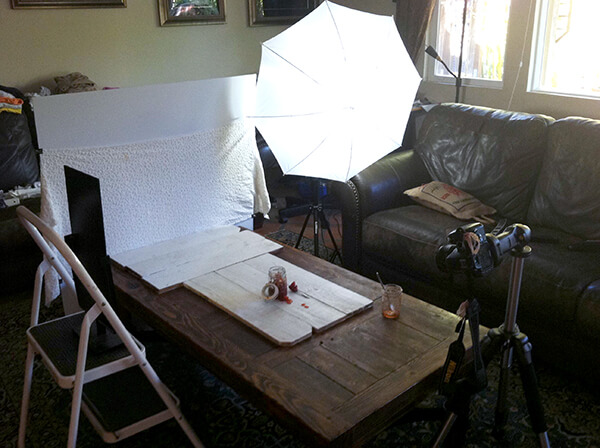
Really important: don’t forget to bounce the light. Foam core boards work great and you can get them cheap at Michael’s with that 40% off coupon! Go cheaper with white poster board for 33¢ or use a mirror.
The same goes for the moody shots, but in black. You want black foam core or poster boards to absorb the light on one side and to dark the picture. Black fabric also works very well.
If you want to get more technical information on lighting, check out Christina’s blog, The Food Photography Blog, and learn from the professional who has 20 years experience shooting food commercially. She also offers online classes!
… Camera…
I started blogging with a point and shoot camera. Four years ago, we were all figuring things out on our own and there were no “how-to” blog posts to use as a guide. I zoomed in too close, I used the flash, I had crappy pictures.
My neighbor had a DSLR, a Nikon D40. I borrowed it once and I fell in love. I bought the D60 bundle from Costco that Christmas. But, I still managed to shoot too close, I shot in automatic mode and I used the flash.
Lesson: It’s not the camera, it’s the person behind the camera. You have to learn how to use your camera, it’s manual settings and all the bells and whistles it offers to take advantage of everything it can do. I know great food bloggers who take terrific photos using their point and shoot camera. You can, too.
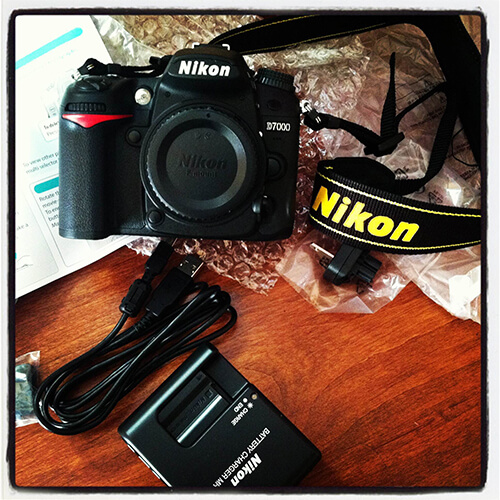
I upgraded my camera because I love photography. And because of that love and passion, I added a 50mm lens and upgraded to the Nikon D7000. I still make mistakes, but it’s a hobby that I love and I like taking the time to master my skills.
For my cookbook, I went to full frame and purchased a Nikon D810, but it is totally not necessary for the blog. I currently shoot with both cameras for the blog, but for video I shoot with the D7000.
I splurged on my tripod, because I have had wobbly cheap tripods before and I wanted something that would last. This one works beautifully for me and I love the rotating head so I can capture my shots perfectly.
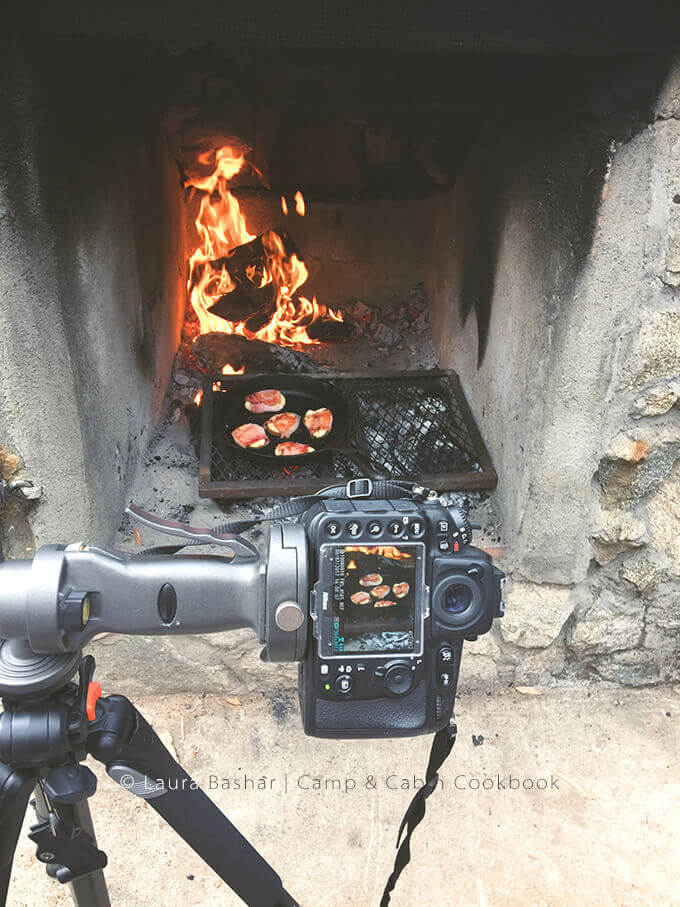
Another cheap equipment addition I made was a remote release. The last thing you want to do when you have your camera set up on the tripod and your plate beautifully presented is for the camera to shake when you push down the shutter release.
This one for my Nikon was less than $10. Plus, I can use my hands doing something more productive, like holding extra foam boards or drizzling some oil.
I do not tether my camera to a laptop or computer, but I know many bloggers do. It’s a great way to see your shot and how it turns out on the big screen. For me, this takes up too much time, but for others this saves them tremendous time. You be the judge.
… Action!
Now put this all together and you have everything you need to be a food photographer. Well, almost. The food has to look just right, the lighting has to be just right and your camera settings has to be just right. How do you figure all of that out?
Well, read your manual, learn from other bloggers and PRACTICE! Make mistakes! Learn! Do! Try different angles. I have my favorite angles, level and straight on, 45-degrees up and over head. I position my light source typically on the side and bounce it with some white foam core.
You can find so many awesome tutorials online that will teach you how to take the perfect shot. You will learn words like shutter speed, aperture, ISO and depth of field. Here are just a few bloggers that have helped me out in the past:
Have You Had Some Work Done?
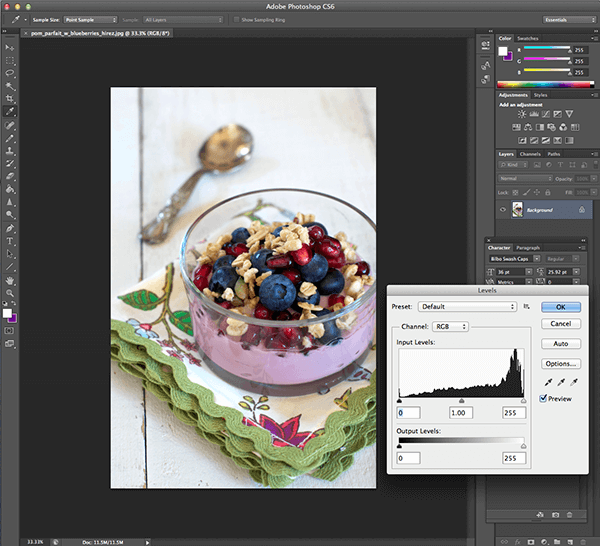
I have a graphic design background and I learned Adobe Photoshop years ago when I was in the ad business. I love, LOVE Photoshop and everything it does. And I haven’t learned all of it’s tricks and secrets either.
You can’t catch everything during your photo shoot, so don’t beat yourself up because that bit of sandwich is a little dark.
We bloggers are a one-man show (or one-woman) and many of us do this with little ones afoot. Professionals have a food styler, a photographer, an assistant – a whole crew to put that perfect shot together.
We are the chef, the maid, the photographer, the writer, the editor, the IT guy, everything behind that food blog.
Don’t ask me Lightroom questions because I only recently started to use it and just for organizing my photos since Apple got rid of Aperature.
Today you have to subscribe to Adobe for their products. And since I use Premiere Pro for video, I get the whole suite.
My computer? It’s a four year old Mac that is running strong because my brother upgraded my processor and added more memory. I am an avid Apple Lover since I used my on of this first Macintosh computers way back in college. Remember dialing up with a modem to send emails? Ok, I’m aging myself.
One Last Thing…
Have fun! If it’s a chore or if you are in a bad mood or if you are frustrated, TRUST ME. Your shot won’t turn out. I have wasted many hours photographing something in a rush or being grumpy and I hated what I created. I couldn’t get the shot right. Allow yourself time to get the shot you need.
I know about shooting right before dinner time. I know about stopping party guests from indulging on their desserts because one more photograph needs to be taken. I know about hungry kids whining and waiting for dinner. I stopped stressing myself out.
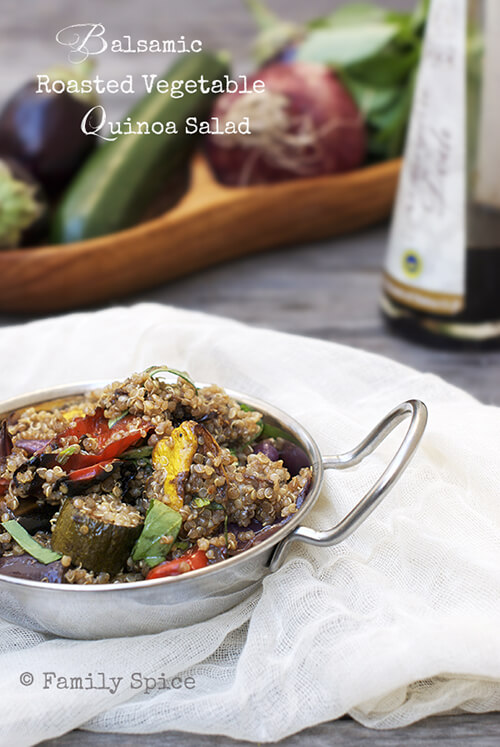
I now photograph before or after the party. If it’s a dessert, well I’d rather serve it to my guests with a slice off and it not looking perfect because I got the perfect shot earlier that day.
My family knows this and couldn’t give a rat’s buttocks if the cake has a crease in the frosting. It tastes great. It looks good to them ‘cuz they don’t have their magnifying glass with them to find the hidden blemish. And quite honestly, they can check out the perfect shot on my blog!
I also cook and photograph during the day and reheat dinner for the family at night. Some meals can wait, then I photograph the next day. The key to photography is to relax and not to stress out over it. And I’m not saying this just for your benefit. I need to remind myself of this over and over again.
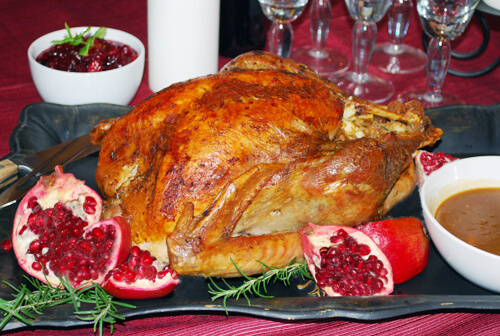
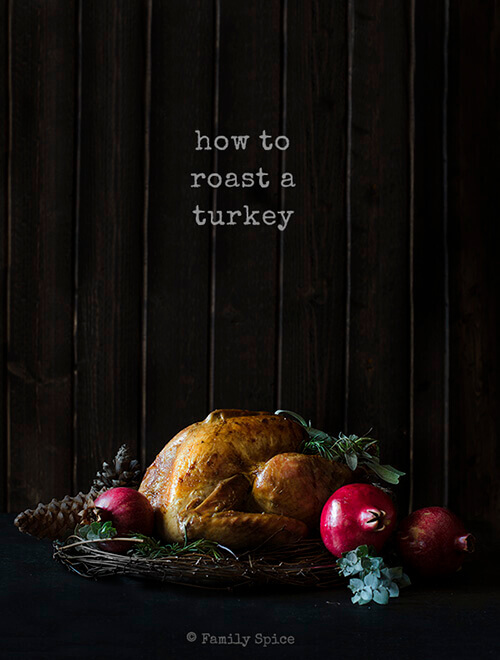
I have forced a photo shoot on myself and it turns out awful. If you didn’t get the shot this time, just make it again, and take the time to get it right the next time. This is the digital age. You can take 20 pictures or 2000.
Personally, I think the more you take ESPECIALLY WHEN YOU ARE NEW the better. Nowadays, I do not take 200 pictures of one meal. I get it right after about 20. And you know what? Many times it is the VERY LAST SHOT. That AHA! moment where you finally got it.
Inspiration is everywhere on the world wide web. When I am stumped on how to style a shot, I search the basic topic online, Pinterest or the food porn sites like FoodGawker and Tastespotting to see what other bloggers are doing. It usually sparks an idea.
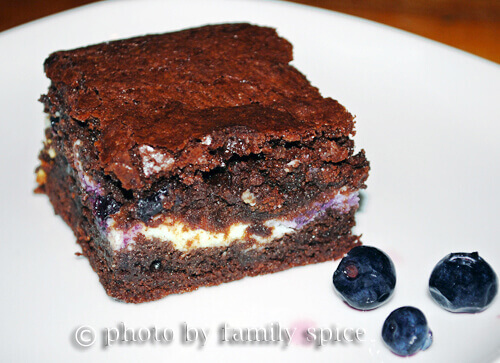
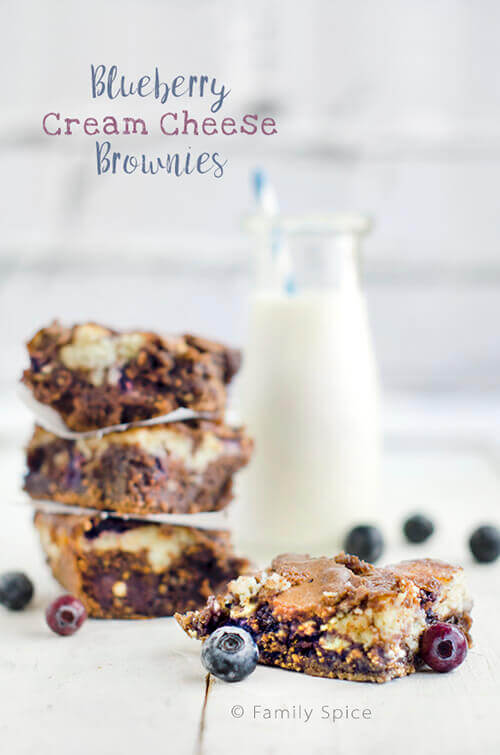
But you also need to look past the food porn sites, too, as they prefer one sort of look and reject cutting edge styling. And after awhile, all the shots accepted on these sites look alike. Find your own style, and until you do? Copy another style until you find what works for you.
Have fun with it.
Get to know other bloggers.
Ask questions.
Think outside of the box.
Practice, practice, practice.
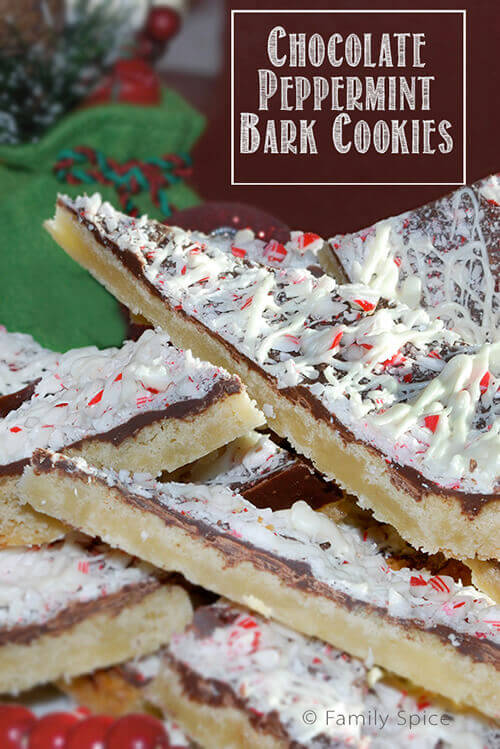
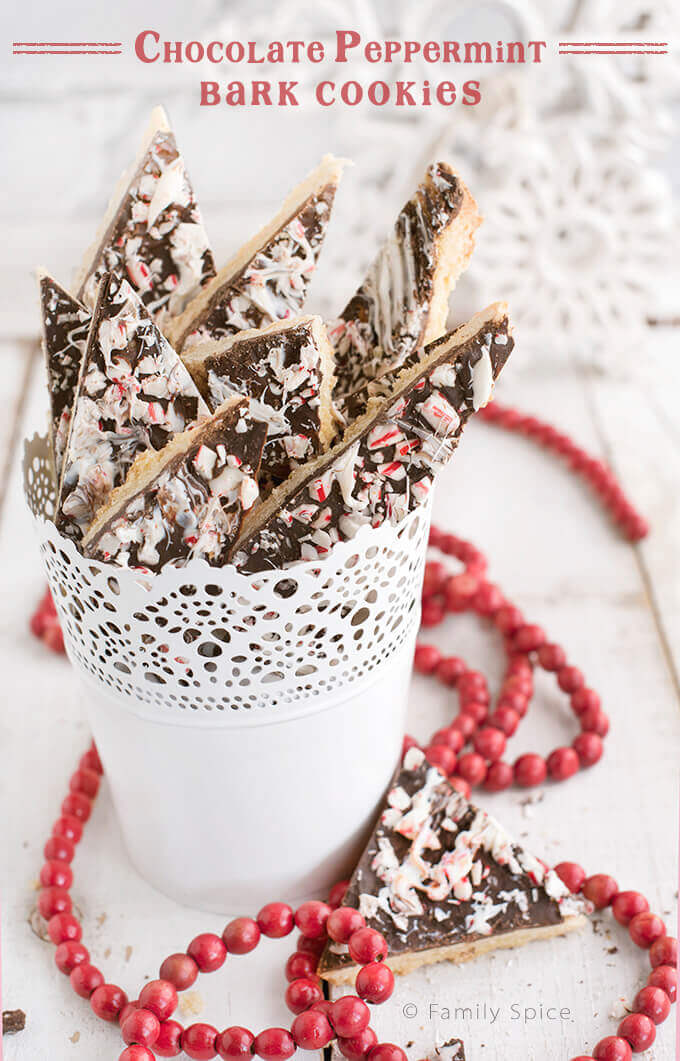
There are plenty of books on the subject and it’s constantly changing. I like Plate to Pixel: Digital Food Photography & Styling by Helene Dujardin.
So that’s my 2¢, the method to my madness. Please share any other links to posts that have helped you or that you have written yourself below in the comments.
My other photography articles:
Tutorial: Adjusting White Balance in Photographs
How to Edit Your Pictures to Look Professional on Your iPhone
If you are enjoying my recipes, please sign up for my newsletter and get my free 28-day meal plan! You can also follow me on Instagram or Facebook.

Thanks for this amazing blog post. I remember when I took my first photos in direct sunlight, holding my food in my left hand and my camera in my right hand. Well, back then I thought my photos were pretty cool, lol.
LOL! I think we all started like that and we were oh so impressed with our skills! Best lesson is just keep taking pictures, failing and succeeding.