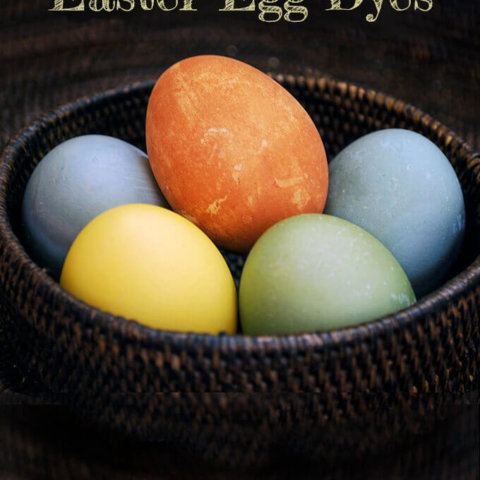
Have fun with the kids to experiment making natural food dyes and learn how to dye eggs naturally for Easter or for any springtime decor.

Spring is here and Easter is around the corner. Time for chocolate bunnies, marshmallow peeps and eggs to dye. Tired of the usual store bought dyes?
Go green this Spring and use natural food dyes that you are easy to find. This is a great project to do with your kids.
Many fruits, vegetables, seeds and spices provide a rainbow of colors to choose from. Ask your kids, “What color do you think beets will give an egg? What about blueberries?”
This is not a quick project done in ten minutes, so if you have an afternoon for a great family experiment, go through your pantry and refrigerator and see what you can use.
Why dye your Easter eggs naturally using food dyes
I originally wrote this post back in 2009, when my kids were little and egg dyeing was one of those activities they waited for every year. I remember the day very clearly. It was Spring break, and I was trying to entertain my brood, ages 8, almost 6 and 3 ½.
I have no idea how I thought of using natural food eggs to dye eggs. I think Easter was around the corner and they wanted to dye some eggs. Having no artificial dye in the house, I decided to dye eggs naturally using pantry staples to make natural food dyes.
Not only is this a fun science project to do with the kids, but we already have so many artificial food dyes and chemicals in our foods. Artificial food dyes have also been linked to attention and behavioral problems in children.
By using natural food dyes to dye your Easter eggs, you guarantee the safety of your family and eliminate any adverse reactions your kids or family might have with food dye allergies.
Prepare the eggs before you dye them naturally
The dye-process is similar to using store-bought dyes. Boiling the eggs with the vinegar breaks down the outer coating of the egg, allowing the dye to adhere to the egg shell.
- Place your eggs in a small pot and cover with water.
- For each quart of water, add 2 TBS of white vinegar.
- With the lid on, bring the water to boil.
- Turn the heat off and let the eggs sit in the covered pot for 20 minutes. This will keep your eggs from rumbling in boiled waters and possibly cracking.
- Place eggs in a bowl with ice water to cool. Store in the refrigerator until ready to dye. Hard-boiled eggs keep in the refrigerator for up to one week.
Prepare your natural food dye
- In a small pot, add organic materials chosen to make dye (a.k.a. dyestuff) and cover with water. Again, add two TBS of vinegar for each quart of water.
- With the lid on, bring the water to boil.
- After boiling 20 minutes, remove from the heat and allow to cool.
- When dye bath reaches desired color, strain out the dyestuff using a cheesecloth for smaller particles or a small strainer. Remember that the eggs will not get as dark as the color in the pot.
How to dye your Easter eggs naturally
- Place the hard-boiled eggs in the dye bath for at least 10 minutes. The longer the eggs sit in the dye bath, the more intense the colors become.
- Remove the eggs from the bath, place on a dish and allow to air dry. Try not to handle the eggs until they are completely dried. The outer layer of the egg shell with the dye on it will get scratched off because the vinegar has softened it.
Natural food dye suggestions
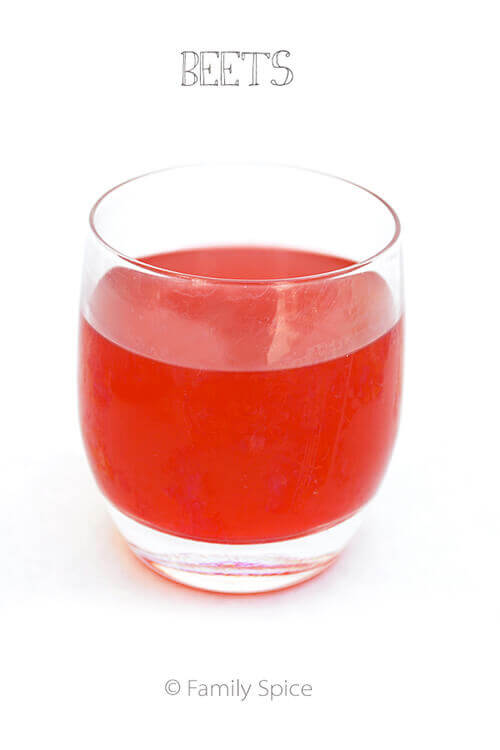
- Pinks: fresh beets, cranberries, radishes or frozen raspberries
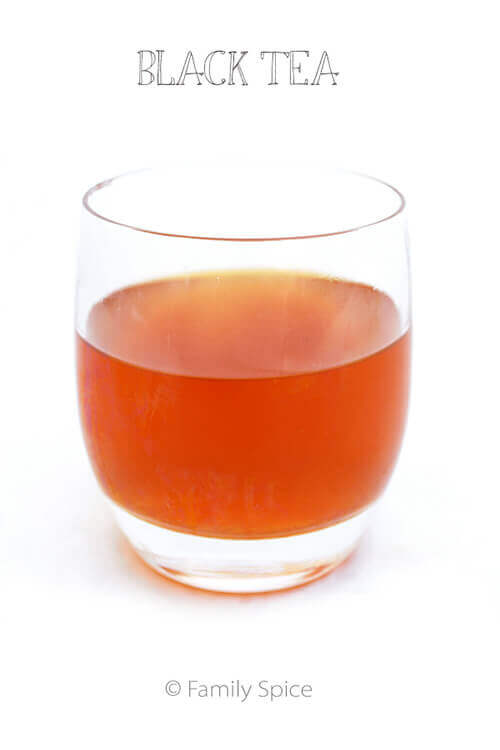
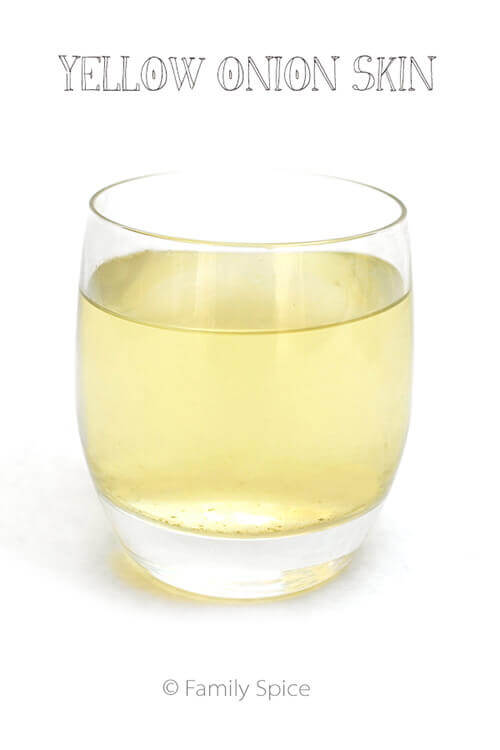
- Orange: yellow onion skins, dark tea (pictured)
- Pale Yellow: orange or lemon peels, carrot tops, celery seed or ground cumin
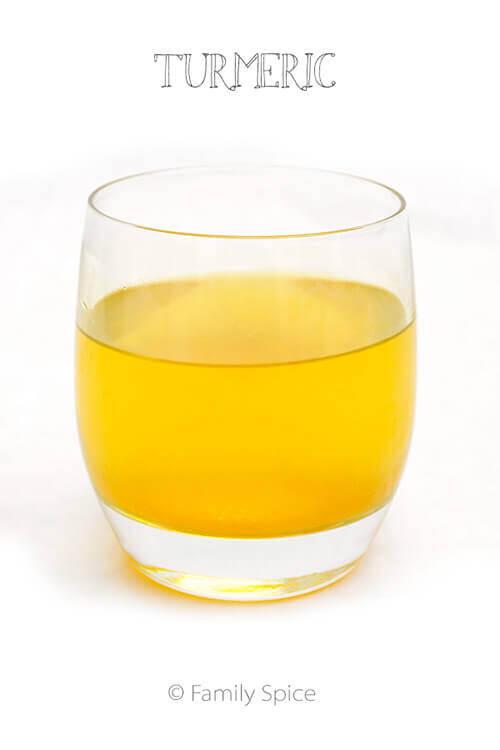
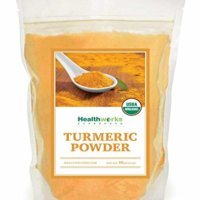
- Bright Yellow: turmeric (pictured)
- Green-Gold: Yellow Delicious apple peels
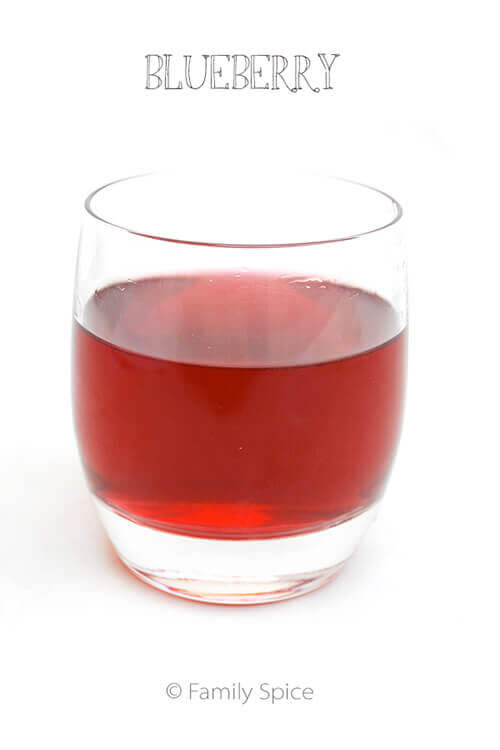
- Blue: frozen blueberries (pictured) or red cabbage leaves
- Beige to brown: strong brewed coffee
- Brown-orange: Chili powder
- Grey: purple or red grape juice or beet juice
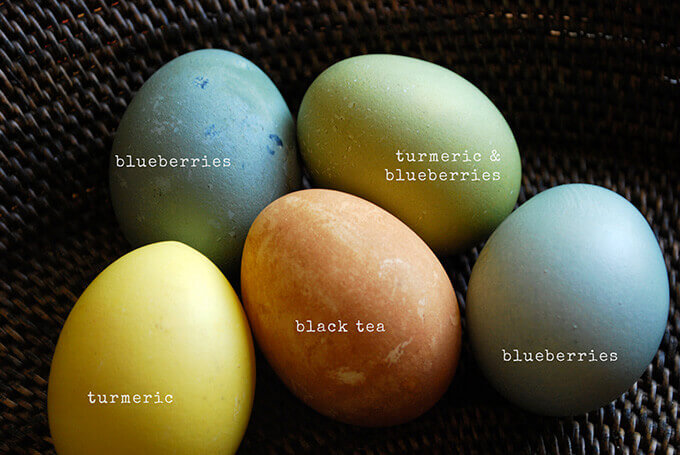
The results of our experiment with natural food dyes
Some dyes don’t turn out as expected as others. My kids and I came up with two pinks, from raspberries and beets, and neither adhered well to our eggs. This might mean that we needed more of the fruits during the boiling process, although you couldn’t tell by the intensity of the color of the dye bath.
My advice to you is to have fun with it. Even small set backs are great learning experiences for the kids. We watched blueberries turn the water purple and were surprised to see our eggs come out in a Robin’s Egg Blue.
We then added the blue egg to our turmeric dye to make a beautiful green. I personally love the look of the eggs using these natural food dyes. They turned out rustic, yet colorful – I think they look better than the artificial dyes. What do you think?
Experiment for yourself. I hope you love how your eggs turned out as much I love mine. Although we do not celebrate Easter, as we are not Christians, we do celebrate Persian New Year, Nowruz.
And we lay out colored eggs on our tablescape to celebrate the first day of Spring. Learn more about this beautiful tradition here.

If you are enjoying my recipes, please sign up for my newsletter and get my free 28-day meal plan! You can also follow me on Instagram or Facebook.
How to Dye Eggs Naturally
Have fun with the kids to experiment making natural food dyes and learn how to dye eggs naturally for Easter or for any springtime decor.
Materials
- White eggs
- White distilled vinegar
- Fresh beets, cranberries, radishes or frozen raspberries for pink dye
- Yellow onion skins, dark tea for orange dye
- Orange or lemon peels, carrot tops, celery seed or ground cumin for light yellow dye
- Turmeric for bright yellow dye
- Yellow Delicious apple peels for green-gold dye
- Frozen blueberries or red cabbage leaves for blue dye
- Strong brewed coffee for beige-brown dye
- Chili powder for brown-orange dye
- Purple or red grape juice or beet juice for grey dye
Tools
- Small pot(s)
- Several small bowls
- Several spoons or slotted spoon
- Paper towels
Instructions
- Place your eggs in a small pot and cover with water.
- For each quart of water, add 2 TBS of white vinegar.
- With the lid on, bring the water to boil.
- Turn the heat off and let the eggs sit in the covered pot for 20 minutes. This will keep your eggs from rumbling in boiled waters and possibly cracking.
- Place eggs in a bowl with ice water to cool. Store in the refrigerator until ready to dye. Hard-boiled eggs keep in the refrigerator for up to one week.
- Now it is time to prepare your natural food dyes, In a small pot, add organic materials chosen to make dye (a.k.a. dyestuff) and cover with water. Again, add two TBS of vinegar for each quart of water.
- With the lid on, bring the water to boil.
- After boiling 20 minutes, remove from the heat and allow to cool.
- When dye bath reaches desired color, strain out the dyestuff using a cheesecloth for smaller particles or a small strainer. Remember that the eggs will not get as dark as the color in the pot.
- Now it is time to dye your eggs. Place the hard-boiled eggs in the dye bath for at least 10 minutes. The longer the eggs sit in the dye bath, the more intense the colors become.
- Remove the eggs from the bath, place on a dish and allow to air dry. Try not to handle the eggs until they are completely dried. The outer layer of the egg shell with the dye on it will get scratched off because the vinegar has softened it.
Notes
Remember the longer the eggs sit in the dye bath, the more intense the colors become.
Recommended Products
As an Amazon Associate and member of other affiliate programs, I earn from qualifying purchases.
PS If you try this recipe, why not leave a star rating in the recipe card right below and/or a review in the comment section further down the page? I always appreciate your feedback.
You can also follow me on Pinterest, Facebook or Instagram. Sign up for my eMail list, too!




We are going to color our eggs this week, and I can’t wait to try all of these natural dyes! So fun!
Such a fun way to color eggs naturally! I love these options (and worry less about the mess and staining) for dyeing eggs!
These are so clever…I hate fake colors so you know I am all about using the real stuff. Thank you so much for this tutorial!
Love this list! How fun! So much easier than I thought too. Going to have to try these this year. Thank you!