Canned pumpkin may be convenient, but nothing beats the flavor of homemade pumpkin puree. And you know EXACTLY what you put in it!
So, you might read the title of this post and think to yourself, “Why or why would I go through the trouble of making homemade pumpkin puree when I can just buy it canned from the store and save myself the hassle.” I get it. I really do.
I admit to using the canned stuff myself. It’s fast, it’s convenient and there’s no mess to clean up. BUT, it doesn’t quite taste the same as homemade pumpkin puree. And isn’t that what it’s all about?
In this brave new world we now live in, food allergies are prevalent, and we are all educating ourselves on what goes into our food and our raw ingredients. Have you seen in the news that canned pumpkin puree may not actually contain pumpkin? WHAT??!!
Botanists, lawyers and the FDA contend that the term “pumpkin” could pertain to any squash variety, whether it be the squash we loving know as pumpkin, or a butternut squash. And yes, you can bake and enjoy a butternut squash pie. But the flavor is delicious, but, … well… different.
Even among the true pumpkin variety you will find them in all shapes, sizes and colors. And guess what? Not all pumpkins are created equal. The big jack-o-lantern pumpkins do not have great flavor or texture for eating. The seeds from jack-o-lantern are big and fat and terrific for roasting and eating.
But for baking, my personal favorites (that are readily available) are the sugar pie pumpkin and cinderella pumpkins. And if you visit your local farmer’s markets, I’m sure you will find exotic varieties that are sweet and recommended for baking, too.
Whichever pumpkin you use, the process to making homemade pumpkin puree is the same. I have found that roasting my pumpkin makes it caramelize and sweeter than simply baking it. Yes, my engineer husband and I did a taste-test. What, you don’t do that at home?
The first step to making homemade pumpkin puree is to wash your pumpkin clean. You don’t want the dirt or grime in your pumpkin puree. So a little hot and soapy water to clean the outside of your pumpkin is the first step to insure no bacteria, dirt or critters make it into your pumpkin puree.
Next, is removing the stem by cutting the top off. If you are using a cinderella pumpkin, this is easier to do after you cut your pumpkin in half.
Which brings us to Step 3: Cut your pumpkin in half, vertically. So, not at the equator but along the prime meridian. A little geography humor – heh heh.
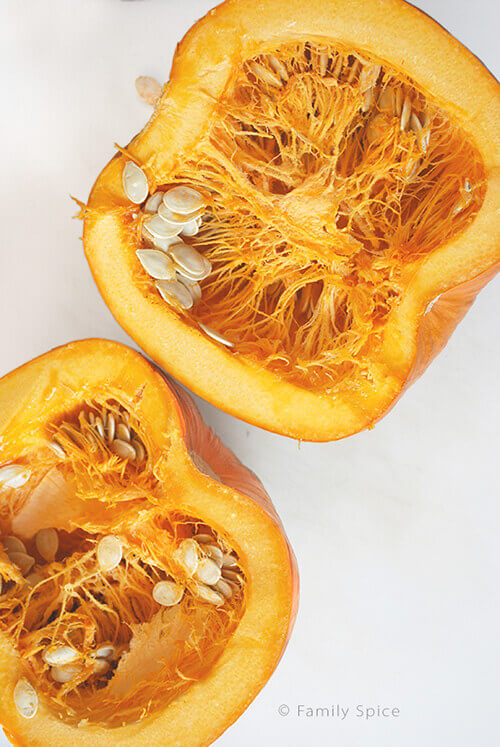
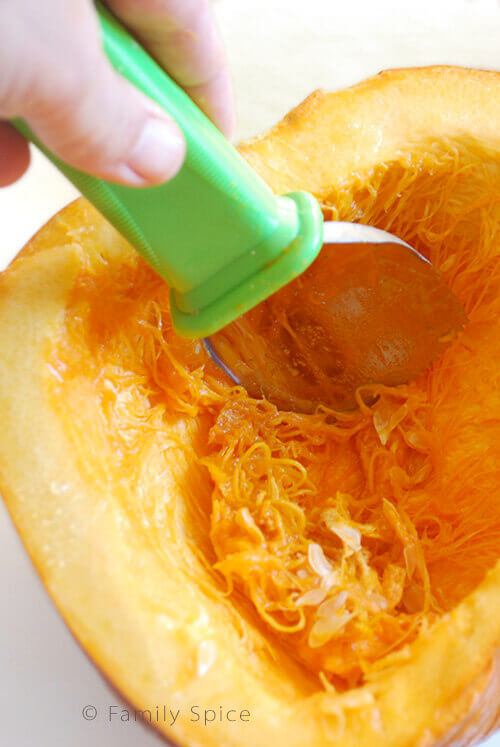
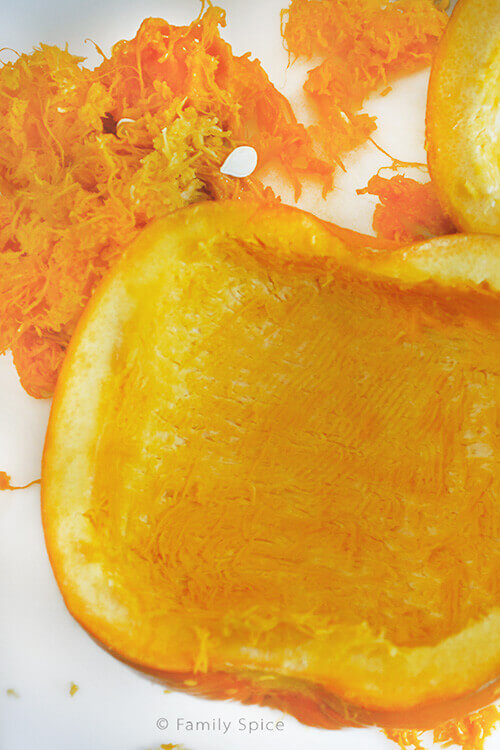
Now you want to scoop out the stringy material and seeds from the center of your pumpkin. A big spoon or pumpkin scooper will do the job nicely. Save those seeds! You can clean them, soak them and roast them! (full instructions here on how to roast your pumpkin seeds)
After you have the inside of your pumpkin clean, it is time to roast them. If you are using cinderella pumpkins, it is better to cut them into big wedges. This helps speed up the cooking process and insures even cooking. You can do this to your smaller sugar pie pumpkin, as well.
Brush the pumpkin flesh with some extra virgin olive oil. Now purists do not brush oil on their pumpkins, which is fine. But if you do use oil, you only using a couple teaspoons of it. AND, I find that the flavor really comes out when the pumpkin browns a little. And olive oil makes this magic happen.
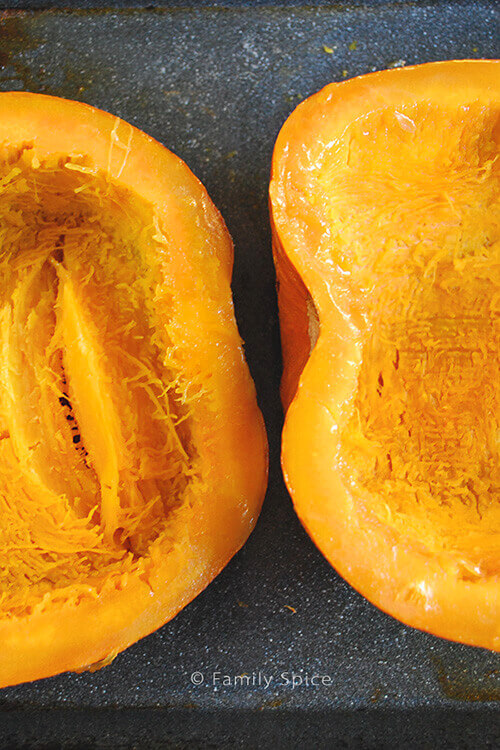
Place your pumpkin pieces on a baking sheet (or two for those bigger pumpkins) cut side up or cut side down. Yes, we’ve done both. I actually prefer cut side up because it caramelizes a little. Cut side down has a tendency of steaming the pumpkin flesh and makes it a little more watery.
You will now bake at 350ºF until pumpkin is fork tender. Depending on the size of your pumpkin wedges, this could take 30-60 minutes.
Let the pumpkin cool to touch so you can peel the skin off the pumpkin flesh. If you are impatient like me, you can use a spoon to scrape out the flesh while your fingers do the happy dance with the hot pumpkin.
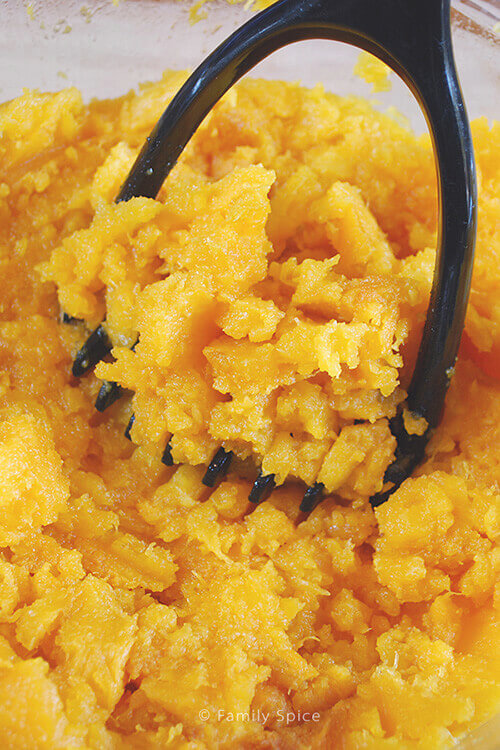
Transfer the pumpkin flesh to a food processor and blend until smooth. Depending on how moist your pumpkin was, you might need a few teaspoons of water to smooth things out. If you don’t have a food processor, no worries. You can also use a potato masher, ricer or food mill to mash up your pumpkin.
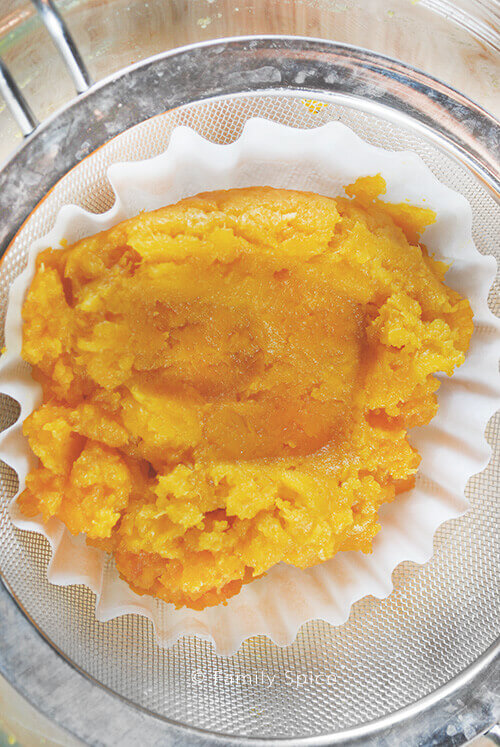
Now if your pumpkin is very watery, press your pumpkin through a fine mesh strainer, cheese cloth or coffee filter to drain out excess water. You want a thick pumpkin puree that isn’t dry or chunky, but some water is required. You want the same texture as the canned stuff because that is the benchmark of what is considered pumpkin puree in every pumpkin recipe.
If your pumpkin is too watery or too dry, your recipe will not turn out quite as you expect it. It’s not rocket science. Keep a can of pumpkin puree handy in the beginning until you get the hang of it.
When it comes to storing your pumpkin puree, freezing is best – especially if you are not using it right away. Divide your pumpkin puree into ½-cup or 1-cup portions and pour into resealable freezer bags.
Pumpkin puree is wonderful to have on hand not just for baking, but also to sneak into your everyday cooking (stews, soups, potatoes, risotto) and even for baby food. For all of my pumpkin recipes click here.
Need some creative ways to use your homemade pumpkin puree? Click here for inspiration.
So, have I convinced you yet to make your very own homemade pumpkin puree?
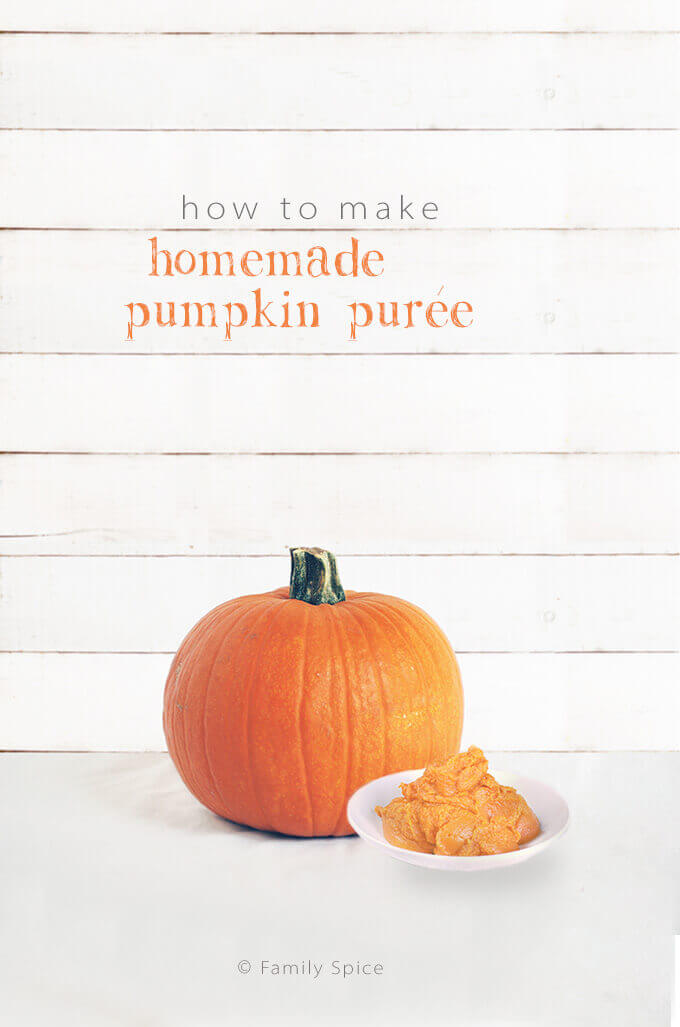
How to Make Homemade Pumpkin Puree
Canned pumpkin may be convenient, but nothing beats the flavor of homemade pumpkin puree. And you know EXACTLY what you put in it!
Ingredients
- 4 lb sugar pie pumpkin
- 2 teaspoon extra virgin olive oil
- 2 TBS water
Instructions
- Preheat oven to 350ºF.
- Rinse pumpkin and pat dry.
- Using a sharp knife, carefully cut the pumpkin in half, down the center starting at the base of the stem.
- Using a pumpkin scraper or a large flat spoon, scrape out all of the stringy pulp and seeds from the inside of the pumpkin.
- Discard the pulp, and reserve the seeds to roast.
- Brush the inside of the two pumpkin halves with olive oil.
- Place pumpkins, cut side down in a shallow baking dish or roasting pan lined with parchment paper.
- Bake until fork tender, about 60-90 minutes. To cook faster, cut into smaller wedges.
- Allow the pumpkin to cool, then scoop out the cooked flesh and place in a food processor.
- Blend pumpkin until smooth, adding 2 TBS water if necessary.
- If pumpkin puree is too watery, strain through a cheesecloth, fine mesh strainer or coffee filter to remove some of the excess liquid.
- Use the pumpkin in your favorite recipes right away, or keep in an air tight container in the refrigerator for up to one week. Divide extra puree into resealable bags and freeze.
Notes
Separate into ½ cup servings, store in a resealable bag and freeze until ready to use. If you do not have a food processor, you can mash the pumpkin by hand using a potato masher.



Yup, I usually use the canned pumpkin puree. Easy and fast, and it has pretty good flavor. But the flavor really isn’t quite as succulent as when using a whole pumpkin and making puree yourself. Good post — thanks.
Hi John! I totally get the convenience of canned pumpkin. I’m guilty of it, myself.
You have inspired me to make my own pumpkin puree! Thanks, Laura!
I hope you do, Kelli! And let me know what you make with it!