
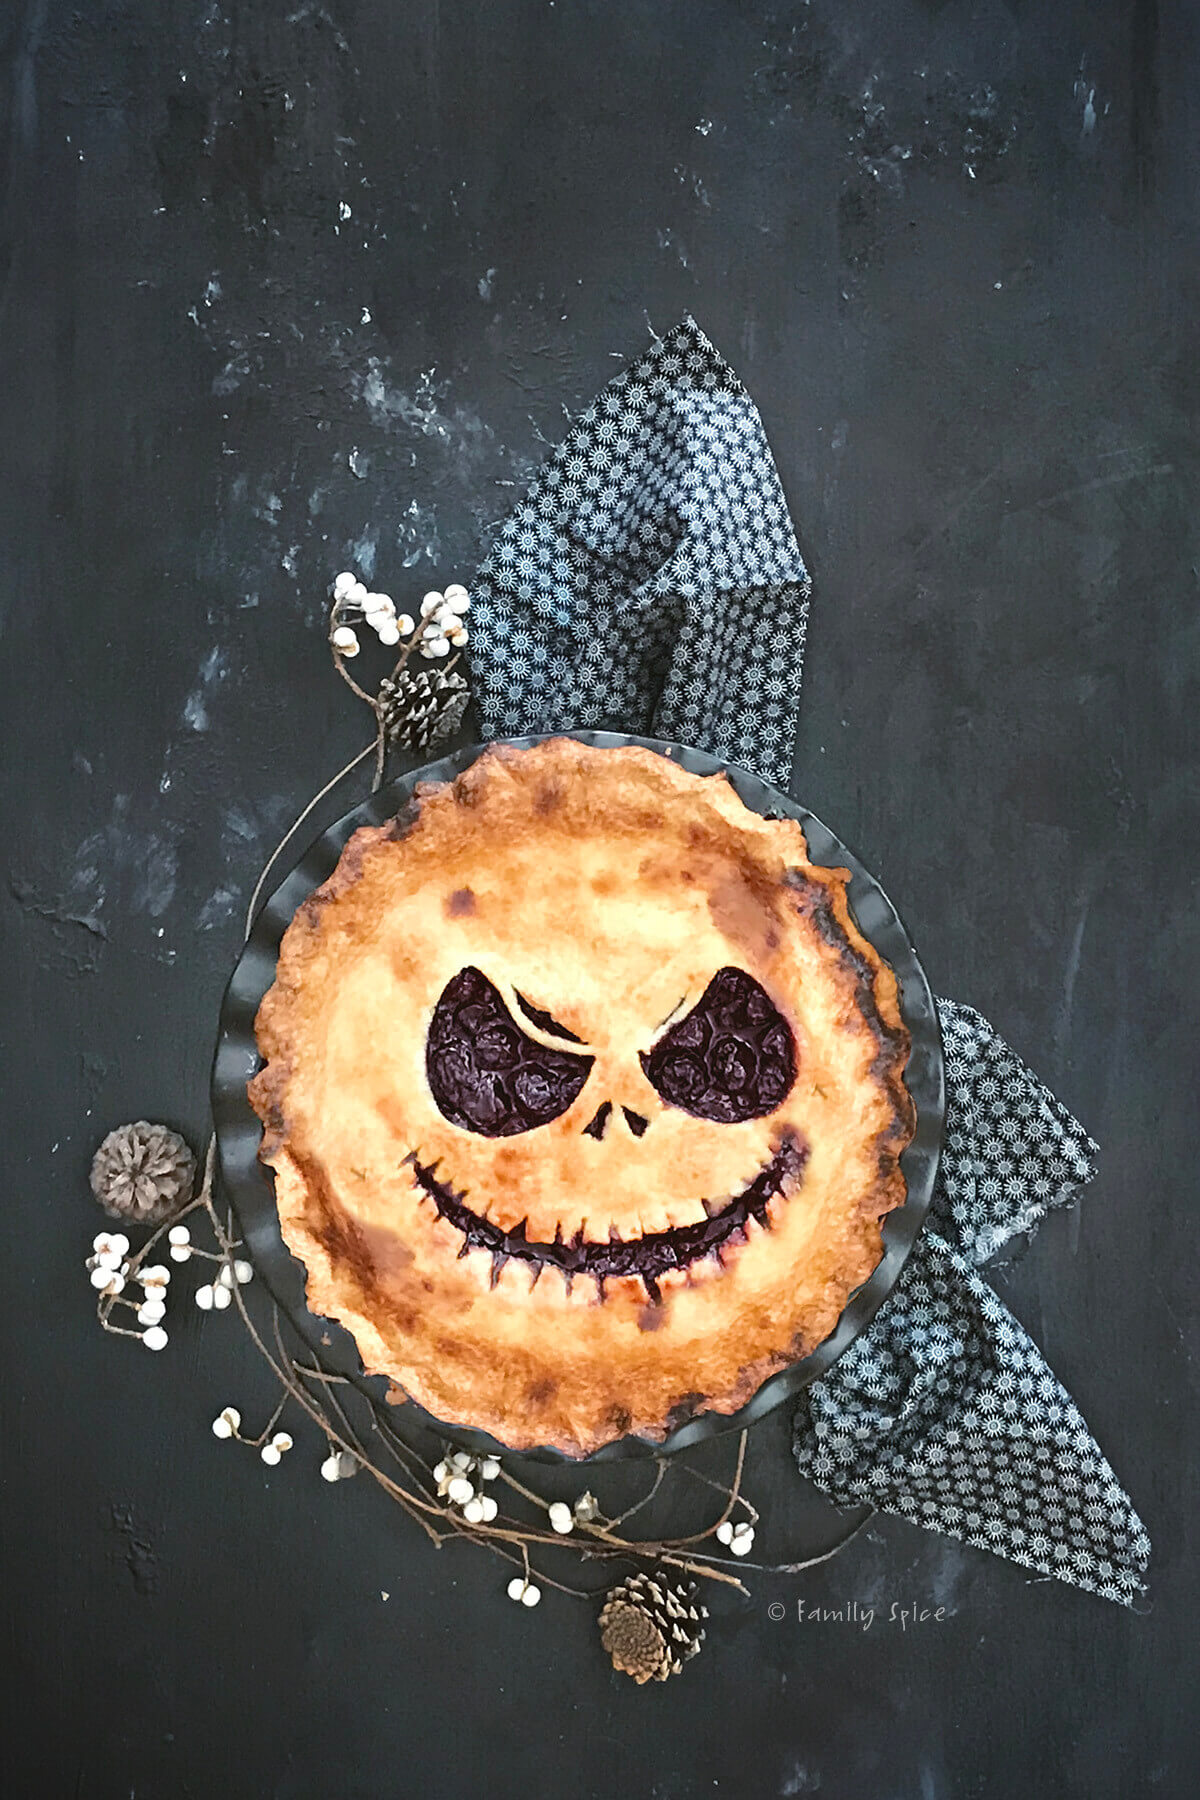
This Jack Skellington Pie is a fun and spooky way to serve up a halloween pie. The sweet and syrupy cherry balsamic pie will tantalize your taste buds!
My kids may be teenagers, but that doesn’t mean we don’t celebrate Halloween. On the contrary. I think they miss those days even more than I do. This year, their baby cousin requested that his big cousins join him trick-or-treating.
It’s the cutest thing watching this 3-year old boy (and his 1-year old brother) play with his teenage cousins like they are all toddlers.
And a Halloween can’t come by without me attempting another fun and cute Halloween dessert, despite having teenagers living at home. No cutesy cupcakes or silly cookies. Instead, I think this fun Jack Skellington Pie is perfect for kids of all ages.
Why this recipe is so awesome
One of my favorite desserts is pie probably because I absolutely adore fruit based desserts. So that means I can’t say no to apple pie, peach pie, strawberry pie or even a cherry pie.
But please don’t serve me a pie with that sugary canned fruit filling. For the best pie filling, I always use fresh fruit or frozen for my pie filling.
And this Balsamic Cherry Pie is no different. Although it is October and fresh cherries are hard to come by, I used frozen red cherries. Did you know that frozen fruits and vegetables hold their nutritional value as well as fresh?
They are usually flash frozen at the peak of freshness, making them perfect for pies when their fresh counterparts are out of season.
And the other perk of using frozen cherries? I don’t have to pit all 2-pounds of them! Yes, it’s a lazy perk, but a perk no less. I added balsamic vinegar to the mix as it added a wonderful sweet and sour element to the filling. I have also made this pie with a little rosemary, too, and it is quite heavenly.
But do note, for some pies, fresh fruit is the preferred choice. For example, strawberry and raspberry pie is best using fresh fruit because it stays firm. Their thawed counterparts turn to mush, and so will your pie.
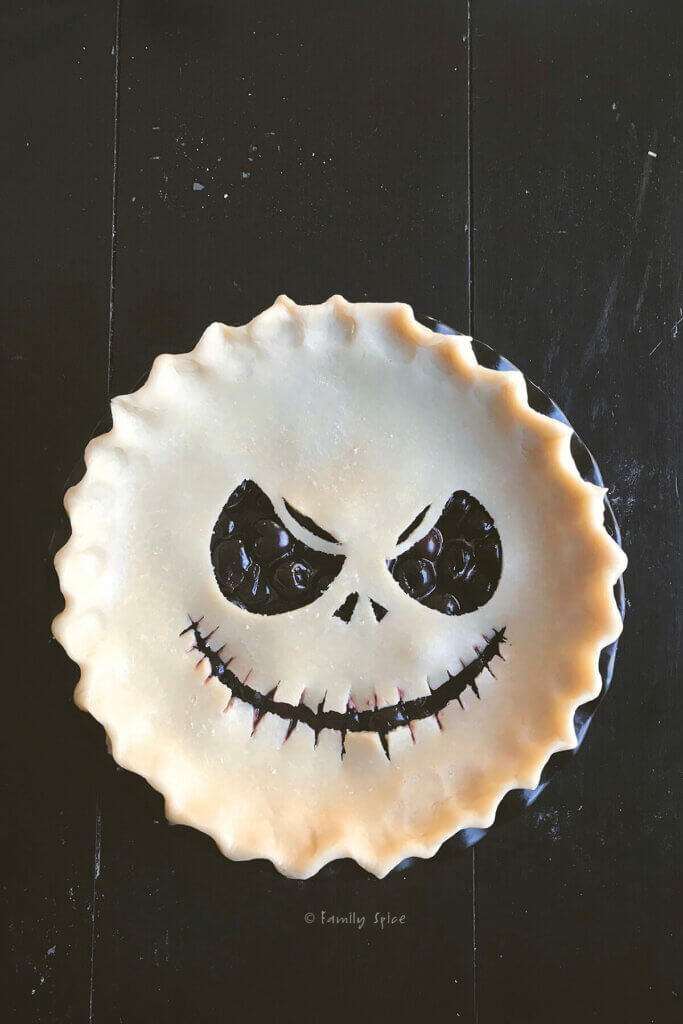
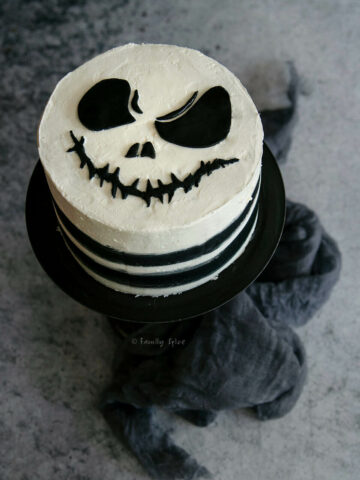
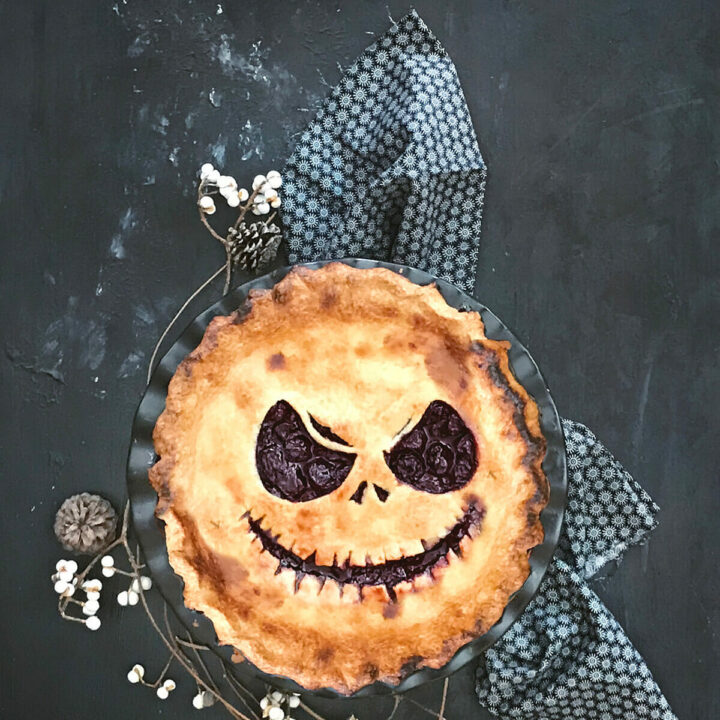
And of course, let’s not forget what makes this halloween pie, well, unforgettable. It’s all about the top of the pie: Jack Skellington’s face. And with the red pie filling oozing out of the edges, well, it’s plenty spooky for season!
Ingredients you need
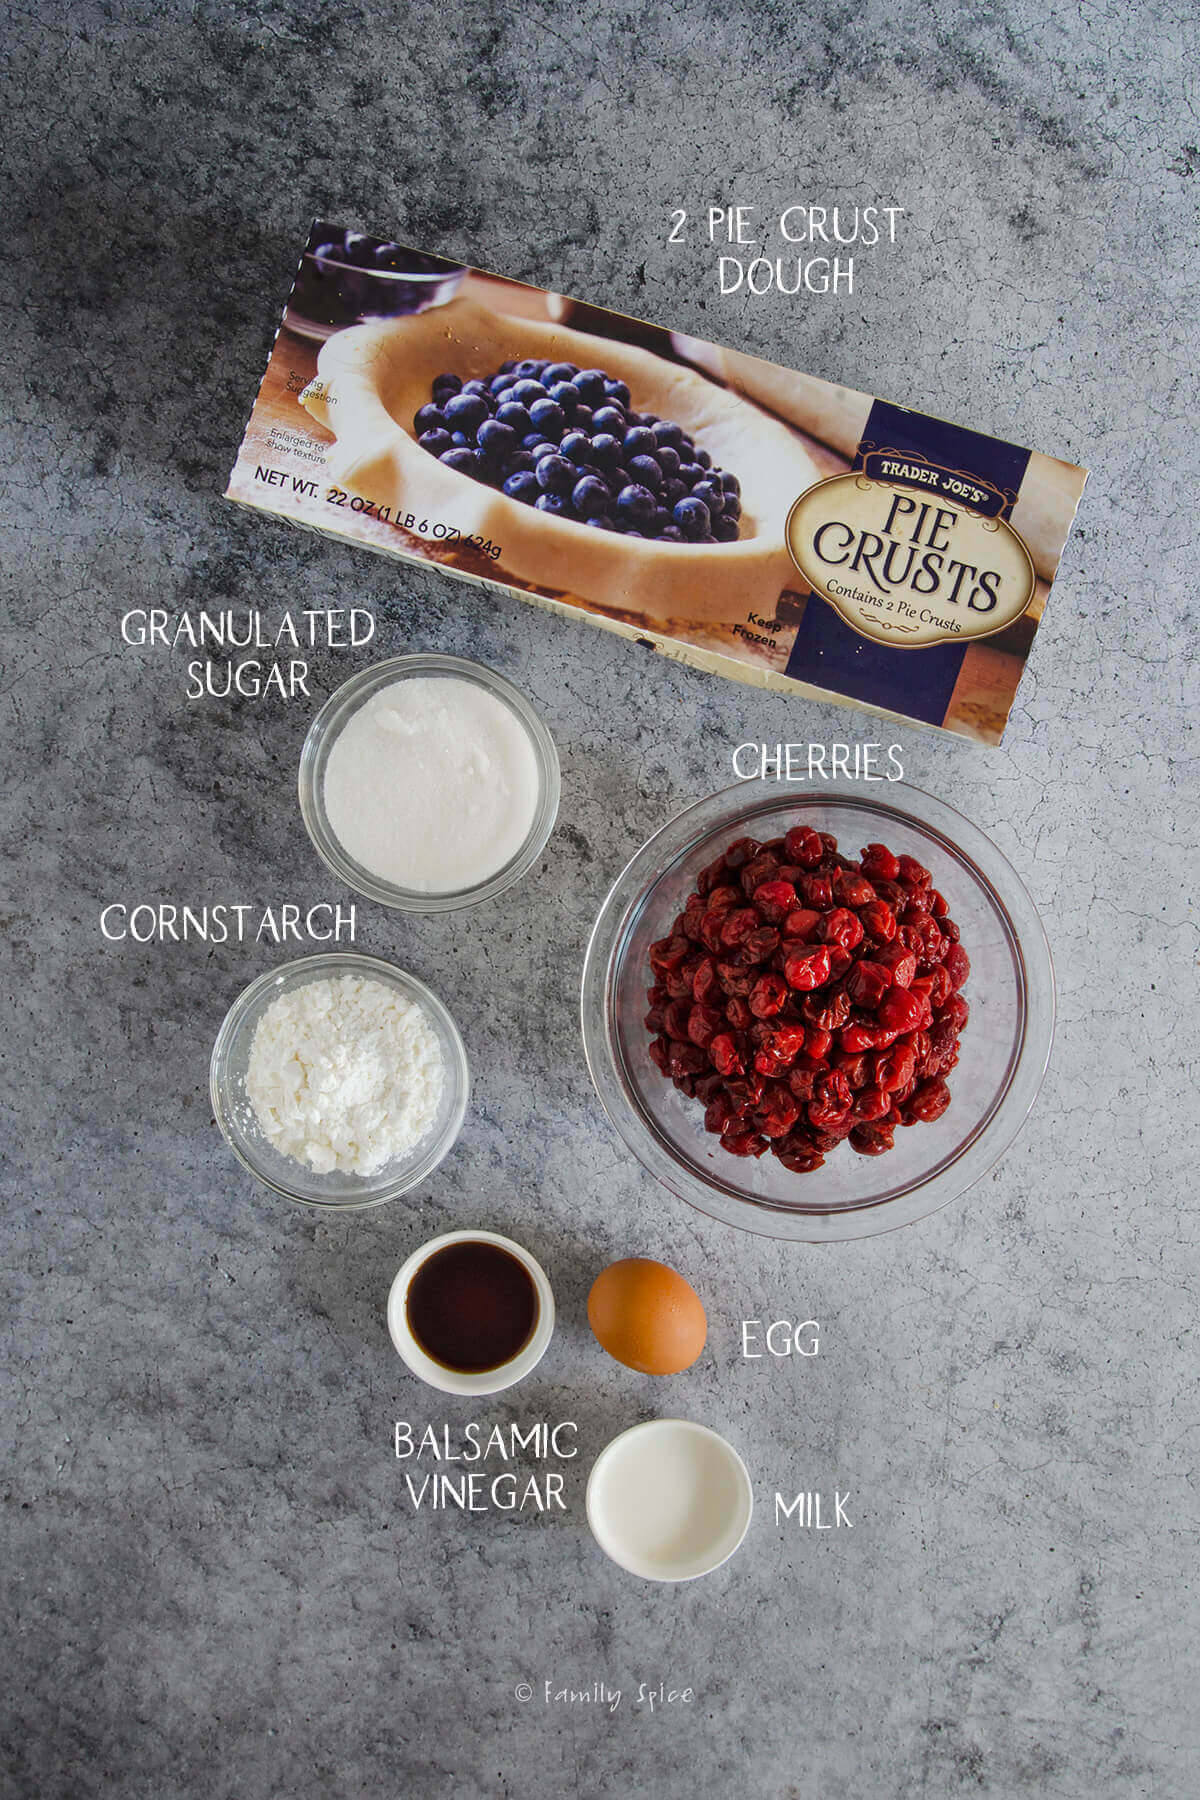
- Cherries: You can use fresh or frozen cherries for this pie. You could also use blueberries.
- Pantry staples: Granulated sugar, cornstarch
- Balsamic vinegar: Try to use a thick and syrupy balsamic vinegar. You can use a plain version or flavored. There are a variety of infused balsamic vinegars like vinegar, cherry, blueberry and many others.
- Egg wash: For a shiny crust you will need egg and milk.
- Sanding sugar: This is optional and used to sprinkle over the top of the crust.
- Pie crust doughs: The pie crust I used for this pie was my olive oil crust recipe from my cookbook. But I have also made a homemade butter pie crust and refrigerated pie crust. They all work great with the Jack Skellington template. So feel free to choose your favorite pie crust recipe.
This post contains some affiliate links for your convenience (which means if you make a purchase after clicking a link I will earn a small commission but it won’t cost you a penny more)! Read my full disclosure policy
Step-by-step directions
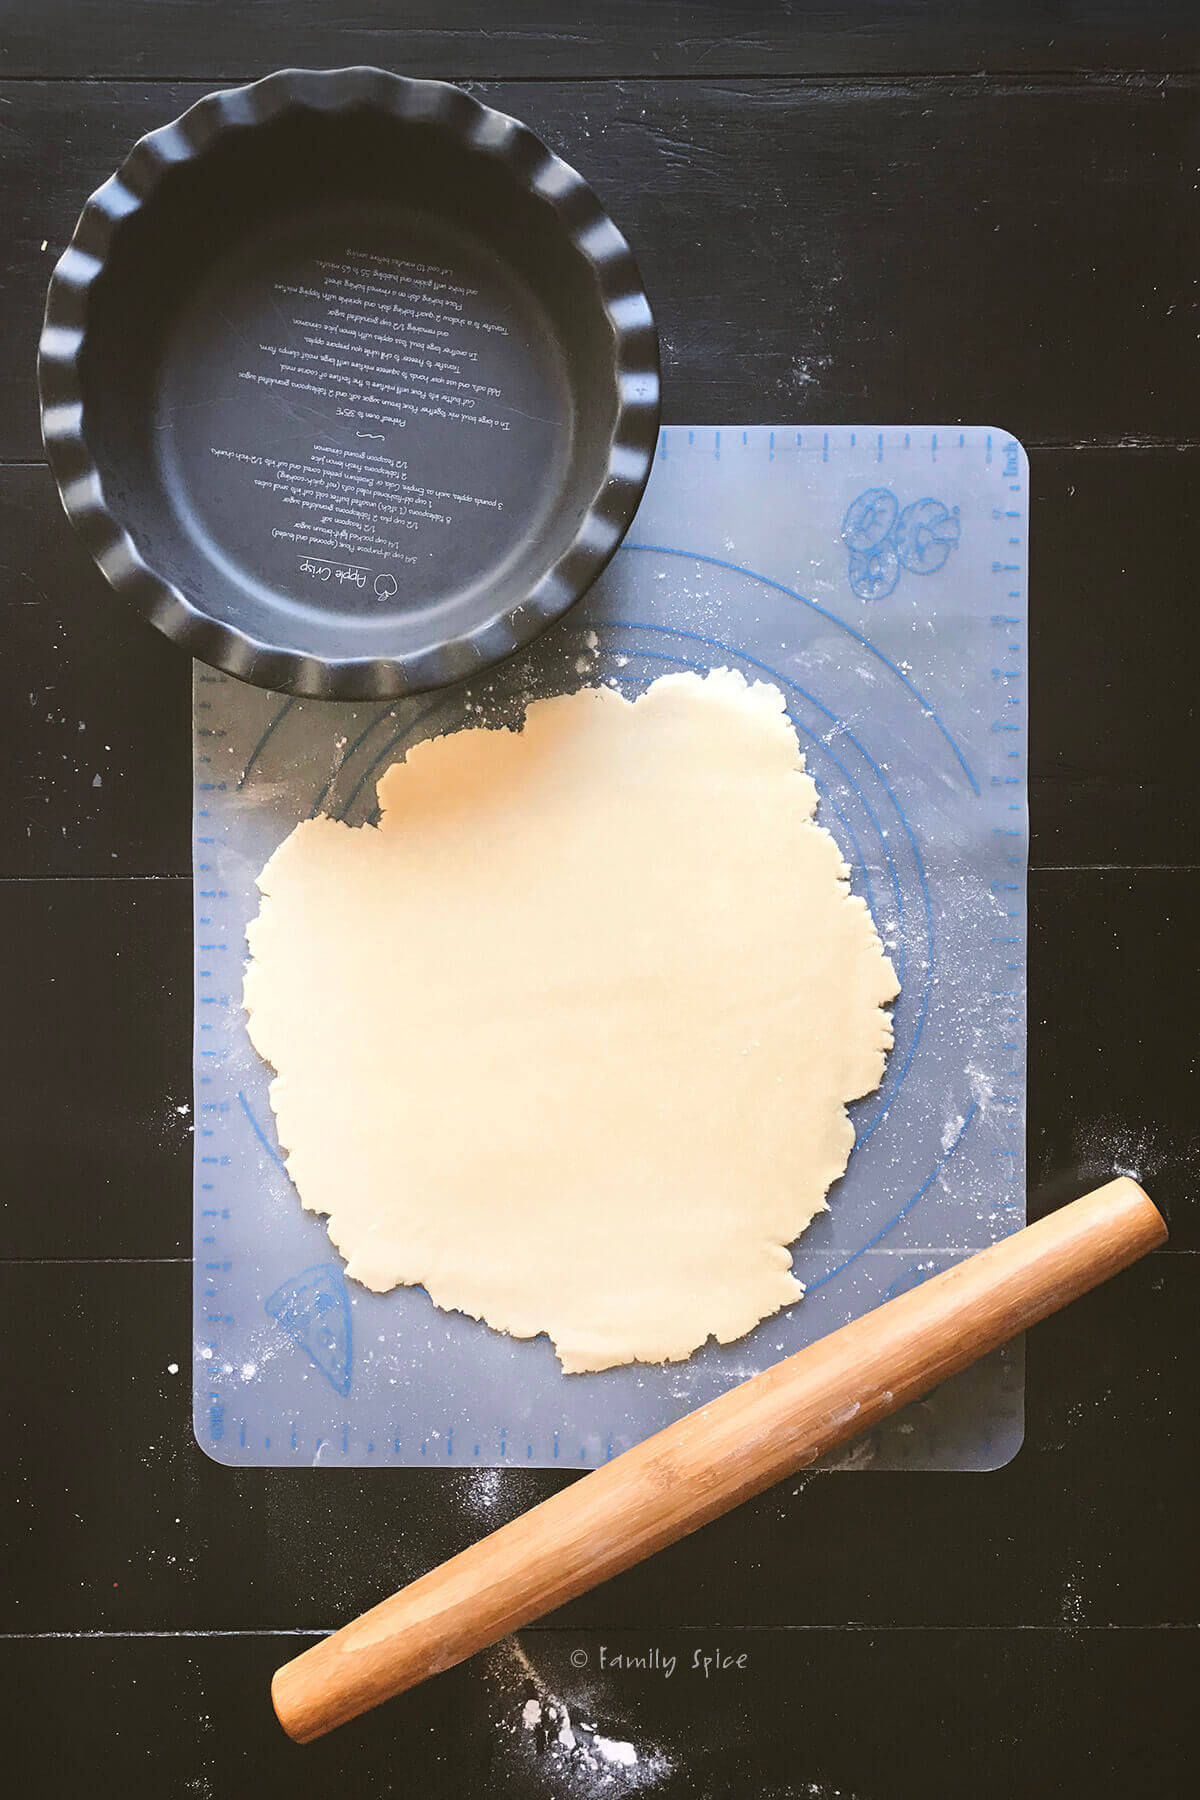
1. Prepare homemade pie dough or remove store bought from refrigerator and unwrap. You want a 12-inch circle. Carefully place one dough into a 9×2 inch pie plate. Gently press dough into place with your fingers.
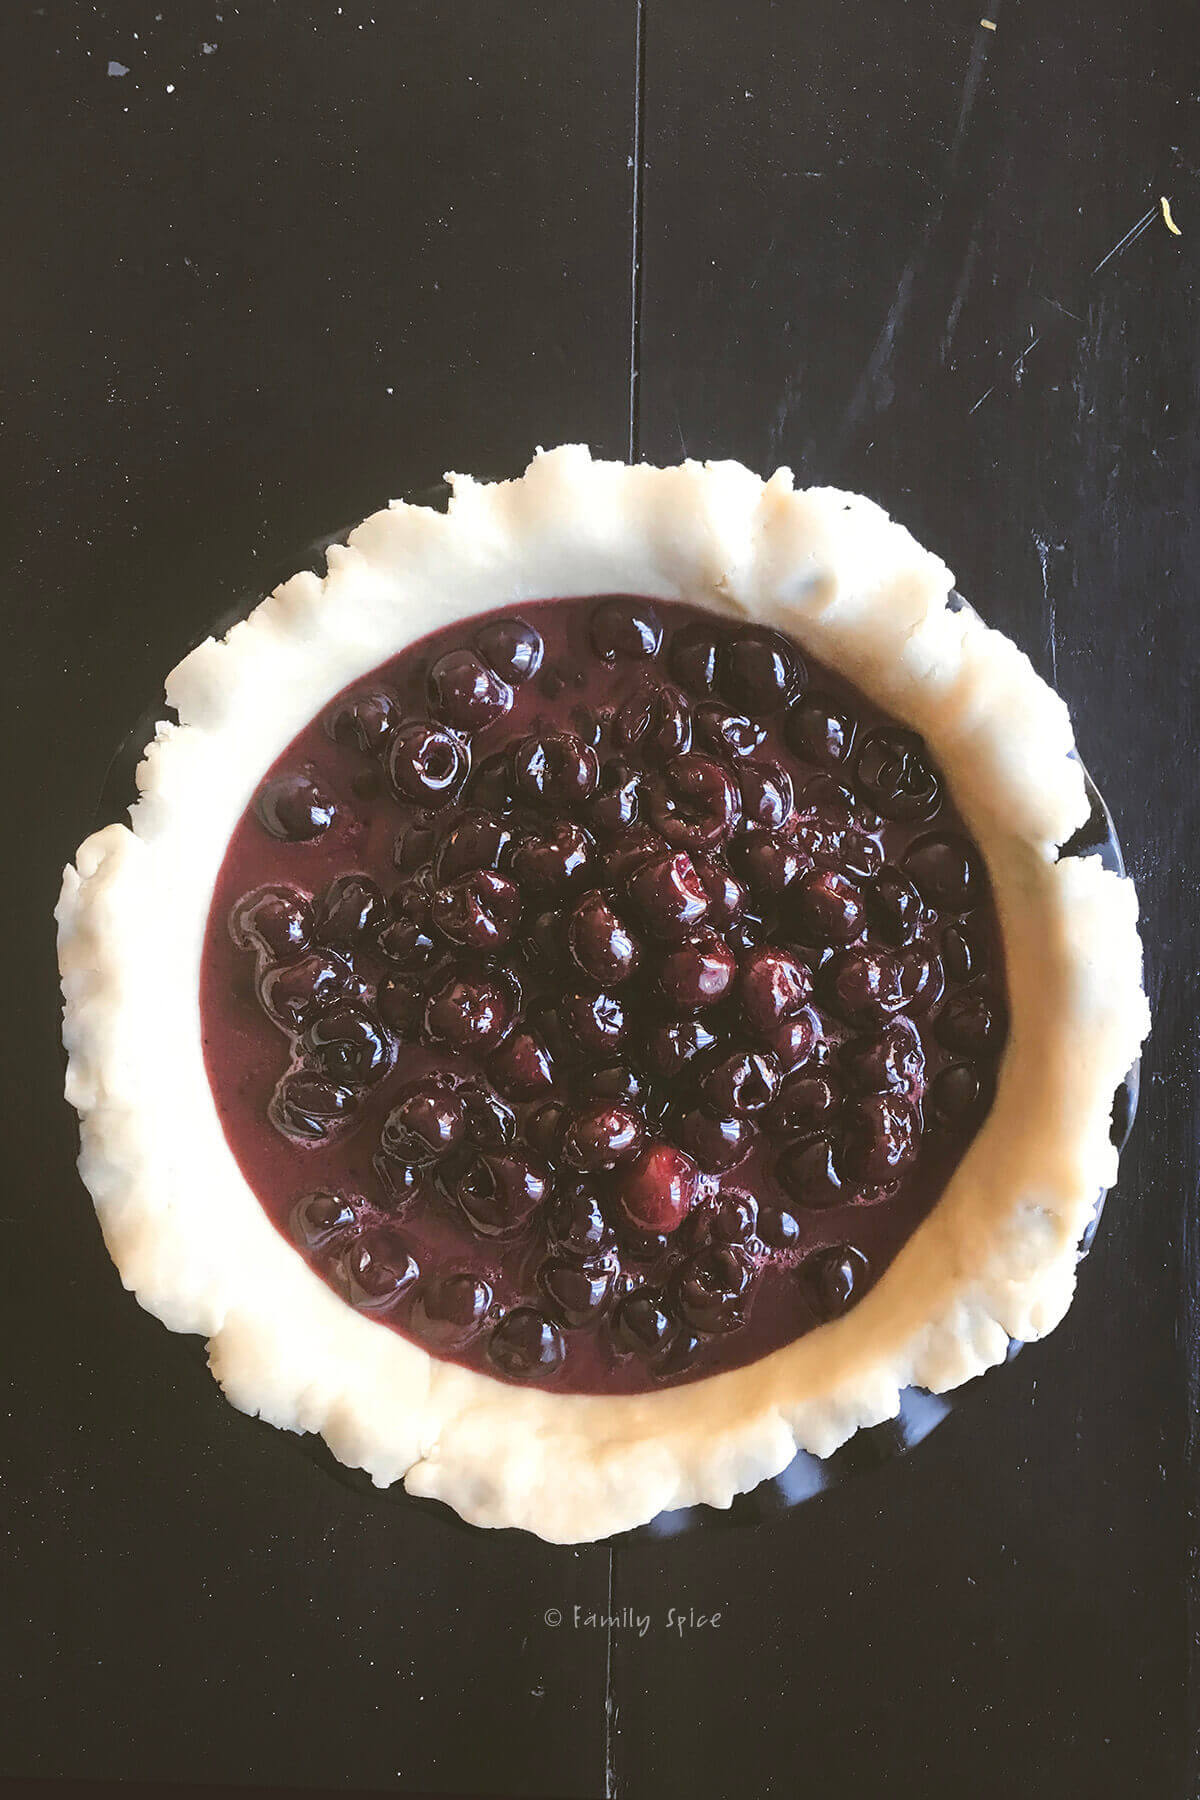
2. In a bowl combine cherries, sugar, vinegar and cornstarch and stir until combined. Pour the filling into the crust, including the juices.
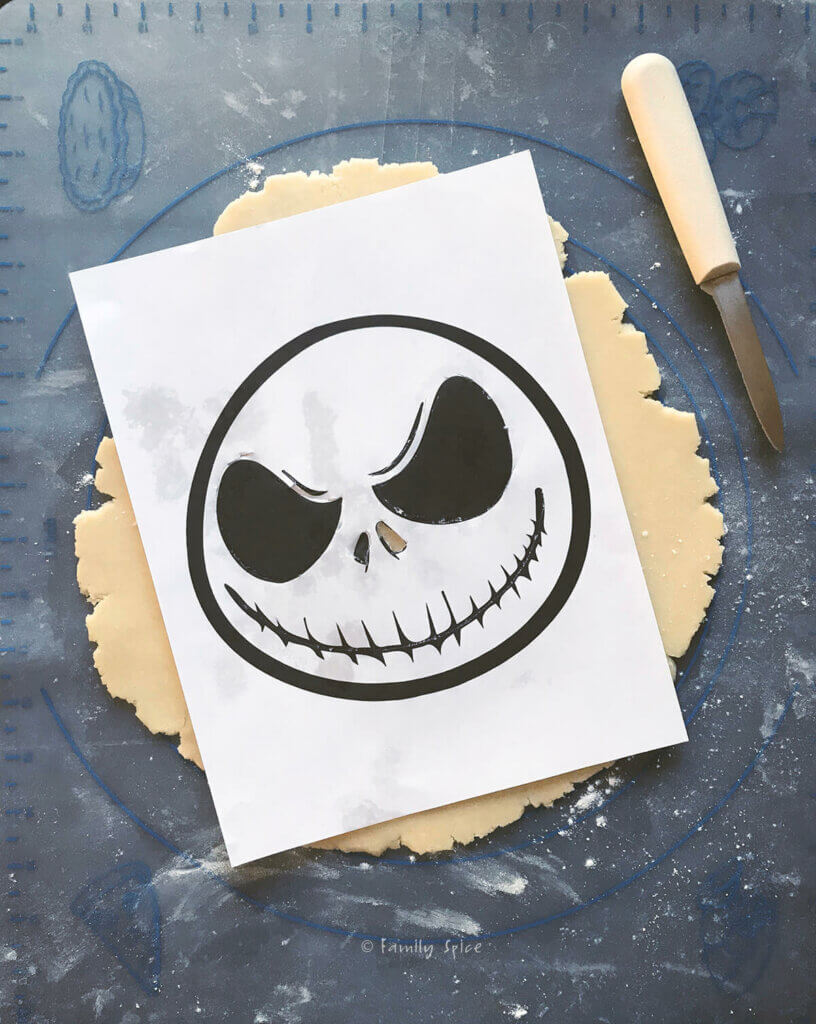
3. Place the second pie dough onto a well floured surface, preferable a silicone rolling mat. Place the Jack Skeleton template in the center of the dough.
I found the Jack Skellington image online and resized it so it would fit perfectly in my 9-inch pie crust. You can find the template here. Remember that you will have a mirror image as you trace and outline the template onto your pie crust. For this face, I wasn’t too concerned about this.
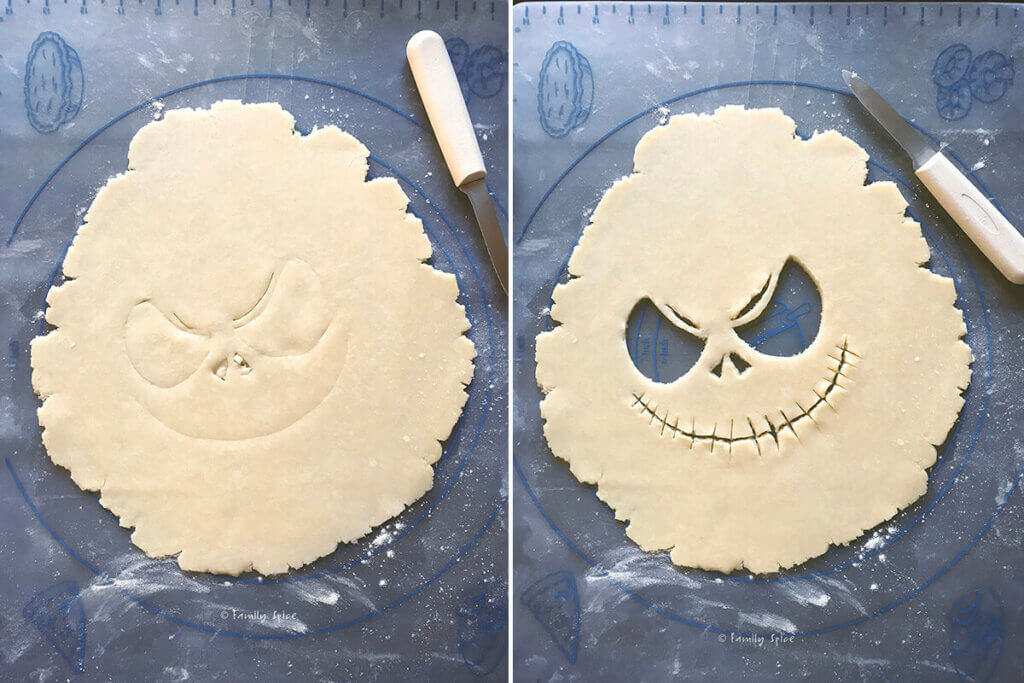
4. Using the tip of a knife, trace the face onto the dough. Remove the paper template and use your knife to cut out the eyes and nose. Cut out the slits for the eye brows and mouth.
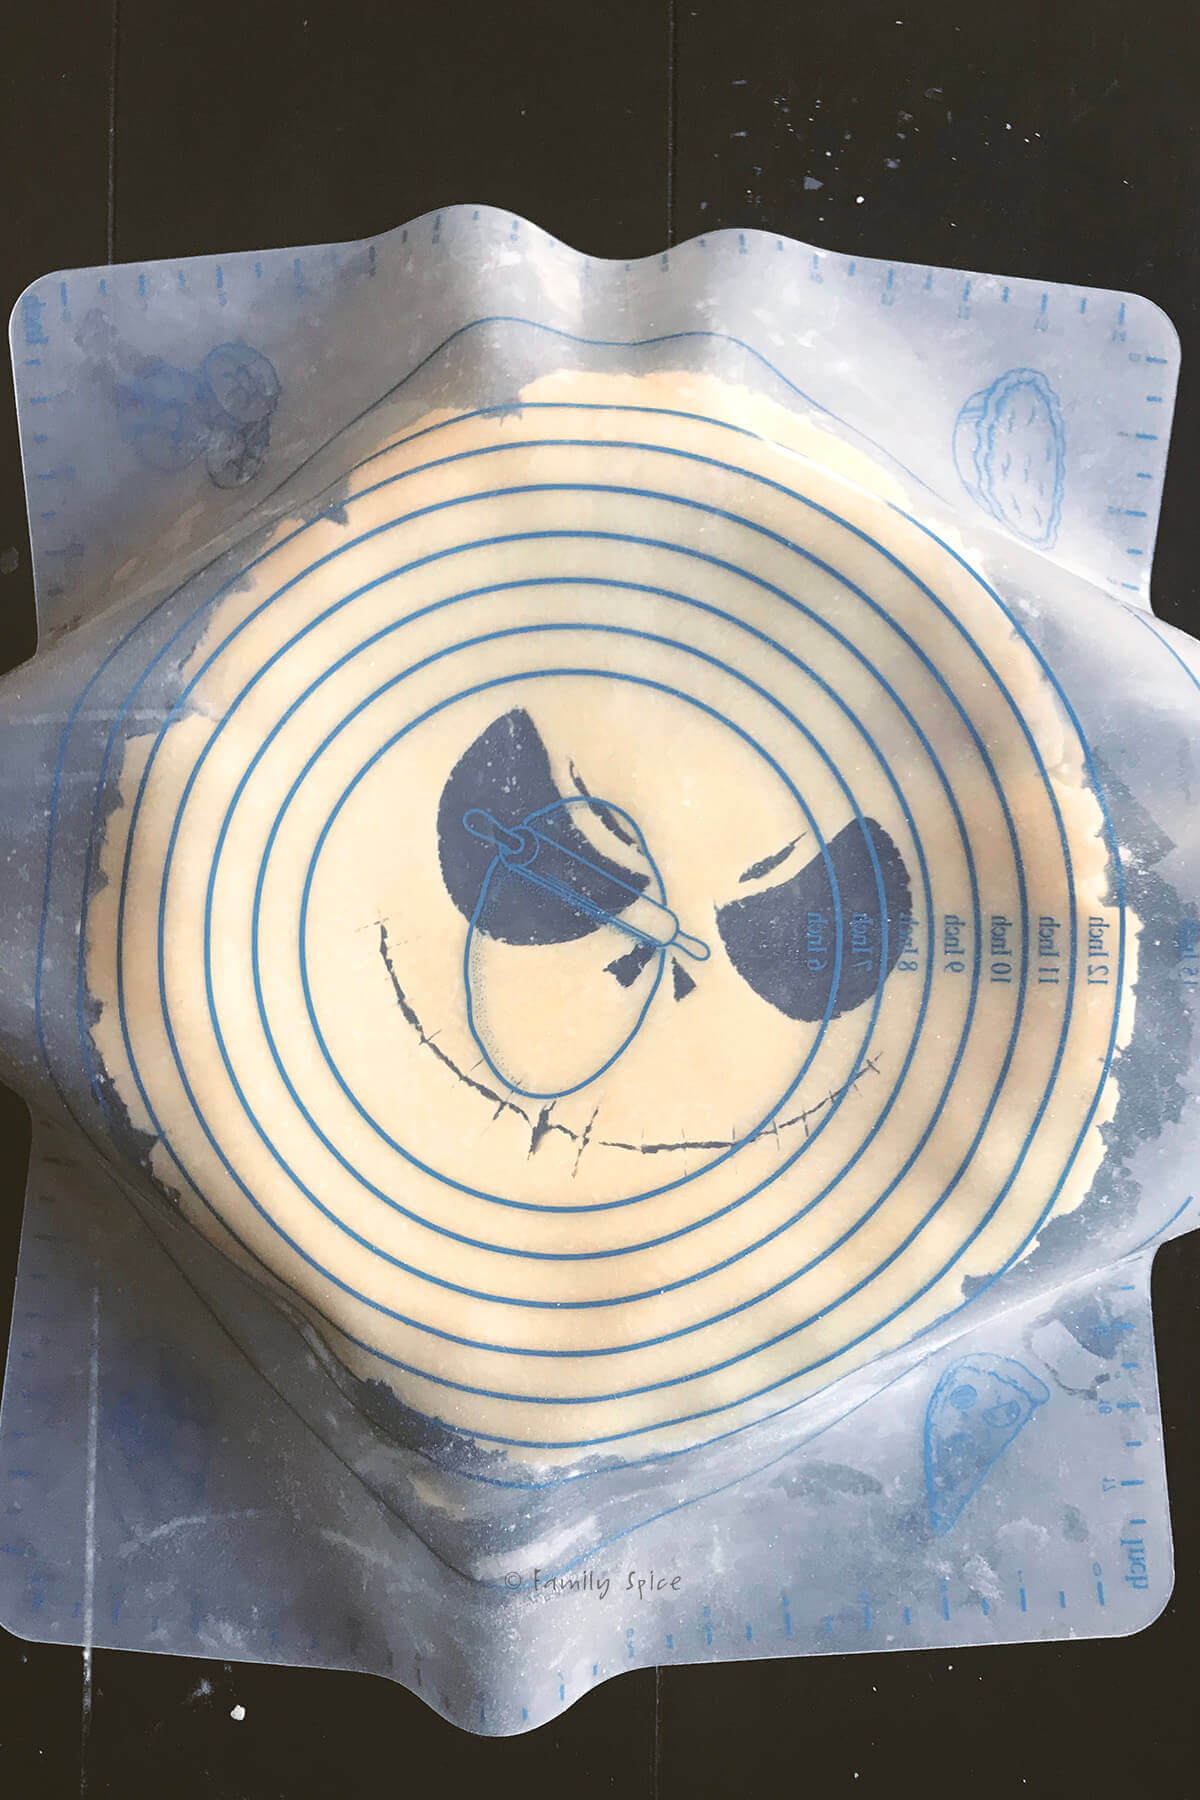
5. Gently flip the pie crust over and gently place it over the pie filling, making sure the face is resting in the center of the pie. Slowly peel the silicone mat off.
6. Using a small pairing knife, trim off any excess pie dough overhanging the pie dish. Press the edges of the two pie crusts together to seal. Use the tip of the knife to separate the slits more and accentuate the mouth and eye brows.
Fold the ends of the pie crust underneath itself to create a thick edging. To create the scalloped edge press the dough edge between the knuckle of your left hand into the thumb and forefinger of your right.
7. In a small bowl whisk together egg and milk to create the egg wash. Lightly brush the top of the pie crust with the egg wash. Sprinkle the top with sanding sugar, if using. I used regular granulated sugar, but the bigger sanding sugar crystals are ideal. Next time I’ll get it right!
8. Place the pie onto a large baking sheet and bake at 400°F/204°C. for 20 minutes. Then reduce the temperature to 375°F/190°C and bake for an additional 30-35 minutes.
9. Allow the pie to cool for 3 full hours on a cooling rack at room temperature before serving. This helps the cherry filling to cool and thicken up.
Expert tips and recipe FAQs
I won’t lie. Pie making is challenging. It’s right up there in difficulty with decorating cookies. But practice does help and I find it so relaxing and rewarding. More so than piping fancy icing decorations onto a sugar cookie!
But no one in my family seemed to notice or care about the imperfections of my pie edges!
Once the top pie crust is in position, just peel off the silicone mat and remove the excess pie crust. I pinched the two pie crusts together and then folded the edges underneath the pie to create a thick rim.
For the scalloped edges, I held the edge with my thumb and index finger of my left hand and pressed the dough between them with the index finger of my right hand. There’s a great video tutorial showing you how to do it here.
If pie crust is browning too quickly, cover with pie crust shield or make one with foil. My edges were a little burnt, but my family didn’t mind and it added to the spookiness.
Even though this was the pie I ate to celebrate my birthday, I didn’t mind the spooky Jack Skellington pie crust. That’s what we get when we have October birthdays in my house, a halloween pie!
Just ask my daughter, who is also an October baby, about her halloween ice cream cake last year!
And yes, I include the juices in the pie. And no, the pie was not soggy. I had enough cornstarch in the pie to thicken the sweet syrup. And if you let it cool for a few hours, this halloween pie holds up incredibly well.
And of course, you can make this balsamic cherry pie any time of the year and not just for halloween. For a non-themed pie, I like the lattice top.
Bon Appétit and Happy Halloween!

If you are enjoying my recipes, please sign up for my newsletter and get my free 28-day meal plan! You can also follow me on Instagram or Facebook.
Halloween Pie: Balsamic Cherry Pie
This Jack Skellington Pie is a fun and spooky way to serve up a Halloween desert. This sweet and syrupy cherry balsamic pie will tantalize your taste buds!
Ingredients
- 2 lbs pitted cherries, fresh or frozen
- ¾ cup granulated sugar
- 3 TBS balsamic vinegar
- ⅓ cup cornstarch
- 1 large egg
- 1 TBS milk
- Sanding sugar for sprinkling on crust (optional)
- 2 pie crust doughs, homemade or store-bought
Instructions
- Preheat oven to 400°F/204°C.
- In a bowl combine cherries, sugar, vinegar and cornstarch and stir until combined. Set aside.
- Prepare homemade pie dough or remove store bought from refrigerator and unwrap. You want a 12-inch circle. Carefully place one dough into a 9x2 inch pie dish.
- Gently press dough into place with your fingers.
- Pour the filling into the crust, including the juices.
- Place the second pie dough onto a well floured surface, preferable a silicone pastry mat. Place the Jack Skeleton template in the center of the dough.
- Using the tip of a knife, trace the face onto the dough. Remove the paper template and use your knife to cut out the eyes and nose. Cut out the slits for the eye brows and mouth.
- Gently flip the pie crust over and gently place it over the pie filling, making sure the face is resting in the center of the pie. Slowly peel the silicone mat off.
- Using a small pairing knife, trim off any excess pie dough overhanging the pie dish. Press the edges of the two pie crusts together to seal.
- Fold the ends of the pie crust underneath itself to create a thick edging. Press with your fingers to create the scallop edge.
- Use the tip of a sharp pairing knife to separate the slits more and accentuate the mouth and eye brows.
- In a small bowl whisk together egg and milk to create the egg wash.
- Lightly brush the top of the pie crust with the egg wash. Sprinkle the top with sanding sugar, if using.
- Place the pie onto a large baking sheet and bake for 20 minutes.
- With the pie untouched and still in the oven, turn the temperature down to 375°F/190°C and bake for an additional 30-35 minutes.
- If pie crust is browning too quickly, cover with pie crust shield or make one with foil.
- Allow the pie to cool for 3 full hours on a cooling rack at room temperature before serving. This helps the cherry filling to cool and thicken up.
Notes
Serve alone or top with whipped cream or ice cream.
Nutritional information calculated with olive oil pie crust recipe from my cookbook, Cooking Techniques and Recipes with Olive Oil.
Nutrition Information:
Yield:
8Serving Size:
1 sliceAmount Per Serving: Calories: 714Total Fat: 32.3gSaturated Fat: 4.6gCholesterol: 0mgSodium: 294mgCarbohydrates: 103gFiber: 4.1gSugar: 48.2gProtein: 7.8g
PS If you try this recipe, why not leave a star rating in the recipe card right below and/or a review in the comment section further down the page? I always appreciate your feedback.
You can also follow me on Pinterest, Facebook or Instagram. Sign up for my eMail list, too!