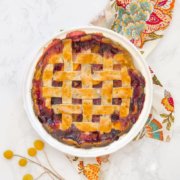
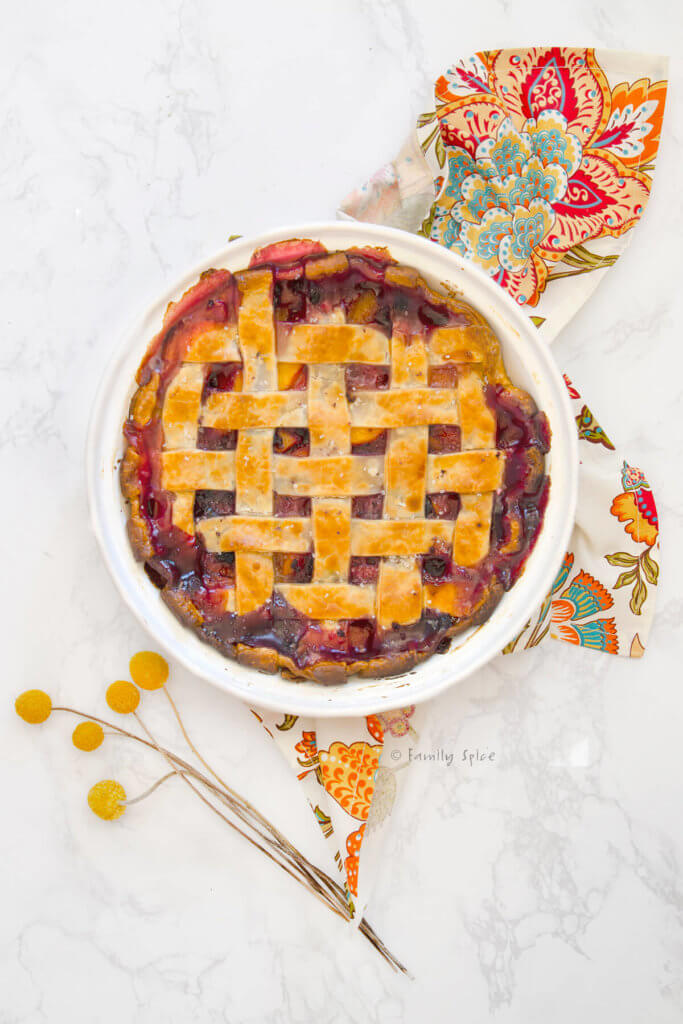
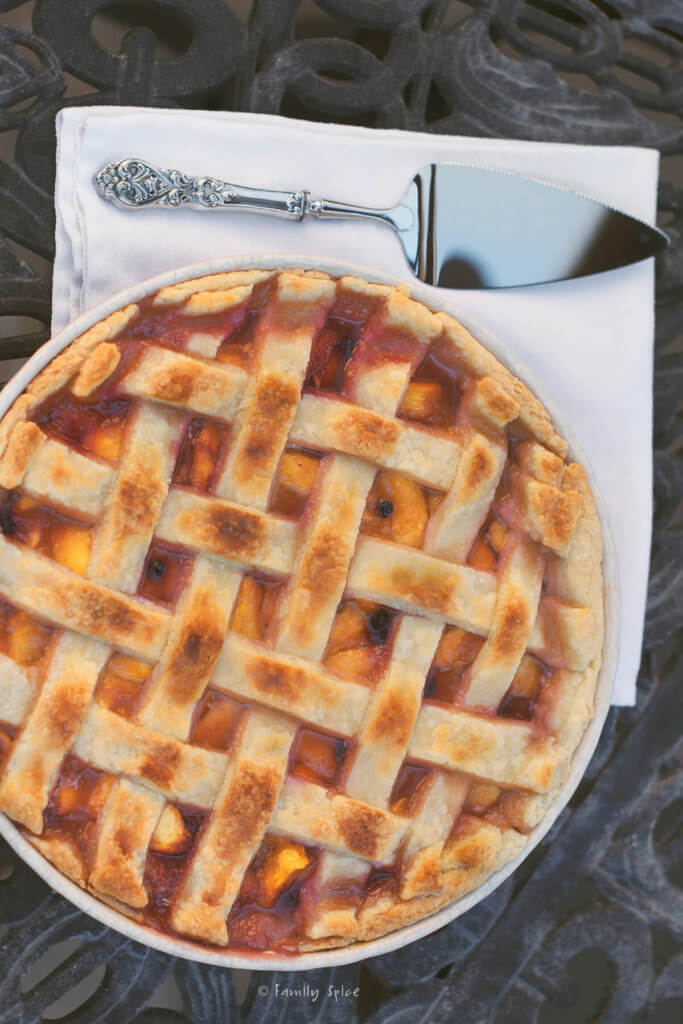
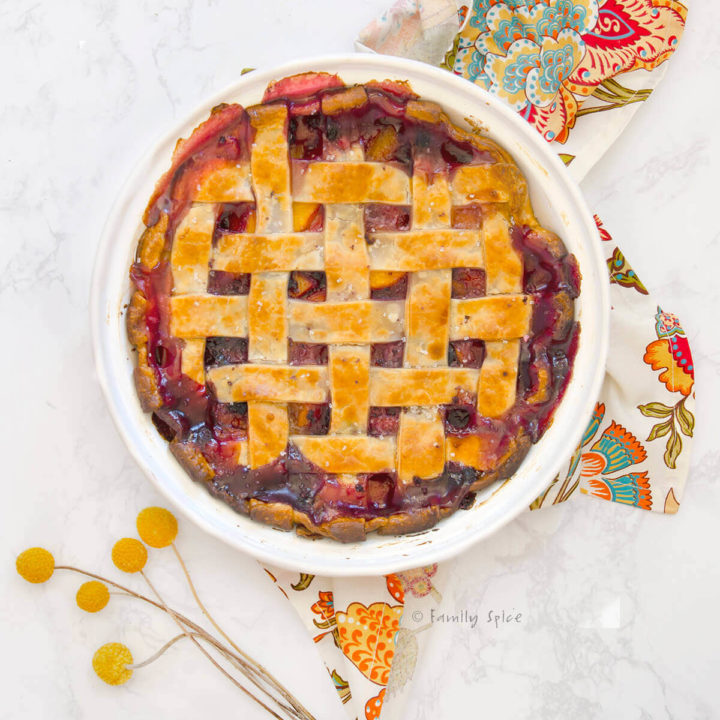
This homemade blueberry peach pie with lattice top is a delicious twist from the classic peach pie. Serve it alone or top with vanilla ice cream or a dollap of whipped cream.
There truly is nothing more perfect than a fruit pie. If I had to choose just one dessert to satisfy me for the rest of my life, it would be the fruit pie. From cherry pie to apple pie, there’s a beautiful and glorious fruit pie for every season.
It is a fabulous way to highlight seasonal fruit, especially if you have a fruit tree that has produced a bumper crop for you!
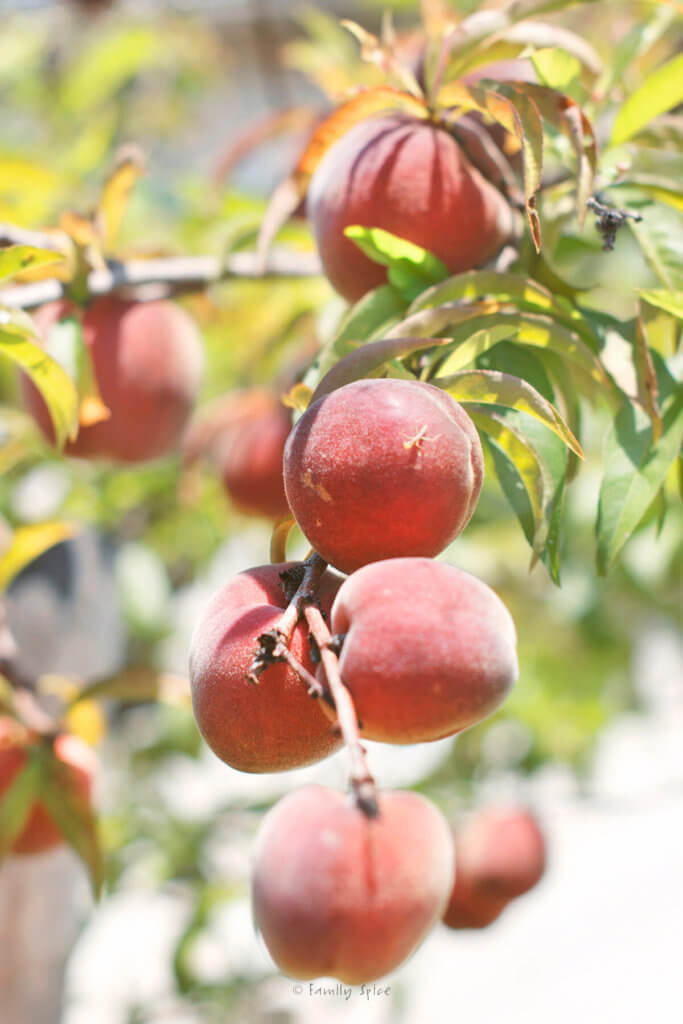
My very good friend, Karin, has a glorious peach tree. Every year, her trusted tree blooms and bears bushels and bushels of deliciously sweet peaches… in early spring! Peaches are synonymous for summer, but Karin’s tree has a mind of its own.
Luckily for me, she was kind enough to invite me over and make us a pie!
Why this recipes is so awesome
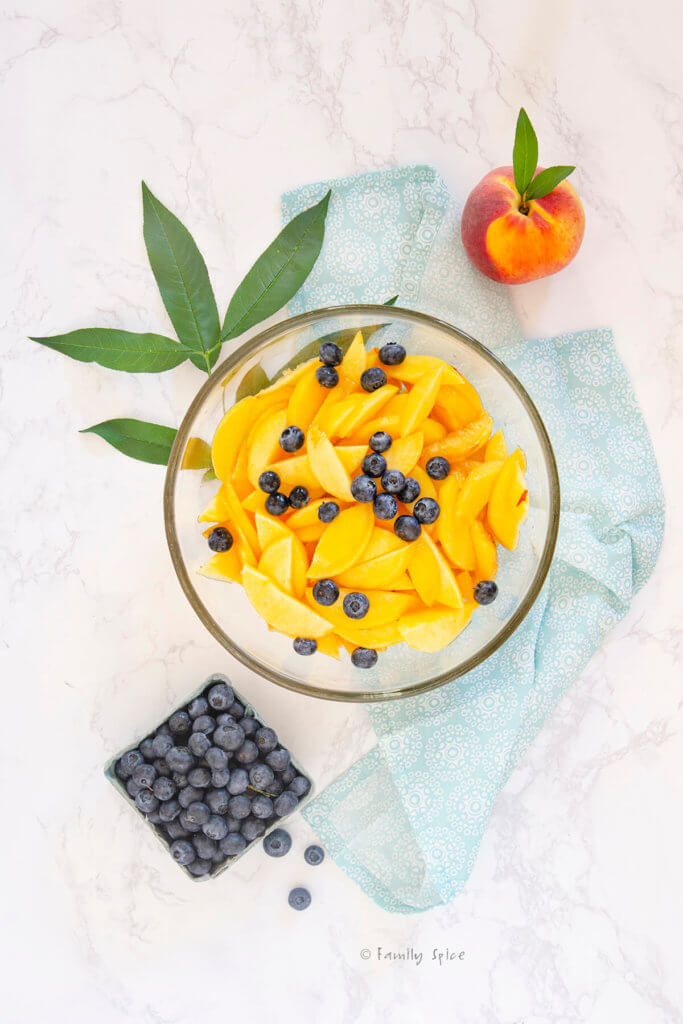
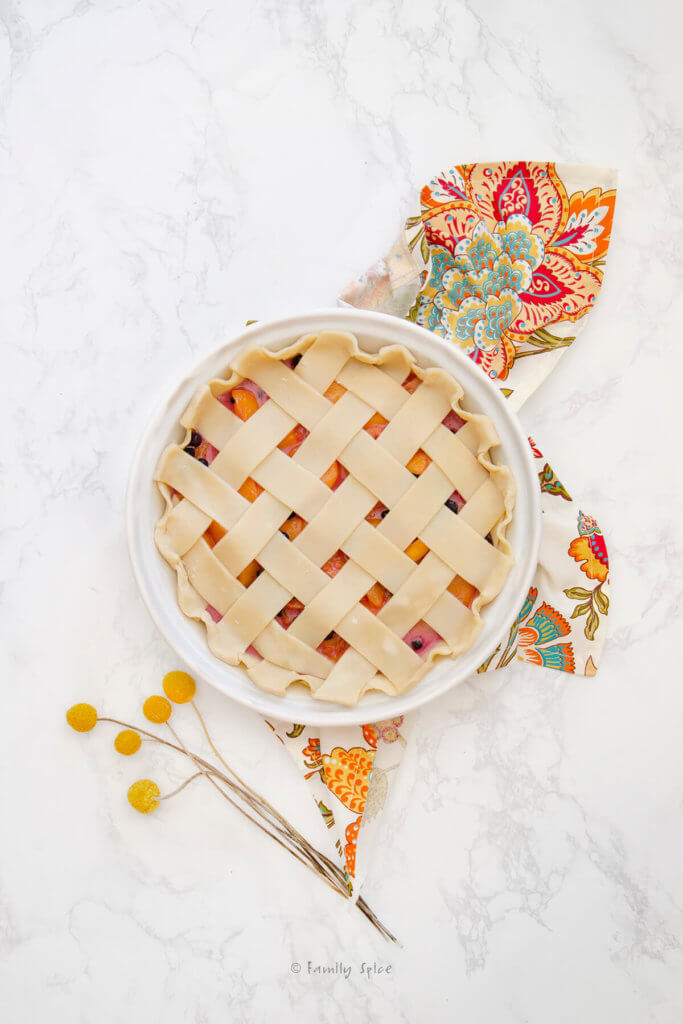
One of my favorite fruit combinations in the most perfect dessert: a homemade peach blueberry pie with the classic lattice top. It is such a happy looking pie, with it’s brilliantly bright orange peaches.
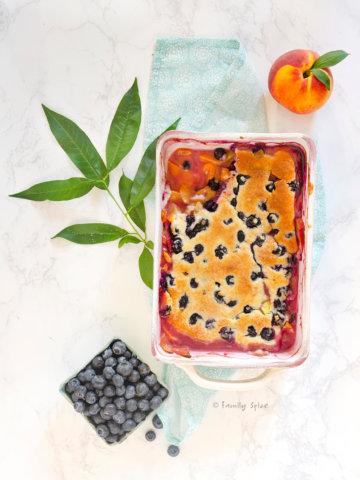
And the blueberries baked in the pie give you this gorgeous magenta syrup. Peaches and blueberries make a wonderful combination. I even bake them together in a blueberry peach cobbler.
It is a fabulous way to celebrate summer and the beautiful fruit that is in season. Pies can be dressed up or kept casual, perfect for barbecues, picnics, dinner parties or just a way to unwind after a family dinner.
Have I convinced you to go on? How can you resist?
Ingredients you need
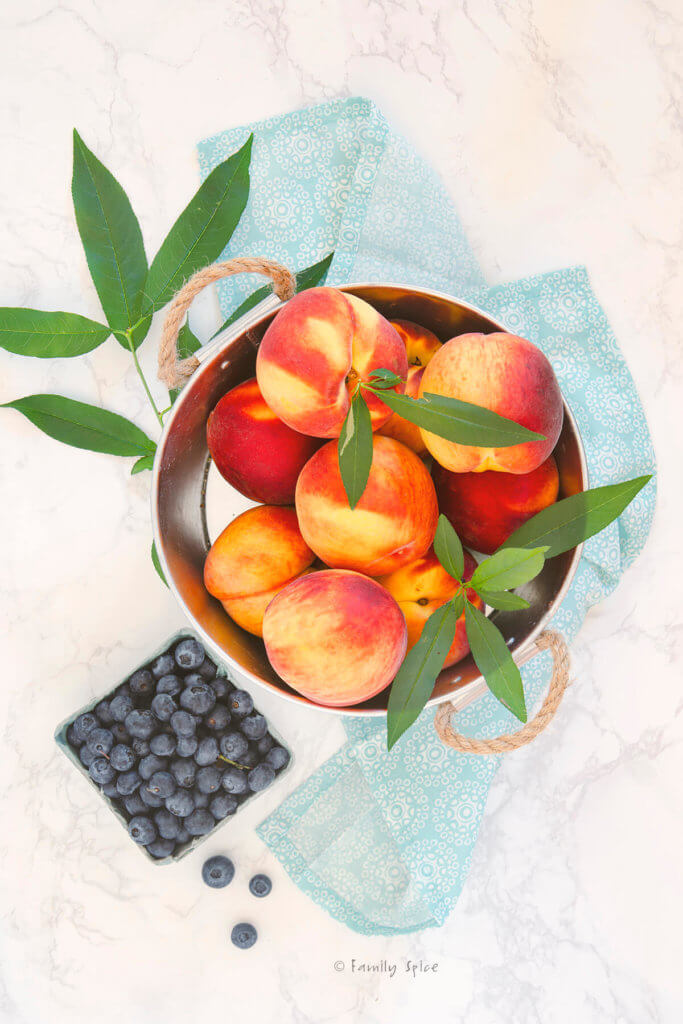
- Peaches: I prefer to use fresh peaches, but you can use frozen peaches. If using frozen, be sure to thaw them first and strain out the extra juices. For fresh peaches, they do need to be peeled first.
- Blueberries: I also prefer to use fresh blueberries, but of course, you can also use frozen. Again, if using frozen be sure to thaw and strain out the extra juices.
- Granulated sugar: To sweeten this pie, I prefer to use granulated sugar.
- Lemon juice: Lemon juice is used to keep the peaches from oxidizing.
- Cornstarch: To thicken the juice syrup, I prefer to use cornstarch. You can use all purpose flour, but you will need more of it.
- Egg wash: I whisk egg and milk together to make an egg wash to brush on the pie crust. You can also substitute the milk with water.
- Sanding sugar: You can sprinkle your pie crust with granulated or larger sugar crystals like sanding sugar.
- 2 pie crust doughs: You can use homemade or store-bought pie dough.
Step-by-step directions
1. In a bowl combine peaches, blueberries, sugar, lemon juice and cornstarch and stir until combined. Set aside.
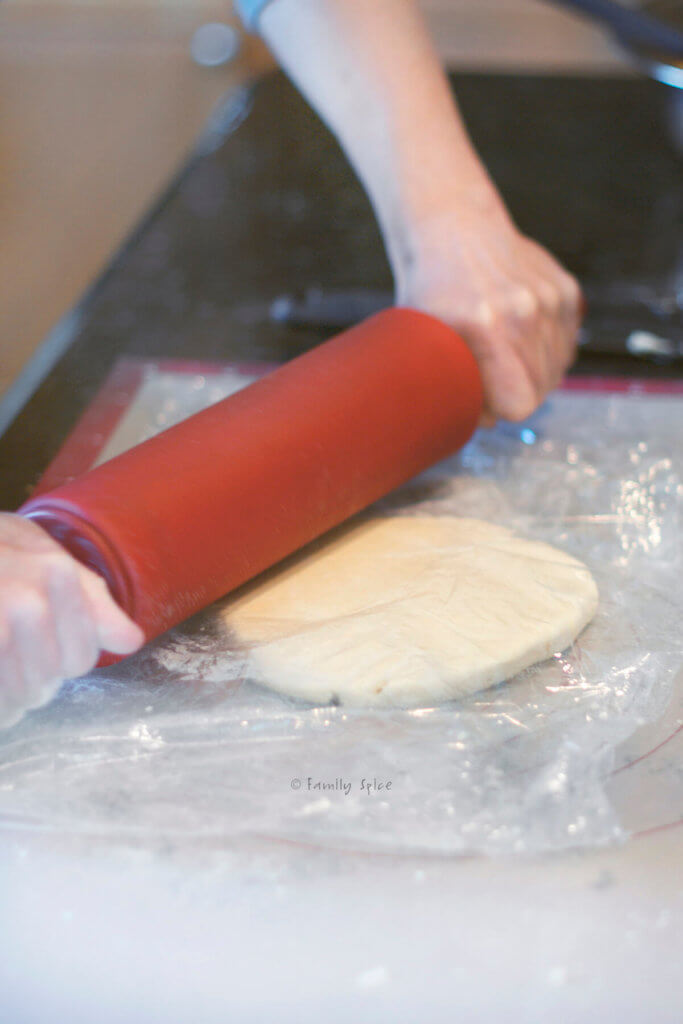
2. You will need enough dough for two pie crusts. The first should be placed in the pie plate with the peach filling poured right in. Roll each dough until you have a 12-inch circle.
3. Carefully place one circle into a 9×2 inch pie dish. Gently press dough into place with your fingers.
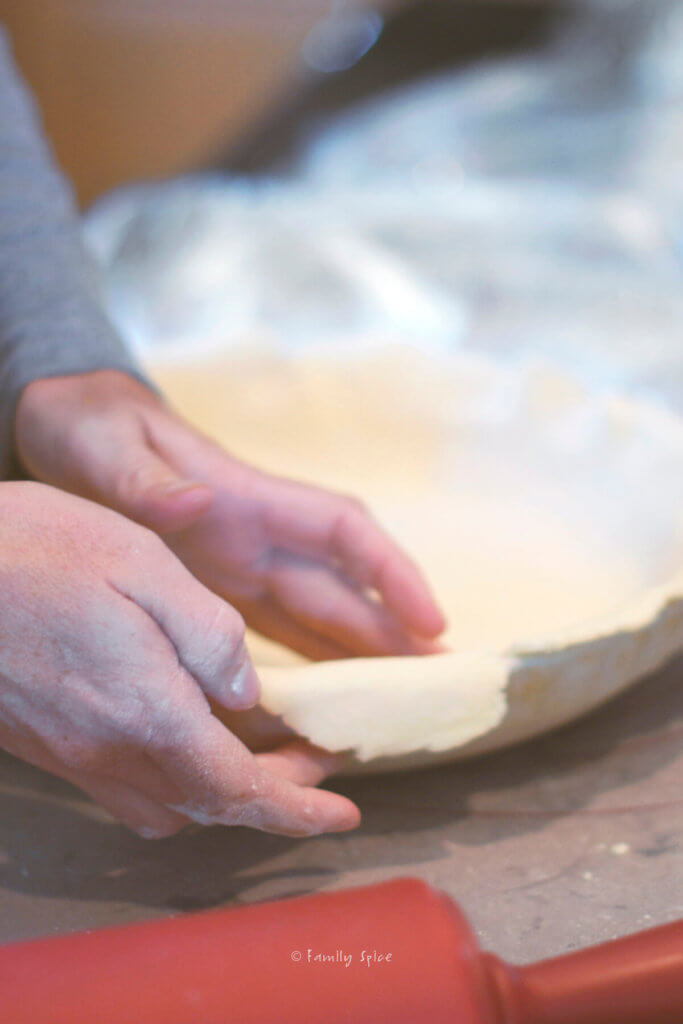
4. Fold the dough edges under itself, cutting off any really long pieces. This makes the edges a bit thicker. Don’t worry about crimping the edges of the pie as we do that step last.

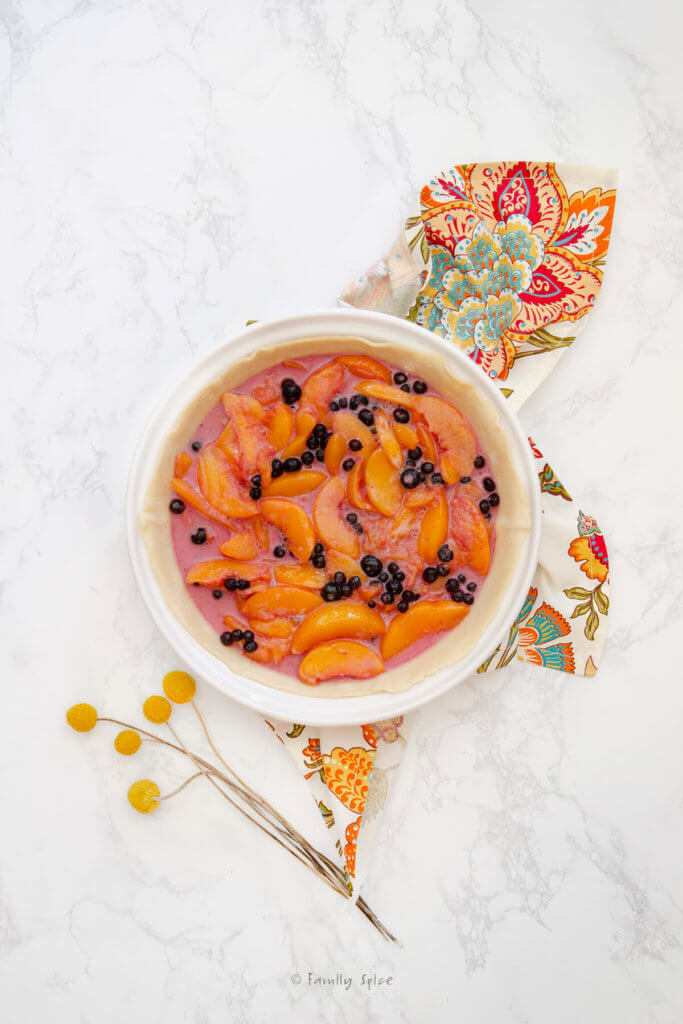
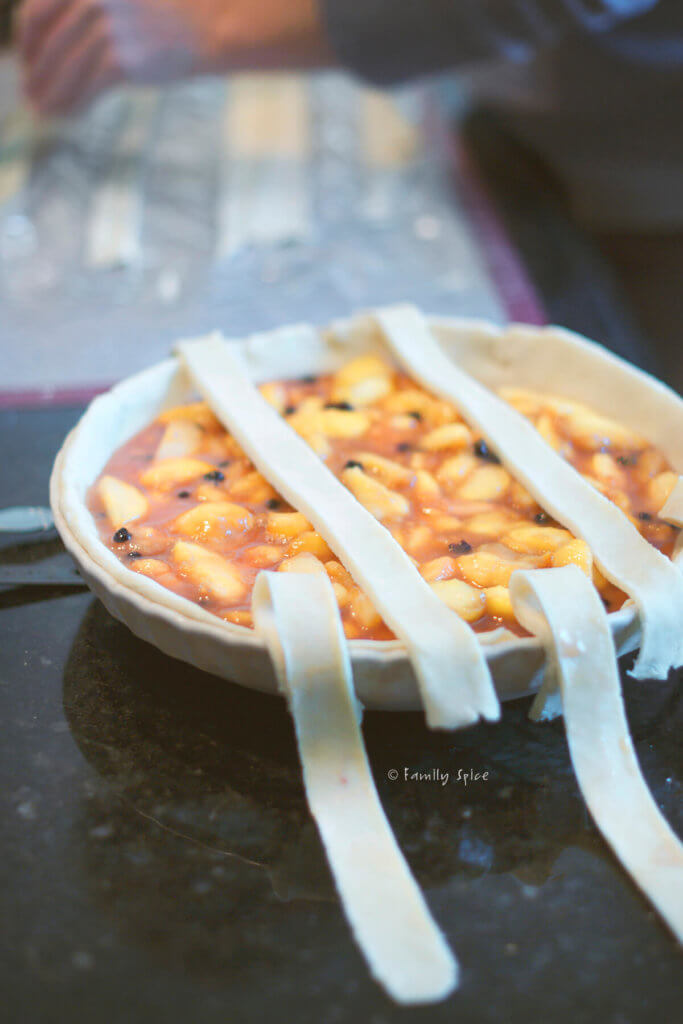
5. Pour the peach filling into the pie shell.
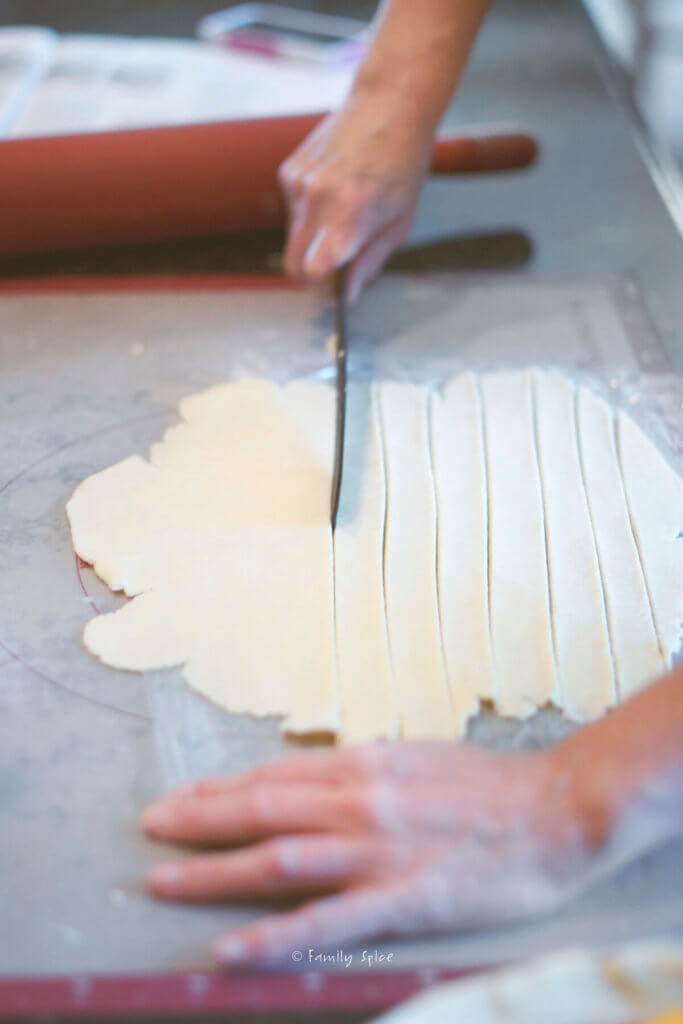
6. To make the lattice top, roll out your second pie dough onto a lightly floured surface to ⅛ inch thickness. Using a sharp knife, pizza or pastry cutter, cut 1 inch strips.
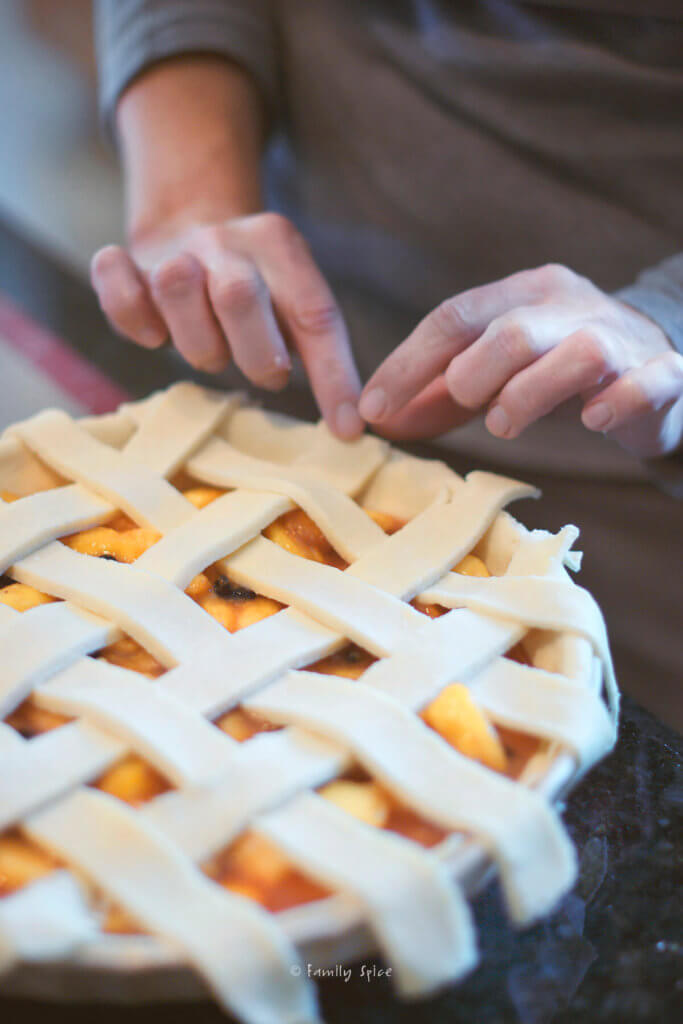
7. Lay half of the pastry strips across the top of pie filling, leaving space between each strips. I left about an inch between each strips because I really love seeing the magenta filling between the lattice strips.
8. Lift and roll back alternating lattice strips (pictured above). Lay down another lattice strip in the opposite direction (90-degrees across), letting it lay over the strips already lying over the pie, but under the strips that have been lifted (pictured below).
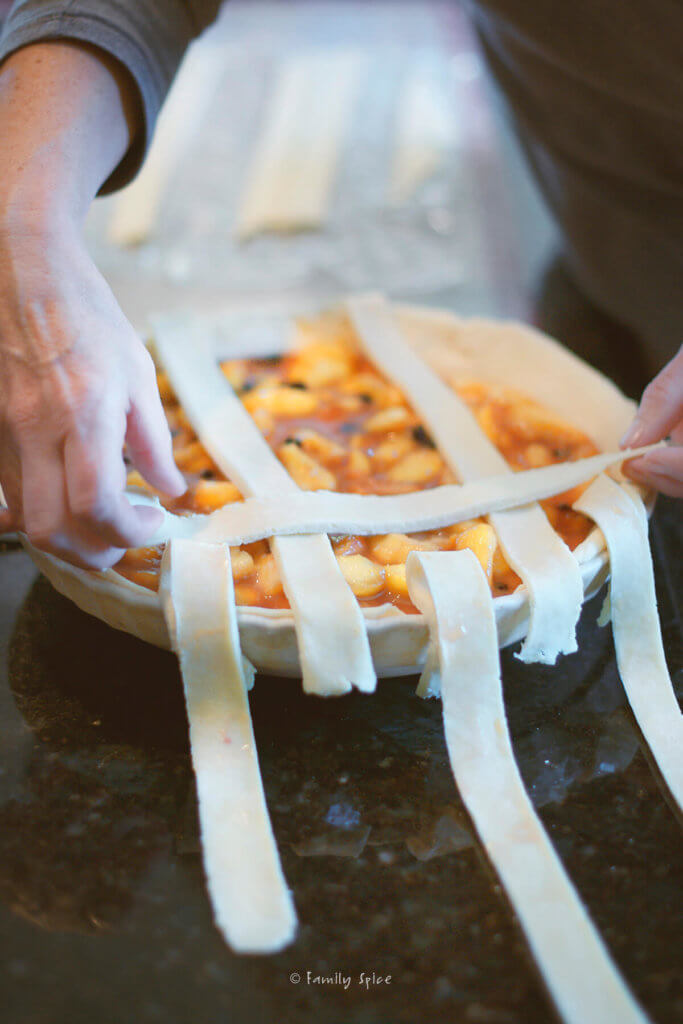
9. Return the lifted strips back to their original position, then lift the other pie strips that remained in place. Place another strip of pie crust down in the opposite direction and return the lifted pie strips back across the pie.
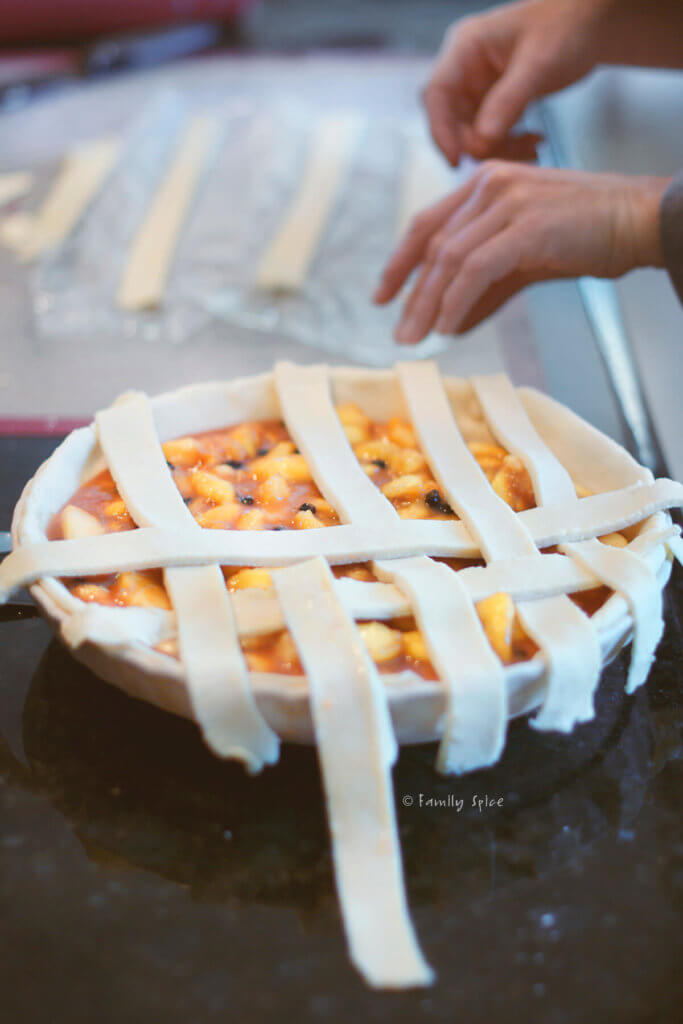
You will continue lifting alternate pie strips and laying down strips across the pie until all of your pie strips are used up and your lattice top is finished. This is how you make the beautiful weave pattern we all love on our fruit pies.
10. For me, this is the easiest part of the pie making process. What always makes me sweat bullets is crimping the edges!! But before that, you will need to cut off ends of lattice hanging over and gently press edges of lattice into rim of pie dish.
You can also fold part of the lattice strip underneath the base pie dough. Or, you can use a fork to crimp the edges or use your fingers to create a scallop edge.
11. For the scalloped edges, I held the edge with my thumb and index finger of my left hand and pressed the dough between them with the index finger of my right hand. There’s a great video tutorial showing you how to do it here.
How to get a shiny pie crust
Your pie is ready to be baked now BUT FIRST – let’s talk about the final touches on your pie crust. If you bake the pie as it is, you will still have a delicious pie, but the crust will look… dry. To get that shiny look we all recognize on the pie crust, you will need an egg wash.
An egg wash is 1 well-beaten egg mixed in with 1-tablespoon of water. You can add more water if you want to lighten the golden color of your pie crust. Substitute milk or cream for water in your egg wash and you will have a shinier pie crust. Martha Stewart shows you how the different washes look after baking here.
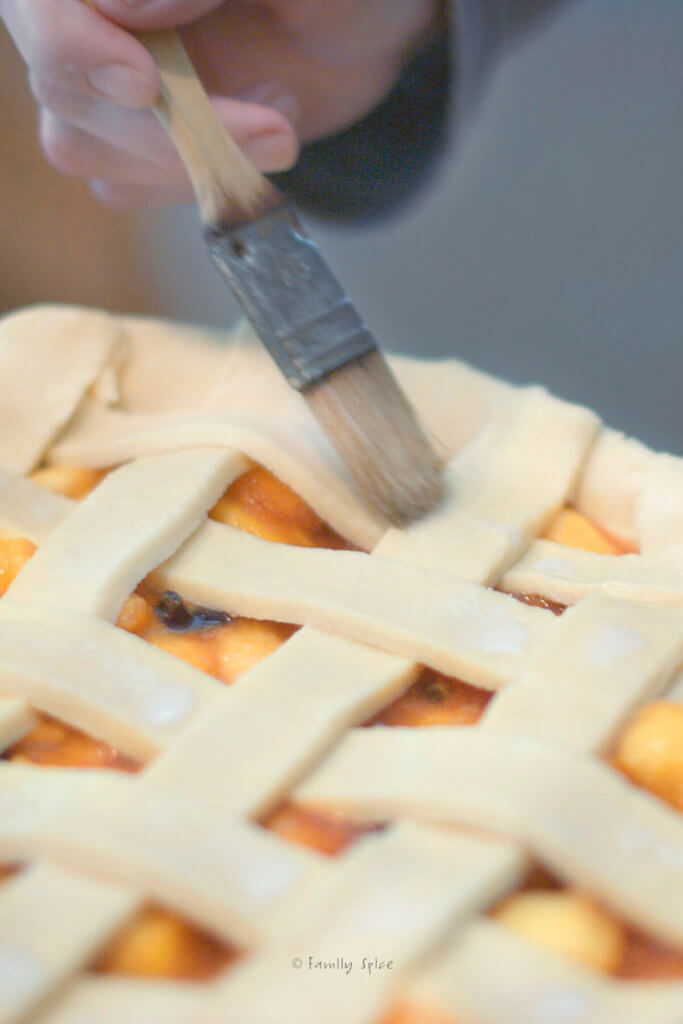
Simply whisk up your egg wash and use a pastry brush to apply it all over the pie crust: the lattice top as well as the edges of your pie crust.
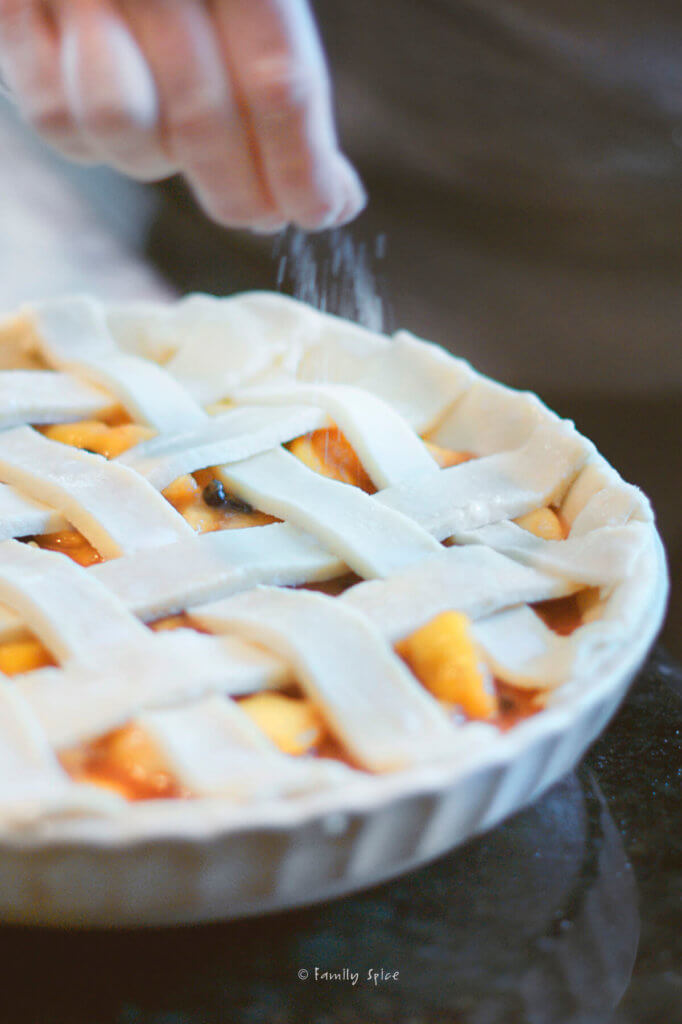
But wait, you can still dress up your pie even more before you bake it with a sprinkle sugar over after you brushed the egg wash. If you want the sugar to stick to the pie you do need to have some kind of wash on your pie crust to hold it in place. For some extra flavor, sprinkle a little cinnamon on top, too.
How not to burn your pie
This post contains some affiliate links for your convenience (which means if you make a purchase after clicking a link I will earn a small commission but it won’t cost you a penny more)! Read my full disclosure policy
Again, pie making is an art. You go through a lot of trouble to make a homemade fruit pie, so you want to be sure not to burn it! I have found that initially baking at 400°F/204°C for 20 minutes and then reducing it to 375°F/190°C for the remaining 30-40 minutes makes a crispy (and not burnt) pie.
Another trick to keeping your pie from burning is to not only check on it, but to also cover it if it is browning too quickly or unevenly. You can cover parts or the entire pie with aluminum foil, or use a pie crust shield and lay it over the pie, protecting crispy edges.
Even with all the many precautions you take, you may still end up with a messy looking pie. Personally, I love the splatters of the pie filling spilling out of the pie dish. It just shows how juicy and incredible the pie is going to be.
This isn’t apple pie, but a mouth watering and yes, very happy looking peach blueberry pie. Perfect with each and every imperfection.
If you have a hankering for more pie, you’ve got to check out my friend Jenni Field’s collection of old fashioned pie recipes here. You’ll definitely find a pie that will capture your heart!
Recipe tips and FAQs
I am not a fan of tasting sugar in my fruit pies. The fruit should be the shining star, and in this case that means your perfectly sweet peaches and blueberries. I use the minimum amount of sugar for my pie fillings.
In all honesty, I cannot stand the super teeth-cracking sweet pies you get at the supermarket. This pie filling is made with sliced peaches, blueberries, lemon juice, cornstarch and only ⅓-cup of sugar. Feel free to add more sugar, but I do strongly suggest that you cut back – at least once.
Fresh peaches are always the first choice for pie filling, but I have found that frozen peaches works just as well, too. If you are using frozen fruit, thaw it completely first and discard (or drink up) the excess liquid. Do not use canned peaches, as they are poached in sugar and are way too sweet for a homemade pie.
Well this is a loaded question. If you are beginner and are totally afraid to make pie dough from scratch, then by all means get the refrigerated pie dough. My friend Beth at OMG Yummy has written a great piece answering all the many questions you might have in making homemade pie dough. Once you make a few homemade pies, you will get the hang of it and get better at it.
I am a fan of both butter based pie dough and of course, olive oil based pie dough (which is in my olive oil cookbook). They each have their pros and cons and I alternate between these varieties and even store-bought refrigerated dough. Don’t be scared of using extra virgin olive oil. My recipe does produce a fabulous and flaky pie.
If you are still intimidated with homemade pies, I strongly suggest starting off with a galette recipe. It is a rustic pie that is much easier to assemble than the traditional pie. I have recipes for a chocolate raspberry galette, apricot thyme galette and a whole wheat apple cranberry galette to get you started on your pie making journey.
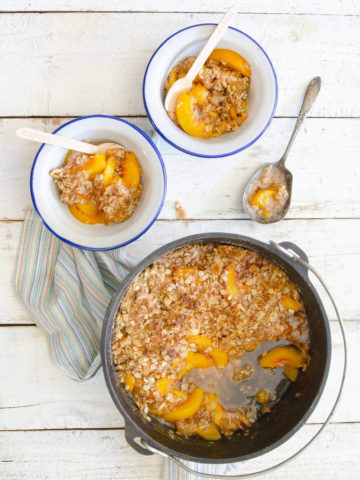
I recommend using a serrated peeler because it grabs the edges of the peach skin beautifully. Ripe peaches are also easier to peel so look for firm yet ripe peaches to use in this peach crisp. Once you get a corner pulled up, it easily separates from the rest of the fruit. Some people blanch their peaches in hot water, like you do for tomatoes, to help remove the peel. Choose whichever method works better for you.


If you are enjoying my recipes, please sign up for my newsletter and get my free 28-day meal plan! You can also follow me on Instagram or Facebook.
Homemade Blueberry Peach Pie
This homemade blueberry peach pie with lattice top is a delicious twist from the classic peach pie. Serve it alone or top with vanilla ice cream or a dollap of whipped cream.
Ingredients
- 3 lbs fresh peaches, peeled and cut into thin wedges
- 8 oz fresh blueberries
- ⅓ cup granulated sugar
- 2 TBS lemon juice
- 2 TBS cornstarch
- 1 large egg
- 1 TBS milk
- Sanding sugar for sprinkling on crust (optional)
- 2 pie crust doughs, homemade or store-bought
Instructions
- Preheat oven to 400°F/204°C.
- In a bowl combine peaches, blueberries, sugar, lemon juice and cornstarch and stir until combined. Set aside.
- Prepare homemade pie dough or remove store bought from refrigerator and unwrap. You want a 12-inch circle. Carefully place one dough into a 9x2 inch pie dish.
- Gently press dough into place with your fingers.
- Pour the filling into the crust, including the juices.
- Roll out second pie crust onto a floured work surface and cut into ½-inch or 1-inch strips.
- Weave strips over filling in a lattice pattern. Read post for detailed instructions.
- Wrap and press strip ends into bottom pastry.
- In a small bowl whisk together egg and milk to create the egg wash.
- Lightly brush the top of the pie crust with the egg wash. Sprinkle the top with sanding sugar, if using.
- Place the pie in the oven and bake for 20 minutes.
- With the pie untouched and still in the oven, turn the temperature down to 375°F/190°C and bake for an additional 30-35 minutes.
- If pie crust is browning too quickly, cover with pie crust shield or make one with foil.
- Allow the pie to cool for 3 full hours on a cooling rack at room temperature before serving. This helps the cherry filling to cool and thicken up.
Notes
Serve alone or top with whipped cream or ice cream.
Nutrition Information:
Yield:
8Serving Size:
1 sliceAmount Per Serving: Calories: 389Total Fat: 16gSaturated Fat: 6gTrans Fat: 0gUnsaturated Fat: 8gCholesterol: 23mgSodium: 245mgCarbohydrates: 61gFiber: 4gSugar: 26gProtein: 4g
PS If you try this recipe, why not leave a star rating in the recipe card right below and/or a review in the comment section further down the page? I always appreciate your feedback.
You can also follow me on Pinterest, Facebook or Instagram. Sign up for my eMail list, too!