
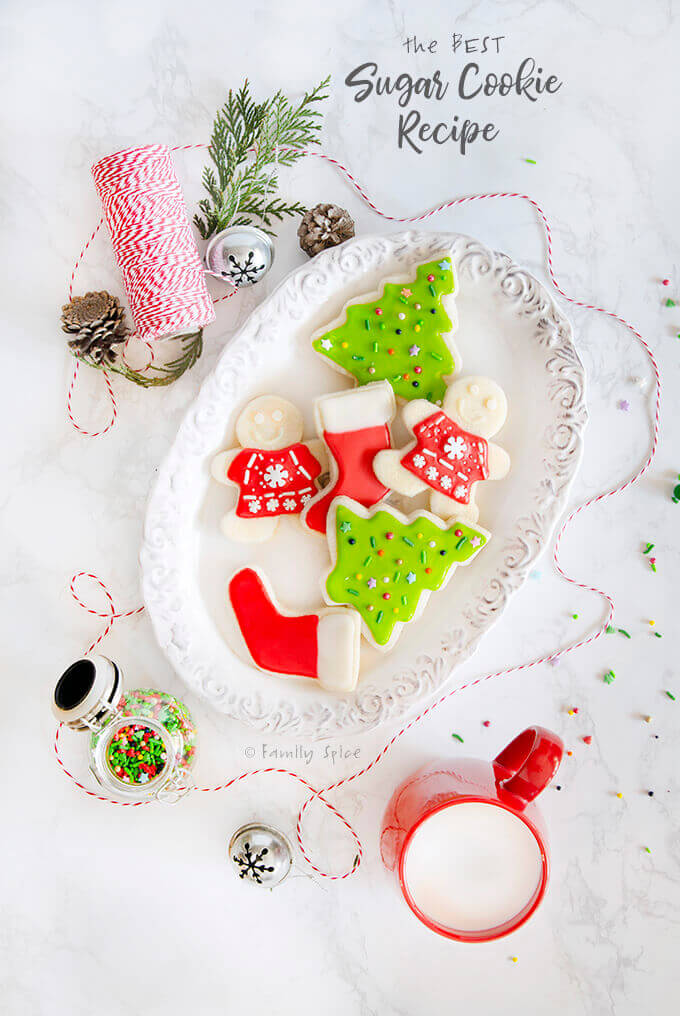
Alton Brown’s sugar cookies are hands down the BEST sugar cookie recipe! The cookies keep their shape when baked, making them perfect for decorating for any occasion.

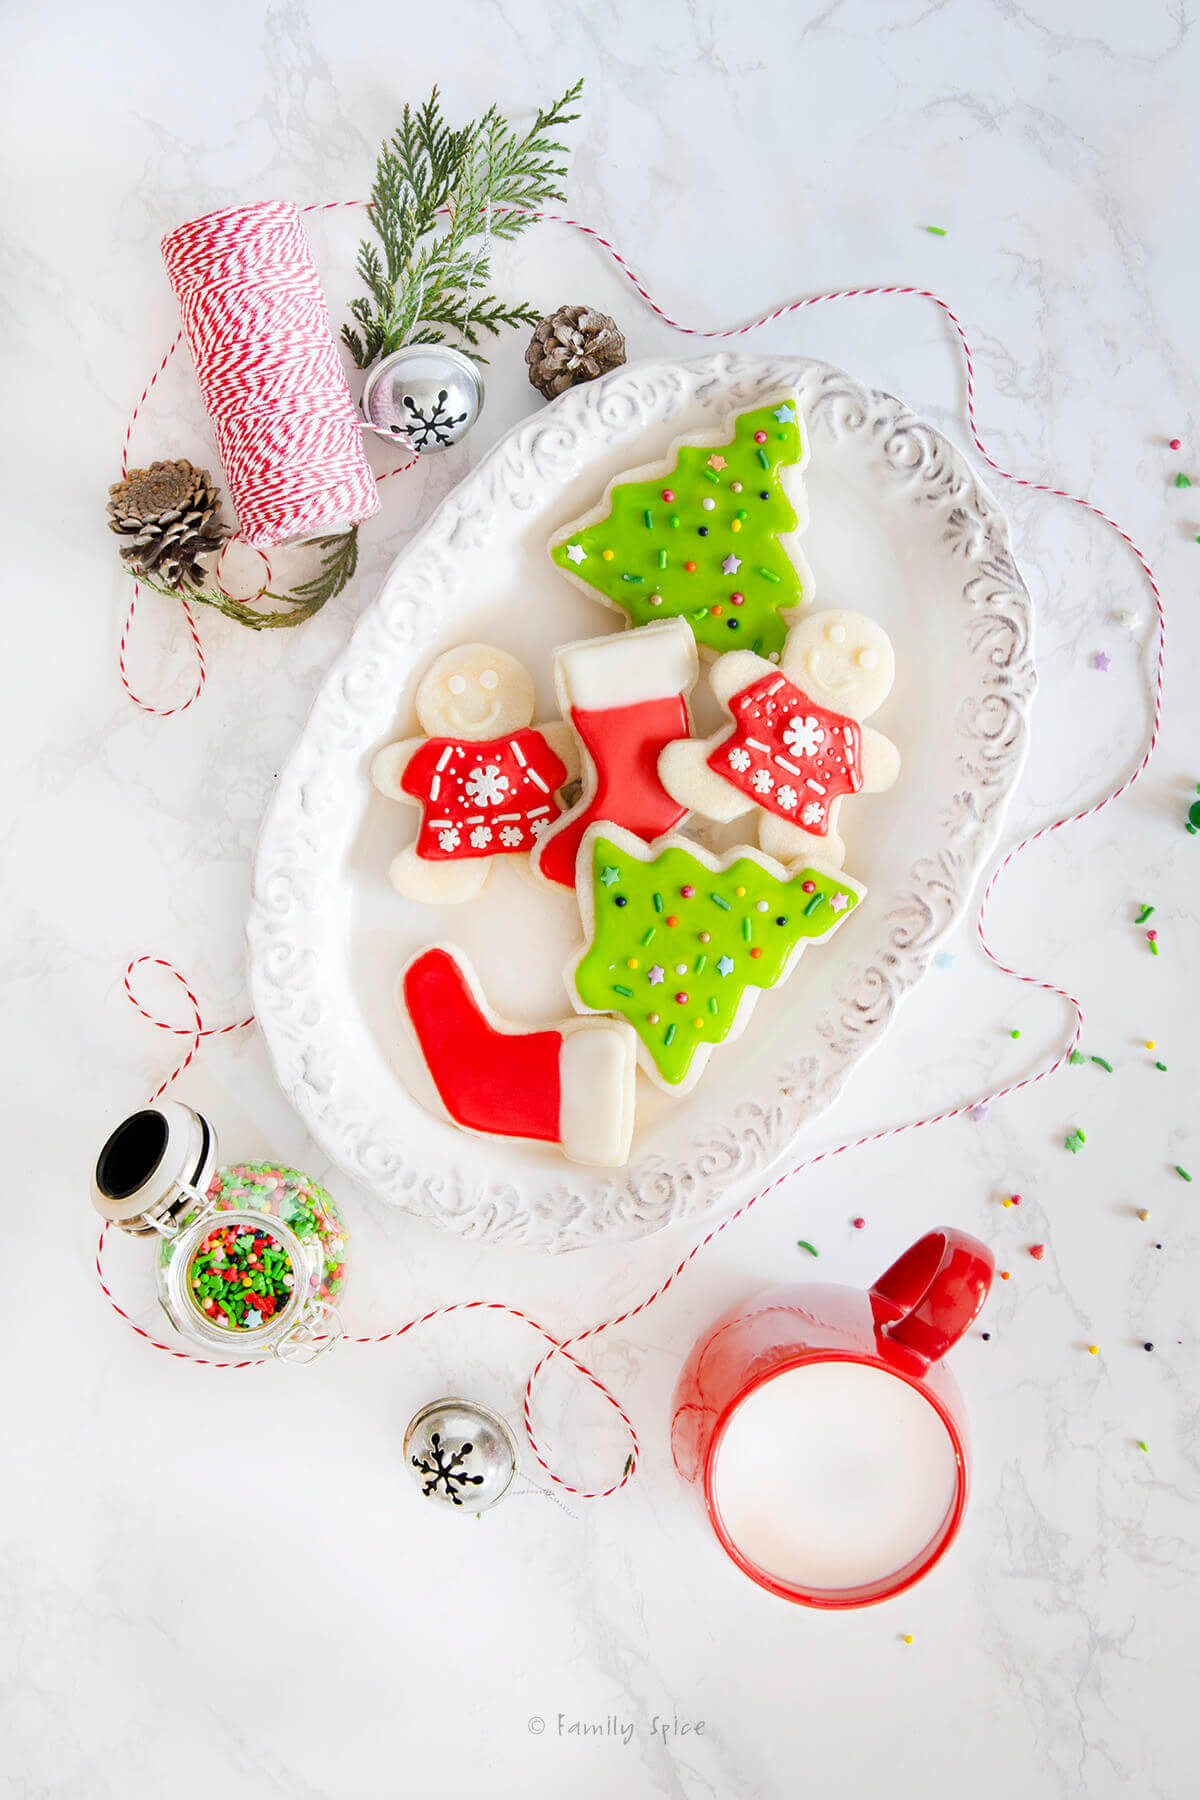
I know what you’re thinking. It’s January and I’m posting about Christmas cookies. Needless to say, the holidays were super hectic in my house and I couldn’t get my pictures taken before Christmas. In fact, the day after Christmas the kids and I spent the entire day in our pajamas decorating sugar cookies. I was in heaven.
My kids inhaled the carefully decorated sugar cookies, but I was able to hide these beauties for pictures. It took a week later for me to carve time and photograph them. My daughter saw me shooting pictures of the beautiful cookies and kept pestering me if I was done so she could eat them.
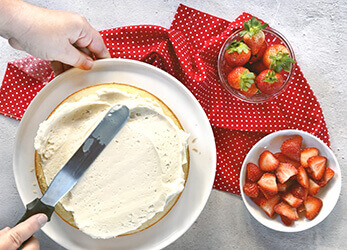
It didn’t help that I needed her holiday themed hands for the shot below. So you see, it really was a Christmas miracle that I managed to take the photos at all!
Why this recipe is so awesome!
The beauty of sugar cookies, is that you can cut them in any shape you want to commemorate any holiday or special occasion. Even though Christmas has passed, Valentines Day is around the corner, then Easter, Spring, Summer, birthdays, and on and on!
I have sampled many sugar cookies, finding some to be too puffy for cut outs, others to be teeth-cracking sweet. But this is recipe from Alton Brown is by far the best sugar cookie recipe I have found.

What makes Alton Brown’s sugar cookie recipe the BEST sugar cookie recipe? It’s just sweet enough to enjoy plain. Plus, this recipe is perfect for cutout shapes because it retains it shape while it bakes.
So feel free to make these cookies into whatever shape you want for whatever holiday or celebration you want!
See my Best Sugar Cookie Web Story for a quick visual guide to making this recipe
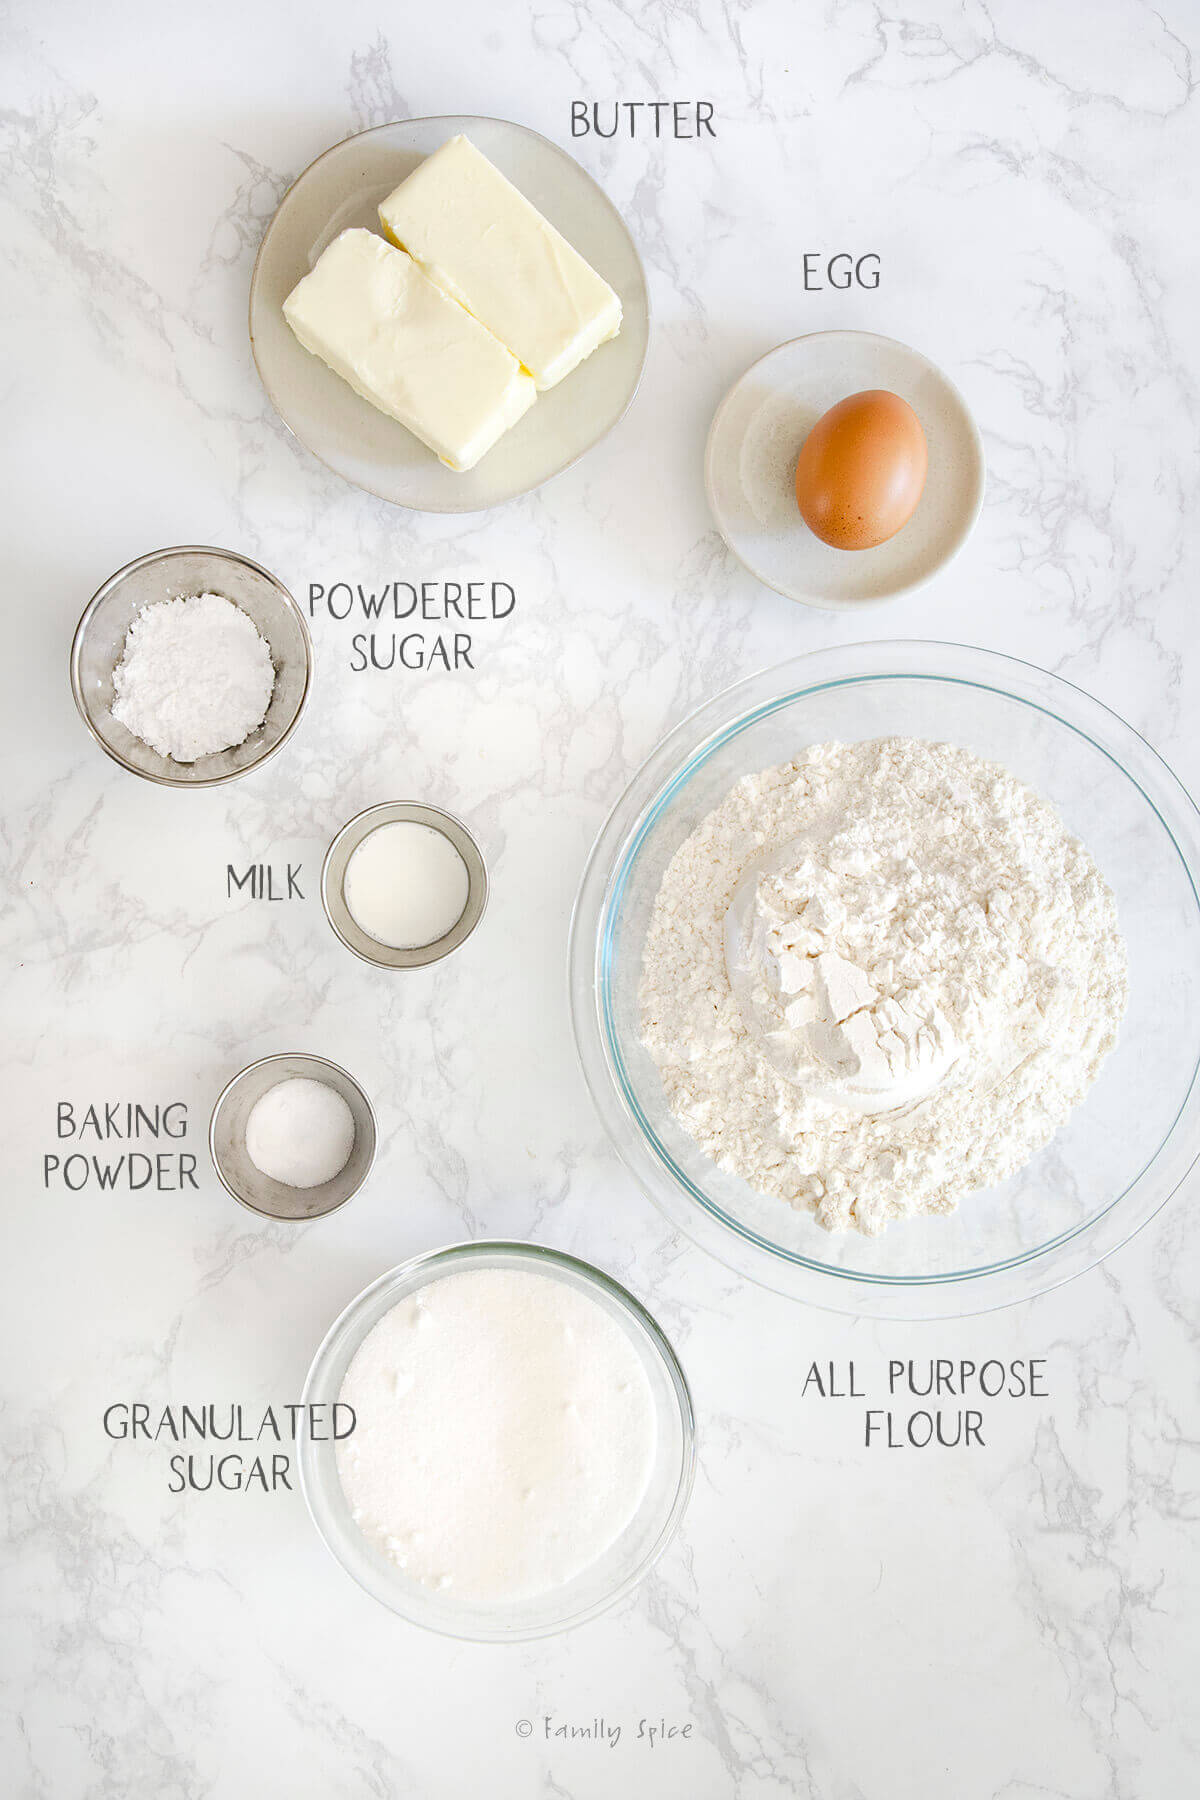
Ingredients you need
This post contains some affiliate links for your convenience (which means if you make a purchase after clicking a link I will earn a small commission but it won’t cost you a penny more)! Read my full disclosure policy
- Pantry staples: All purpose flour, baking powder, salt, granulated sugar and powdered sugar.
- Butter: Yes, I love baking with olive oil and I have a fabulous olive oil sugar cookie recipe in my olive oil cookbook. But this recipe uses butter for the fat and it is adds wonderful flavor to the cookie.
- Egg: Large eggs are the standard in baking and is used in this recipe.
- Milk: I have substitute regular whole milk with almond milk to make these cookies and it turns out just fine.
Tools to Use
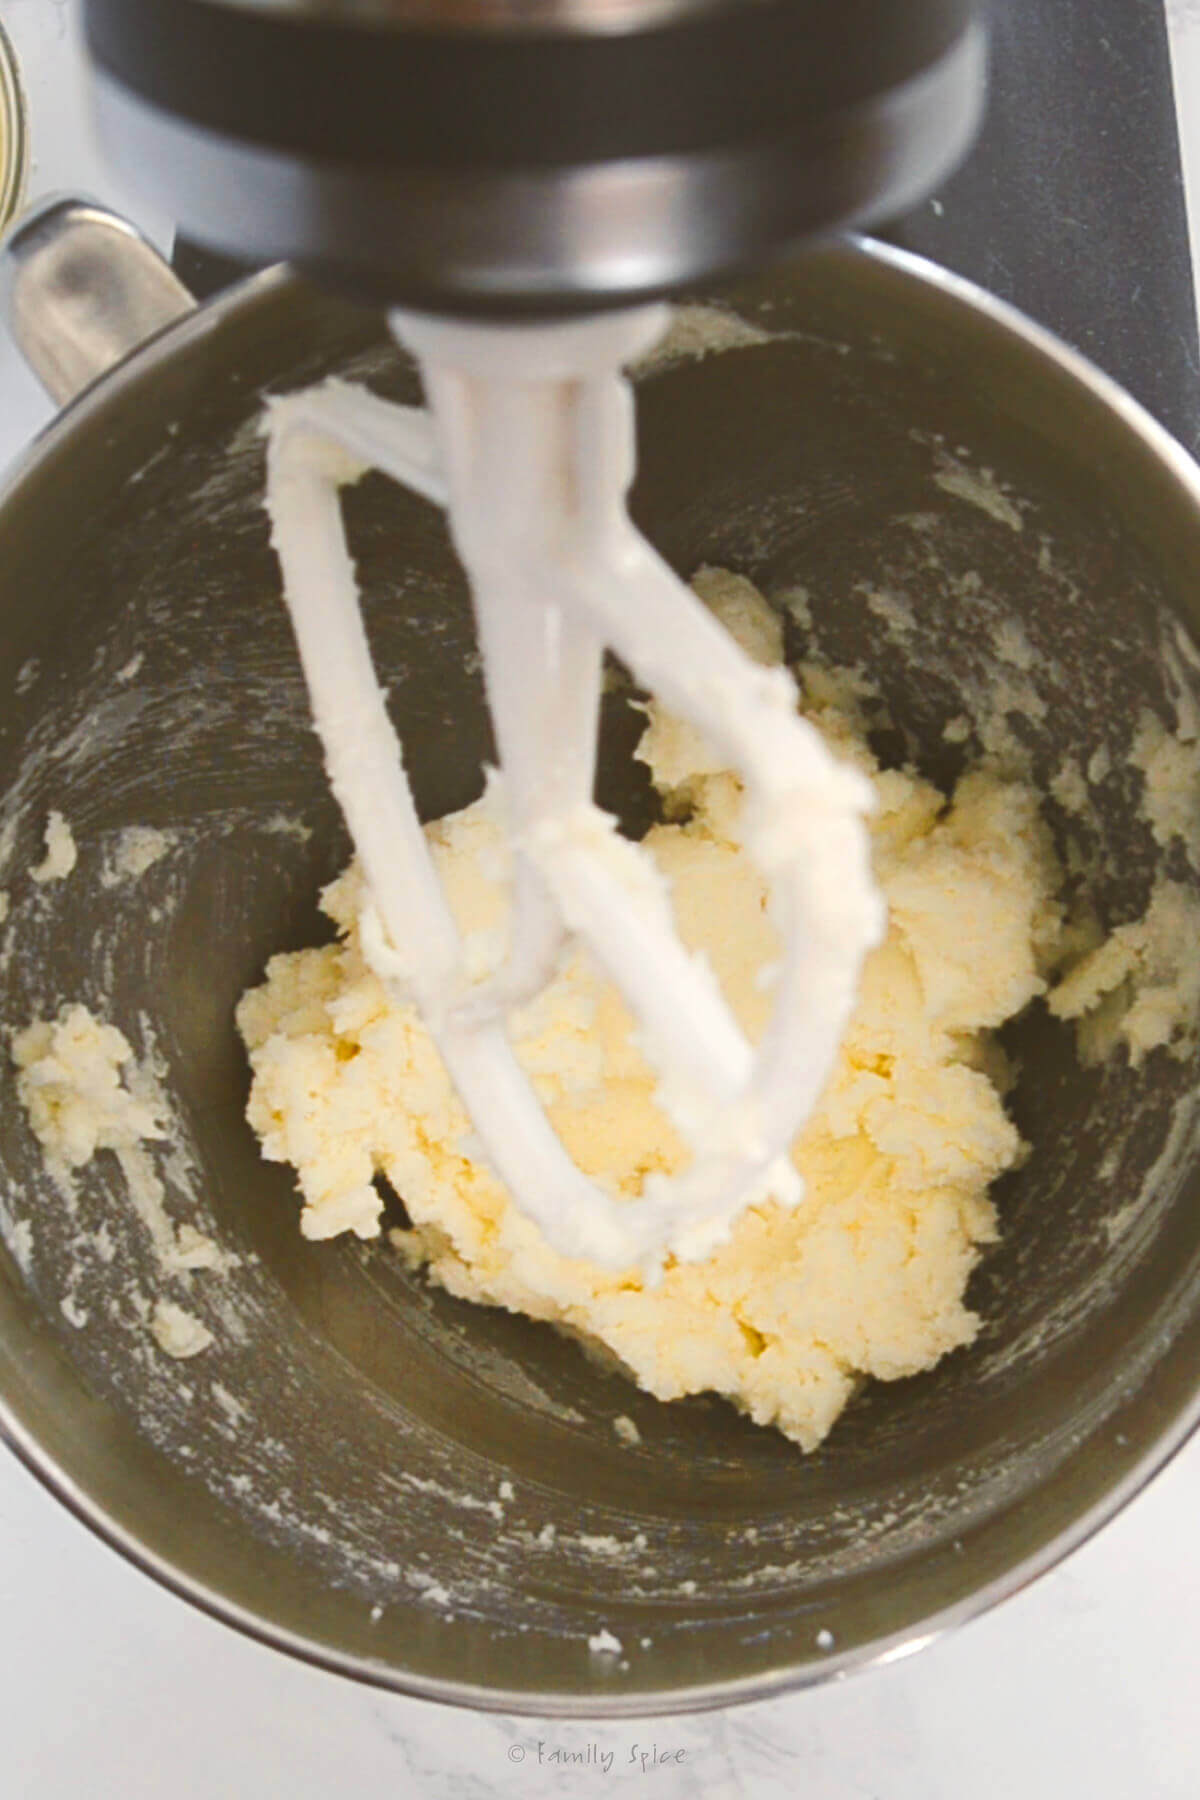
Step-by-step directions
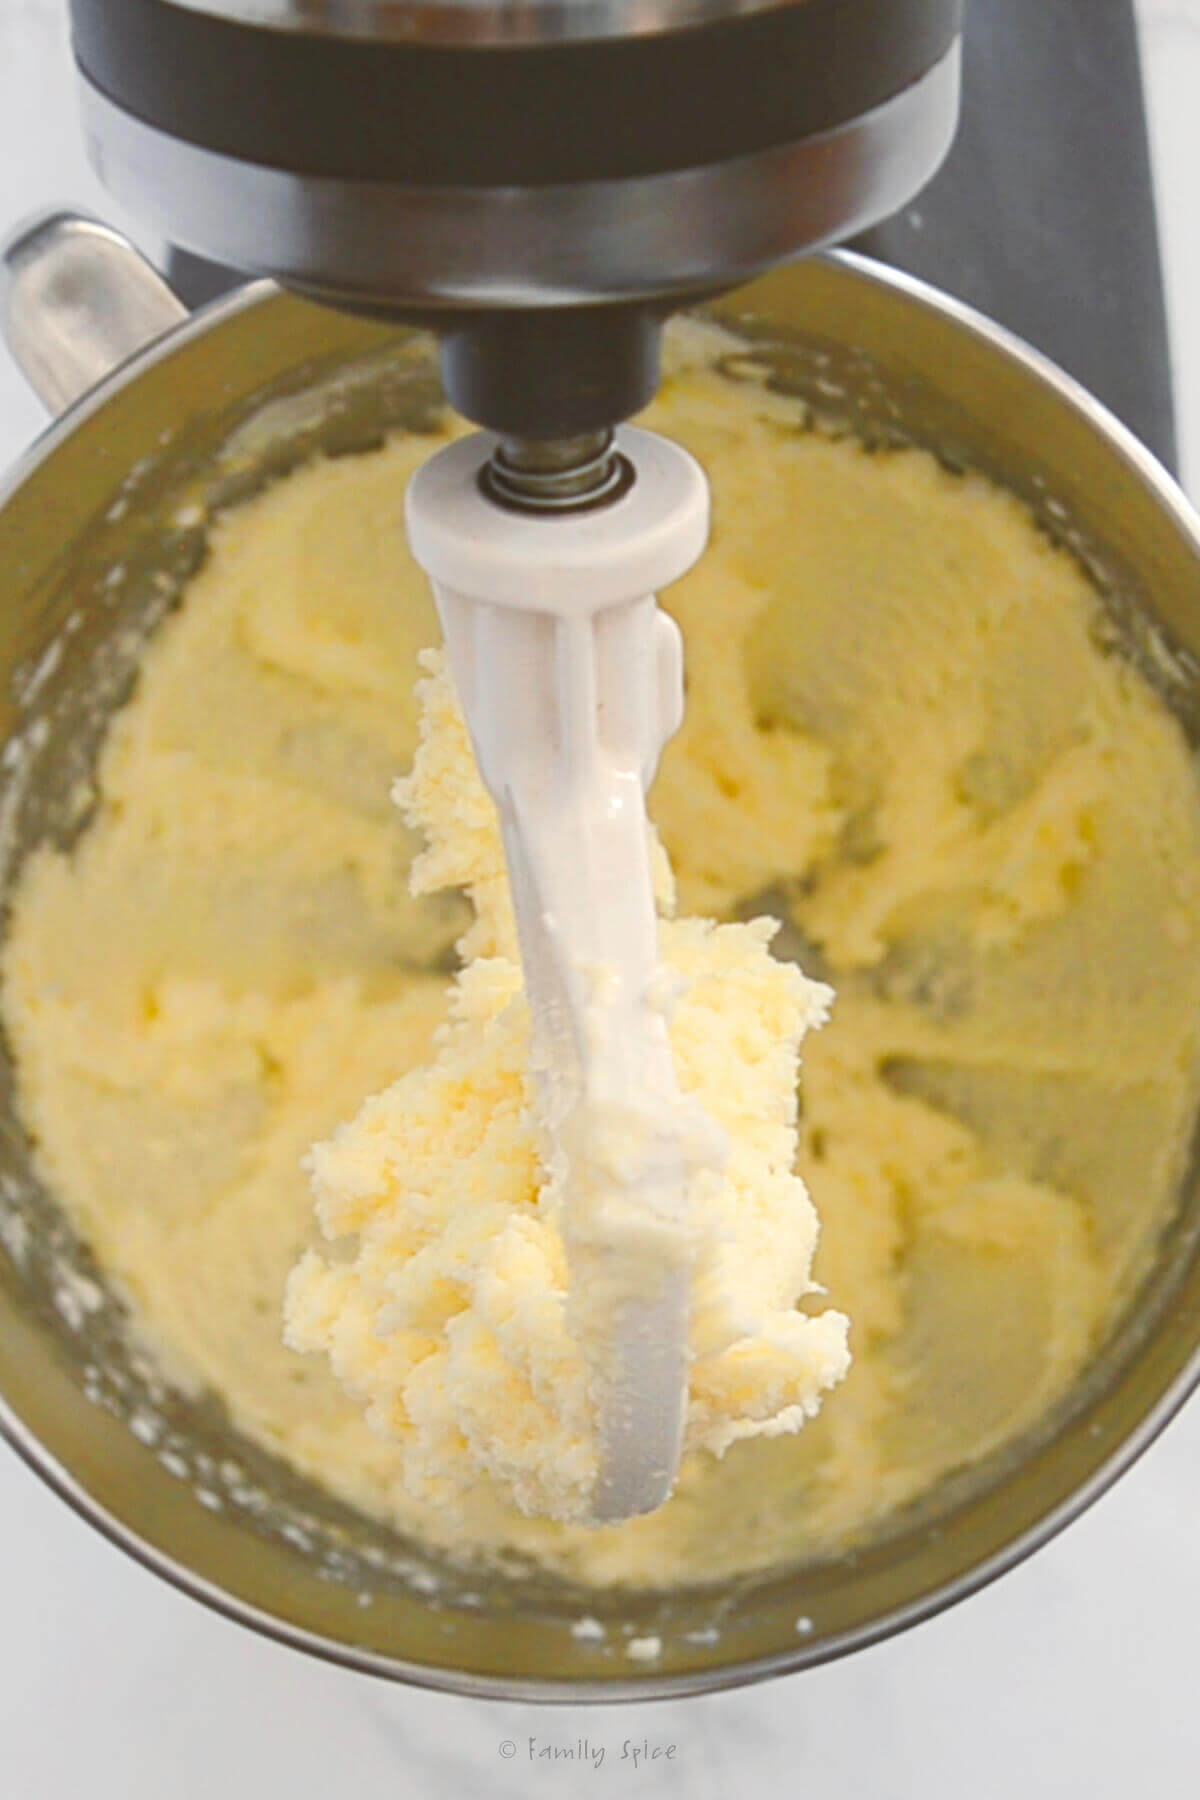
1. Using a stand or hand mixer, whisk butter and sugar until creamed and light yellow in color.
2. Add egg and milk to the butter mixture and mix until incorporated.
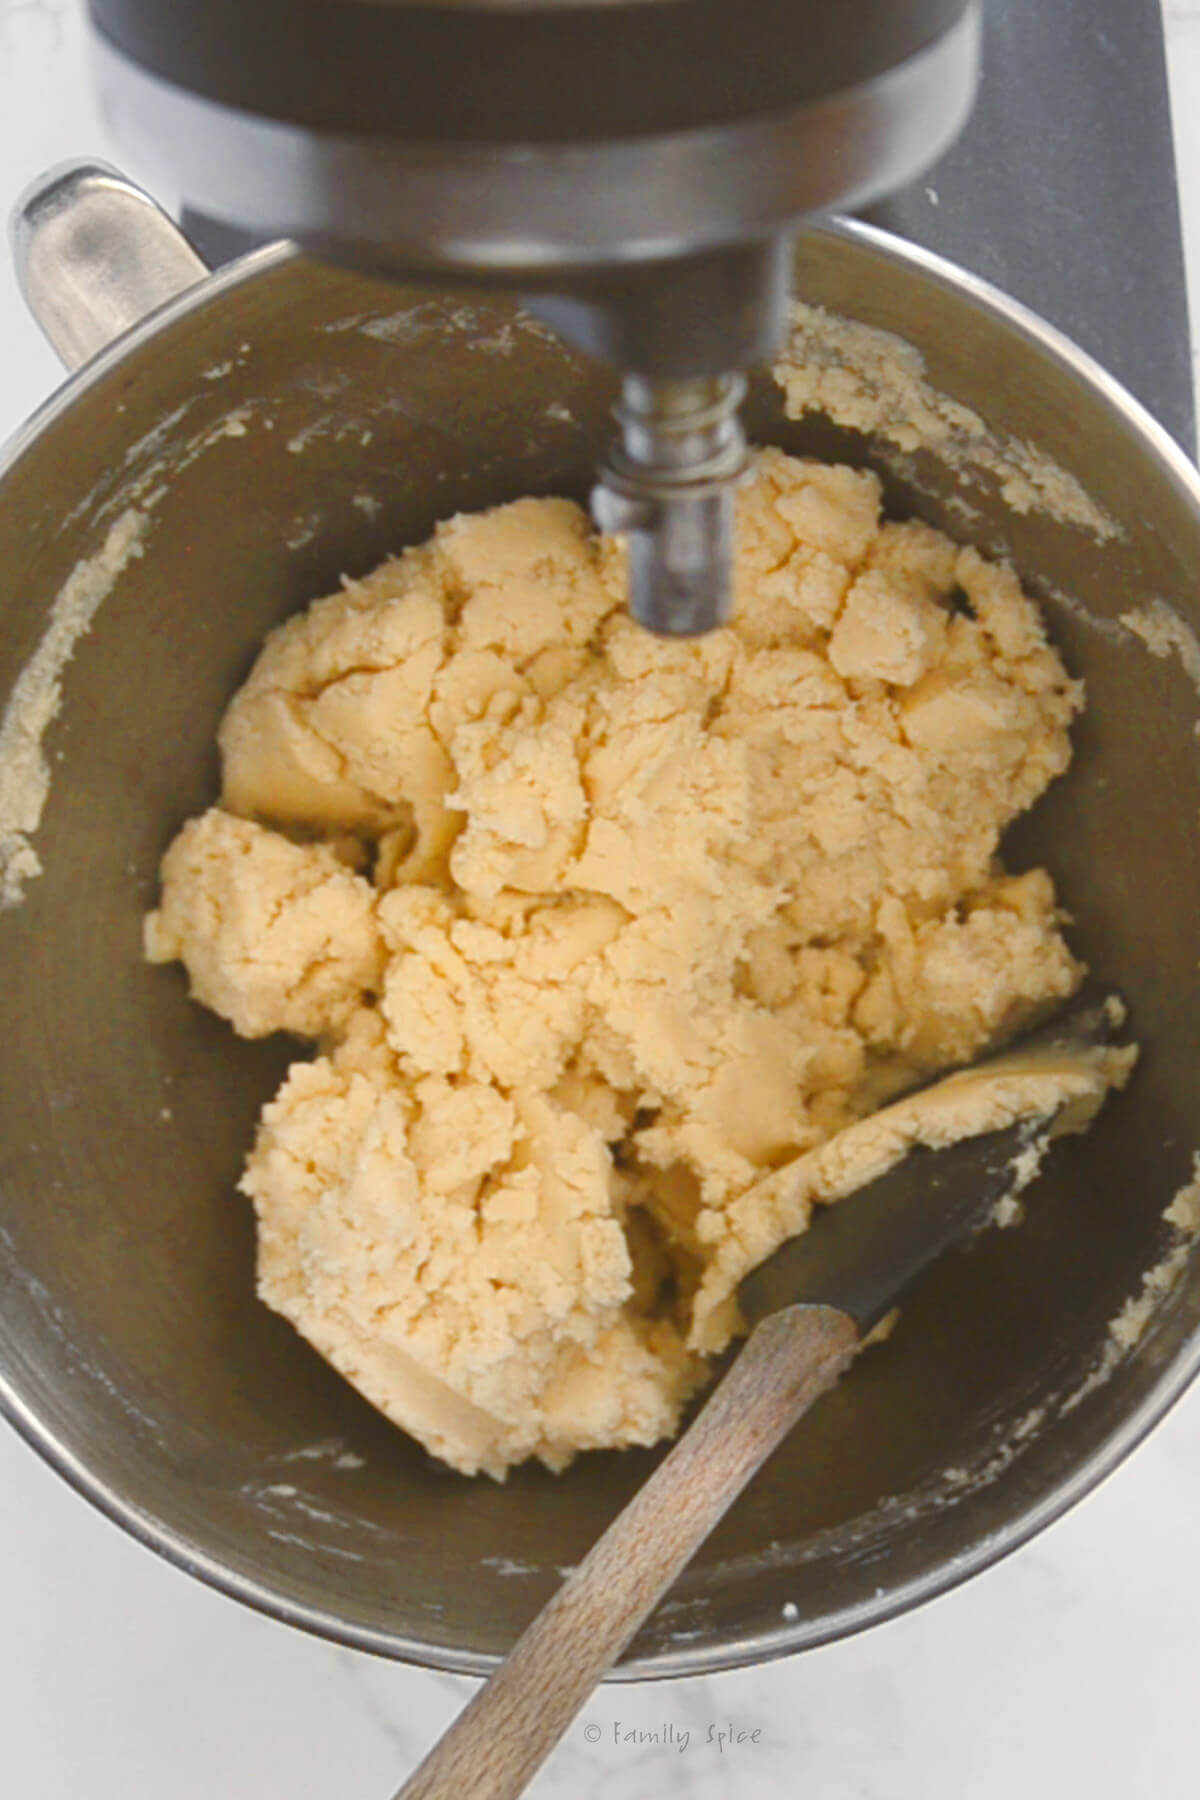
3. In a medium-sized bowl whisk together flour, baking powder and salt. Put mixer on low speed, then gradually add flour mixture, and beat until dough pulls away from the side of the bowl.
4. Place dough on a sheet of parchment paper and work into a ball. Divide the dough in half, roll into a ball and press flat into a thick disc. Wrap each half in parchment paper and refrigerate for 2 hours.

5. Sprinkle flat work surface with powdered sugar and place on disc of dough on top.

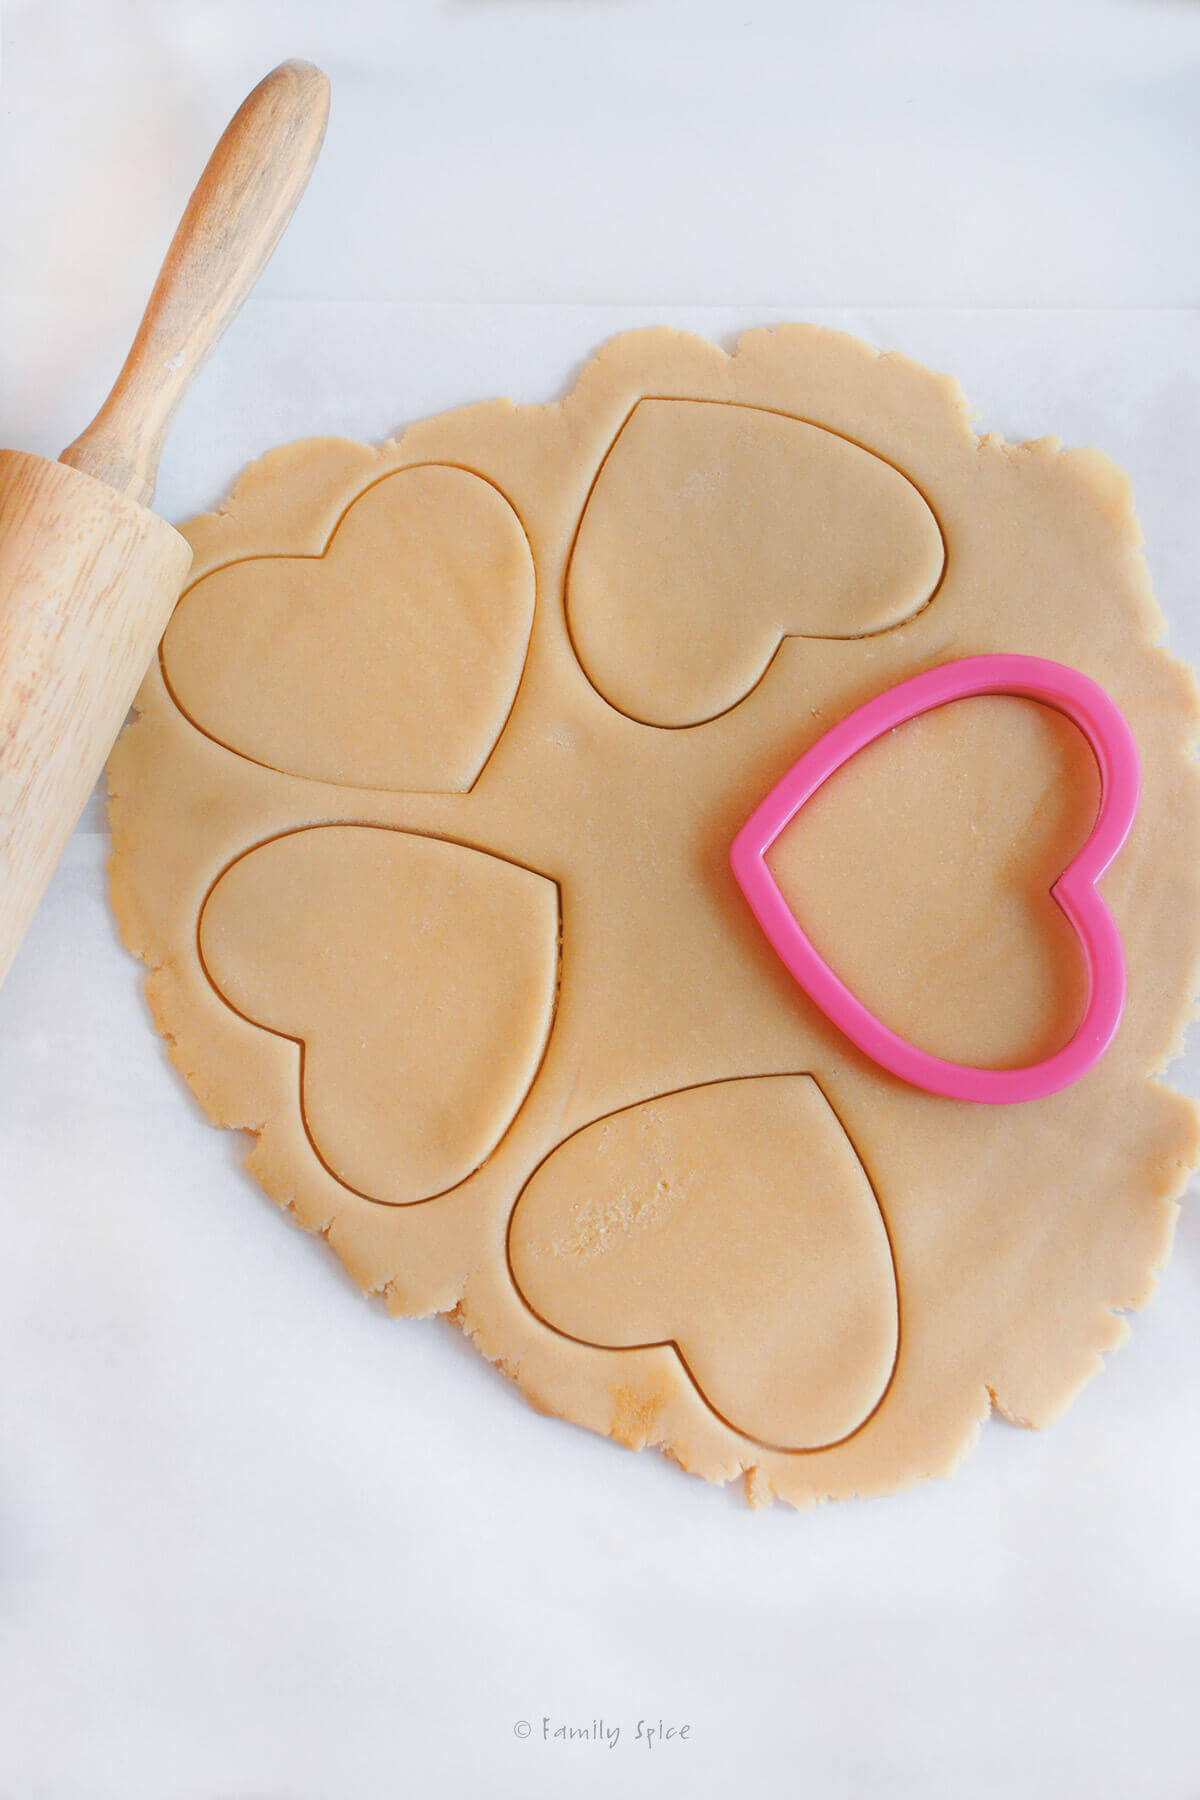
6. Rub rolling pin with powdered sugar and roll out dough until ¼-inch thick. Move the dough around and check underneath frequently to make sure it is not sticking. If dough has warmed during rolling, place cold cookie sheet on top for 10 mins. to chill.
If dough is sticky, roll dough between two sheets of parchment paper or two silicone baking mats.

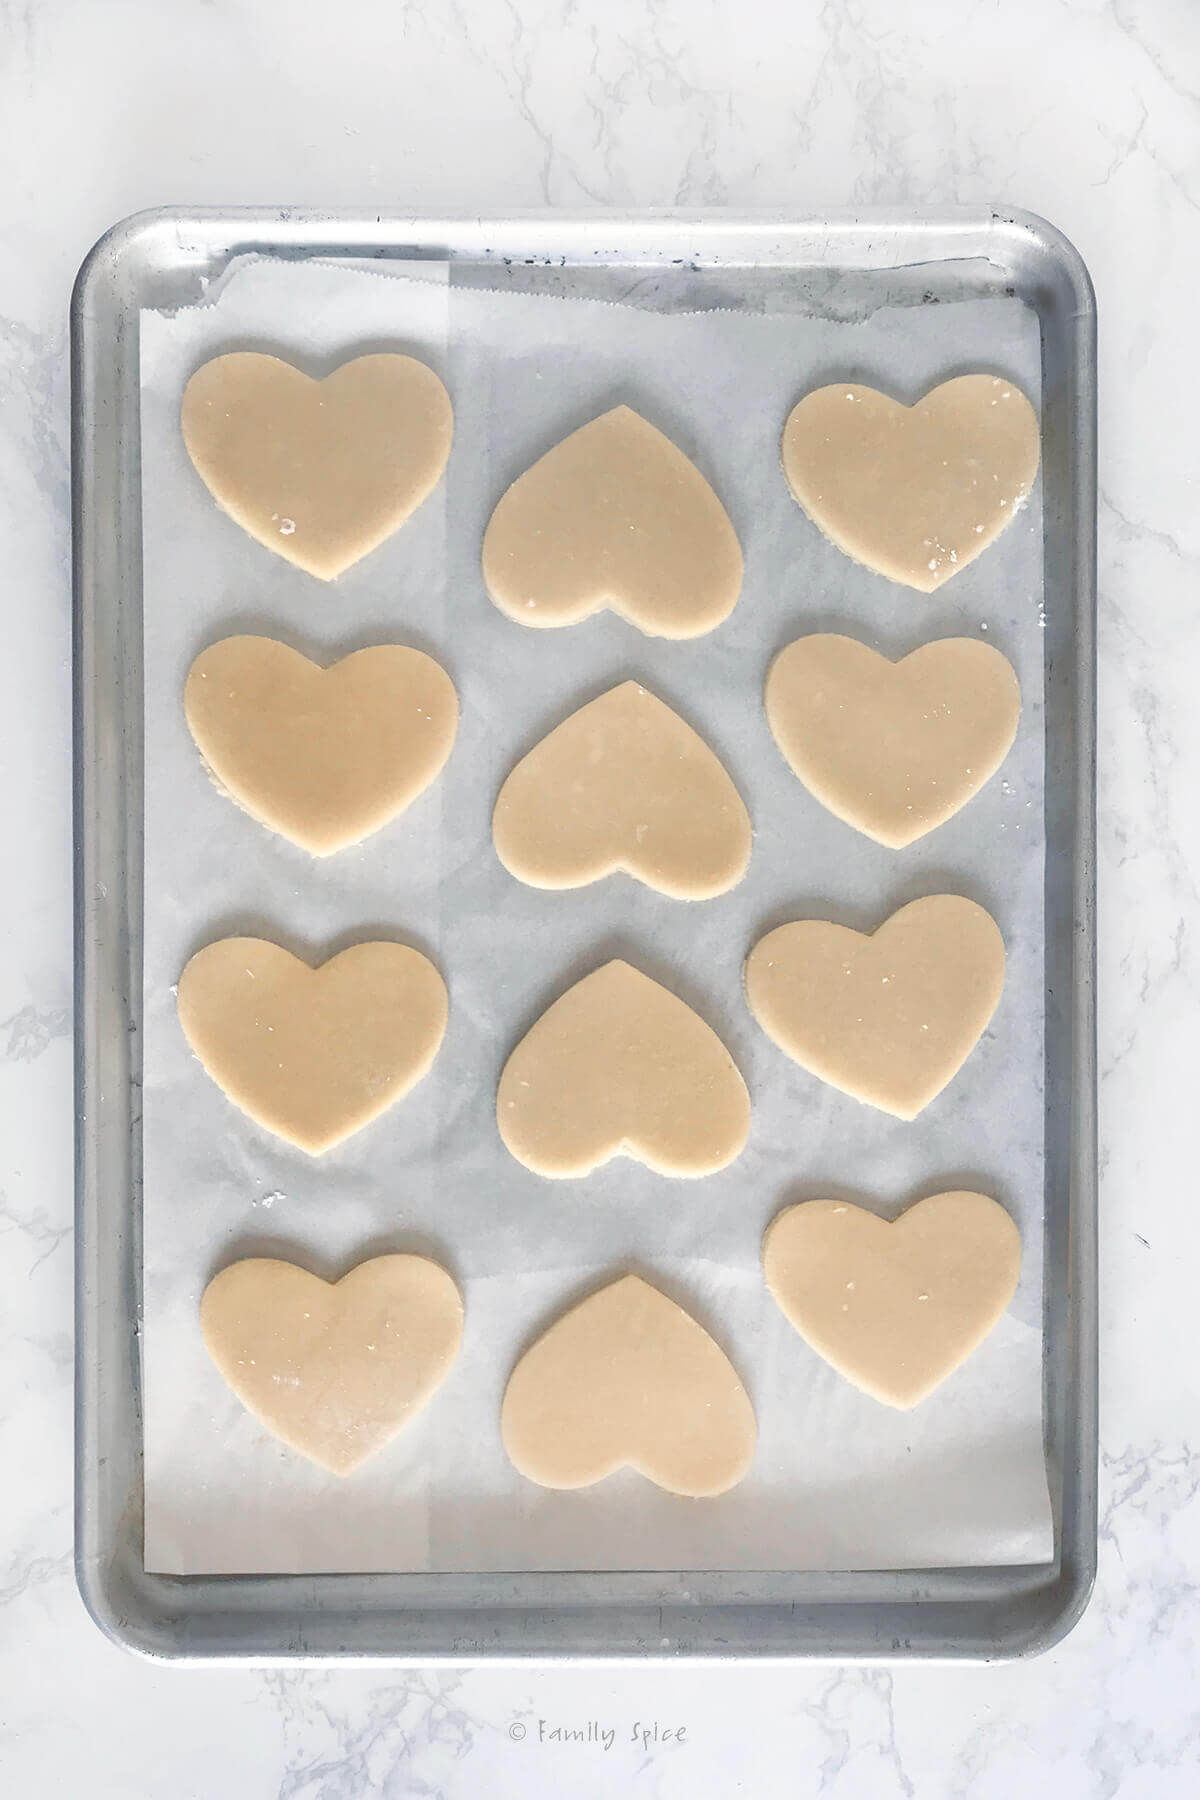
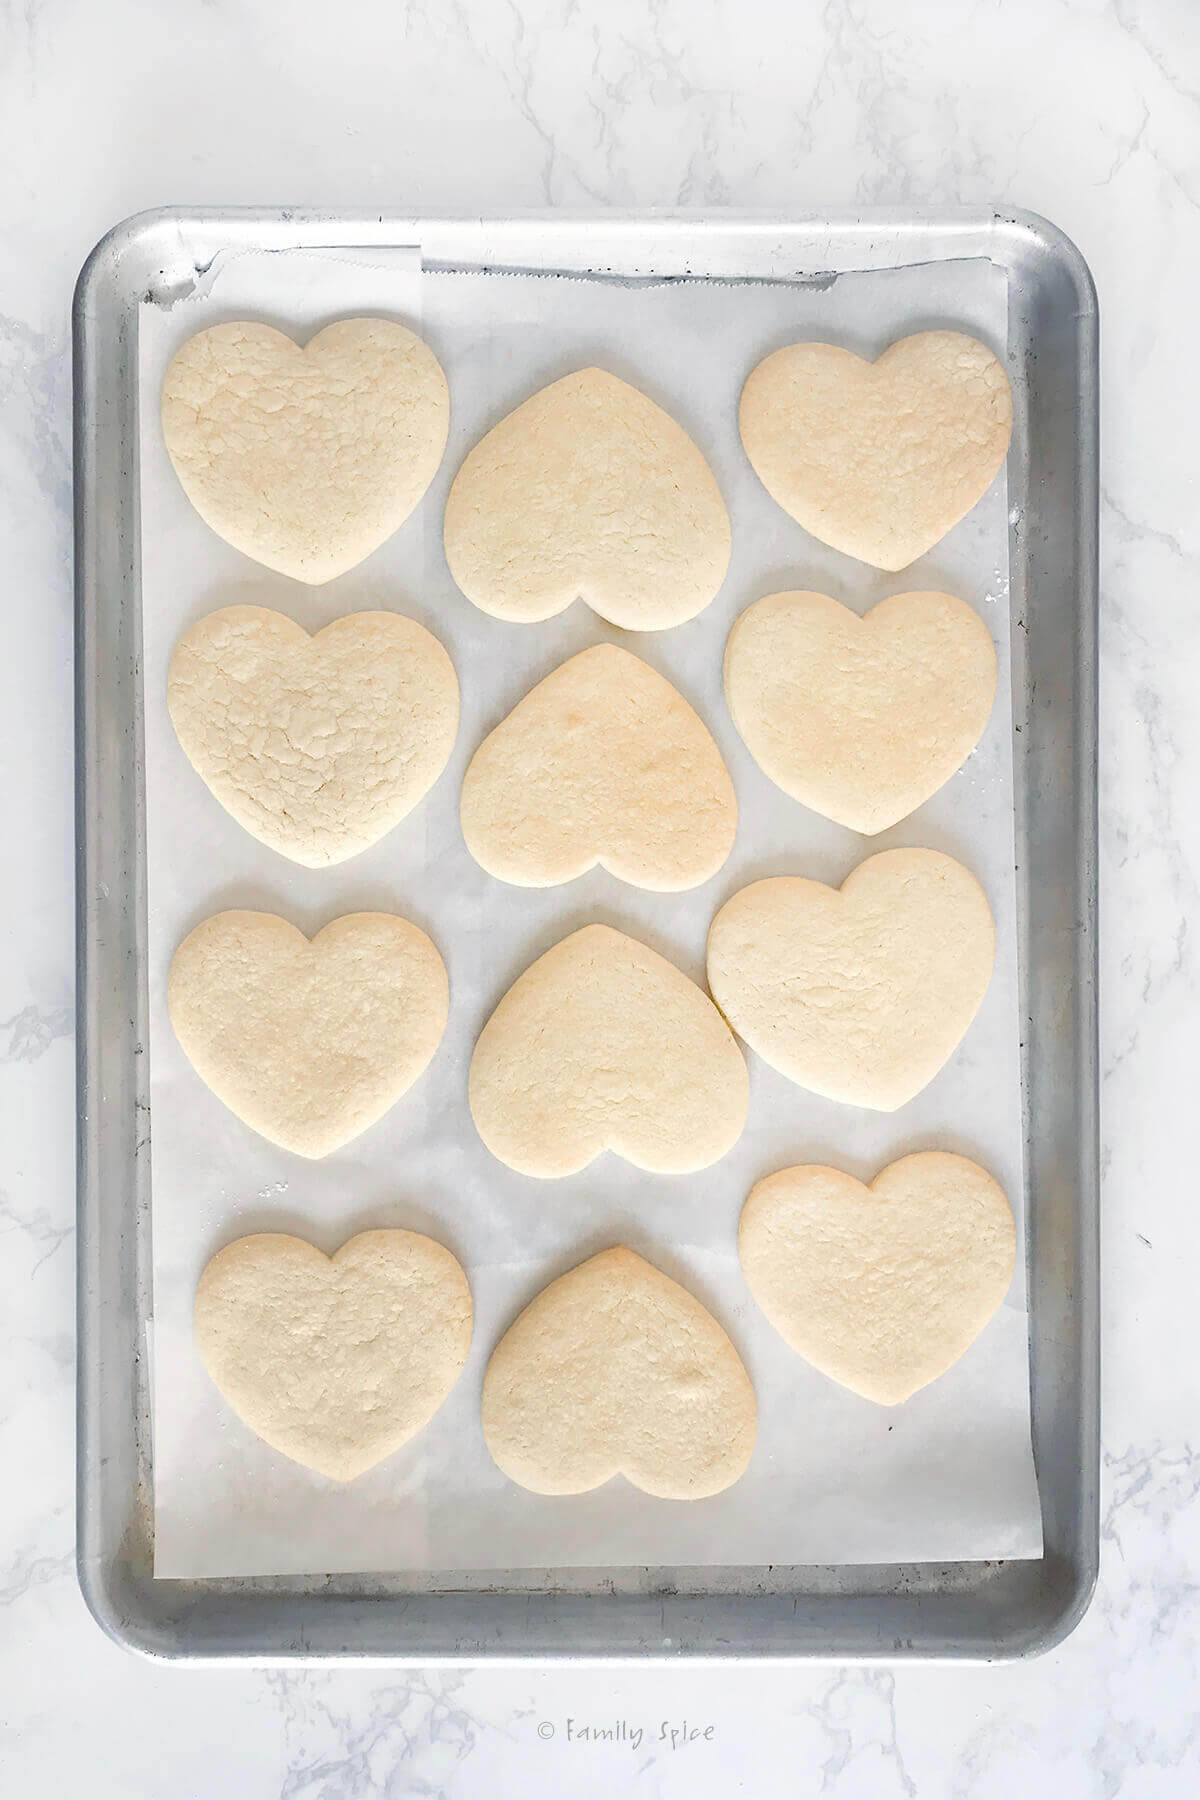
7. Cut dough into desired shape, place at least 1-inch apart on greased baking sheet, parchment paper or silicone baking mat.
8. Bake at 375ºF for 7 to 9 minutes or until cookies are just beginning to turn brown around the edges.
9. Let sit on baking sheet for 2 minutes after removal from oven and then transfer using a small spatula to a cooling rack.
10. Serve as is or decorate with royal icing. Store in airtight container for up to 1 week.
Recipe tips and FAQs
If you are an impatient baker like me, the idea of mixing up cookie dough just to chill and wait a couple hours before you can roll it out and cut it sounds like torture. Why do we need to chill the dough? The main reason is to insure that the dough is stiff enough for the cookie cutters. The chilled cookie dough will hold its shape better in the oven while it bakes.
This means sharp and crisp edges on your stars, Christmas trees, mustache tips, alphabet letters and the likes. You can either chill your dough before you roll it out, or you can roll out the dough and then chill it. Preference depends on how much room you have in your refrigerator!
One trick I like to use when rolling out pie crusts or sugar cookie dough is to roll the dough between two sheets of parchment paper or silicone mats. This prevents sticking to the work surface without adding too much flour or powdered sugar to the cookies. Overall, I find it to be a cleaner and less fussy experience.

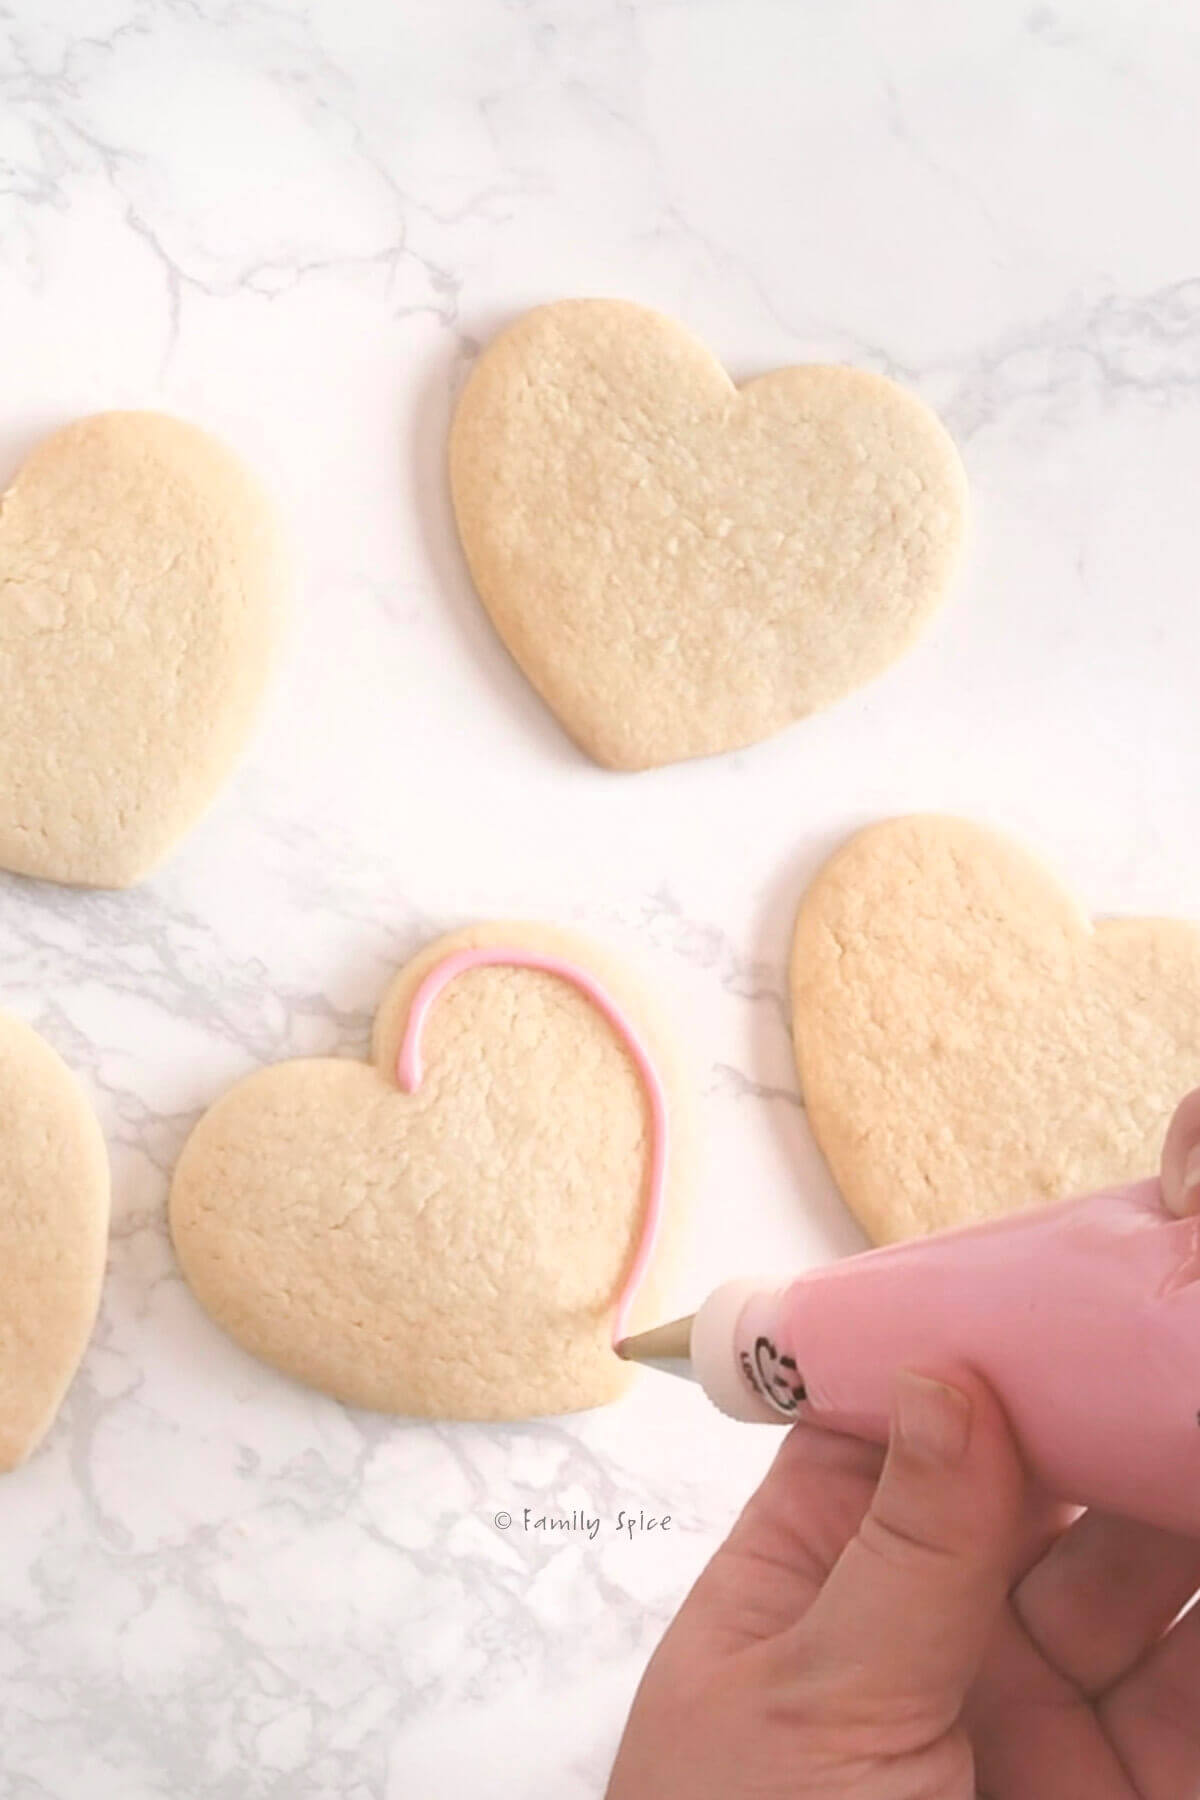
My favorite way to decorate sugar cookies is to use royal icing. It offers a thin sugar glaze without drowning your cookie in teeth cracking sugar. You can use buttercream frosting, but it offers a much thicker sugar coating to your cookie. The cookies decorated in this post is done with this egg white royal icing recipe.
There are a number of ways you can apply royal icing to your cookie. There’s the professional way using piping bags and icing tips, which gives you a lot of precision and control with the icing. If you are not looking to decorate super crazy designs, you can transfer the icing to resealable plastic bags, cut a tiny part of one of the corners off and squeeze away.
Another way to adhere royal icing to your awesome sugar cookies is to use plastic squeeze bottles, which are super kid-friendly. I used these a lot when my kids were little and they were making a mess spooning icing over the cookies.
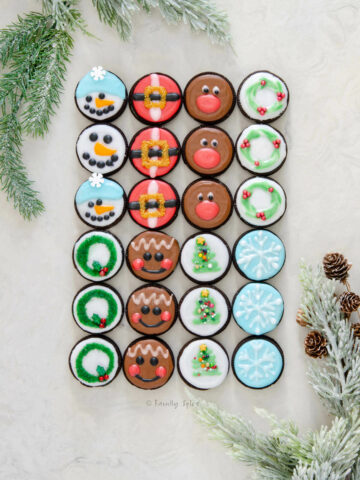
In my house, sprinkles provoke a lot of controversy when it comes to decorated sugar cookies. Adults usually don’t like sprinkles because of the flavor and many of them can really hurt your teeth! But the kids love the fun colors extra sugar that sprinkles offer.
I like to use a small amount of sprinkles for my cookies as it offers a fun way to make your sugar cookies come alive. And since I make the cookies for my kids, well, they just love seeing the colorful sprinkles in their many shapes and sizes. But I always make sure to ice a few cookies and leave them sprinkle-free for the adults.
I have a crazy sprinkle collection, because, well, they really are a lot of fun! One of my favorite places to buy sprinkles is Michael’s Craft Stores. You can get small bags of sprinkles of any size and color for 99¢ each. I also like to search through stores like Marshalls, Ross and Home Goods for sprinkles, too.
Now this is a question that can cause quite a bit of controversy! Traditionally speaking, the sugar cookie has a butter base. Butter adds wonderful flavor for baked goods, especially sugar cookies. But, they aren’t the only fat you can use when baking up sugar cookies. You can also use cream cheese and even extra virgin olive oil. All of these options create a fabulous sugar cookie, so all it really depends on are your taste buds.
The main reason to chill sugar cookie dough is to insure that the dough is stiff enough for the cookie cutters. The chilled dough will hold its shape better in the oven while it bakes. This means sharp and crisp edges on your stars, Christmas trees, mustache tips, alphabet letters and the likes. You can either chill your dough before you roll it out, or you can roll out the dough and then chill it. Preference depends on how much room you have in your refrigerator!
Once baked, place your sugar cookies in a sealed container and store in a cool, dry cupboard. They can last like this for 3 weeks, but not in my house. My kids inhale the cookies within 3-4 days of baking them! You’ll find the same problem at your house, too!
You can freeze the sugar cookies once they have been baked and cooled completely. They need to be frozen individually first. Place the cookies on a baking sheet not touching each other and freeze until frozen solid. Once frozen, transfer them to freezer safe containers.
Iced cookies need to be stored in layers, with parchment paper between the layers. To thaw baked cookies, remove from the containers and let the cookies thaw at room temperature. This prevents condensation from forming, making the cookies soggy.
You can plan ahead for your holiday baking by freezing your sugar cookie dough for up to 3 months. Just remember you need to thaw them out a little before you can roll out the dough, otherwise you’ll have some really tired arms and wrists from the attempt!


If you are enjoying my recipes, please sign up for my newsletter and get my free 28-day meal plan! You can also follow me on Instagram or Facebook.
Alton Brown Sugar Cookie

Alton Brown's sugar cookies are hands down the BEST sugar cookie recipe! The cookies keep their shape when baked, making them perfect for decorating for any occasion.
Ingredients
- 3 cup all-purpose flour
- ¾ teaspoon baking powder
- ¼ teaspoon salt
- 1 cup butter, unsalted, softened
- 1 cup granulated sugar
- 1 egg large
- 1 TBS milk
- 2 TBS powdered sugar
Instructions
- In a medium-sized bowl whisk together flour, baking powder and salt.
- Using a stand mixer, whisk butter and sugar until creamed and light yellow in color.
- Add egg and milk to the butter mixture and mix until incorporated.
- Put mixer on low speed, then gradually add flour mixture, and beat until dough pulls away from the side of the bowl.
- Place dough on a sheet of parchment paper and work into a ball.
- Divide the dough in half, roll into a ball and press flat into a thick disc.
- Wrap each half in parchment paper and refrigerate for 2 hours.
- Preheat oven to 375ºF.
- Sprinkle flat work surface with powdered sugar and place on disc of dough on top.
- Rub rolling pin with powdered sugar and roll out dough until ¼-inch thick.
- Move the dough around and check underneath frequently to make sure it is not sticking. If dough has warmed during rolling, place cold cookie sheet on top for 10 mins. to chill.
- If dough is sticky, roll dough between two sheets of parchment paper or two silicone baking mats.
- Cut dough into desired shape, place at least 1-inch apart on greased baking sheet, parchment paper or silicone baking mat.
- Bake for 7 to 9 minutes or until cookies are just beginning to turn brown around the edges.
- Let sit on baking sheet for 2 minutes after removal from oven and then transfer using a small spatula to a cooling rack.
- Serve as is or decorate with royal icing. Store in airtight container for up to 1 week.
Notes
You can freeze your sugar cookie dough for up to 3 months. Just remember you need to thaw them out a little before you can roll out the dough.
Once baked, place your sugar cookies in a sealed container and store in a cool, dry cupboard. They can last like this for 3 weeks
You can freeze the sugar cookies once they have been baked and cooled completely. They need to be frozen individually first. Place the cookies on a baking sheet not touching each other and freeze until frozen solid. Once frozen, transfer them to freezer safe containers.
Iced cookies need to be stored in layers, with parchment paper between the layers. To thaw baked cookies, remove from the containers and let the cookies thaw at room temperature. This prevents condensation from forming, making the cookies soggy.
Nutrition Information:
Yield:
36Serving Size:
1 cookieAmount Per Serving: Calories: 108Total Fat: 5gSaturated Fat: 3gTrans Fat: 0gUnsaturated Fat: 2gCholesterol: 19mgSodium: 29mgCarbohydrates: 14gFiber: 0gSugar: 6gProtein: 1g
PS If you try this recipe, why not leave a star rating in the recipe card right below and/or a review in the comment section further down the page? I always appreciate your feedback.
You can also follow me on Pinterest, Facebook or Instagram. Sign up for my eMail list, too!

How much vanilla? What about a vanilla/almond extract combination? Thanks for the recipe and tips!
Hi Emily,
There’s no vanilla in this recipe. You could add maybe 1/2 tsp and it would be fine.
Laura
I am a cookie-a-holic. Especially sugar cookies. I love all of the fun you can have with this recipe!
Thanks for sharing! Can I freeze cookies once they’ve been made?
Hi Vanessa-
Great question! Yes, sugar cookies CAN be frozen once baked. You should first freeze them individually after they are completely cooled. Place them on a baking sheet not touching each other and freeze until frozen solid. After that you can transfer them to freezer safe containers.
Laura