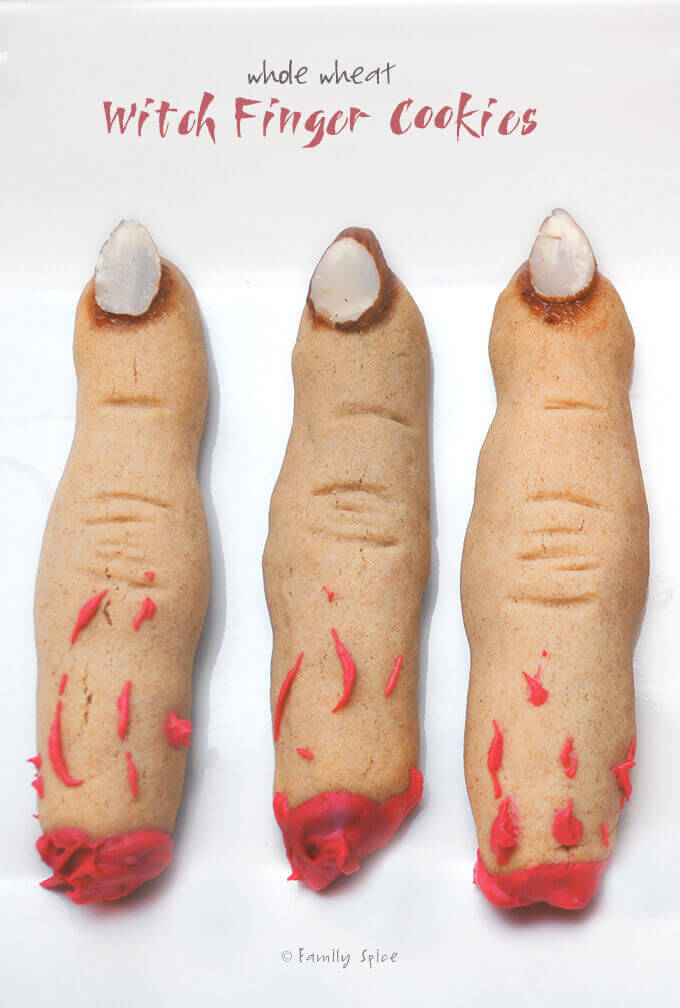
Here’s a spooky treat that is hidden with fiber: Whole Wheat Whole Wheat Witch Finger Cookies.
I am totally enjoying the amazing amount of creativity that out there on the world wide web. So many fabulous home-grown cooks and bakers are showing off their talents and blowing me away. It used to be that you had to wait for your Martha Stewart or Family Fun magazine for holiday inspiration. Or the morning shows would bring a guest. But, hello??? Internet here? Blogging mania??? Ideas galore. LOVE IT!
You can take a good idea, found in a book, magazine, television show, ANYWHERE and broadcast it to the millions who never saw it. Last years ideas? Ideas from ten years ago? Boom! Reinvented and passed along. It’s like the cookie exchange party you have with your friends every year for the holidays, but you have THOUSANDS and MILLIONS of friends to share your favorite recipes with.
This post contains some affiliate links for your convenience (which means if you make a purchase after clicking a link I will earn a small commission but it won’t cost you a penny more)! Read my full disclosure policy
Kinda scary, if you really think about it…
That being said, these Whole Wheat Witch Finger Cookies aren’t anything you haven’t seen before. I did some digging and found them on several blogging sites. I traced it back to an edition Epicurious published in 2002, which featured a recipe from Clare Crespo’s book, The Secret Life of Food.
See: an “old” idea getting a new lease on life.
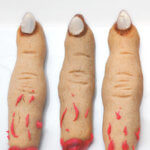
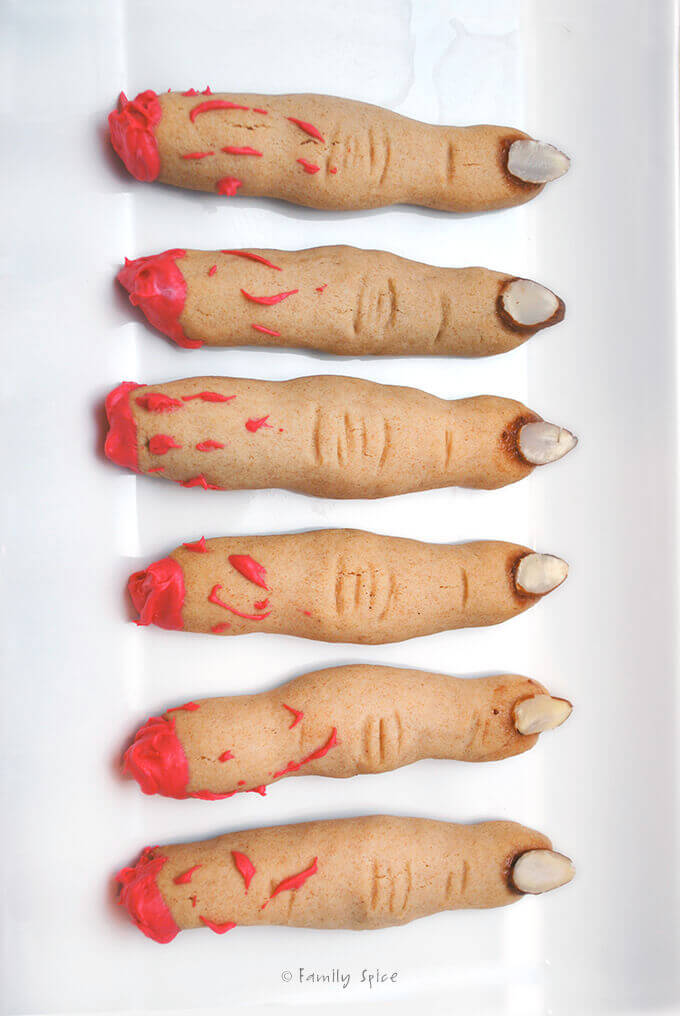
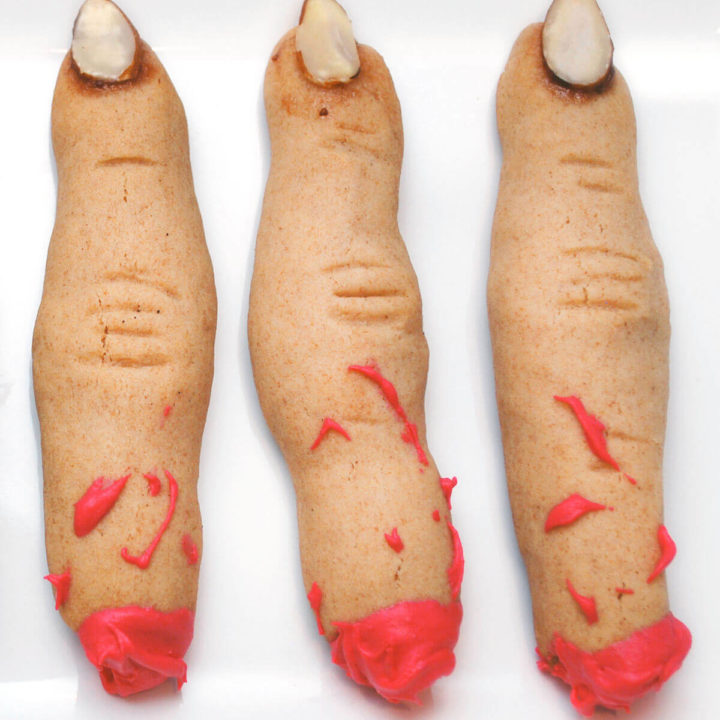
I did my tweaks to the recipe, used half whole-wheat flour and half AP flour, my usual tweak. This gave my fingers a bit of a tan! I also used strawberry jam to “glue” the almond nails onto the fingers. When it dries, it looks like dirty cuticles. LOVE IT!
A little white chocolate and bit of red coloring and I had blood on the other end.

My kids got a HUGE kick out of these when they came home from school last week! My Princess kept asking to eat one of my fingers. I suppose that means I need to lotion up my hands more. They are looking a bit on the dry and wrinkly side….
And Happy Halloween!
Whole Wheat Witch Finger Cookies
Here's a spooky treat that is hidden with fiber: Whole Wheat Whole Wheat Witch Finger Cookies.
Ingredients
- 1 cup butter, unsalted, softened
- 1 cup powdered sugar
- 1 egg, large
- 1 teaspoon vanilla extract
- 1 teaspoon almond extract
- 1 ½ cup all-purpose flour
- 1 ¼ cup whole wheat flour
- 1 teaspoon baking powder
- ½ teaspoon salt
- ½ cup almond slices
- 2 TBS strawberry jam
- ½ cup white chocolate
- 8 + drops of red dye
Instructions
- Preheat oven to 325ºF.
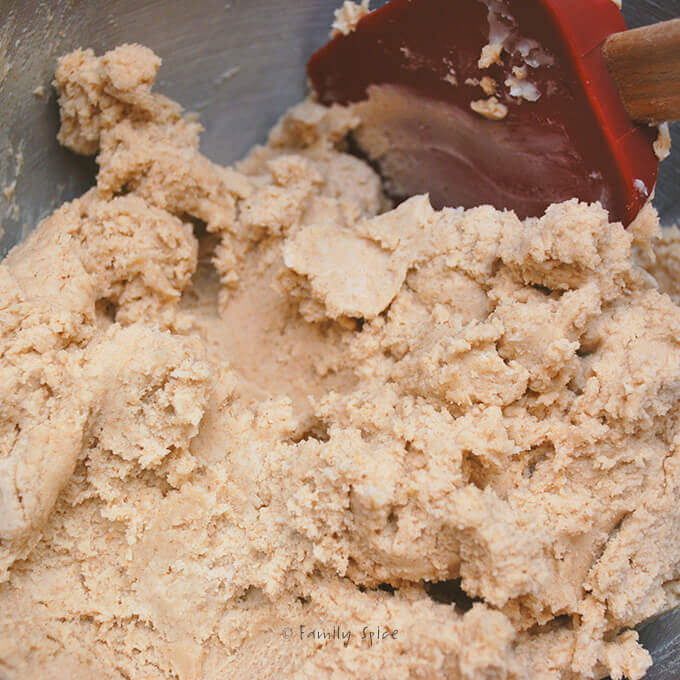
- Using a stand mixer, whisk together butter and powdered sugar until creamed (light yellow in color)
- Add egg, vanilla and almond extracts, whisk to combine.
- In a separate bowl whisk together both flours, baking powder and salt.
- Add the flour mixture to the butter in the mixer and beat until smooth.
- Cover the dough and refrigerate for 30 minutes.
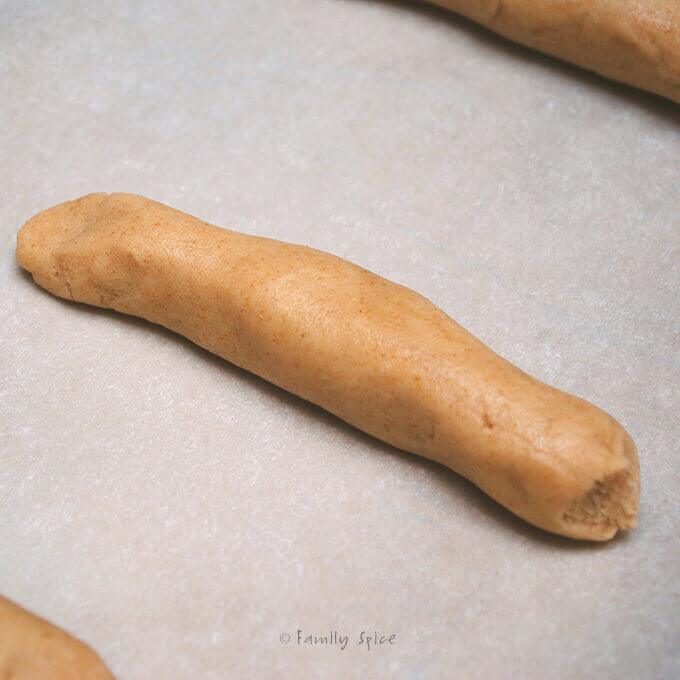
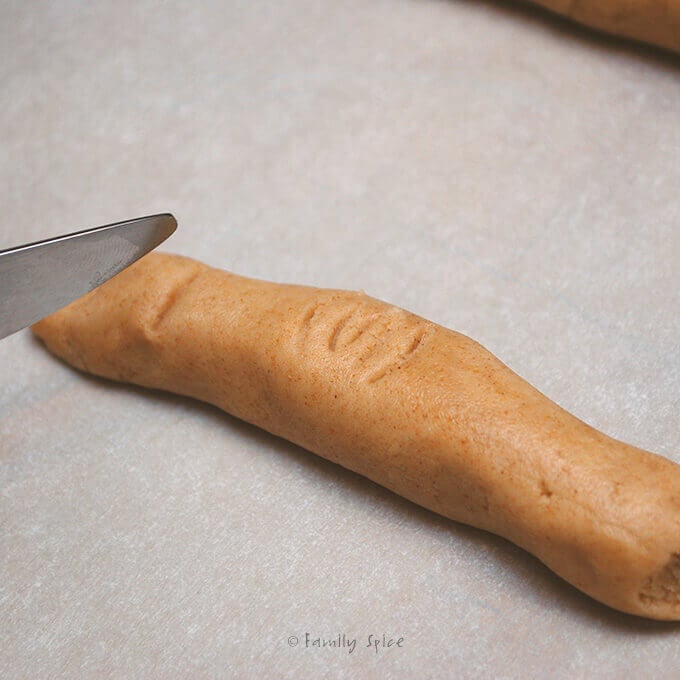
- With your hands, roll a heaping tablespoon of dough into a finger shape for each cookie.
- Shape and thicken the middle of the cookie to form a knuckle.
- Slightly flatten the front of the finger to create a nail bed. Break off the other end of the finger.
- Keep dough fingers a little on the thin side as the cookie will puff and grow while baking. If dough gets sticky and hard to work with, place back in the refrigerator for a little while.
- Using a small butter knife, make knuckle marks and wrinkles on each finger.
- Place cookie fingers on a baking sheet lined with parchment paper or silicone baking mat.
- Bake 20-25 minutes, until fingers are slightly golden.
- Remove from the oven and let cool on the baking sheet for 2-3 minutes. Place cookies on a cooling rack to finish cooling.
- When cookies have completely cooled, add the "nails" using the almond slices and strawberry jam. Using a small butter knife, spread on the flattened side of each finger cookie a thin layer of strawberry jam. Press onto the jam 1 sliced almond. Wipe off any excess jam.
- Return cookie to the cooling rack to dry.
- For the bloody end of the finger, place white chocolate in a small microwave-safe bowl. Heat on high for 20 seconds. Stir chocolate and cook again on high for 20 more seconds.
- Continue doing this until the chocolate starts to soften, then stir in
8 drops of red dye. Continue to heat in 20 second intervals, until all the chocolate is smooth and melted, adding more color if needed to reach your desired redness. - Dip broken end of finger into the melted red chocolate.
- Use a fork or toothpick to drizzle more of the melted chocolate onto the finger cookies to resemble blood drippings.
- Return cookie back to cooling rack to completely dry and for the chocolate to harden, about 20 minutes.
- Store in airtight container for up to 1 week.
Nutrition Information:
Yield:
24Serving Size:
1Amount Per Serving: Calories: 180Total Fat: 11gSaturated Fat: 6gTrans Fat: 0gUnsaturated Fat: 4gCholesterol: 29mgSodium: 91mgCarbohydrates: 19gFiber: 1gSugar: 8gProtein: 3g